Using SVG Files for Machine Embroidery Applique
.png)
.png?width=1309&name=Social-Image-Blog-01%20(6).png)
I have a confession to make.
I've worked at Kimberbell for a few years now and I know quite a bit about machine embroidery. But for quite awhile, I had NO idea why we included SVG files with our feature quilts, bench pillows, and other projects.
Phew. It's good to get that off my chest. 😅
Now, many of YOU know exactly why we include SVG files and you use them with great success! But in case you don't know how SVG files work with machine embroidery, I'm going to explain what I now (finally!) know.
What's an SVG File?
SVG stands for "scalable vector graphic," which means the file can be scaled up or down without losing any of its resolution. In the embroidery world, SVG files are used to cut applique fabric on electronic cutting machines. Many embroiderers do this to save the time and effort of trimming with scissors.
How to Use SVG Files with Embroidery Applique
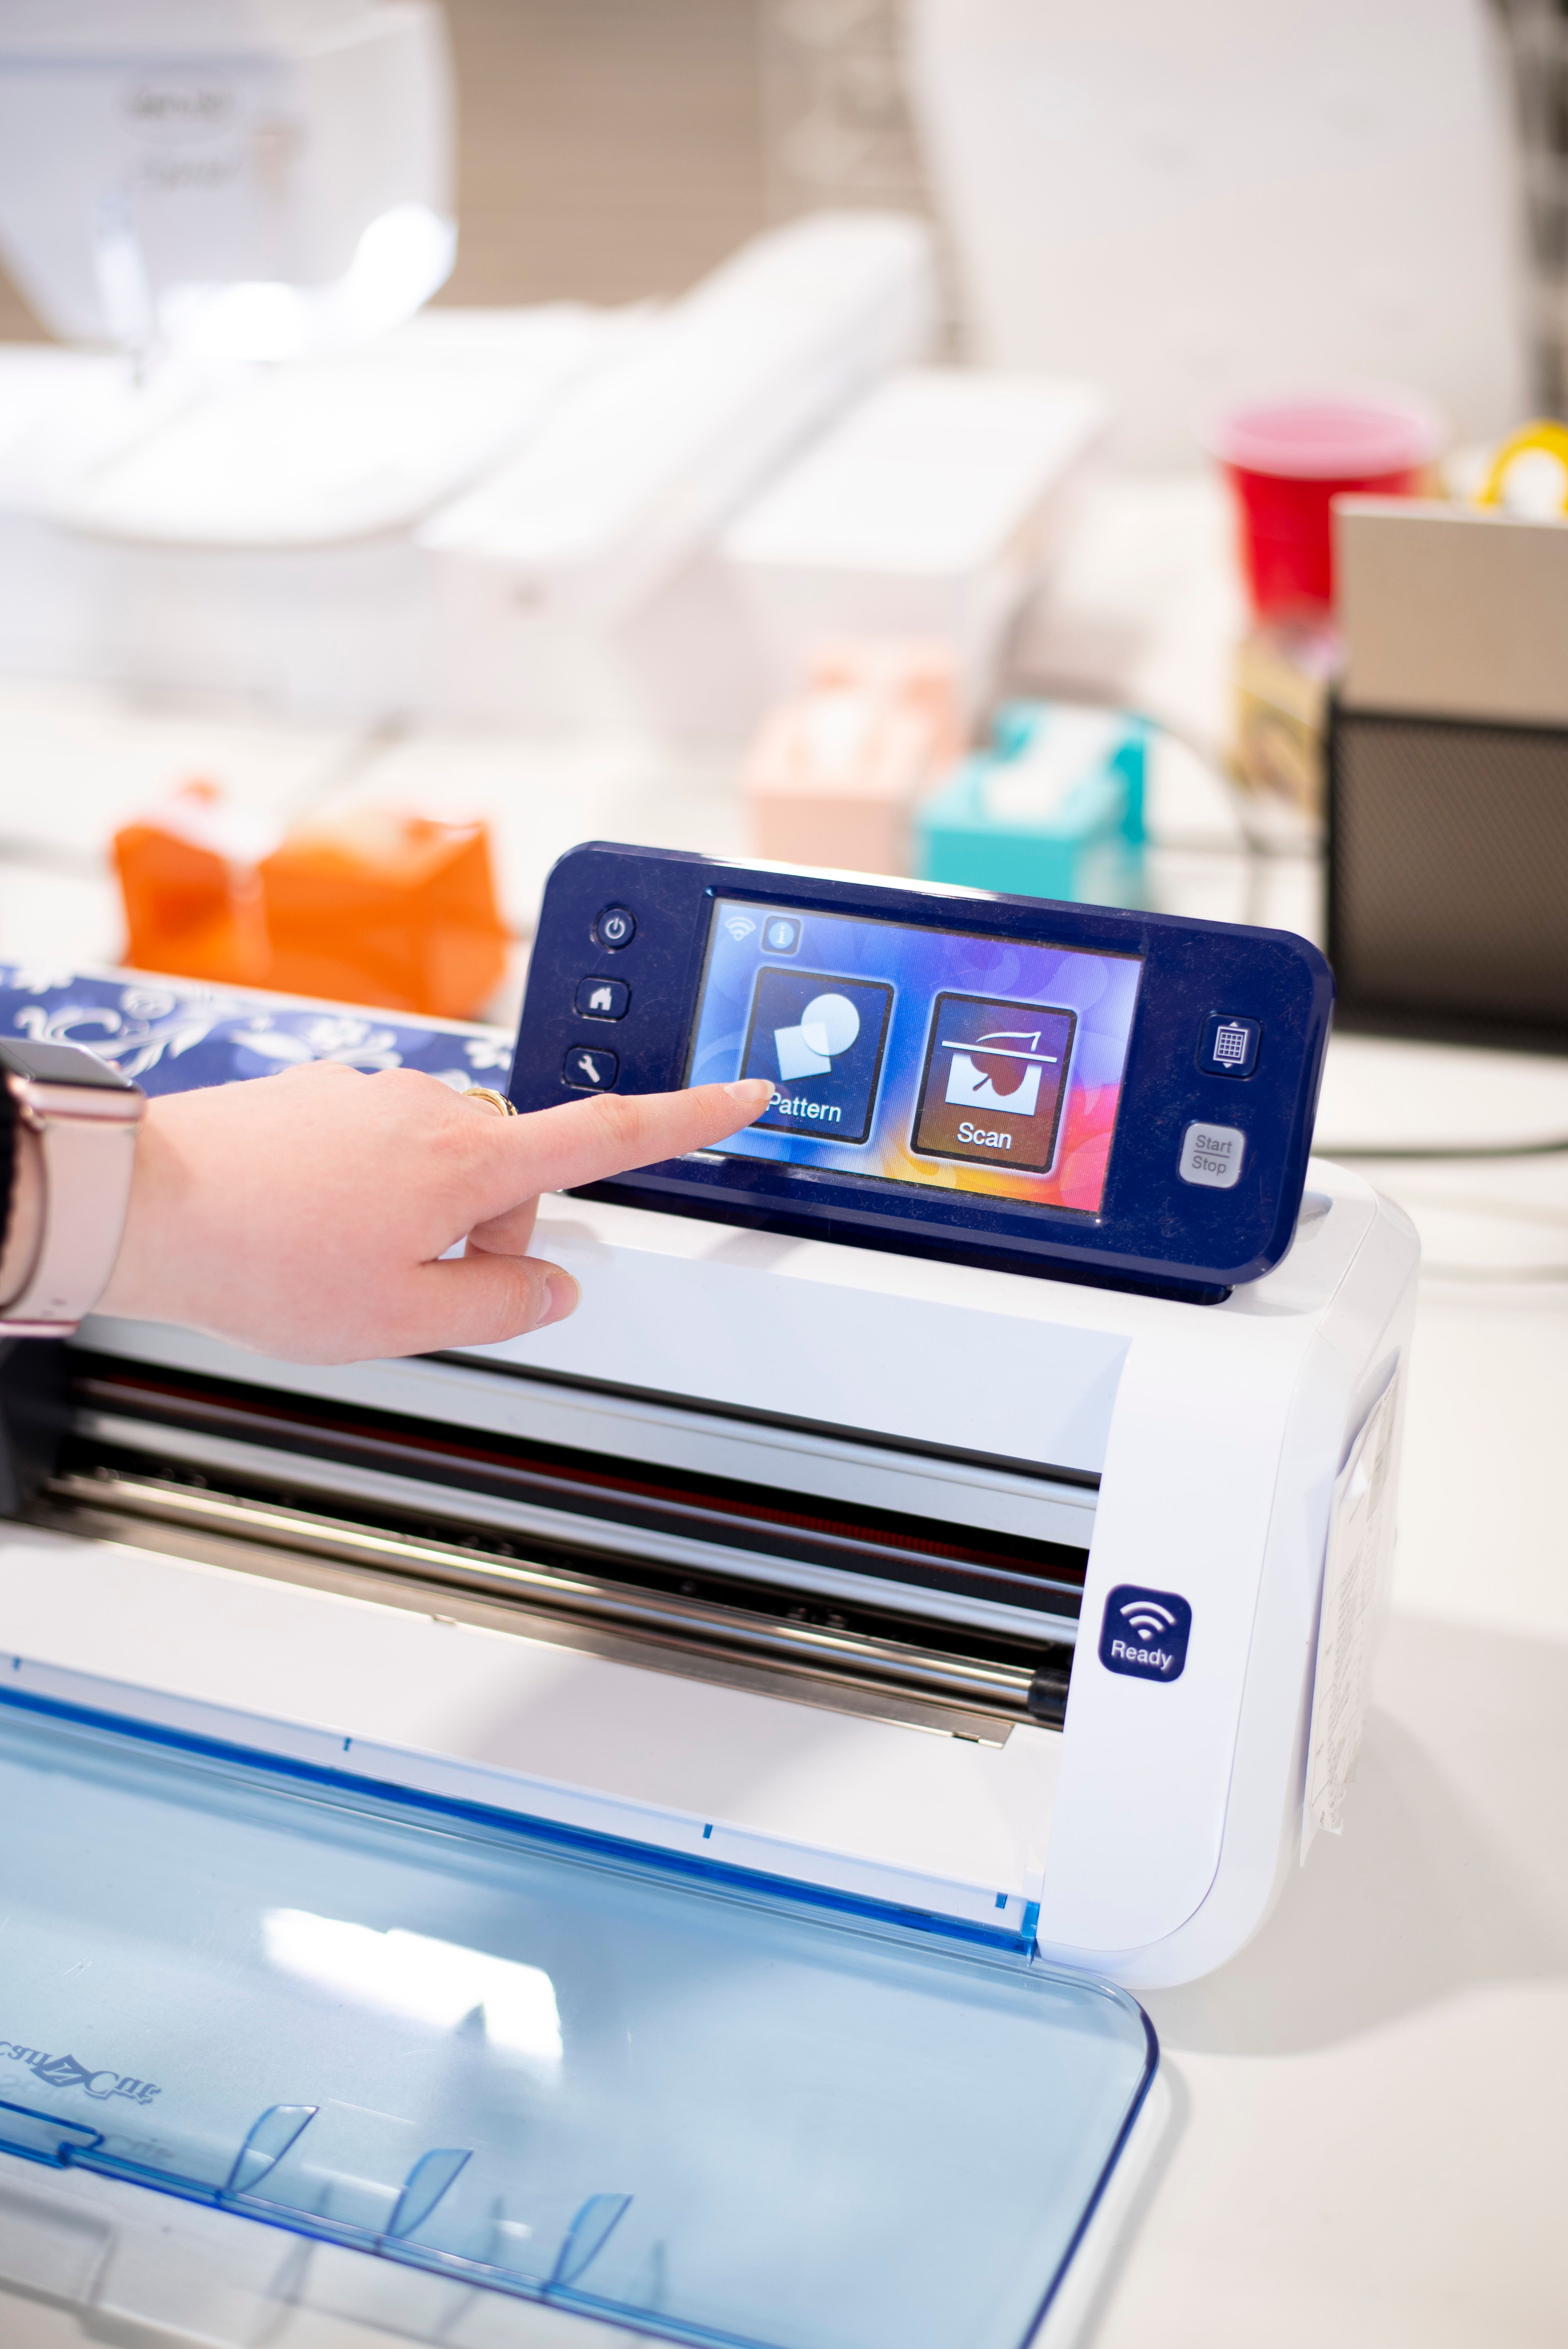
If you have an electronic cutting machine such as a Cricut, a Silhouette, a Brother ScanNCut, or another model, here's how to use the SVG files found on your Kimberbell CDs or USBs.
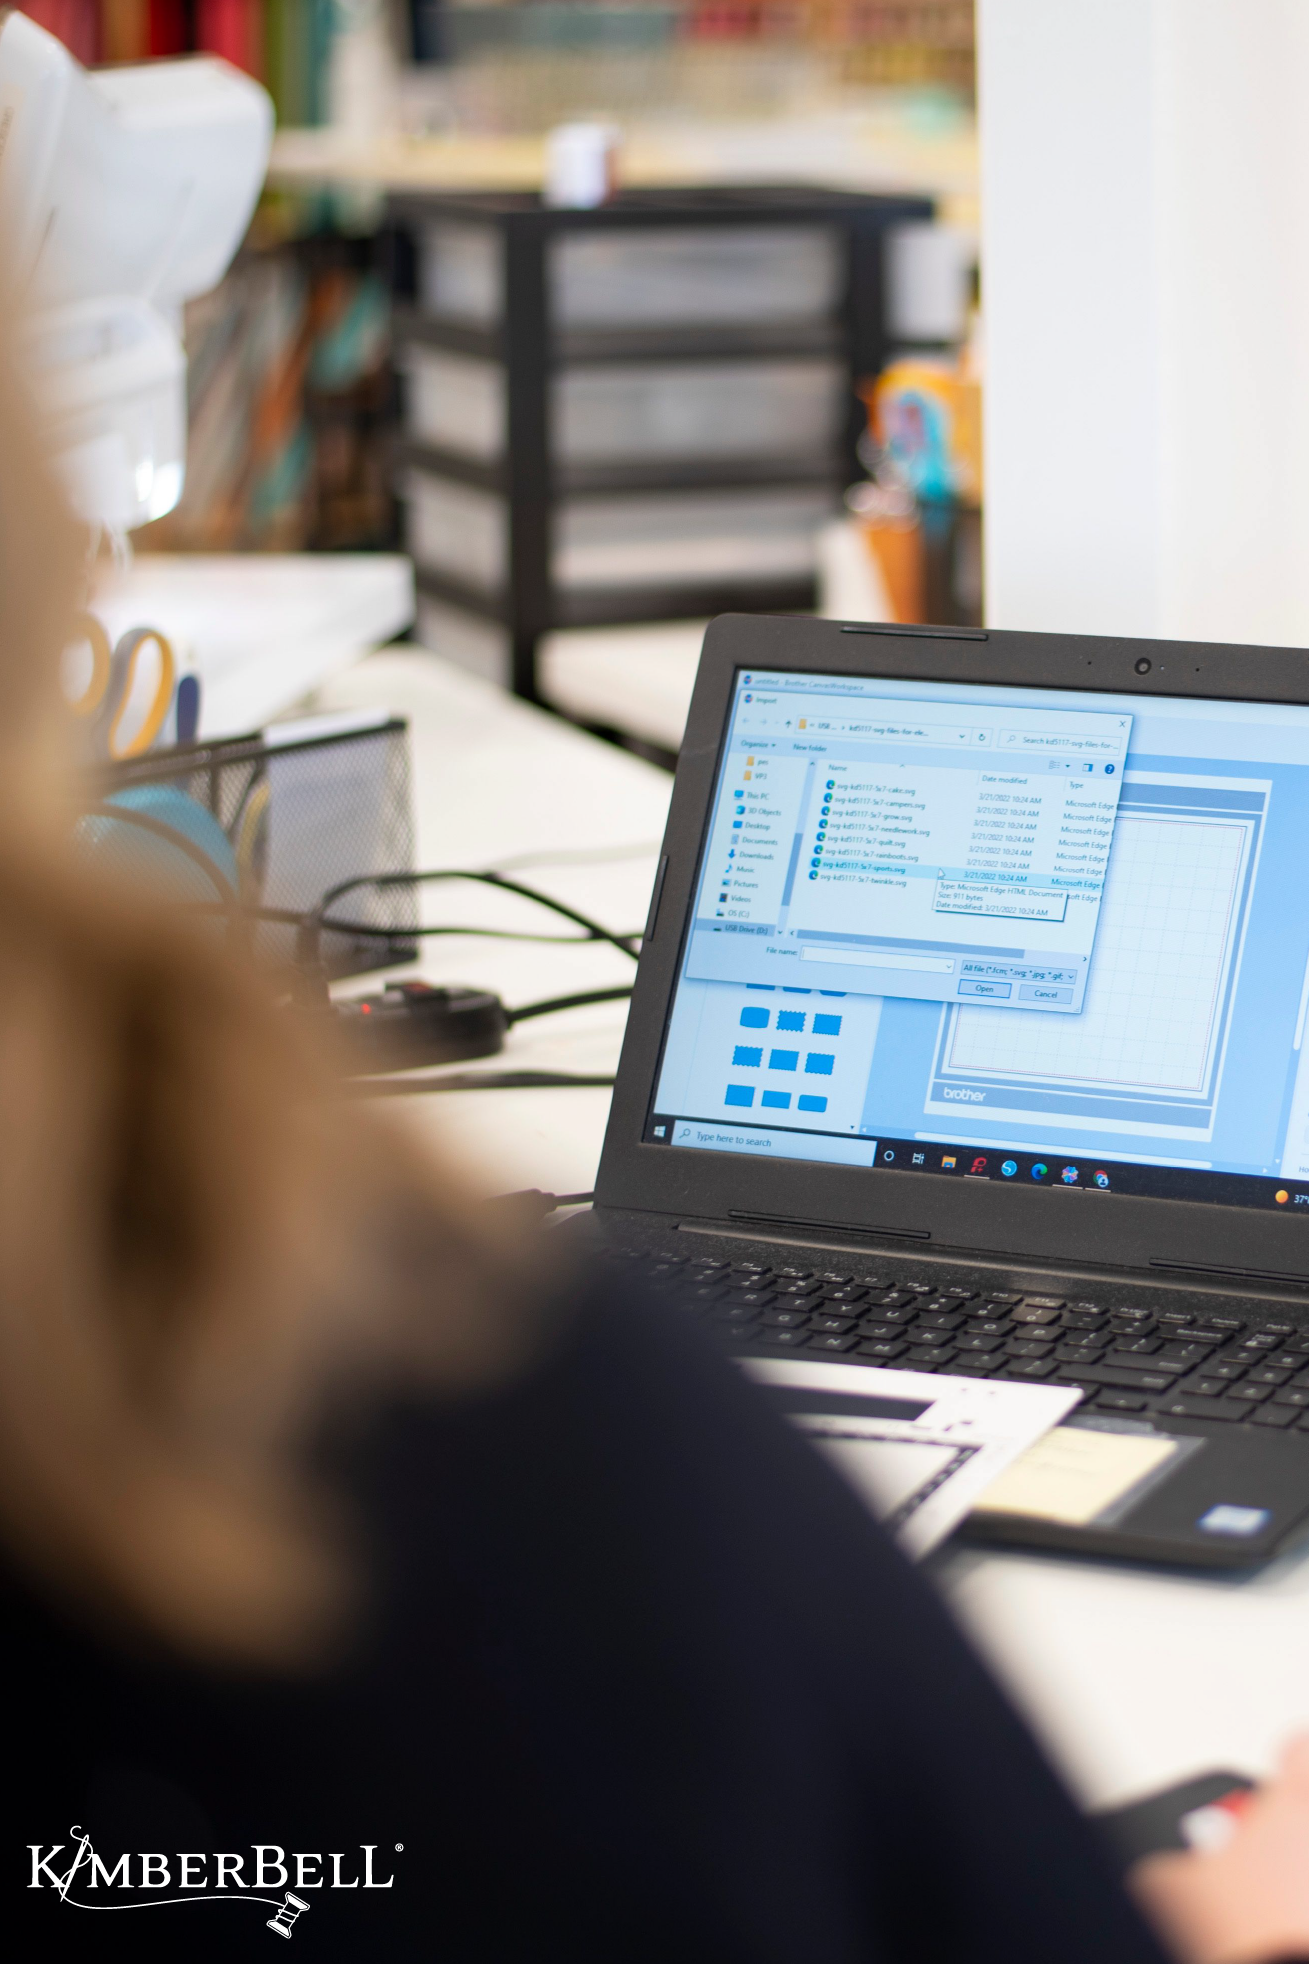
Open the File on Your Computer
First, locate the SVG file on your Kimberbell CD or USB and open it in your electronic cutting machine software.
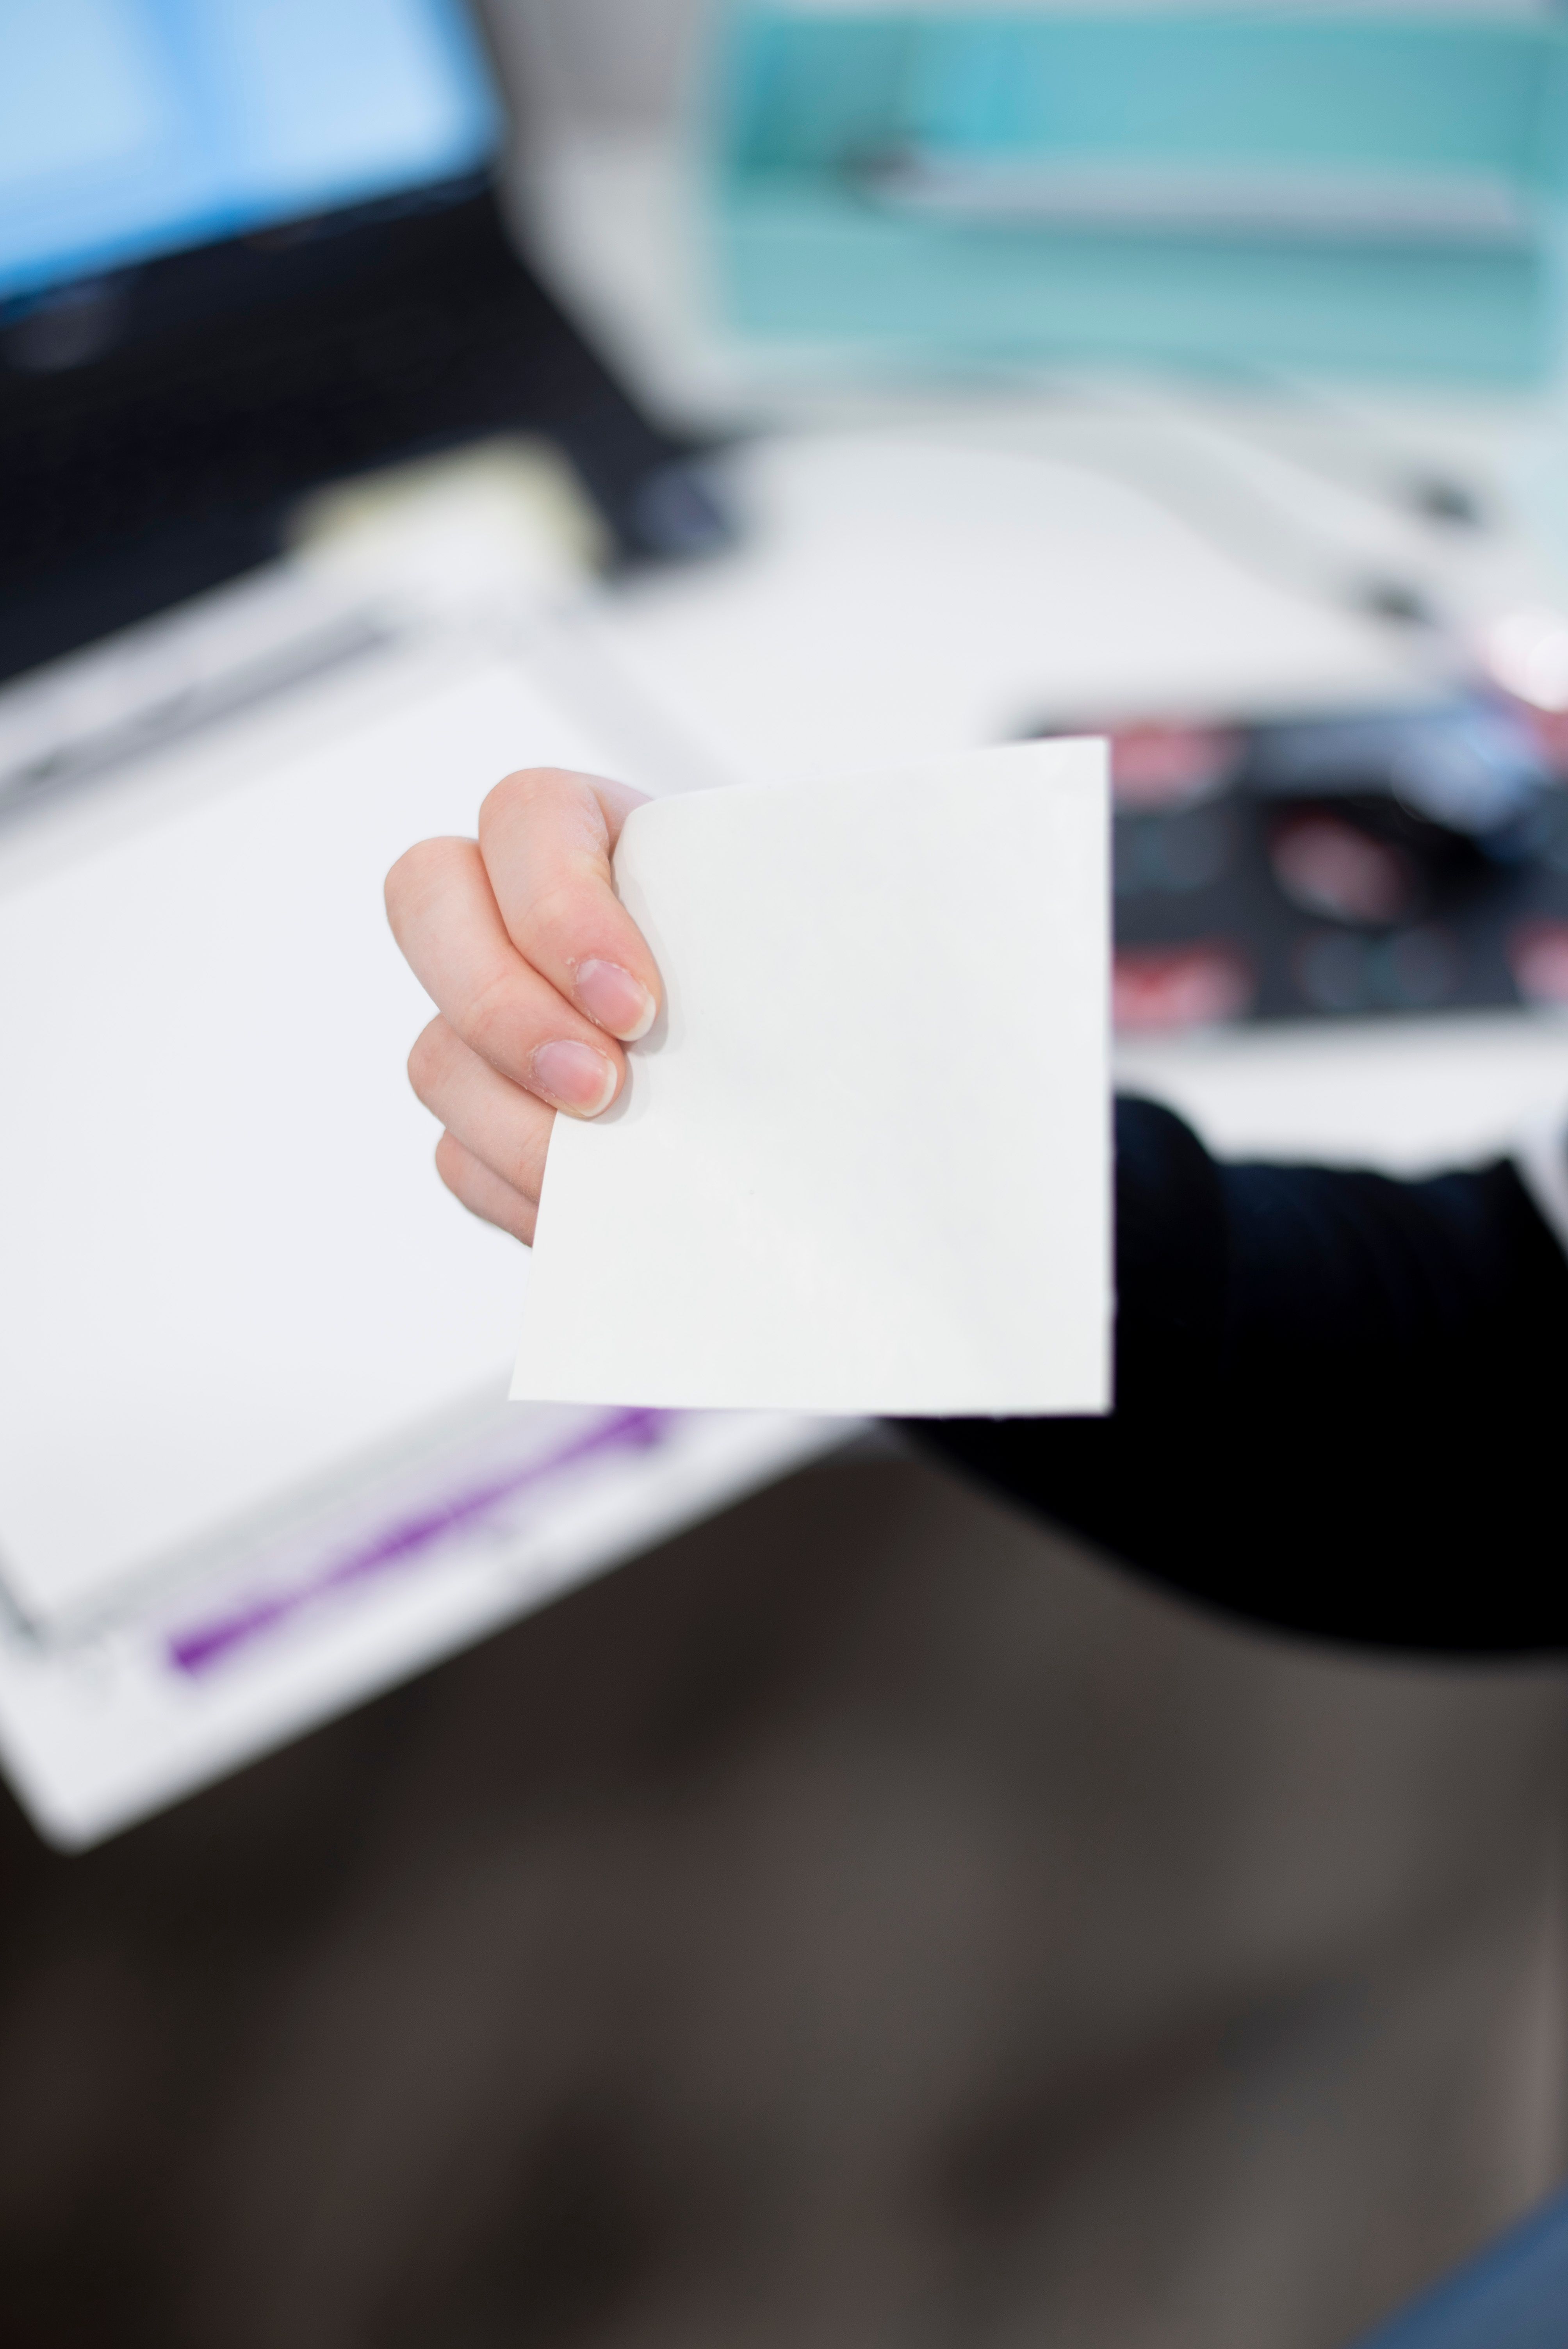
Apply Fusible Peel & Stick to Fabric
Next, adhere Kimberbell Fusible Peel & Stick to the back of your fabric. (This prevents needing to tape the fabric down later.)
Place Fabric on Cutting Mat
Now it's time to place your fabric on the tacky cutting mat. You can do this paper side down OR fabric side down. (If you place the paper side down, you won't have to reverse your design.)
Make sure to match the position of the fabric with whatever placement is showing in your electronic cutting machine software. The grid lines on the screen should line up with the grid lines on your mat.
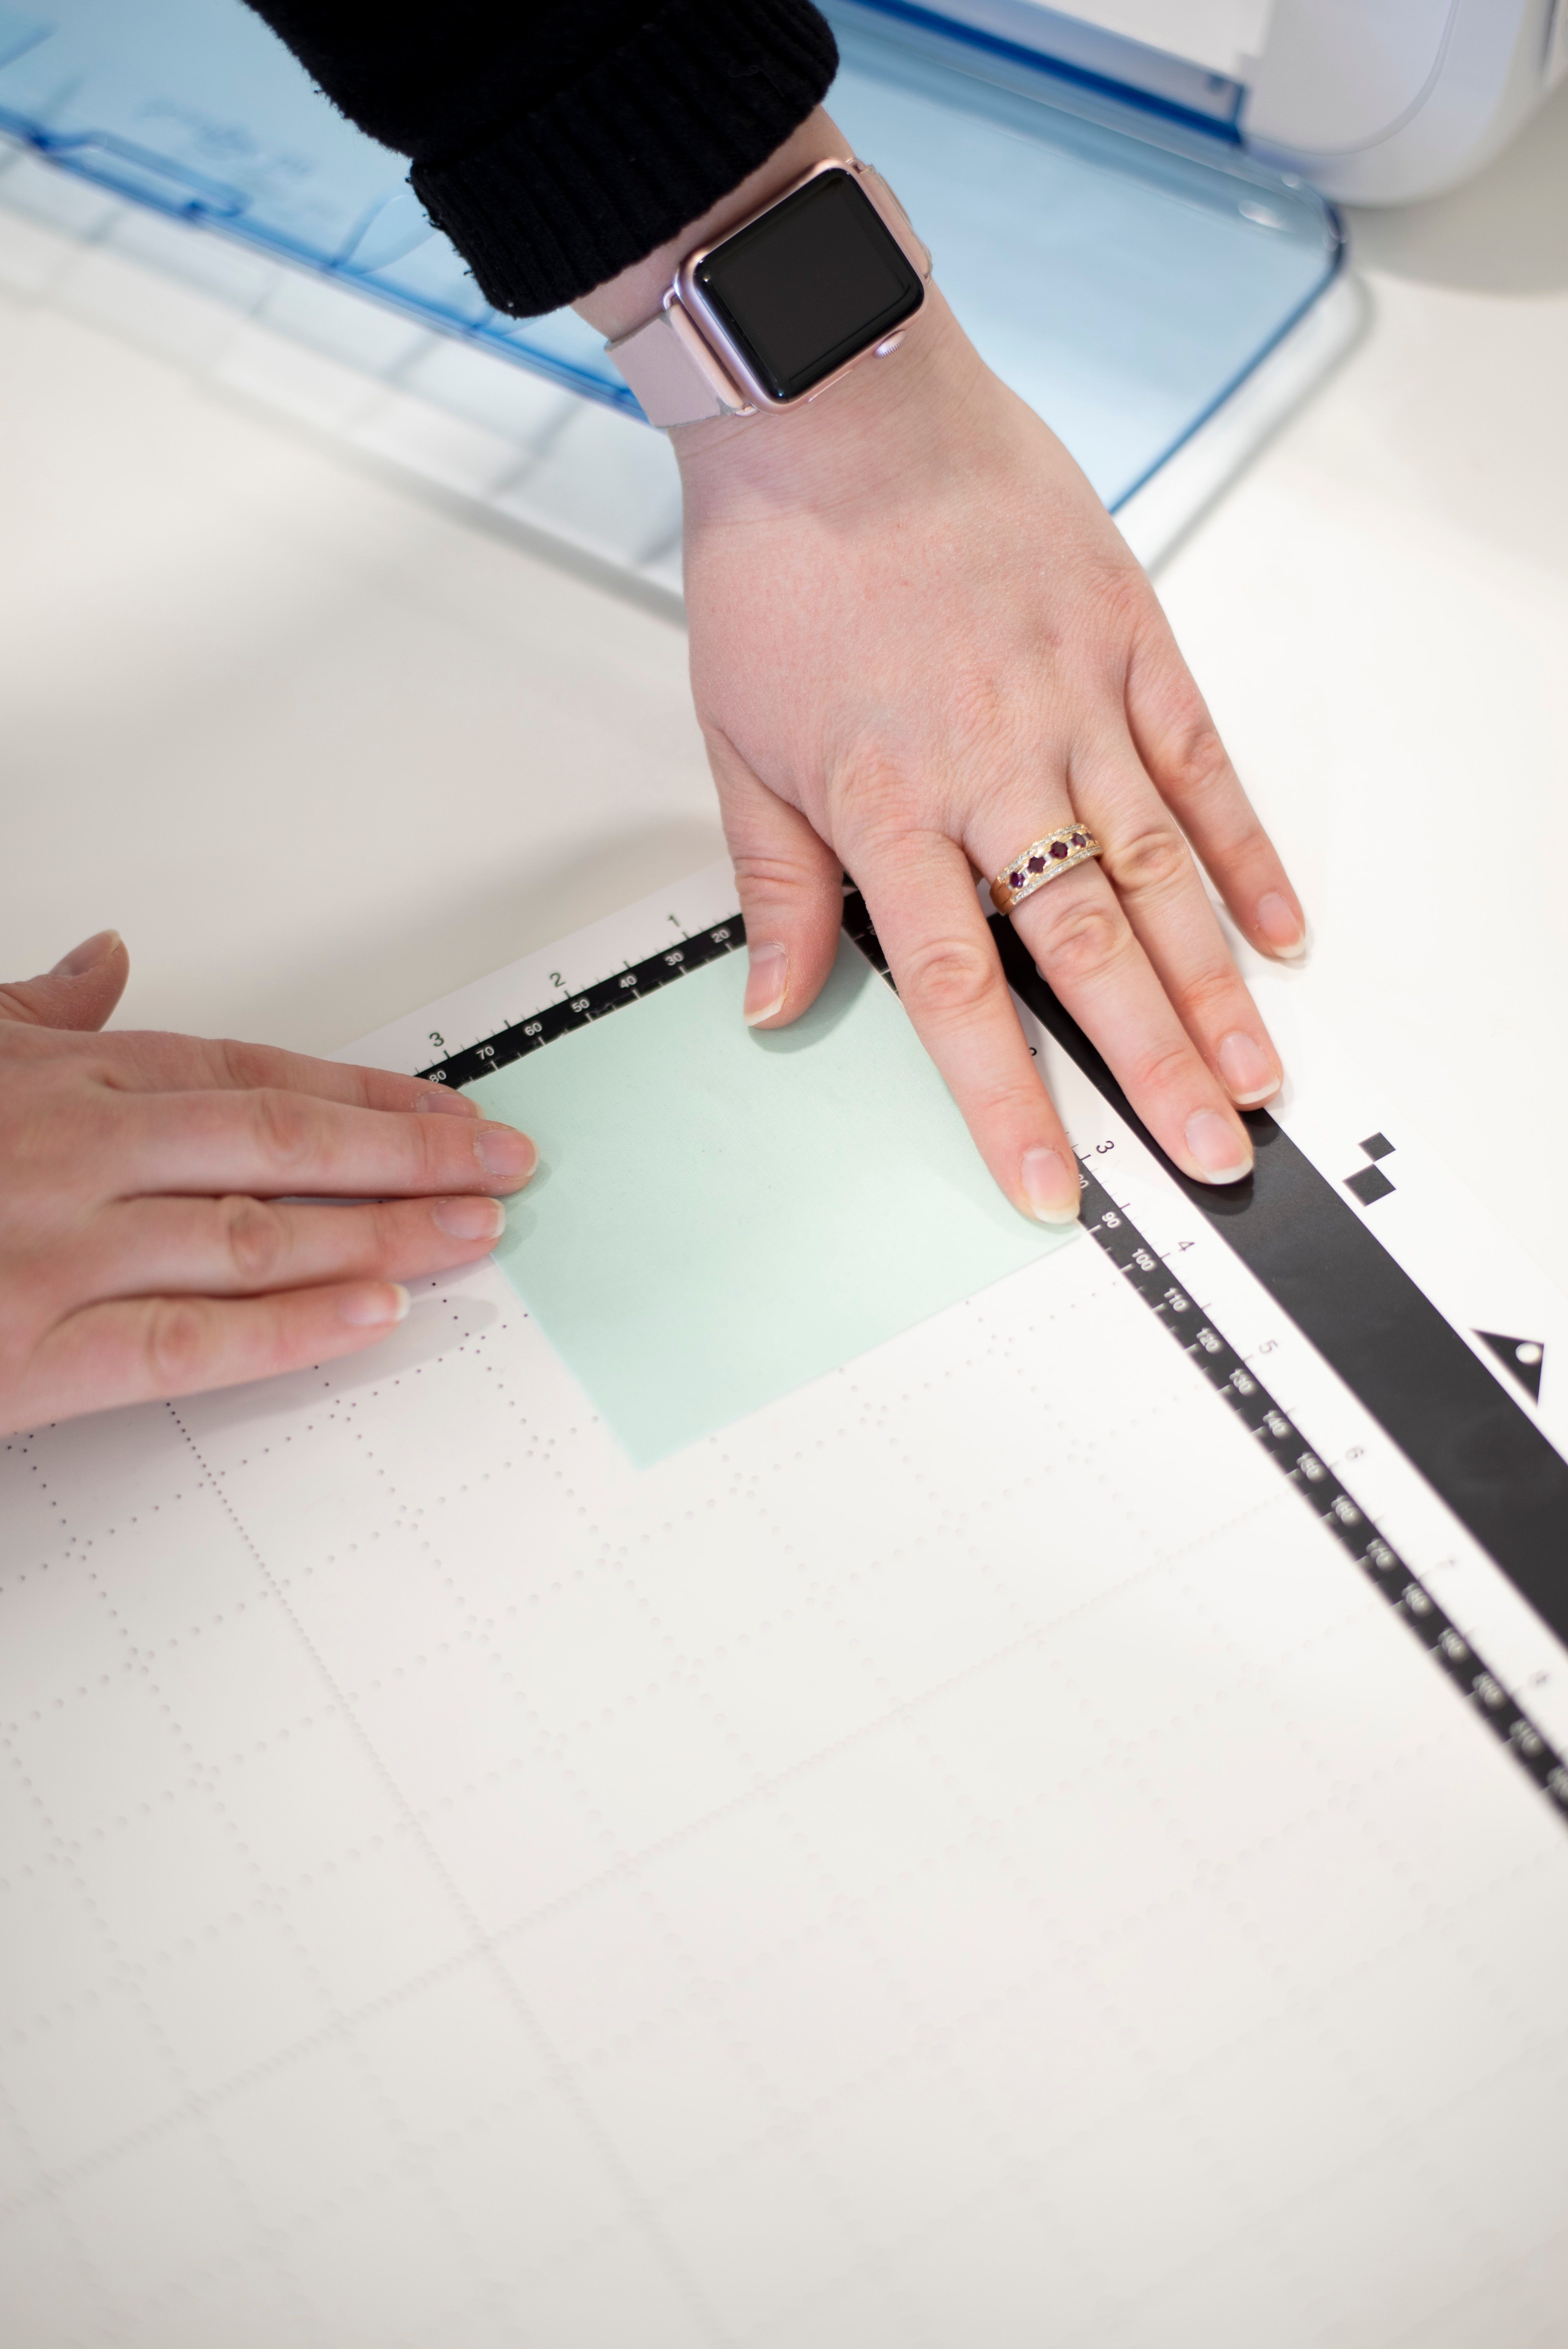
Tip: Every electronic cutting machine has its own recommended needle pressure for cutting fabric, so be sure to check your manual for that information. If the pressure is set too high, you may cut through your mat.
Transfer File to Cutting Machine
Transfer the file from your computer to your cutting machine. (Again, as every machine is different, please see your manual for exact transfer steps!)
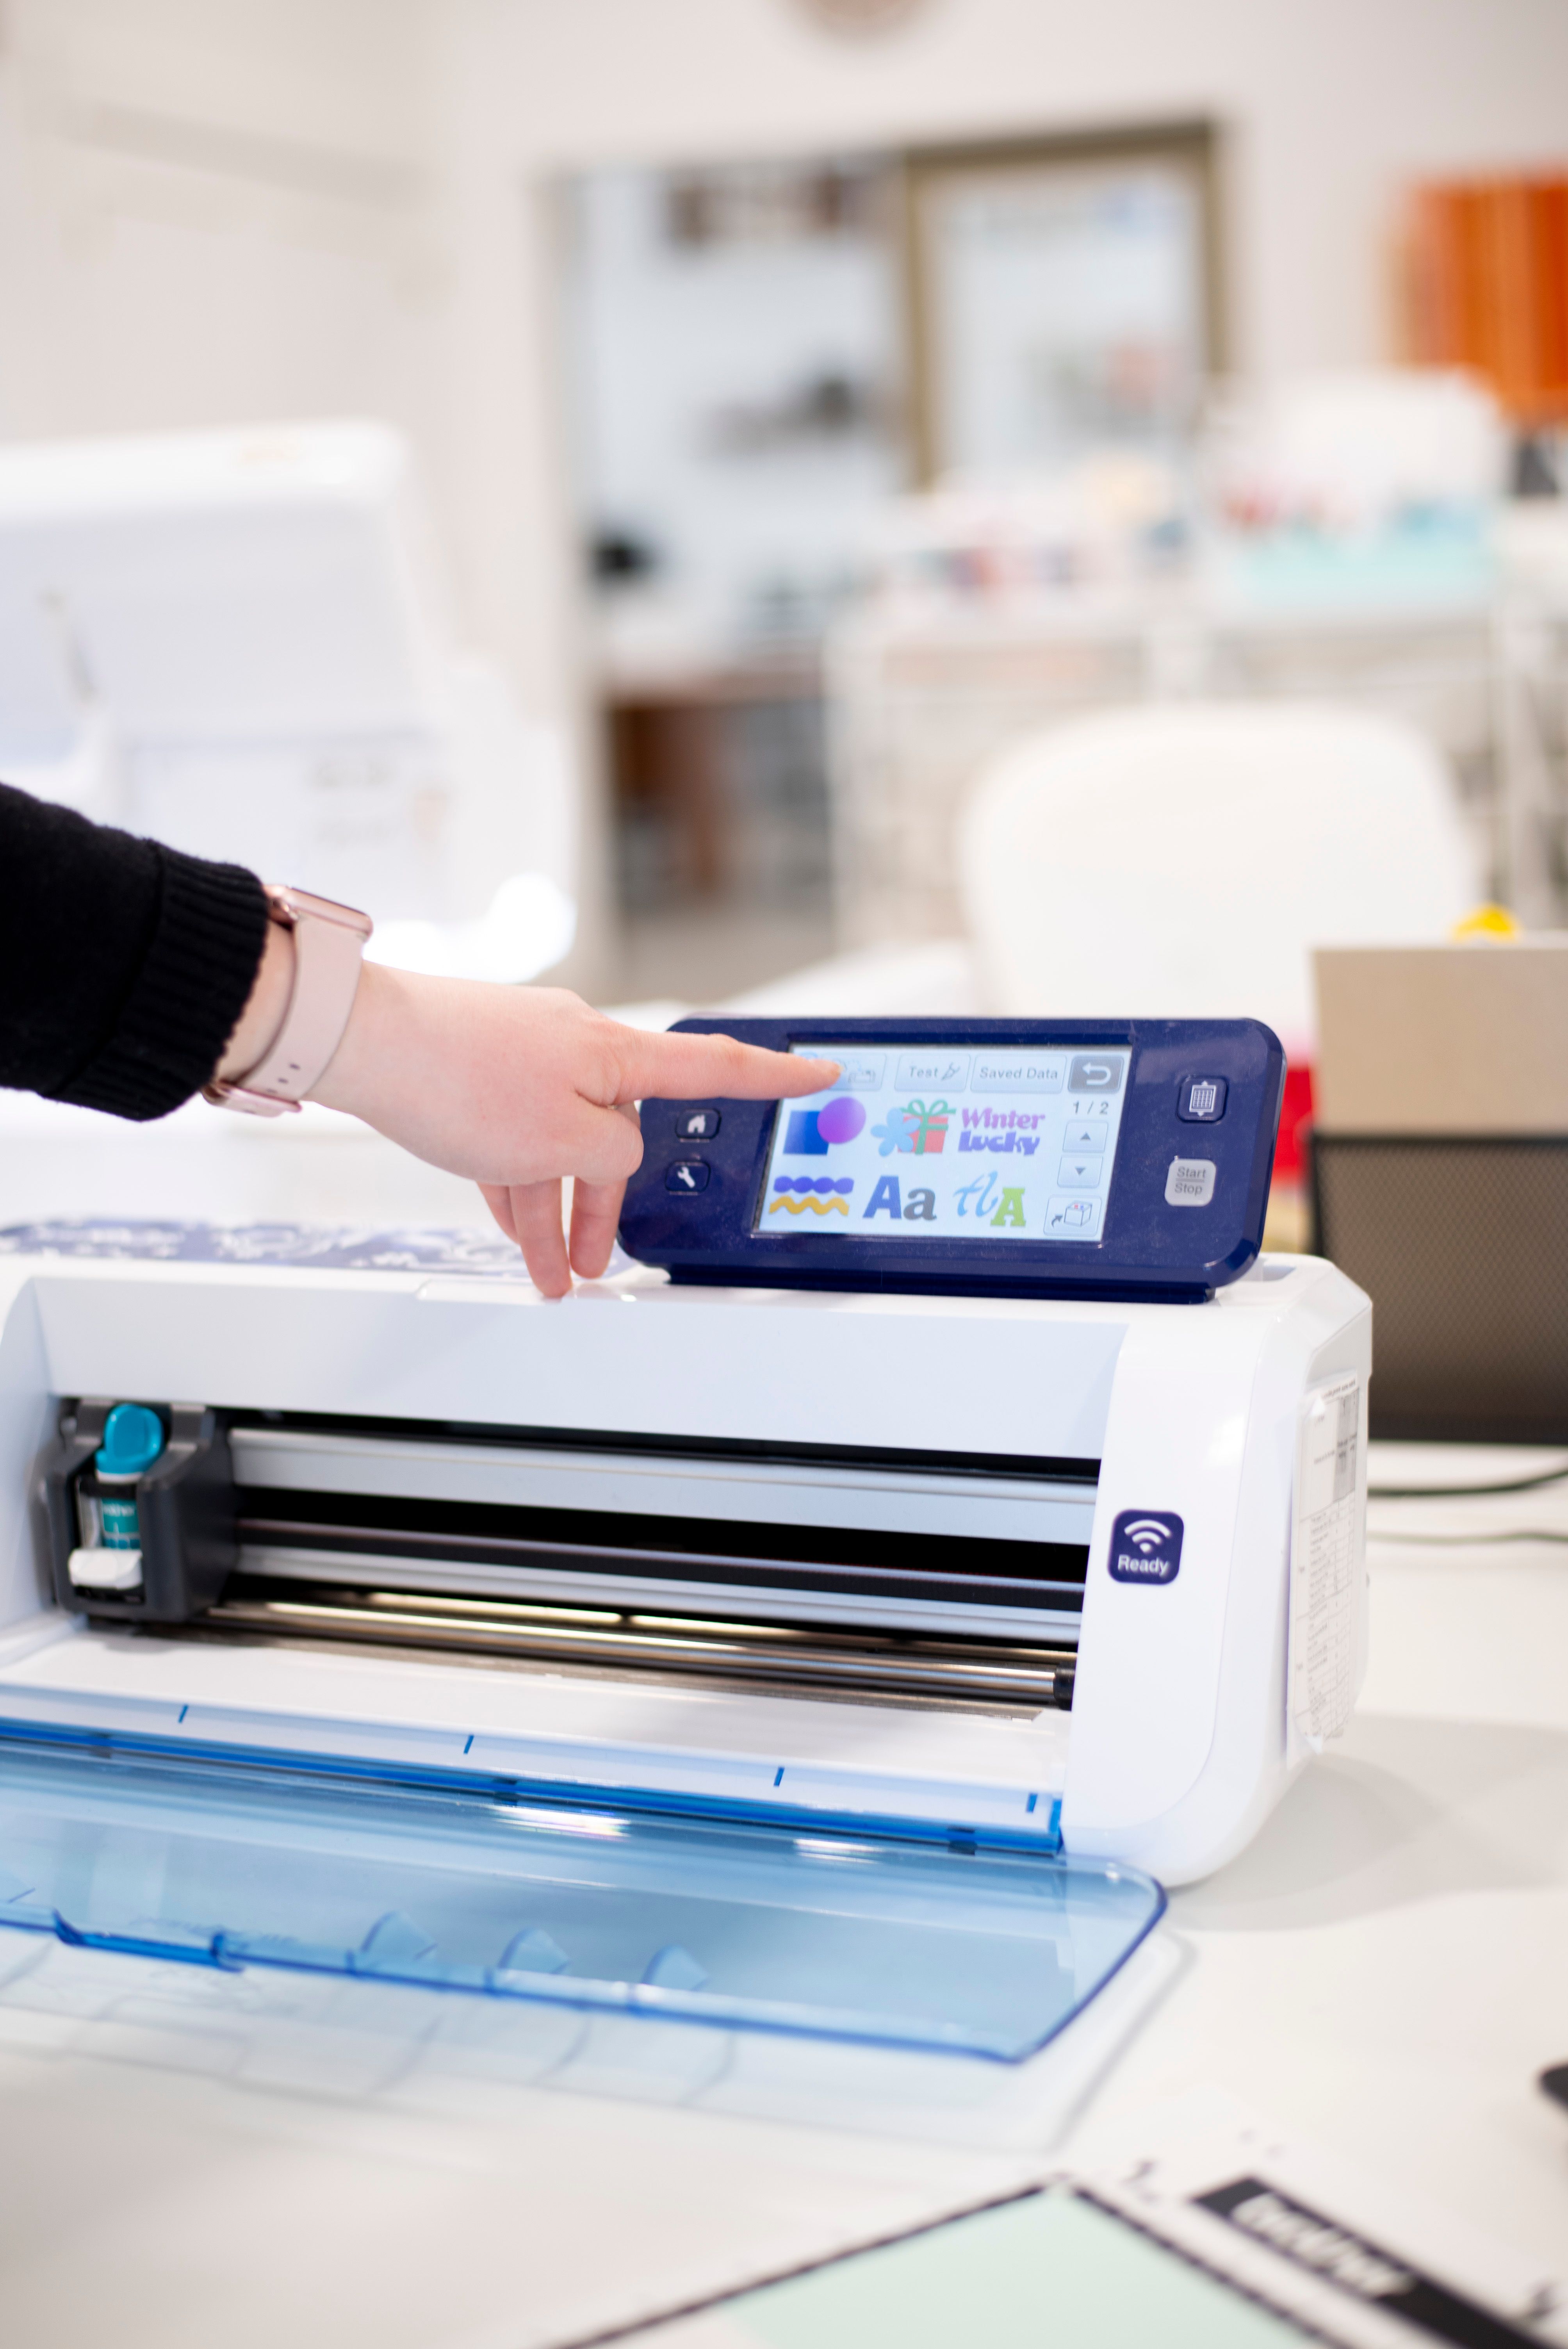
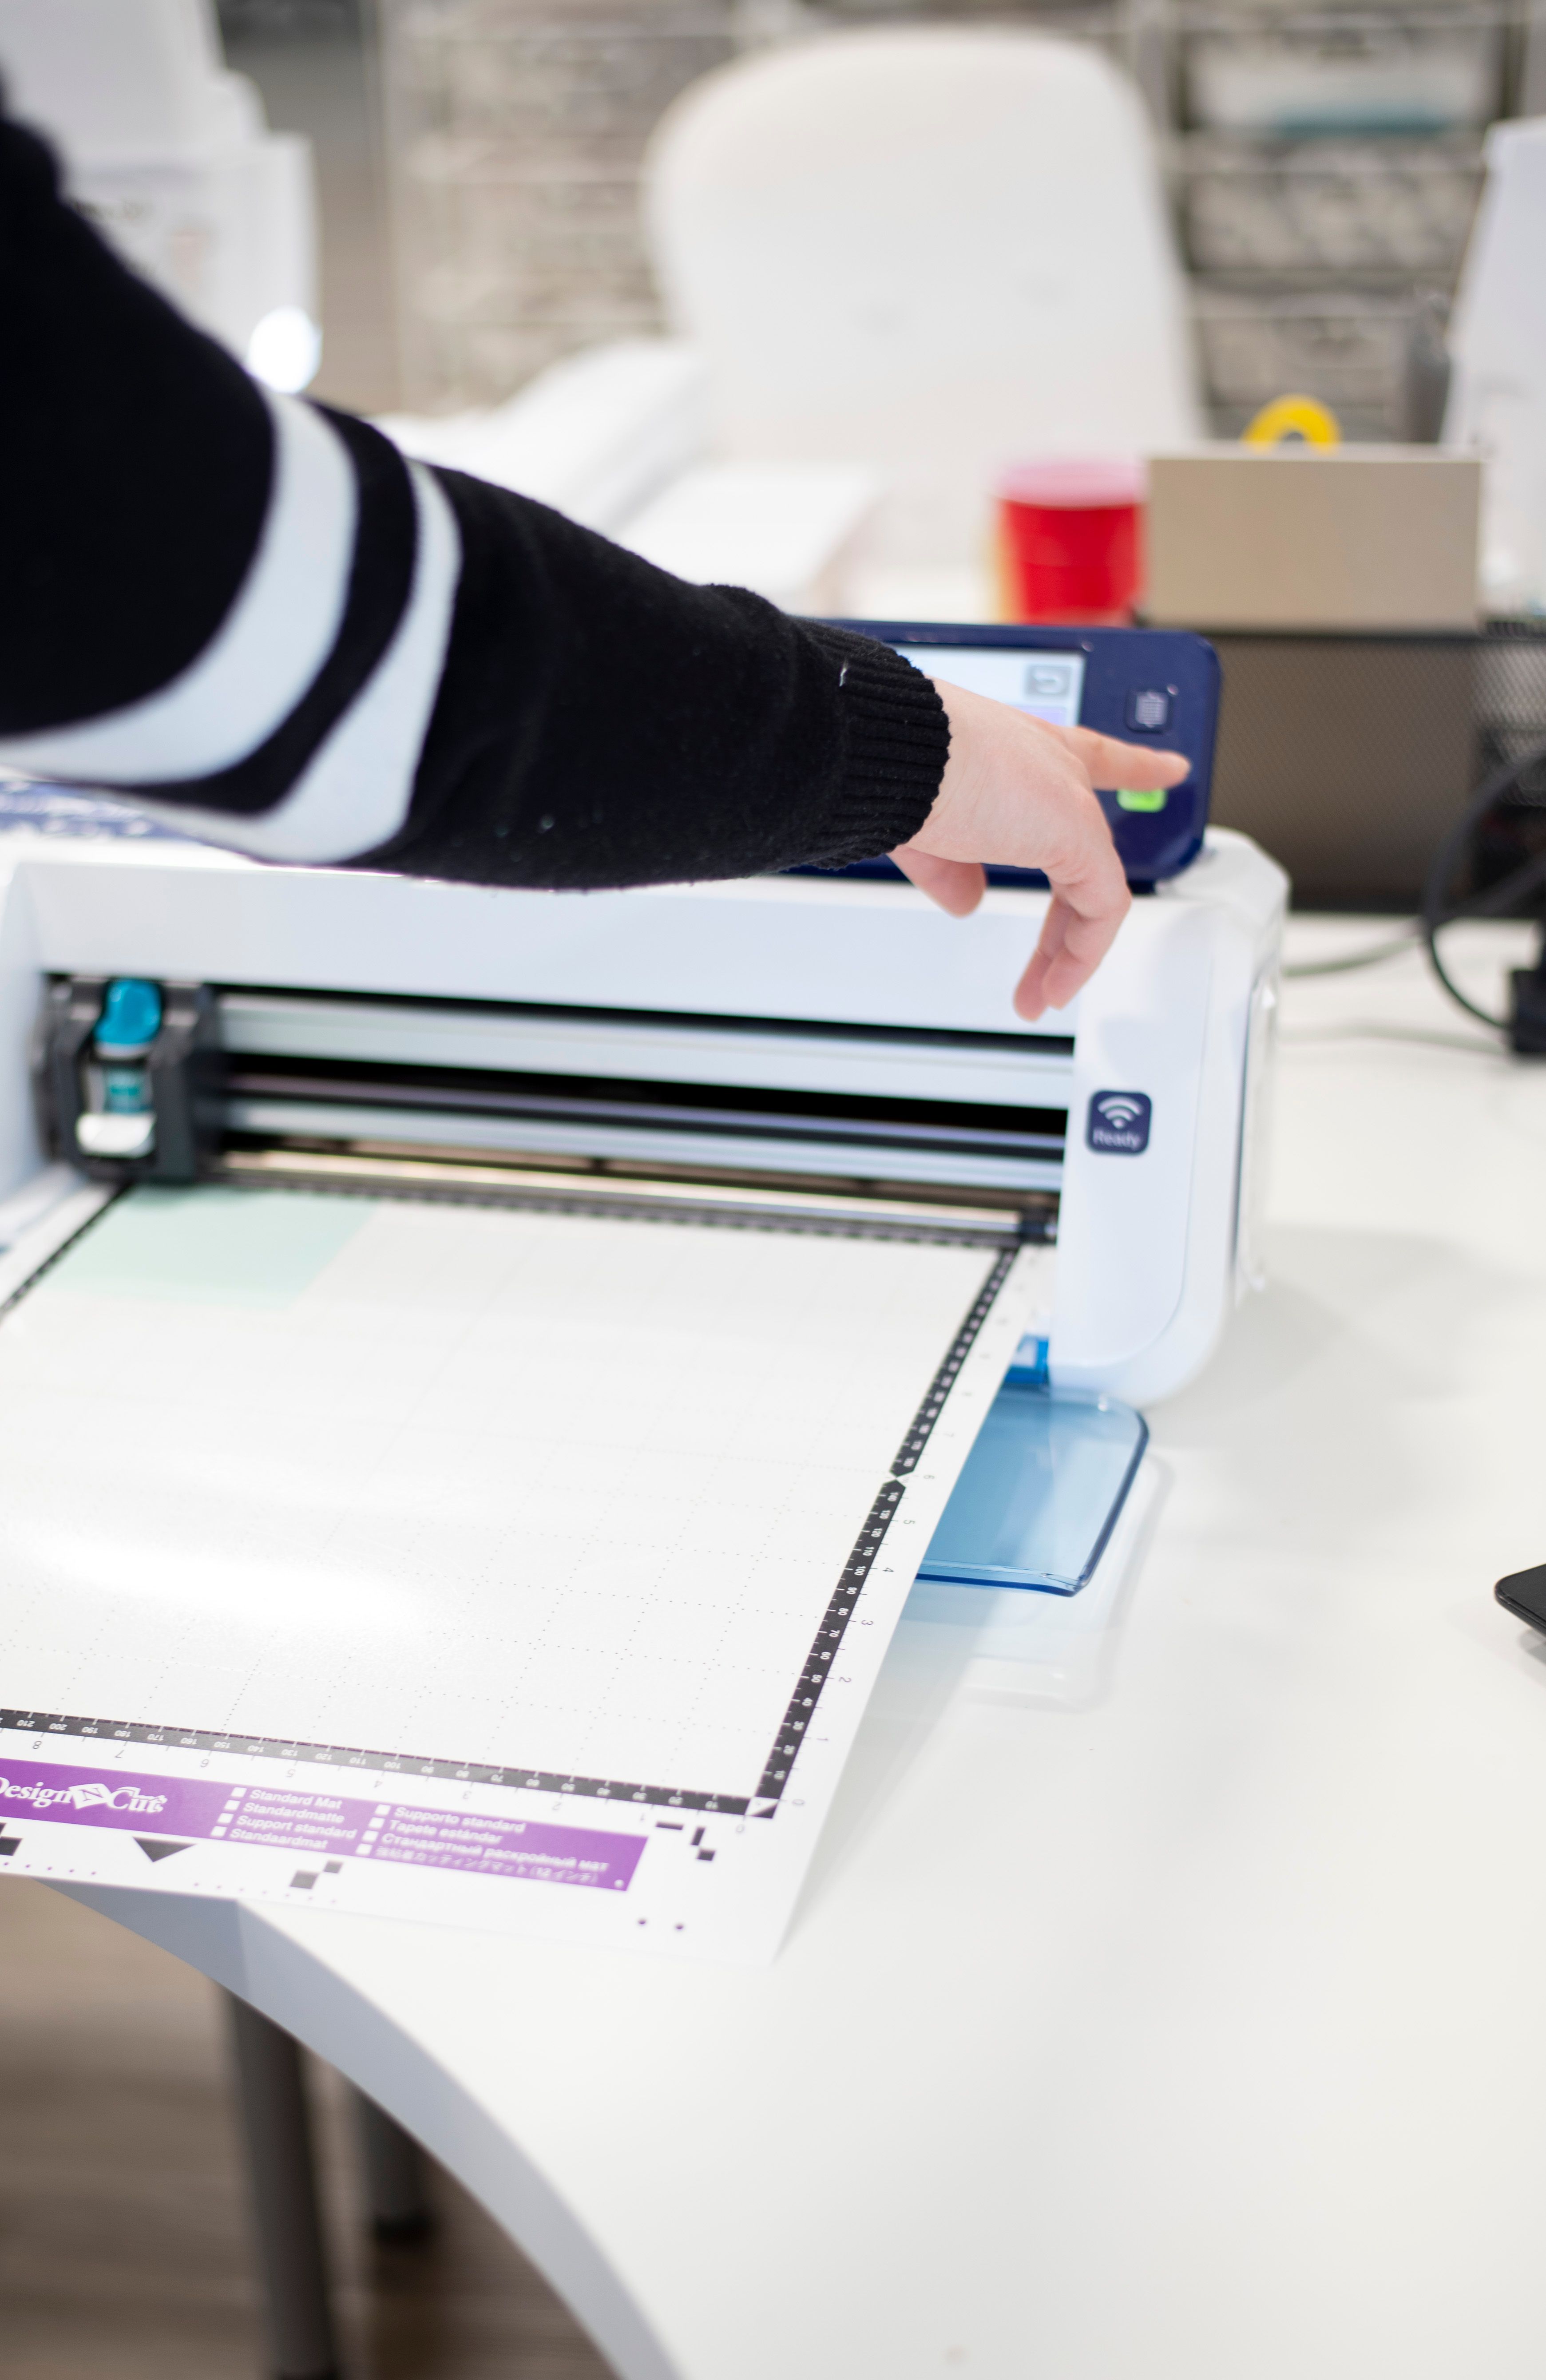
Load Mat into Cutting Machine
After loading your mat into your electronic cutting machine, push the button and watch it go!
Peel Fabric From Mat
Now that your fabric has been cut, simply peel it off the mat.
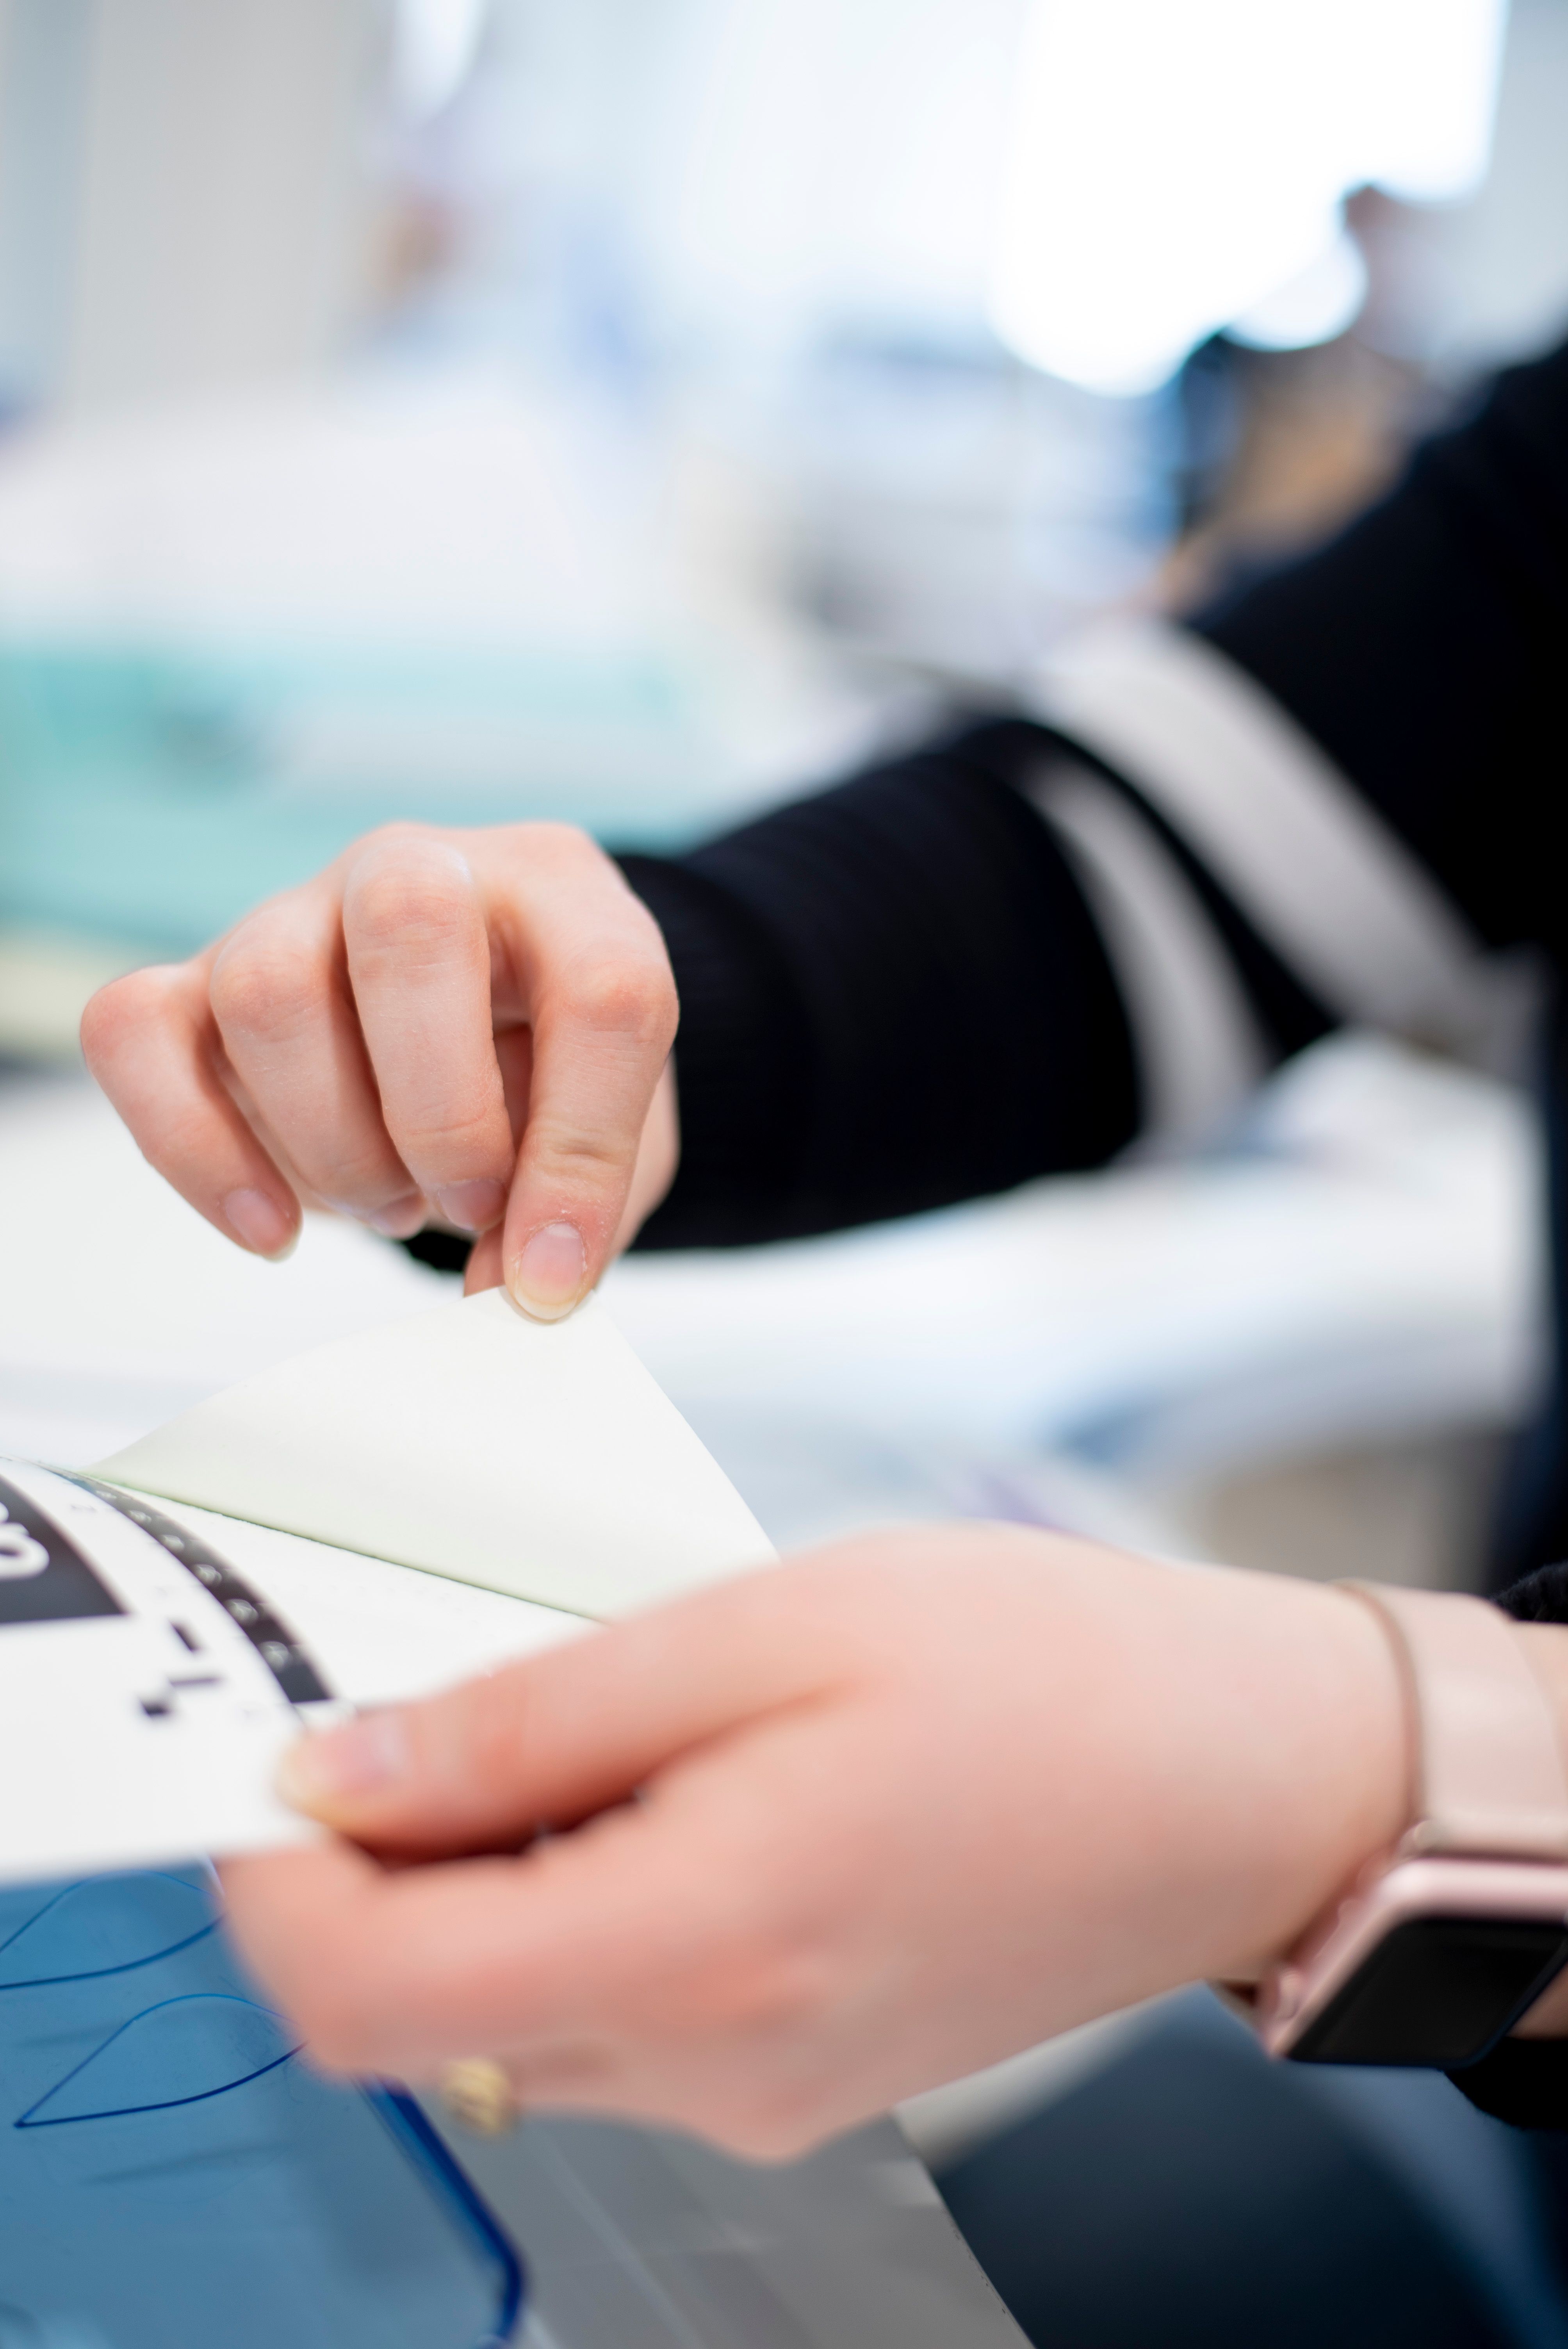
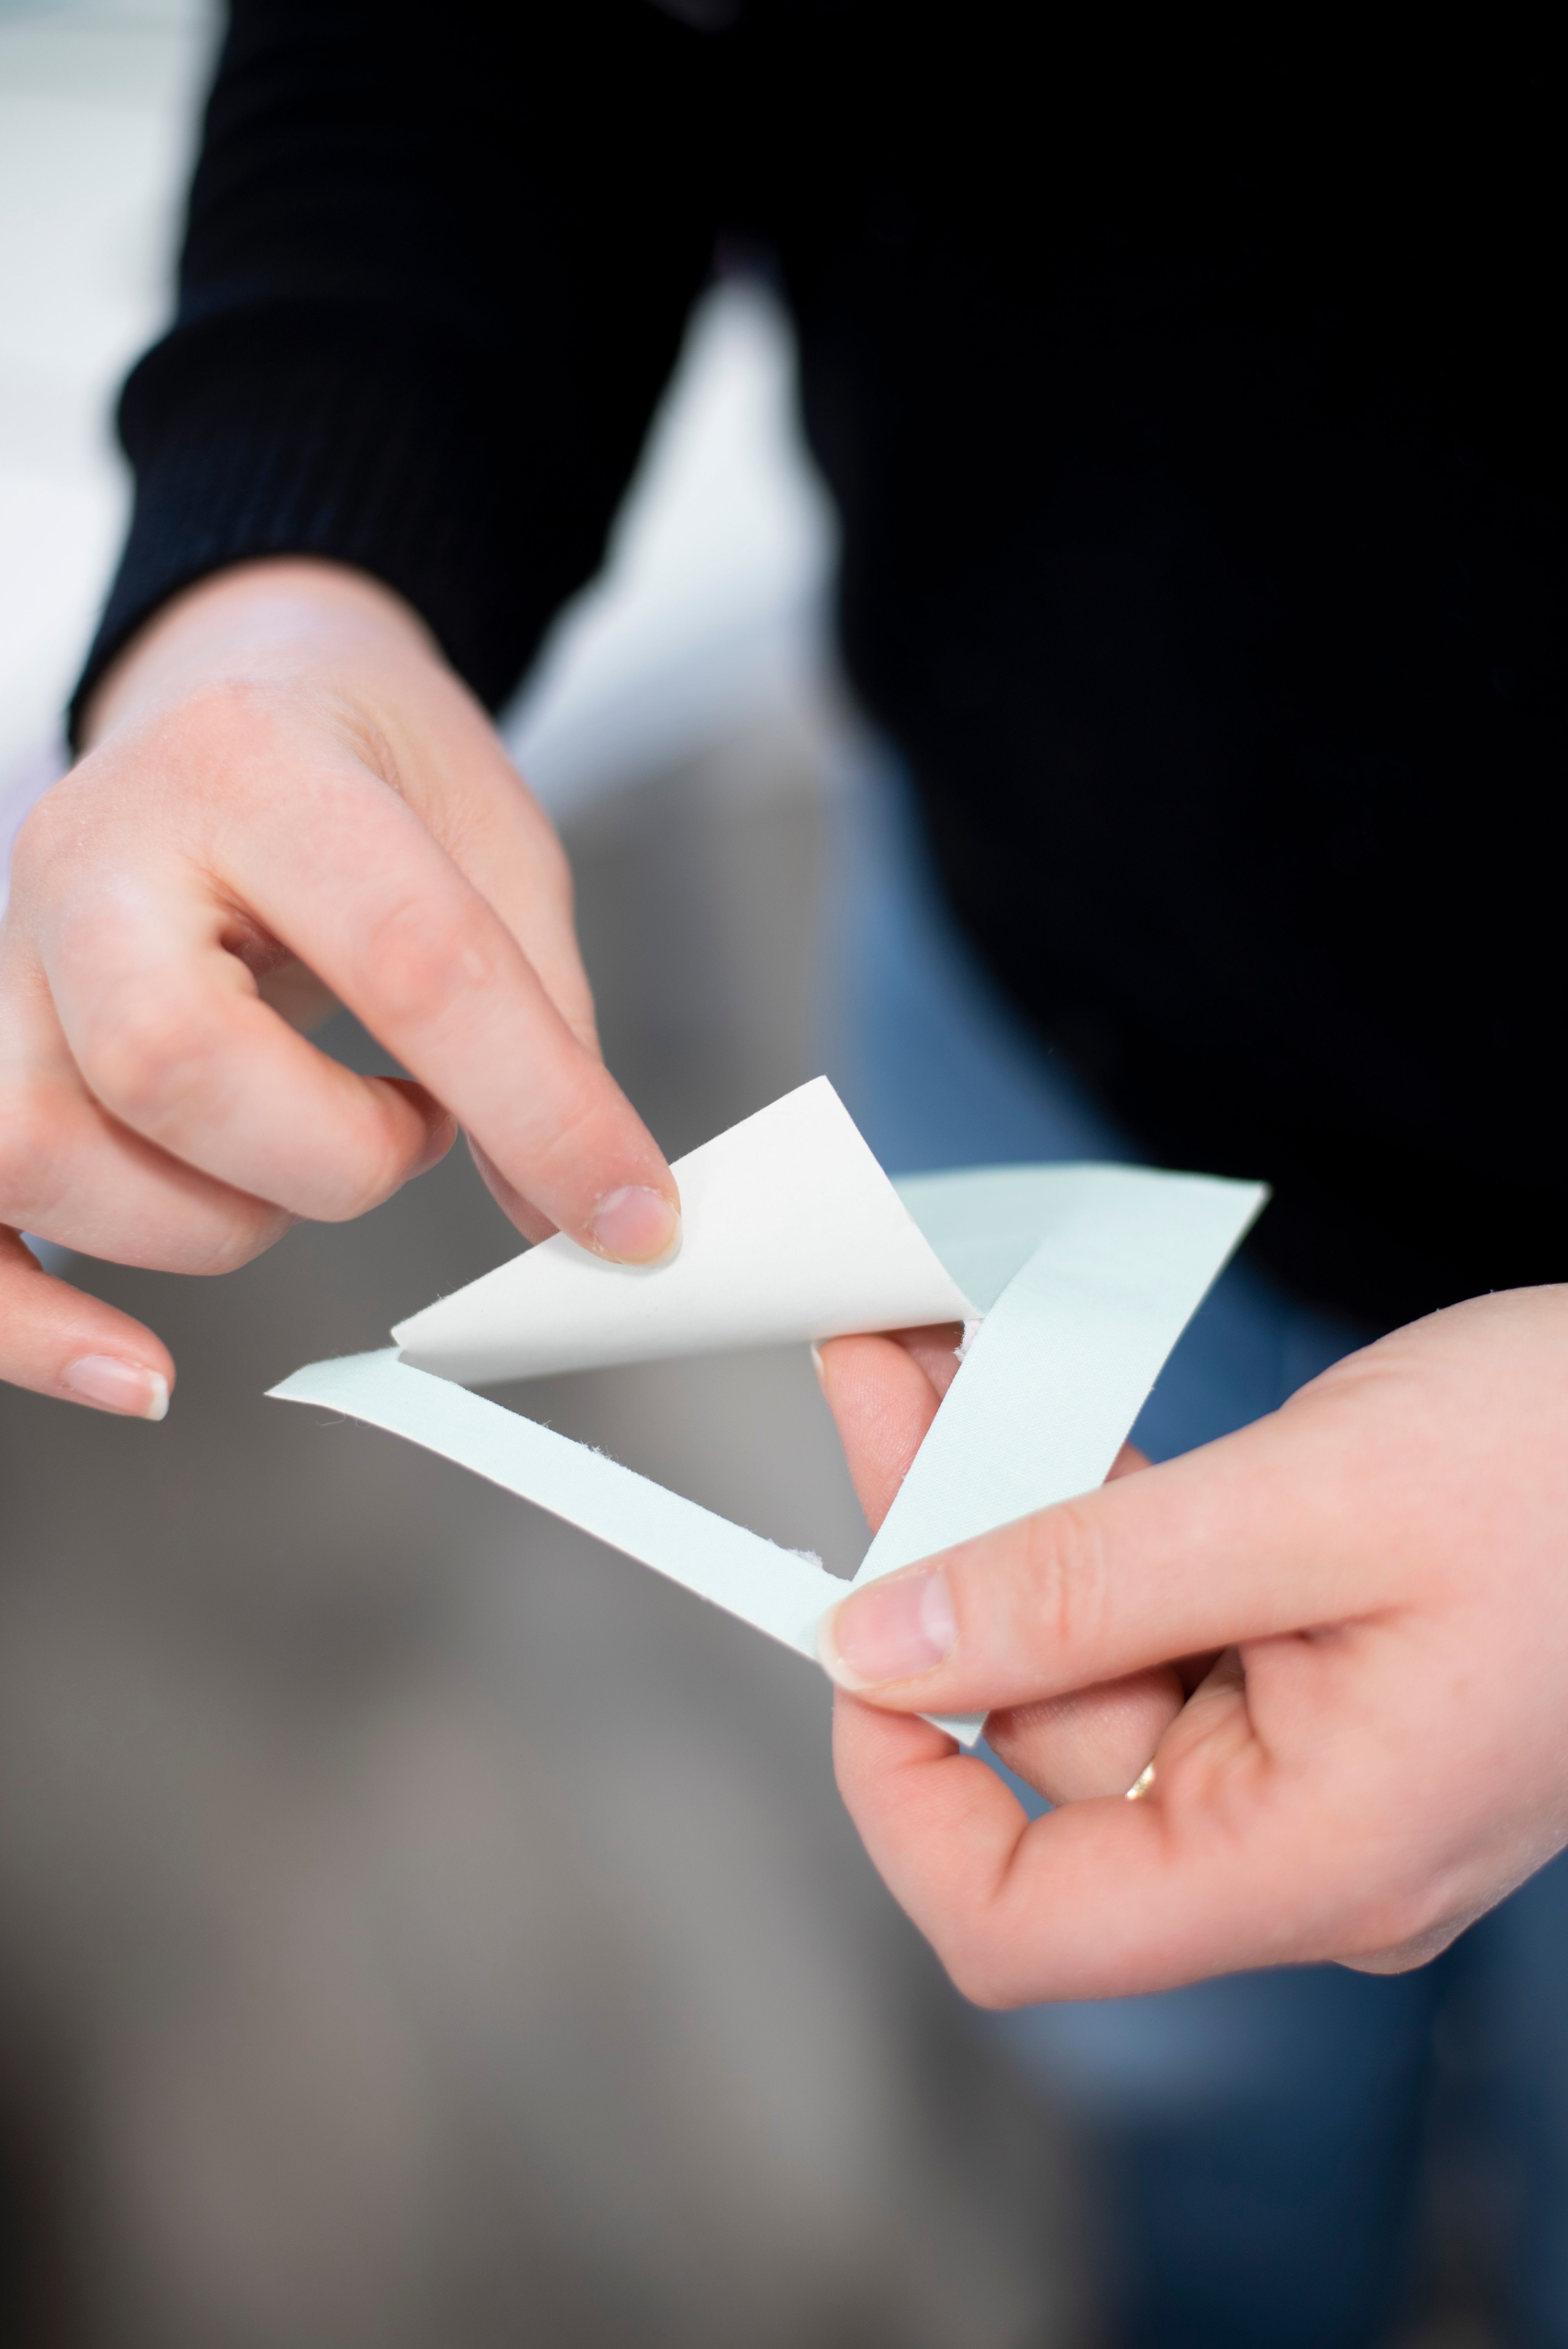
Remove the Cut Piece
As you can see, the cut portion should easily tear away from the rest of the fabric.
Place Applique Fabric
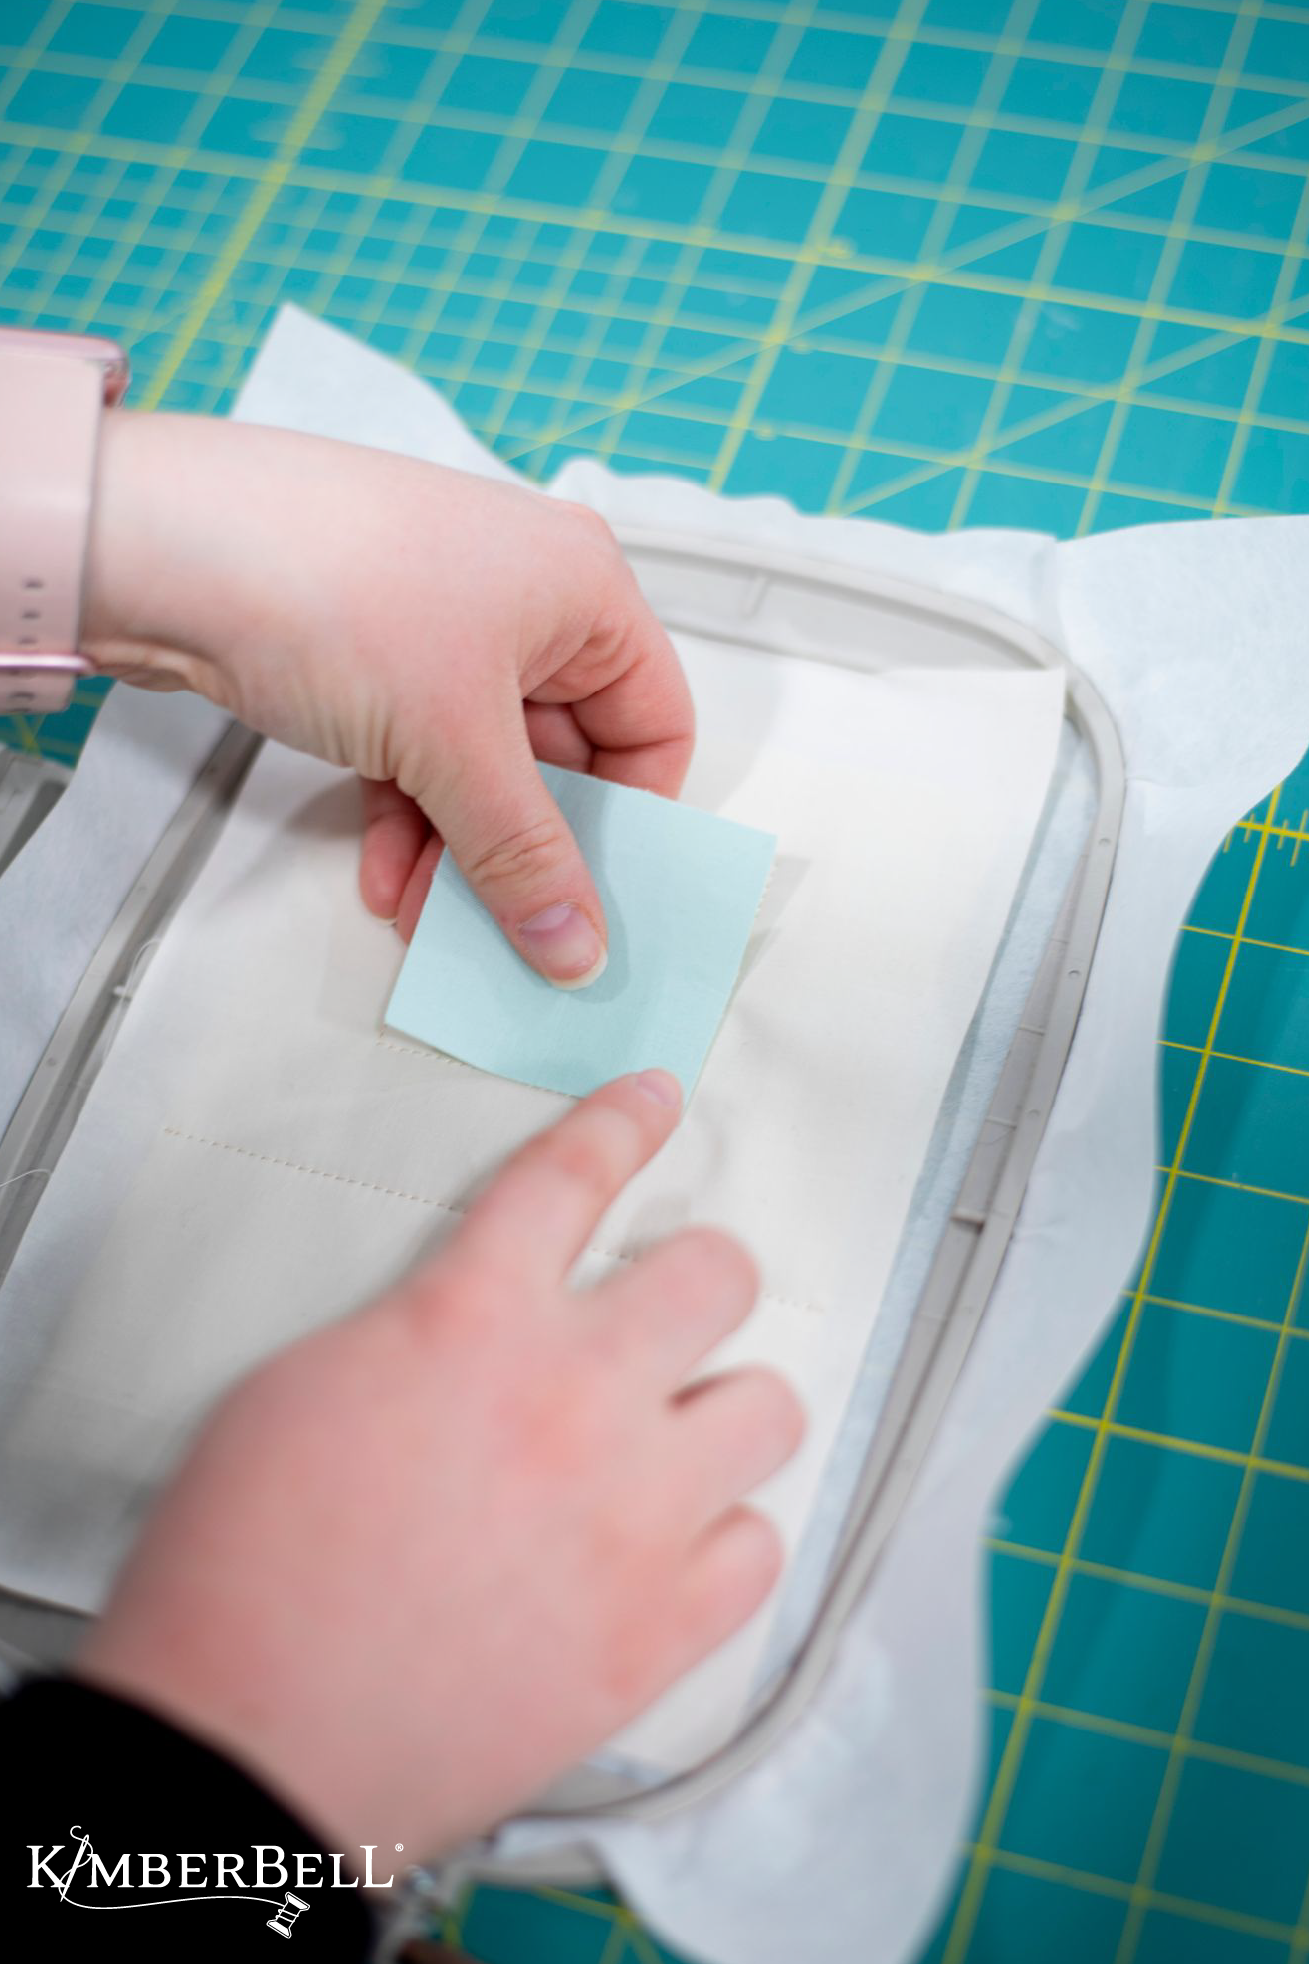
Remove the Fusible Peel & Stick from the fabric and place your applique piece in your embroidery design.
Tip: If you didn't use Fusible Peel & Stick, you'll need to tape your applique piece down with Kimberbell Paper Tape.
Stitch Your Applique Design
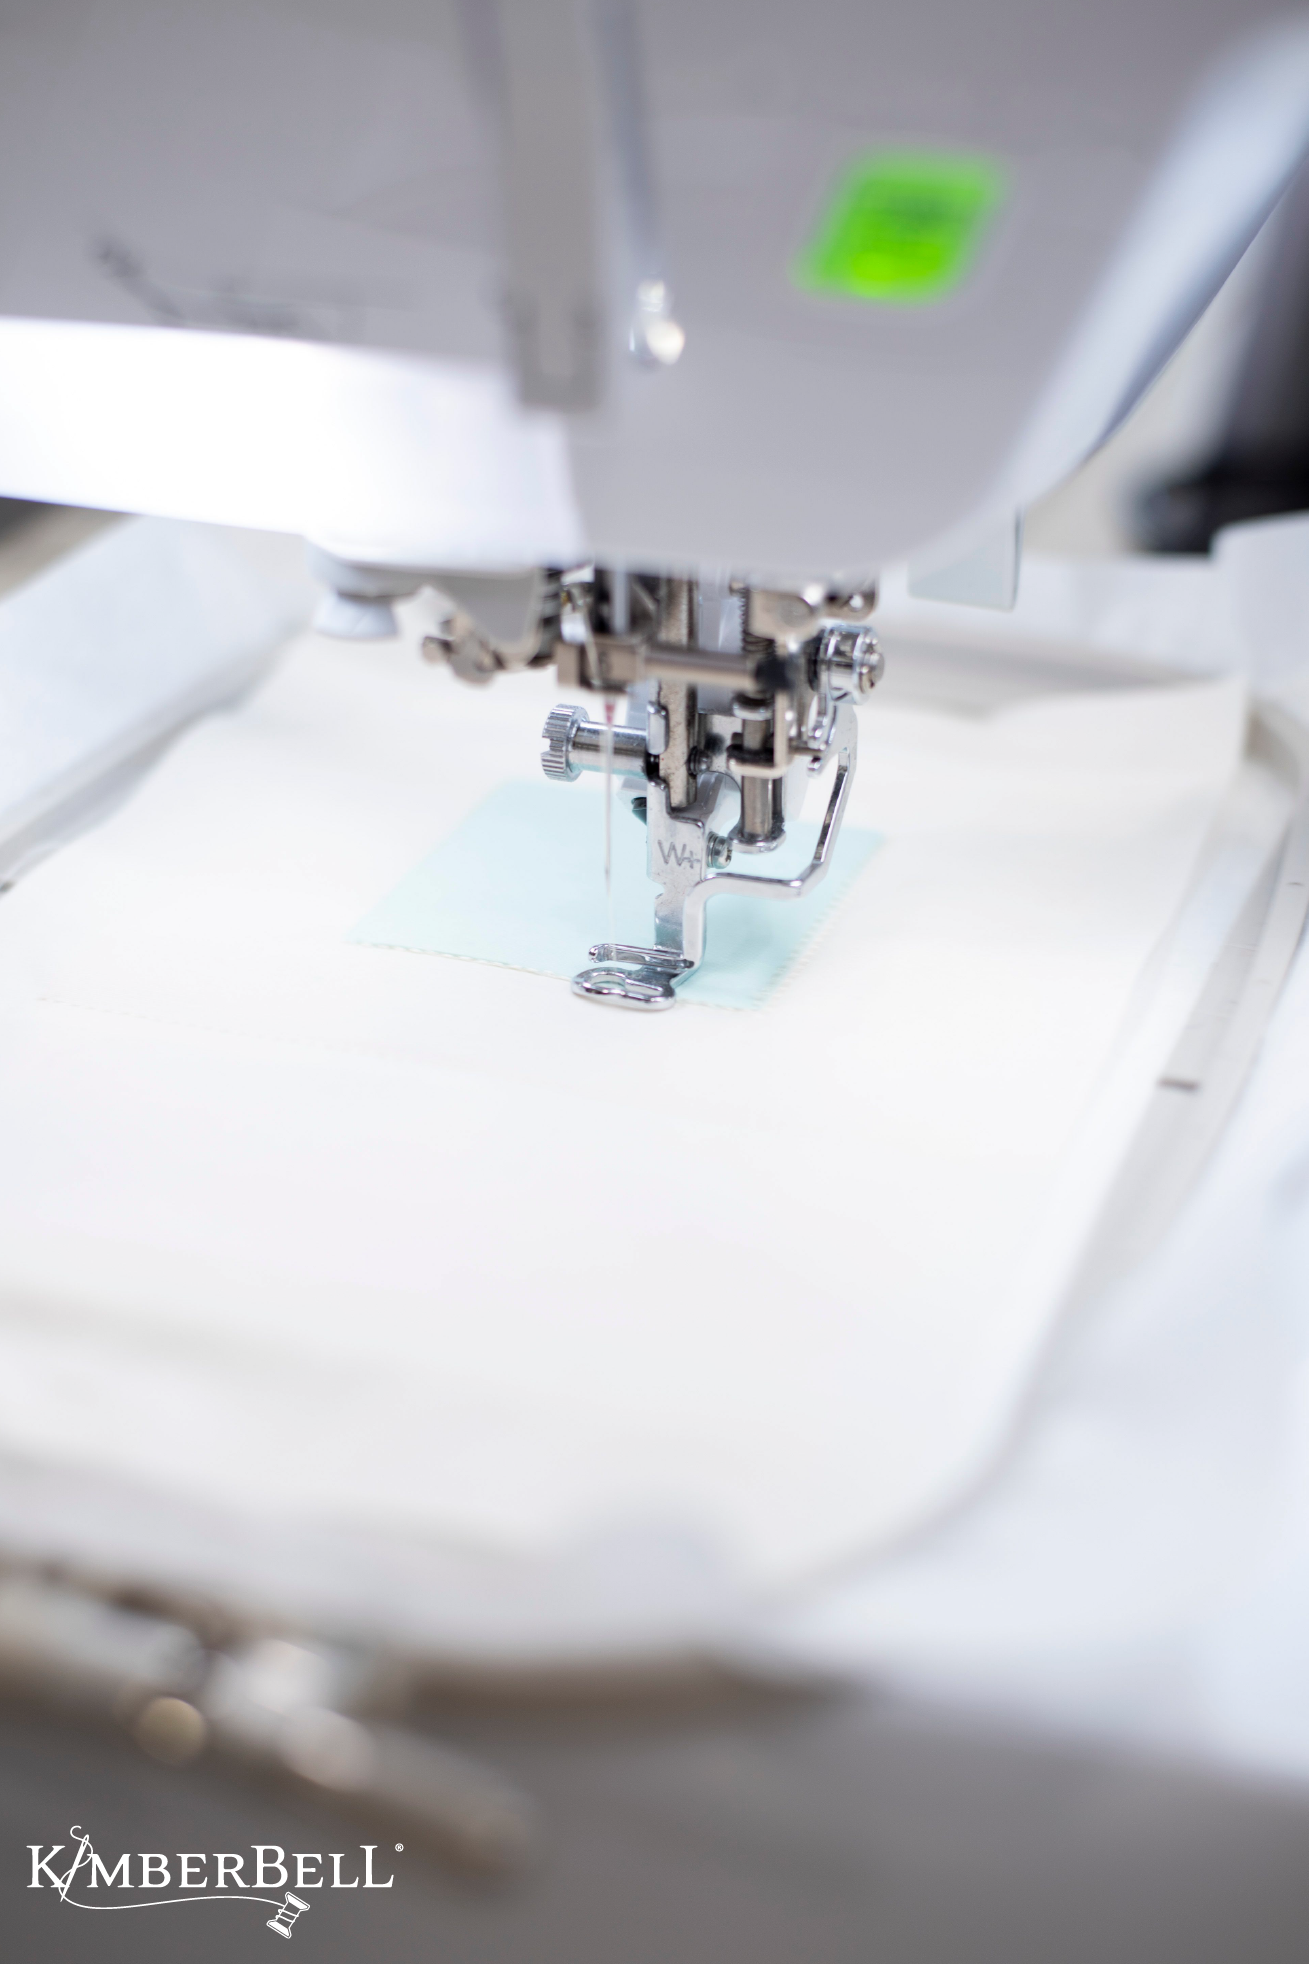
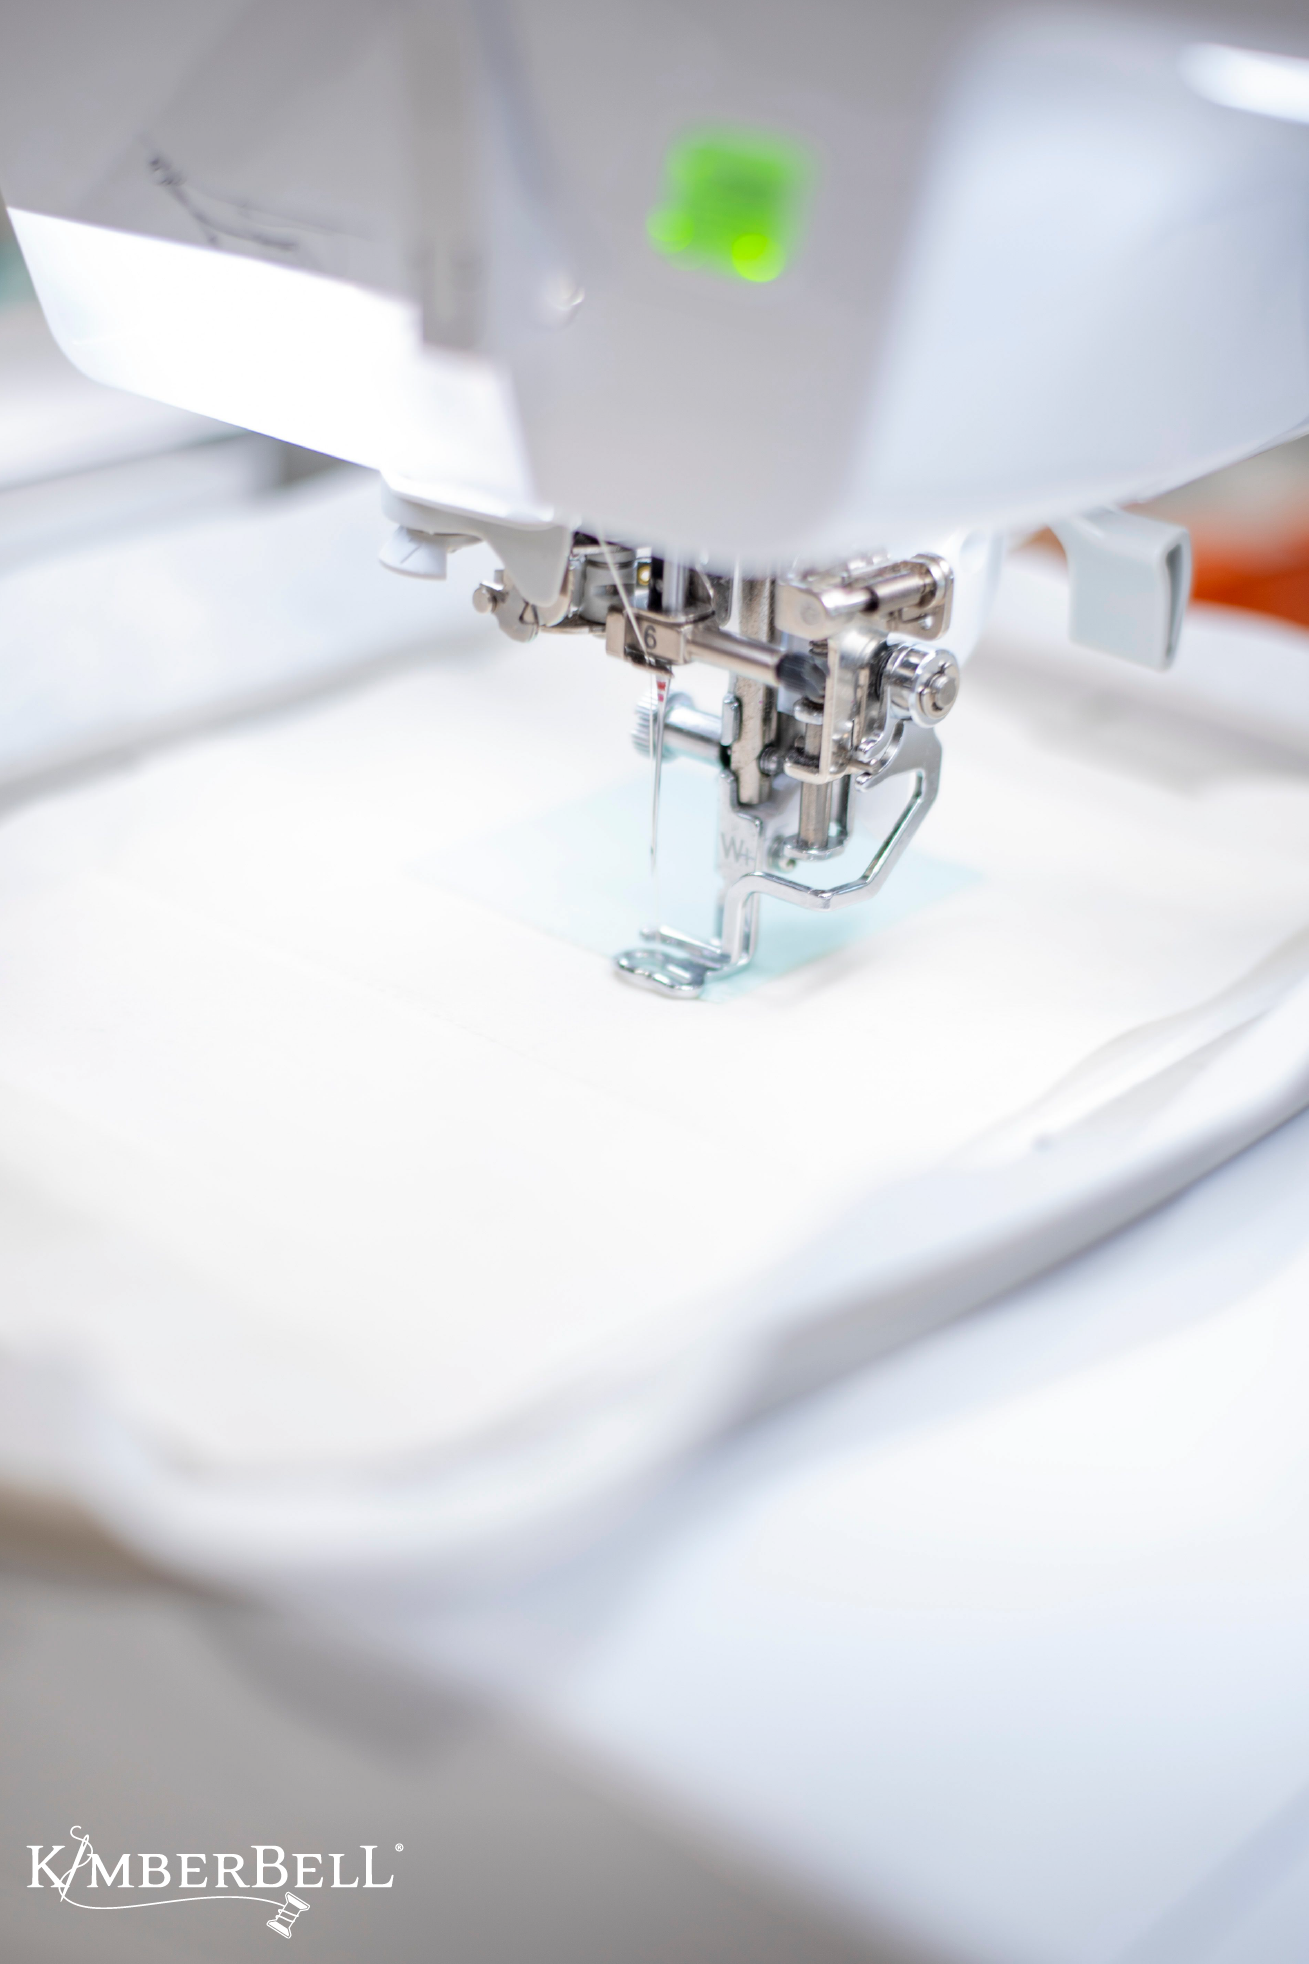
Your fabric piece is now cut to the exact size, so after you stitch there's no need to trim! Your applique designs will include both tack-down lines and a final satin stitch outline.
Tip: We do not recommend using SVG files and electonic cutting machines with raw-edge applique. Only use with applique that will include a satin cover stitch.
When to Use SVG Files (and Why)
So, what's the point of using an SVG file? Well, for the most part, I'm totally content to just trim my applique pieces with scissors and skip the whole electronic cutting machine thing. (That's probably because I tend to make just one project at a time.)
However, let's say you're not making one Mug Rug like I usually do; let's say you're wanting to gift 12 of the same Mug Rug and you're trying to whip those babies out in a short amount of time. In that case, it would be very handy to cut out all of the applique pieces at once!
Also, if you have trouble manipulating scissors (especially in tiny spots) it would be a great relief to pre-cut those pieces with an electronic cutting machine.
It should be noted that SVG files are ideal for many fabrics, Applique Glitter, Embroidery Leather, etc. We'd not recommend using with fabrics that shift around easily, such as Embroidery Felt or Mylar. Again, check with your manual for specific instructions and needle pressure settings!
At the end of the day, SVG files are just another way to Experience the Joy of Creativity™ . Happy stitching!


