 Choosing (and Loading) the Right File Type
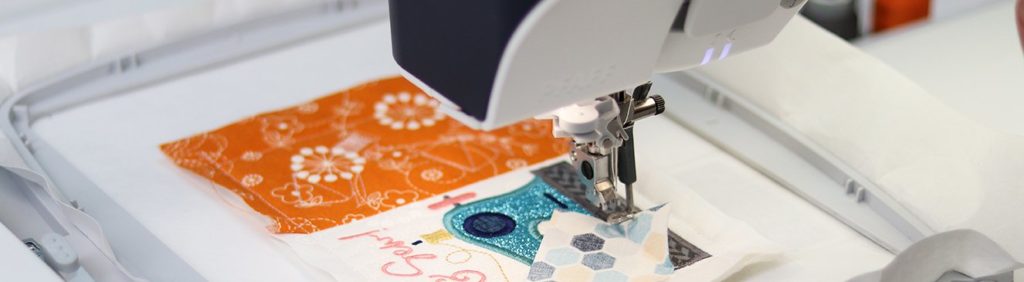
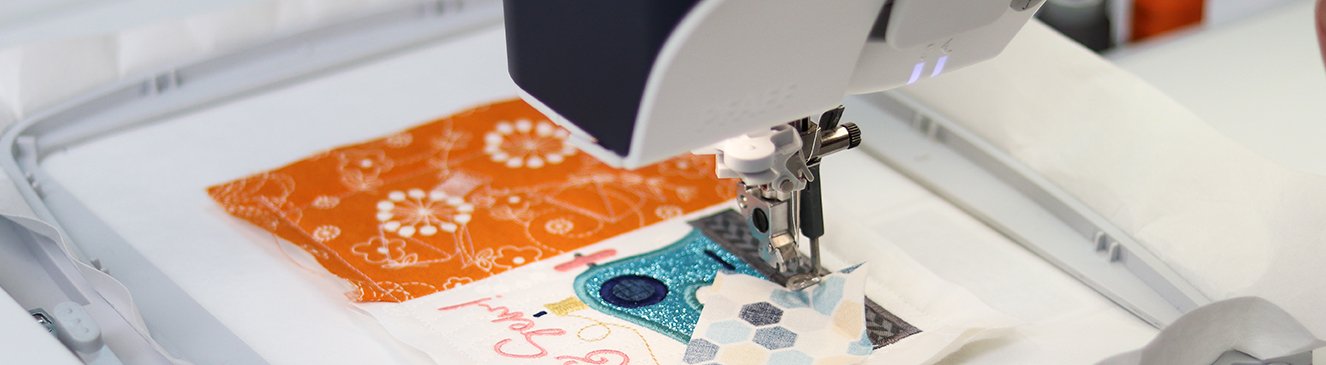
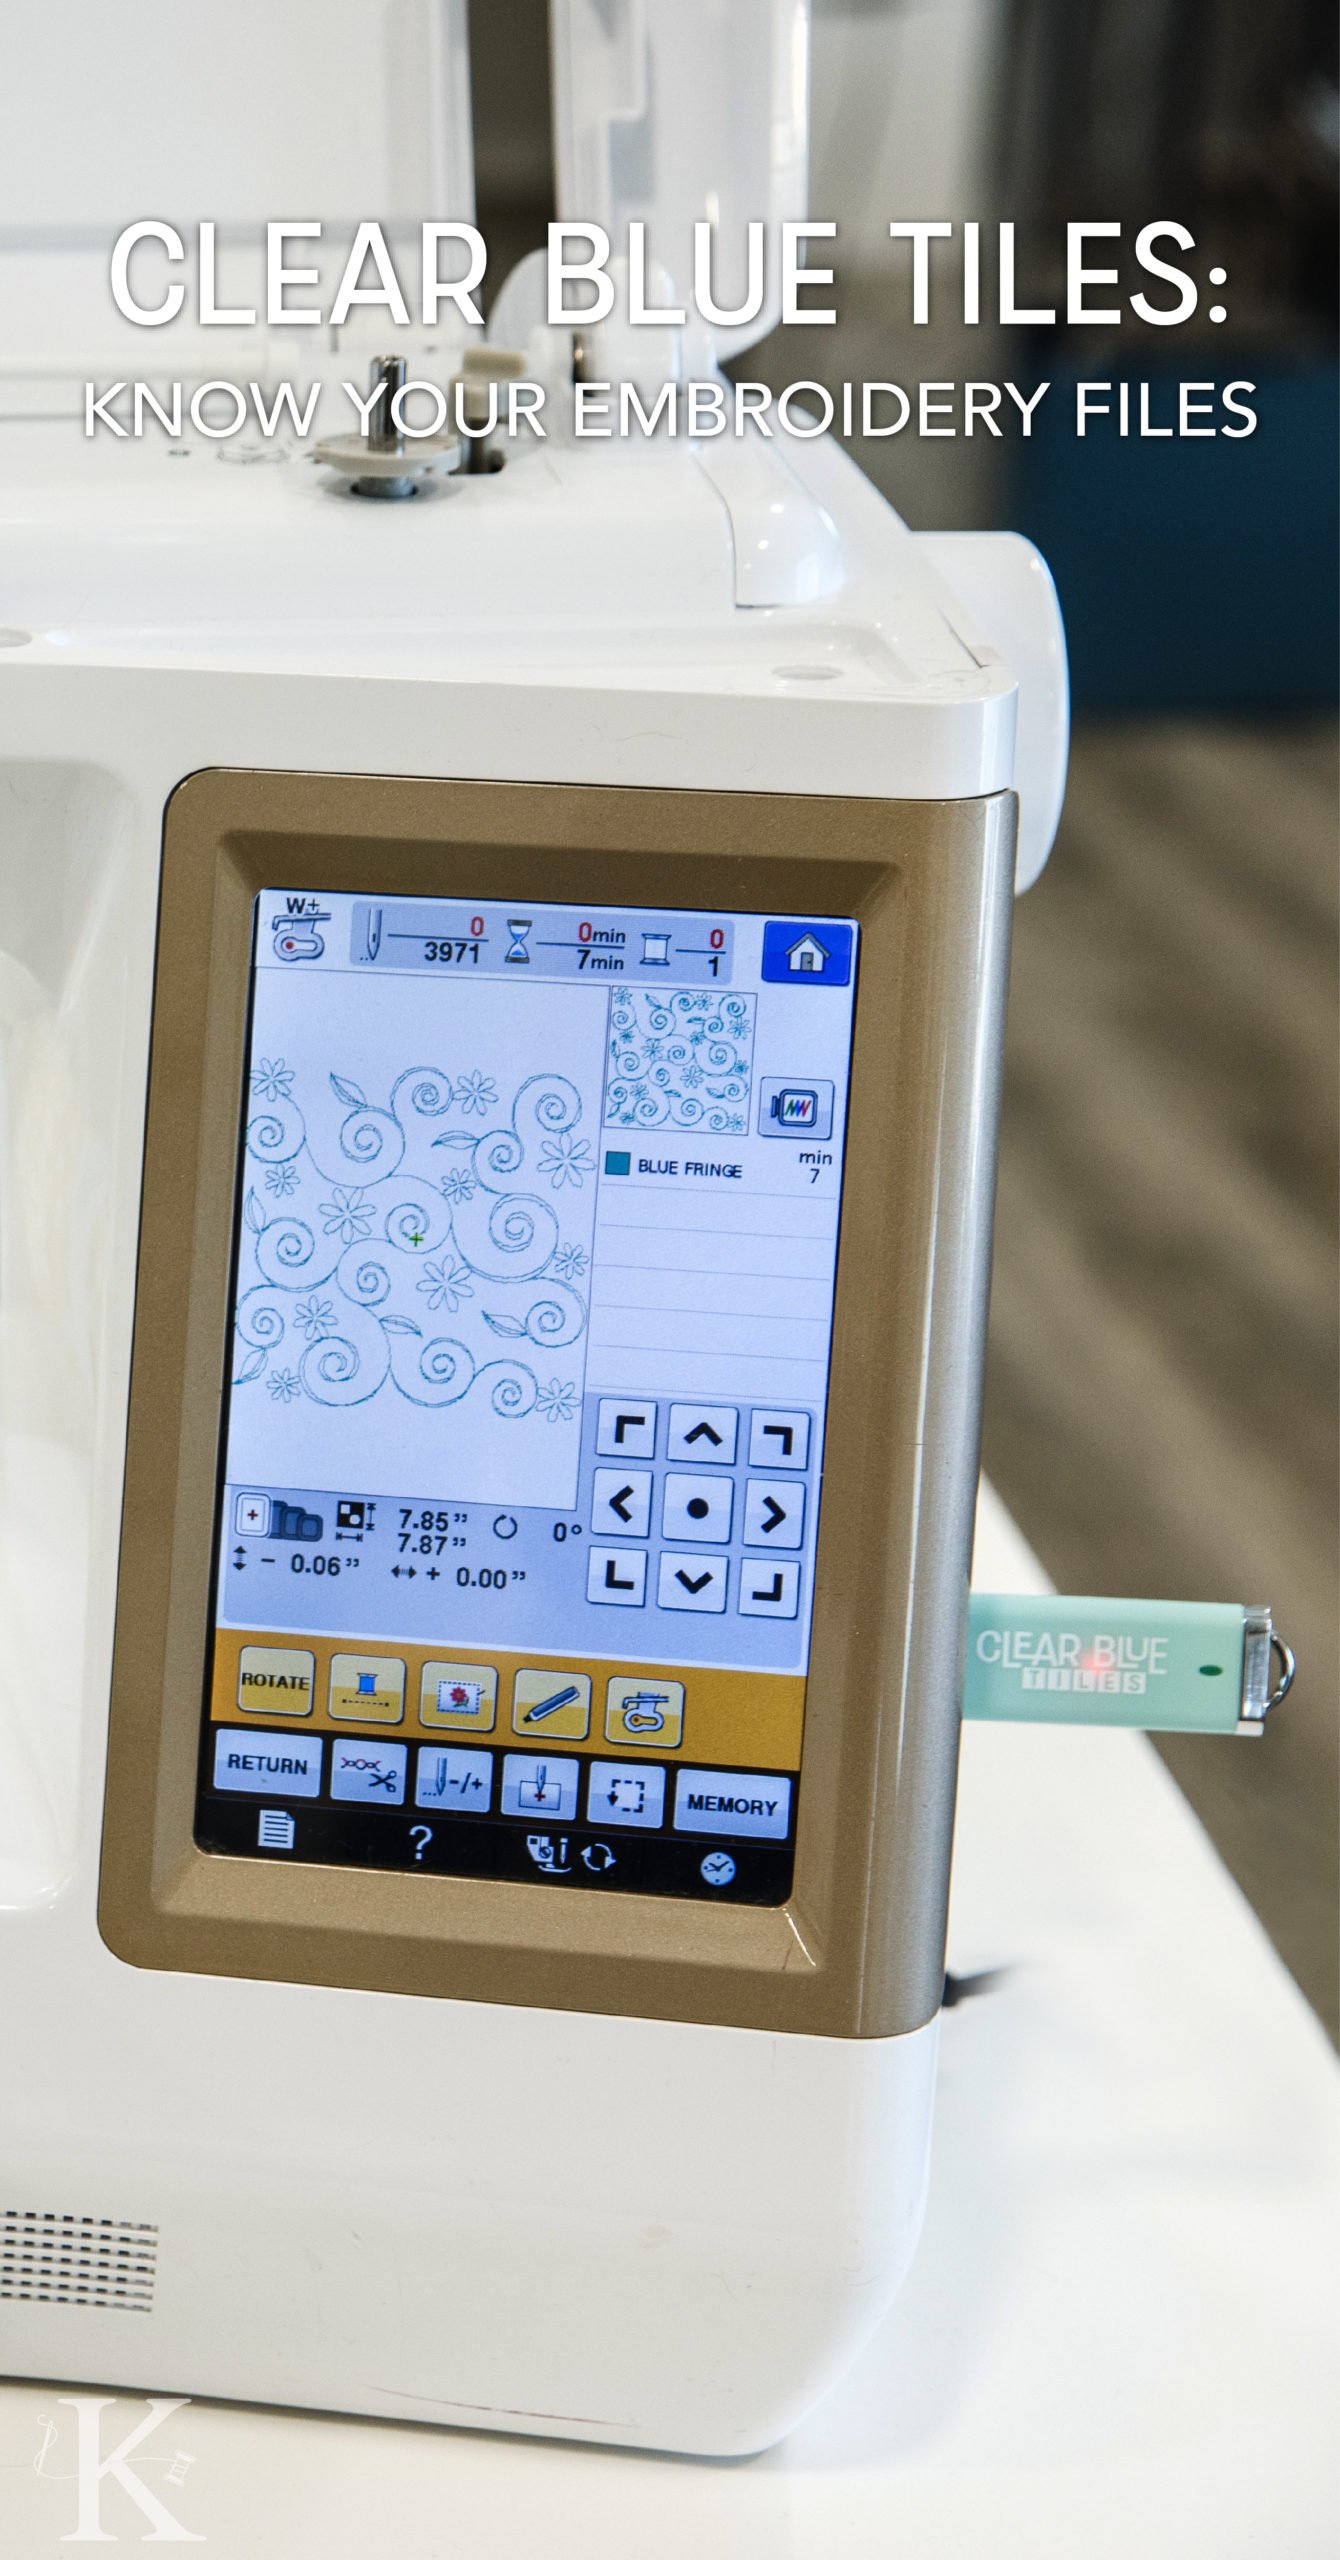
When you purchase a Kimberbell CD or USB, you’ll see that we provide ALL of the embroidery machine formats for each design (ART, DST, EXP, HUS, JEF, PES, VIP, VP3, XXX). So, with all of these mysterious abbreviations to choose from, how do you know which file type is best for your machine? Let’s talk about the different embroidery machine file types, as well as how to transfer a design from Kimberbell CD to a USB stick.
Click here to download the image.
Your Machine’s Language
Simply put, file formats are an embroidery machine’s language. Your machine may read (and somewhat understand) other languages, but it will always perform better when an embroidery design is in the machine’s native format.
Think of it this way: If English is your primary language, you’re always going to communicate the very best in English—even if you learn a second or third language. Although you may be somewhat conversant in Chinese, chances are you won’t catch every single nuance because it’s not your native tongue. Embroidery machines are the same way; they perform best when a design is in their primary language. Otherwise, misinterpretation is bound to happen.
Which Language Does My Machine “Speak?”
The best way to learn your machine’s language (file format) is to check your manual. You can also look up the machine’s name, make, and specific model number, including the file type you’re trying to find.
What Happens When the Wrong File Type is Used?
If a design is loaded with the wrong file extension, your machine will either: 1) not be able to read the file at all, or 2) read the file but misinterpret many of the steps (e.g. mix up the order/type of the stitches). Again, it’s always best to use the native format!
Loading Your File
Once you’ve determined which file format is best for your machine, it’s time to load your design and get stitching! You’ll start by downloading the file (with the correct extension) from your CD or other media (email attachment, Internet download, etc.).
Here’s a step-by-step of how to download a design from a Kimberbell CD:
For Mac:
- Insert the CD into your disk drive (internal or external).
- Insert the USB stick into the computer’s USB drive so it’s ready.
- Find your CD disk drive on the left side of your screen and click on it. You should be able to see everything that’s on the disk in your main window.
- You’ll see a folder with directions. When you double-click on this folder, you’ll be able to view the project directions on screen or choose to print them out (File>Print).
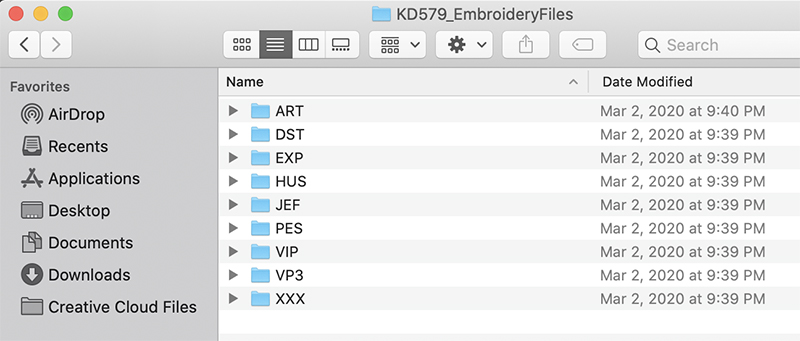
- On the disk, you’ll also see folders for embroidery files, placement templates, and SVG files.
- Double-click on the Embroidery Files folder and you’ll see the different format extensions as described above. Double-click the format ideal for your machine.
- Choose the designs and sizes you’d like to transfer to your USB stick. (You can select multiple files by holding your Control/Command key and clicking all of the files you’d like to transfer.)
- Drag your highlighted files to the USB device shown on the left side of your screen.
- Click the Eject button and then pull the USB out of your computer. It’s now ready to be inserted into your embroidery machine!
For PC:
- Insert the CD into your disk drive (internal or external).
- Insert the USB stick into the computer’s USB drive so it’s ready.
- When the disk is inserted, File Explorer should run.
- You’ll see a folder with directions. When you double-click on this directions folder, you’ll be able to view the directions for the project on screen or choose to print them out (File>Print).
- Double-click on the Embroidery Files folder and you’ll see the different format extensions as described above. Double-click the format ideal for your machine.
- Choose the designs you’d like to transfer to your USB stick. (You can select multiple files by holding your Control/Command key and clicking all of the files you’d like to transfer.)
- Drag your highlighted files to the USB device shown on the left side of your screen.
- At the bottom of your screen, you’ll see an arrow icon. Click the arrow (with the picture of a USB stick) to eject properly.
- It’s now ready for your embroidery machine!
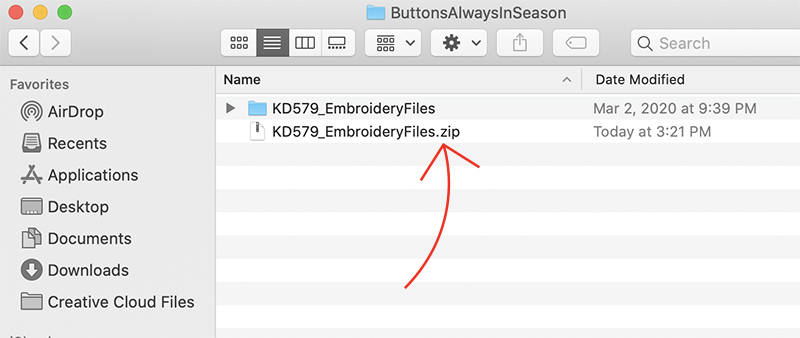
Need to Unzip?
Depending on how you receive an embroidery design, you may also need to unzip or extract the file. Zipped (compressed) files are put into one folder in order to allow a lot of data to be sent at one time. It might be helpful to think of a zip file as a suitcase: your friend has several things they want to give you, so they stuff all of the items into a suitcase and hand it to you. To access the items, you’ll have to open the suitcase and unpack. Zip files work the same way: you have to unpack (extract) the files before you can use each one.
- Double-click the zipped file to unzip it.
- Once the files are unzipped/extracted, save the file to your USB stick
- Insert the USB stick into your machine
- Get stitching! (If your machine transfers files through a cord or by AirDrop, send the design file to your machine that way.)
Additional Resources
For a quick reference on what file type to choose and the steps of loading a design to your machine, please see our infographic! And remember, although this can seem overwhelming at first, it will only take a couple of times for the process to become second nature.
For further information, please view these helpful Tuesday Tips videos:
Happy stitching!

.png)