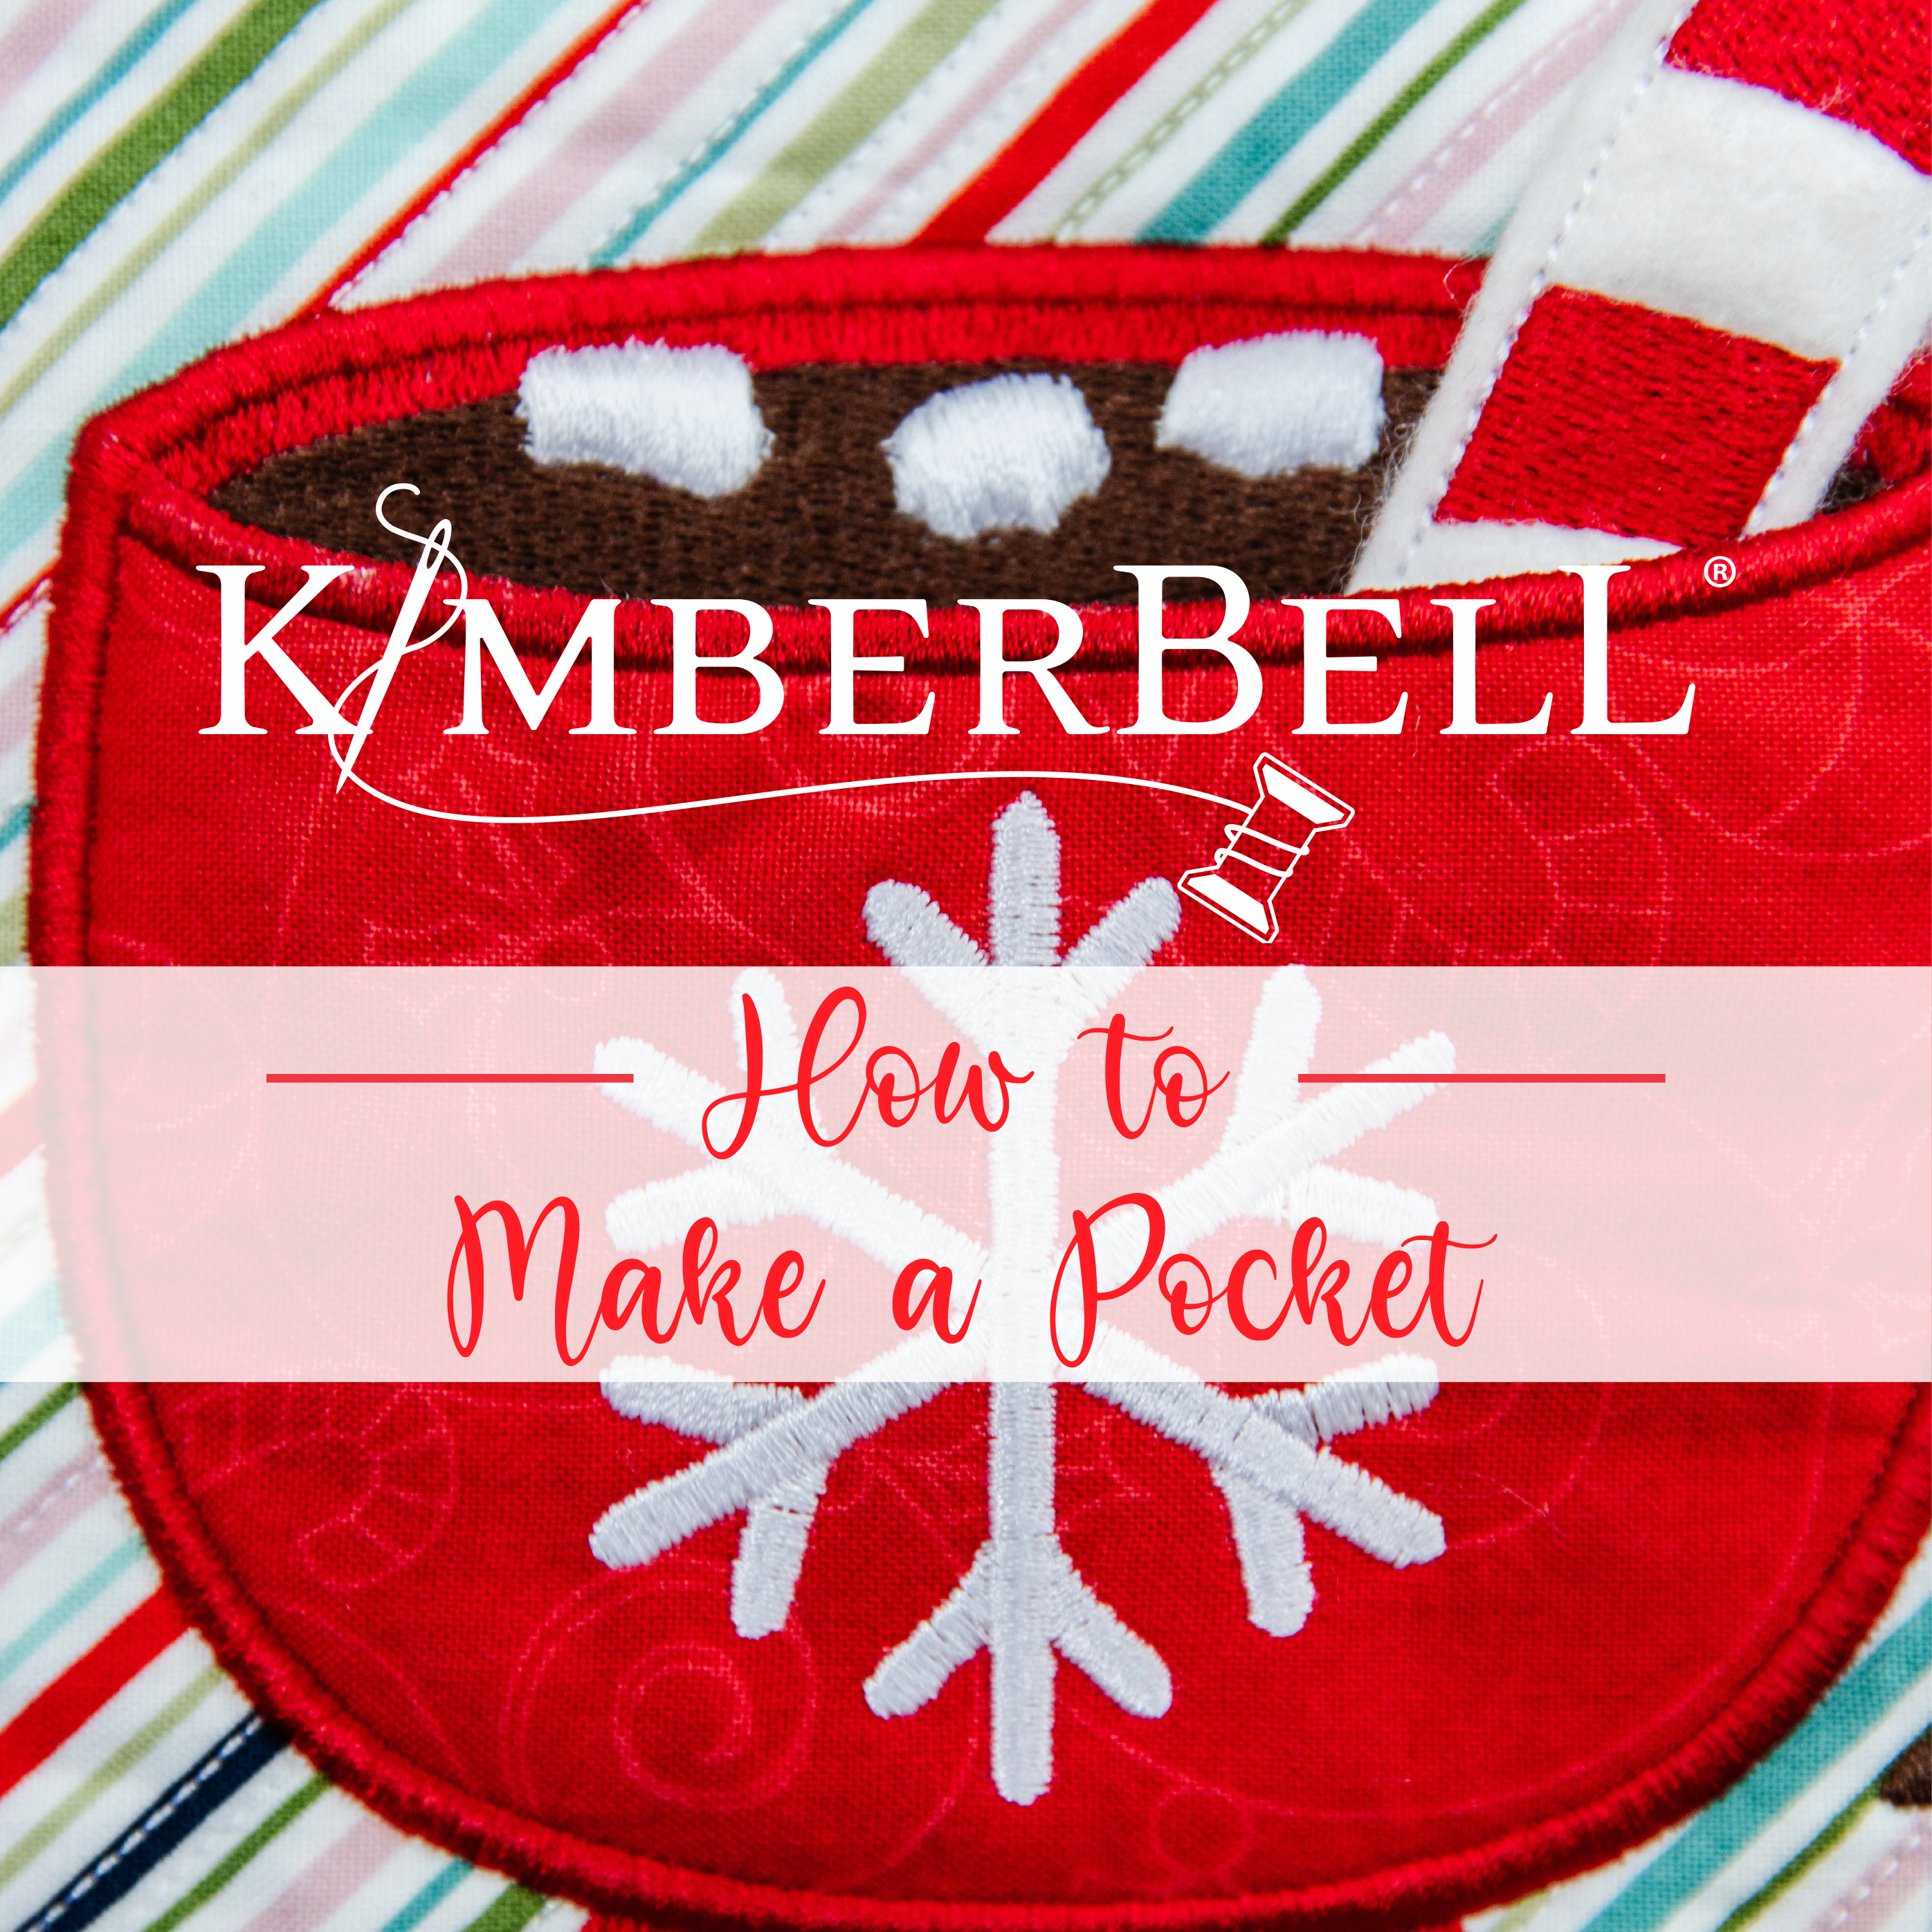
Creating embroidered quilt blocks on your home embroidery machine opens up endless possibilities for personalization, from commemorative quilts to seasonal decorations. This technique combines the traditional art of quilting with modern technology, giving you the power to produce stunning results in record time. This comprehensive guide will walk you through how to create embroidered quilt blocks on your machine.
Essential Materials and Tools for Success
Before diving into your embroidered quilt block project, gathering the right materials ensures a smooth and enjoyable process. Your fabric selection is the foundation of your project, so choose high-quality cotton quilting fabric in your desired colors. Pre-washing your fabric prevents shrinkage and color bleeding later, while pressing removes any wrinkles that could interfere with the embroidery process.
Stabilizer Selection
Stabilizer plays a crucial role in achieving professional results. Medium-weight cutaway stabilizer works best for most quilt block projects, providing adequate support without adding excessive bulk. Keep tear-away stabilizer on hand for lighter fabrics or areas where you want to minimize stiffness after completion. The right stabilizer prevents puckering and ensures your embroidery maintains its shape over time.
Thread and Needle Considerations
Your thread selection impacts both the appearance and durability of your finished blocks. High-quality polyester or rayon embroidery threads offer excellent color retention and strength. Stock up on coordinating colors for your design, plus extra white and black thread for outlining and detail work. Pair your thread choice with the appropriate needle size and type to prevent thread breaks and ensure clean stitching.
Additional tools that streamline the process include sharp fabric scissors, seam rippers for any necessary corrections, quilting rulers for accurate cutting, and temporary spray adhesive for securing layers. A good lighting setup and comfortable seating make longer embroidery sessions more enjoyable and help prevent eye strain.

Preparing Your Embroidery Machine
Proper machine preparation ensures flawless results. Start by thoroughly cleaning your embroidery machine, removing any lint or thread remnants from previous projects. Install a fresh needle appropriate for your fabric weight and thread type. Sharp needles create cleaner entry points and reduce the risk of fabric puckering or thread breaks.
Loading and Positioning Your Design
Loading your embroidery design requires careful attention to placement and sizing. Most quilt blocks measure between four and twelve inches square, so verify your design fits within these parameters. Use your machine's editing features to adjust size, rotation, or positioning as needed. Test the design placement using paper templates before committing to fabric.
Thread your machine with your primary embroidery thread color, ensuring smooth thread flow through all guides and tension discs. Set your machine to the appropriate embroidery mode and select the correct hoop size for your project. Proper hoop selection prevents distortion and ensures even stitching across the entire design.
Step-By-Step Embroidery Process
Begin by cutting your quilt block fabric slightly larger than your finished size requirements. This extra material provides room for hooping and trimming after embroidery completion. Layer your fabric over the stabilizer, ensuring both materials lie flat without wrinkles or bubbles.
Hooping Technique
Hoop your layered materials with moderate tension. Over-tightening can distort the fabric, while loose hooping allows shifting during stitching. The fabric should feel taut like a drum when properly hooped. Double-check that your design placement aligns with your intended position on the block.
Start your embroidery with a test stitch on a fabric scrap using the same materials and settings. This preview reveals any tension issues, color problems, or design placement concerns before working on your actual quilt block. Make adjustments as needed based on your test results.
Monitor your machine throughout the embroidery process, watching for thread breaks, tension irregularities, or fabric shifting. Most modern embroidery machines handle the stitching process automatically, but staying alert prevents small problems from becoming major issues. Keep extra thread and scissors nearby for quick fixes.
Managing Color Changes and Design Layering
Complex embroidered quilt blocks often involve multiple thread colors and layered design elements. Plan your color sequence before starting and organize your threads in the order you'll use them. This preparation minimizes interruptions and helps maintain consistent thread tension throughout the project.
Threading and Tension Adjustments
When changing thread colors, trim the previous color close to the fabric surface and secure loose ends. Thread the new color through all guides and tension points, testing the tension on a scrap piece if you're uncertain. Some designs require you to reposition the hoop between color changes, so follow your design's specific instructions carefully.
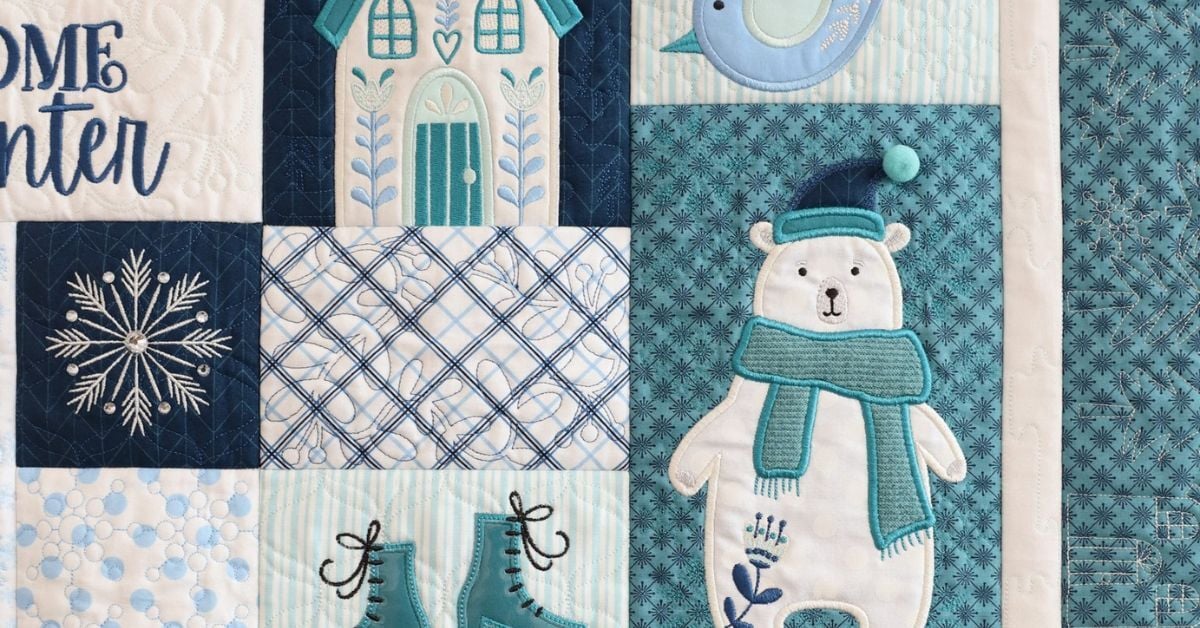
Layered embroidery designs add depth and visual interest to quilt blocks. Background elements typically stitch first, followed by medium-ground details, and finally foreground accents. This layering creates a three-dimensional effect that makes your embroidered blocks stand out from traditional pieced blocks.
Removing and Trimming Your Completed Block
Once embroidery completes, resist the urge to immediately remove your work from the hoop. Take a moment to inspect the design for any missed stitches, loose threads, or areas that might need touch-ups. Address any issues while the block remains securely hooped.
Careful Removal Process
Carefully remove the hooped block from your machine and then remove the fabric from the hoop. Avoid pulling or stretching the fabric during this process, as fresh embroidery can be vulnerable to distortion. Trim away excess stabilizer, leaving about a quarter-inch border around the embroidered area.
Press your completed block using appropriate heat settings for your fabric and thread types. Place a pressing cloth over the embroidered areas to protect the raised stitches from flattening. Steam can help relax any minor puckering that occurred during the embroidery process.
Square up your finished block using quilting rulers and a rotary cutter. Measure carefully to ensure all blocks in your quilt project maintain consistent dimensions. Accurate cutting at this stage prevents headaches during quilt assembly.

Adding Professional Finishing Touches
Embroidered quilt blocks achieve a professional look with careful attention to finishing details. Trim any remaining thread tails close to the fabric surface, taking care not to cut into the actual embroidery stitches. A small pair of curved scissors works well for this delicate trimming work.
Quilting and Binding Considerations
Consider adding quilting designs that complement your embroidered blocks. Background quilting can enhance the overall texture while making the embroidered elements pop forward visually. Simple stippling or geometric patterns often work well without competing with the embroidered designs.
When assembling multiple embroidered blocks into a complete quilt, pay attention to block orientation and design placement. Some embroidered designs have a clear directional element, while others work equally well in any orientation. Create a layout plan before sewing blocks together to ensure pleasing overall composition.
Binding your completed quilt requires the same care and attention as any quilting project. Choose binding fabric that coordinates with your embroidered blocks without overwhelming the decorative elements.
Endless Creative Possibilities Await
Knowing how to create embroidered quilt blocks on your machine opens up countless opportunities for customization and personalization. The versatility of this technique allows you to adapt traditional quilt patterns with contemporary flair, creating pieces that reflect your unique artistic vision. From seasonal motifs to commemorative designs, your creative options are virtually limitless.
Kimberbell offers an extensive collection of background quilting designs specifically created for home embroidery machines, eliminating the need for expensive longarm equipment. These designs span every machine type and hoop size, ensuring compatibility with your specific equipment. With hundreds of options available, you can explore different styles and techniques while building your embroidery skills. Shop our latest designs today!