.png?width=2617&name=pocket-01%20(1).png)
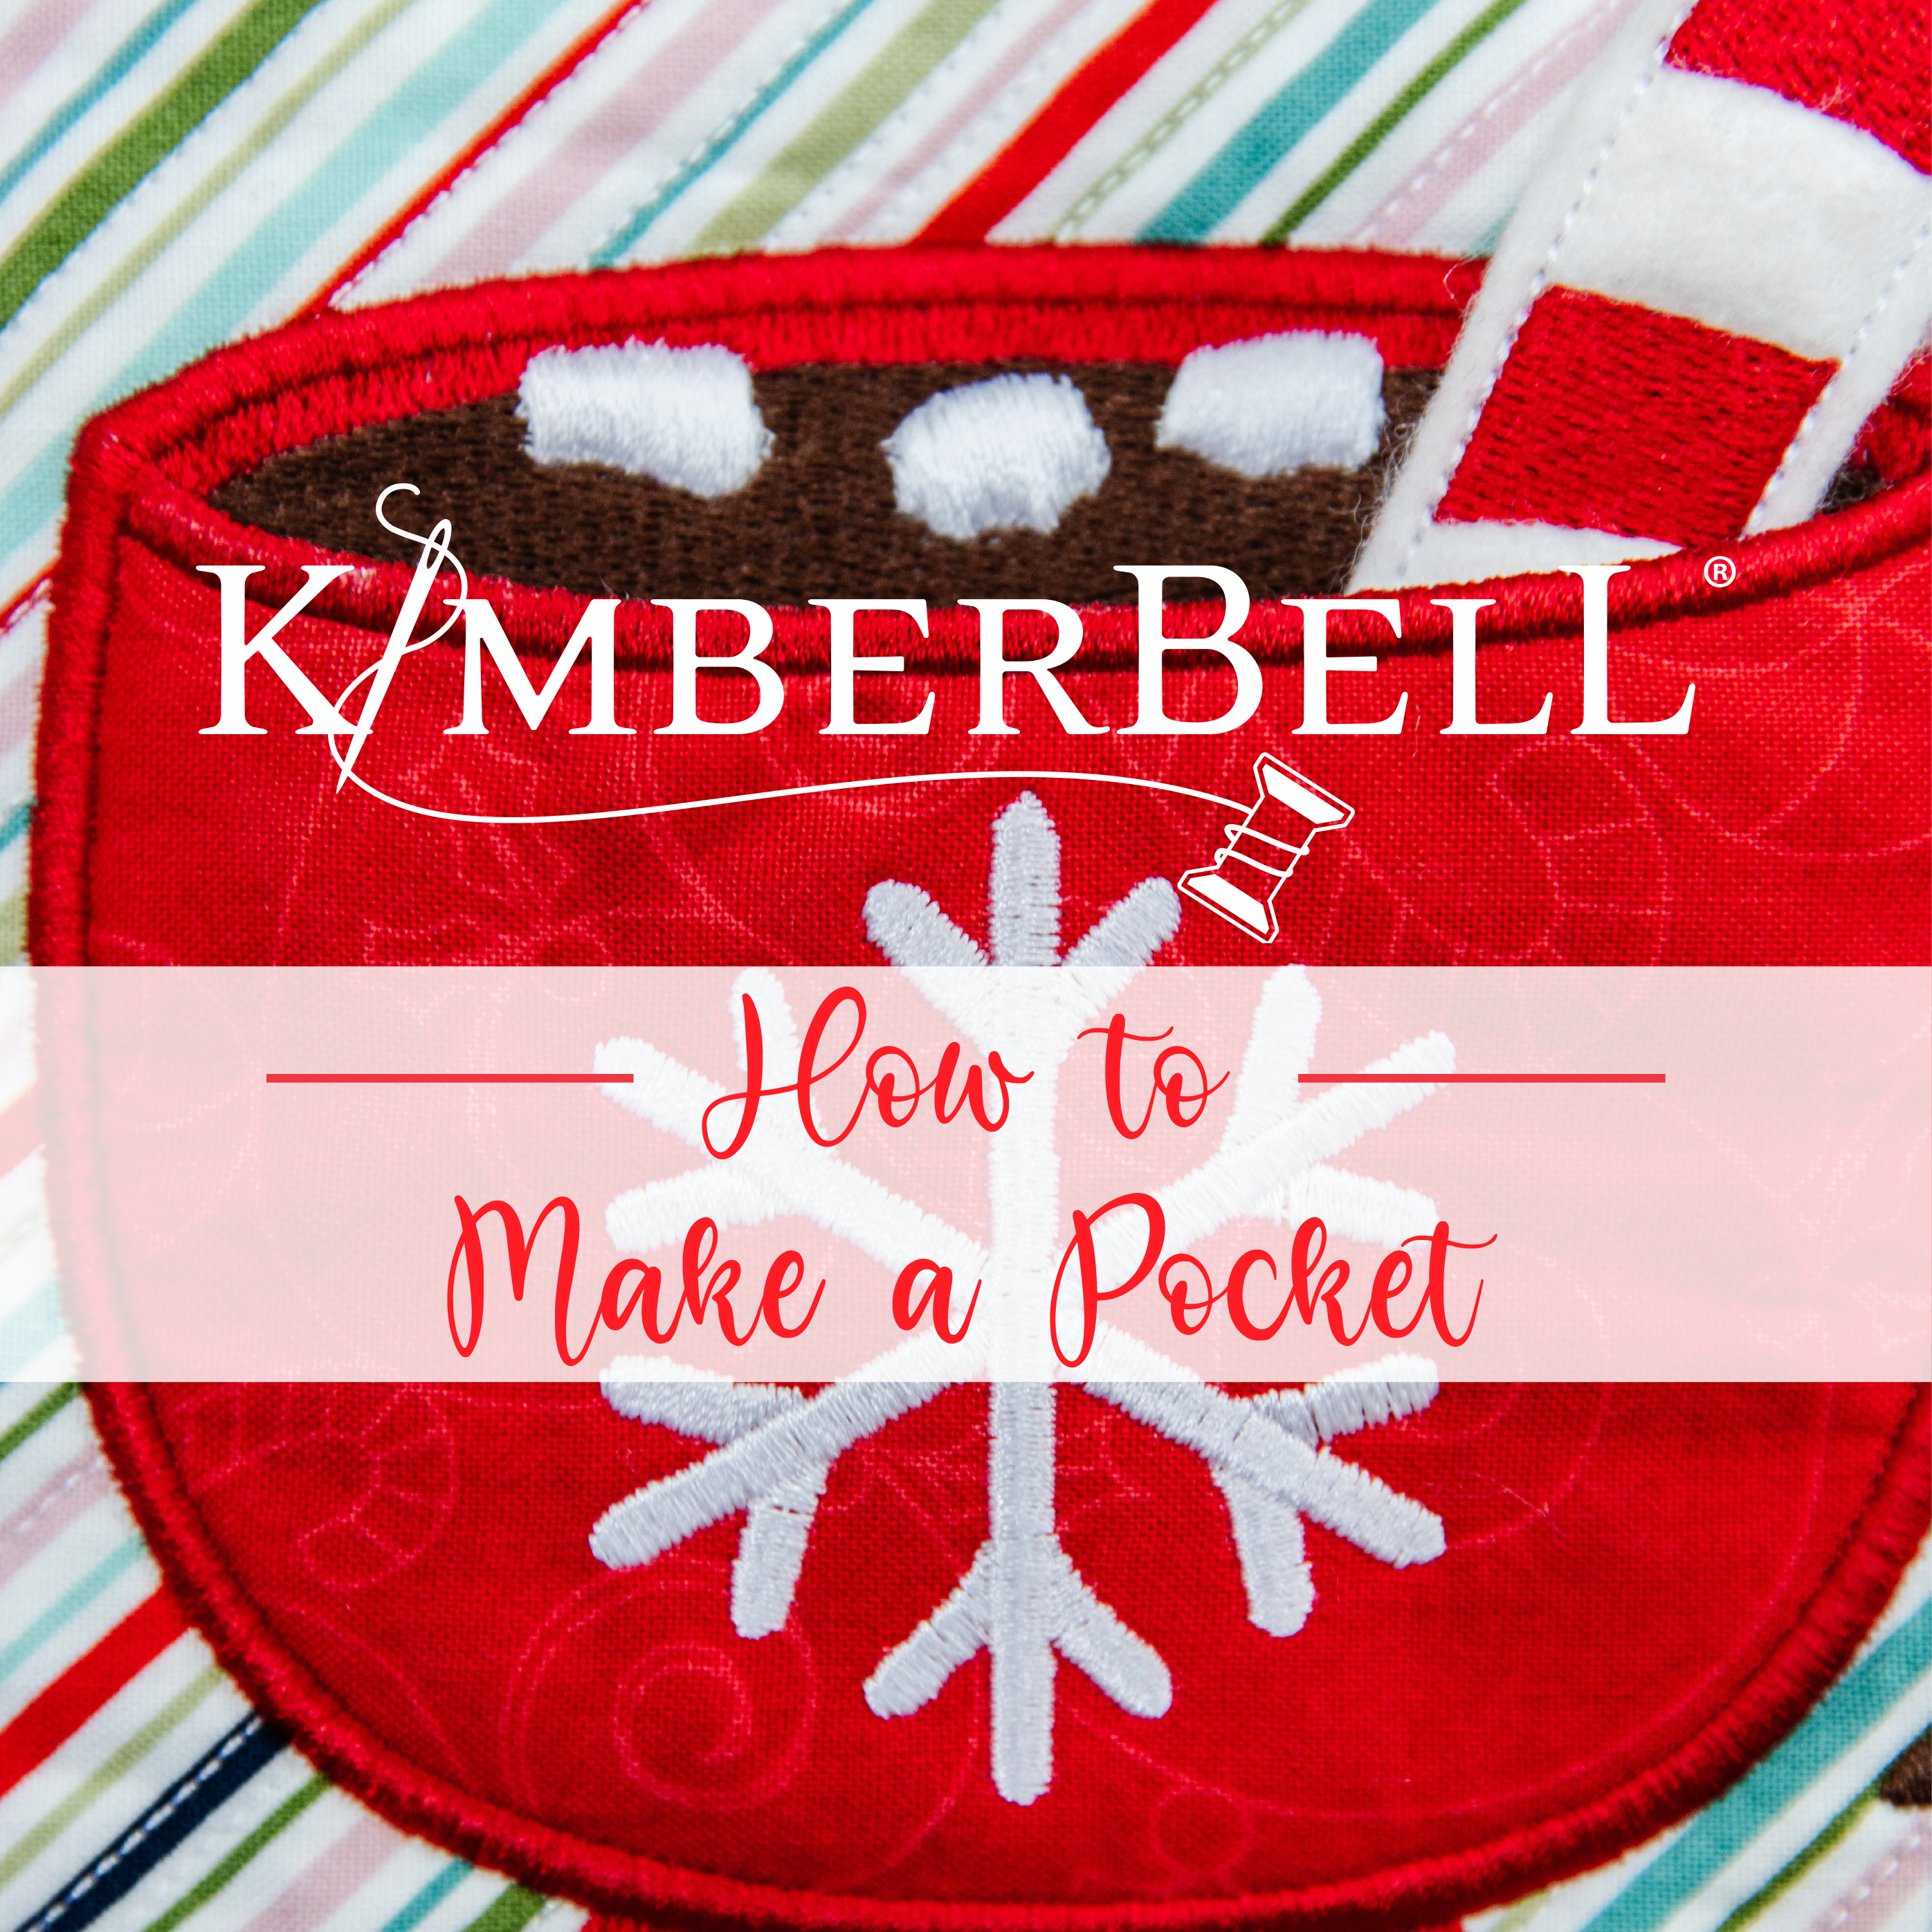
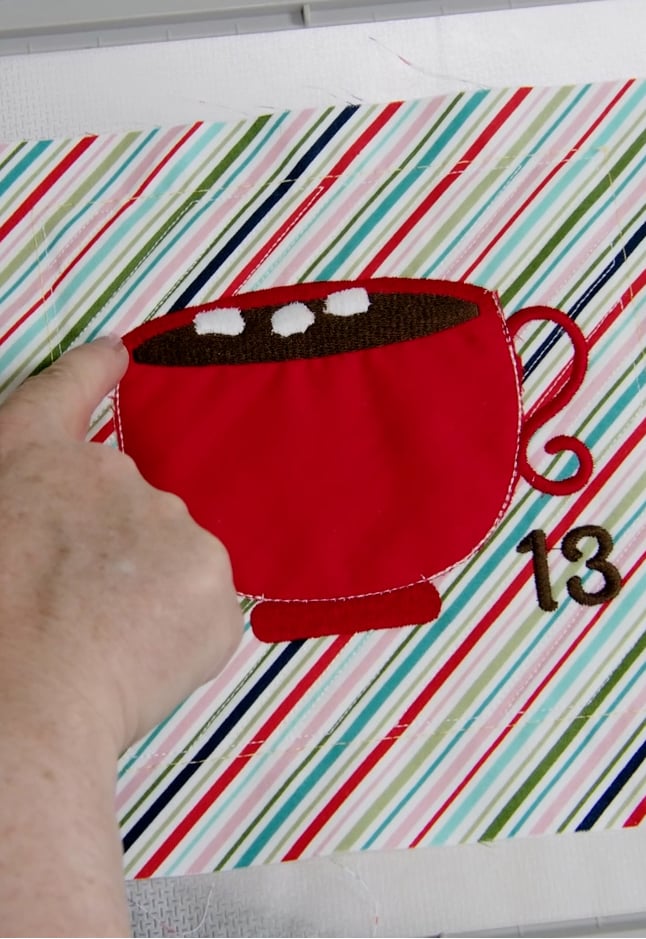
See the darling mug above? It's actually a pocket from Kimberbell's Cup of Cheer Advent Quilt! Pockets can really add a fun dimension to your machine embroidery projects.
AND, apart from making the original project, you can do so much more! Just think of the possibilities. You could stitch the pocket by itself, slip gift cards or cocoa packets inside, and voila! A perfect, stand-alone gift for a friend.
You might say that pockets are surprises just waiting to be discovered. And the best news? They're not hard at all to make on your embroidery machine! Let's dive in and see how simple it really is.
Three Stabilizers
Before you get started, you'll need three Kimberbell Stabilizers: Light Mesh Cut-Away, Fusible Backing, and Wash-Away Stabilizer.
.jpg?width=4480&name=kbs9-1624-1%20(1).jpg)
As you can see, our stabilizers are color coded and very easy to recognize.
- Tear-Away is always red.
- Cut-Away is always orange.
- Wash-Away is always blue.
- Specialty Stabilizers (like Fusible Backing) are always green.
The color gradient also indicates the weight: the lighter the color, the lighter the stabilizer. Find Kimberbell Stabilizer at your favorite quilt shop.
Part A
Hoop Stabilizer
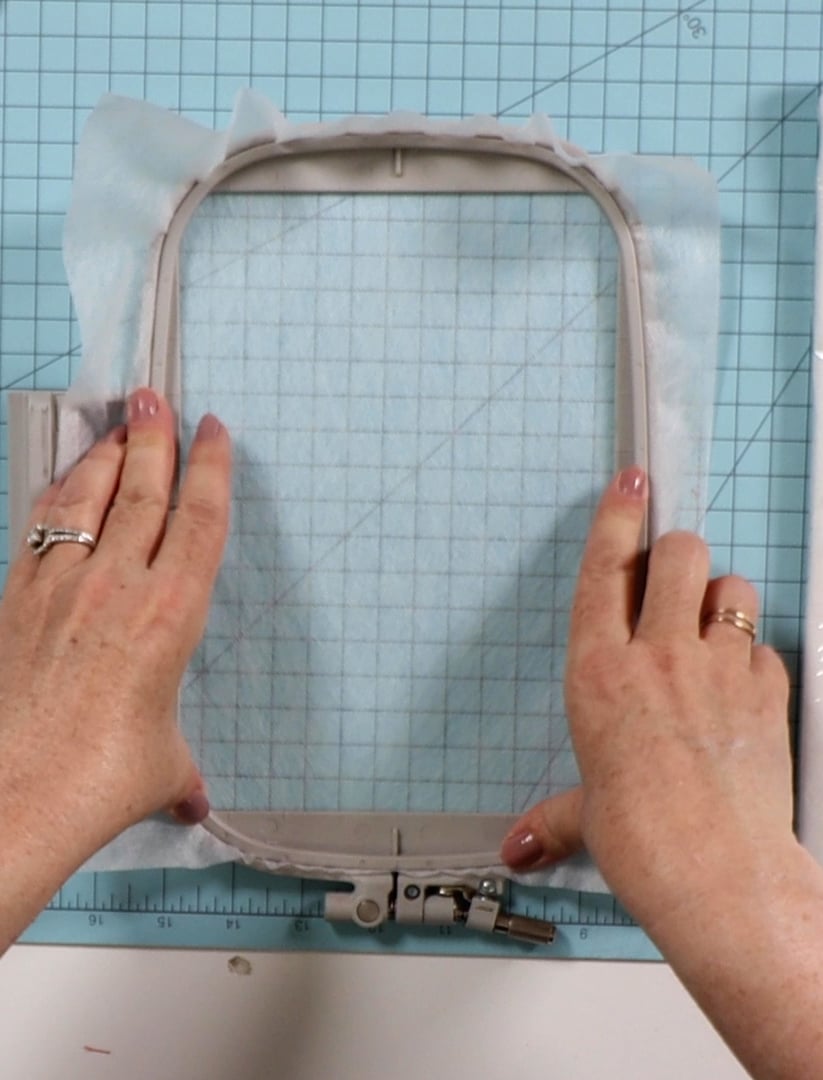
A pocket is created in two parts: Part A and Part B. The first step of Part A is to hoop your Wash-Away Stabilizer in a 5x7 hoop, as shown below.
Please note that because this is a pocket, there's no need to do the background quilting (yet). Quilting happens in Part B. 😊
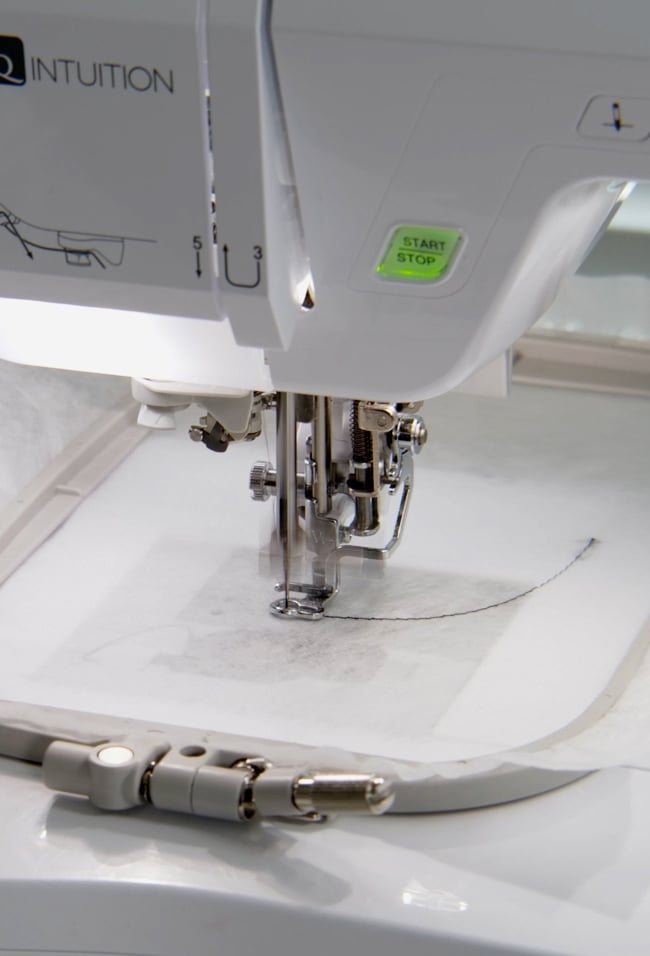
Stitch Placement Line
Once your stabilizer is hooped, stitch the placement line directly on the Wash-Away. This placement line tells you where you'll put the fabric in the next step.
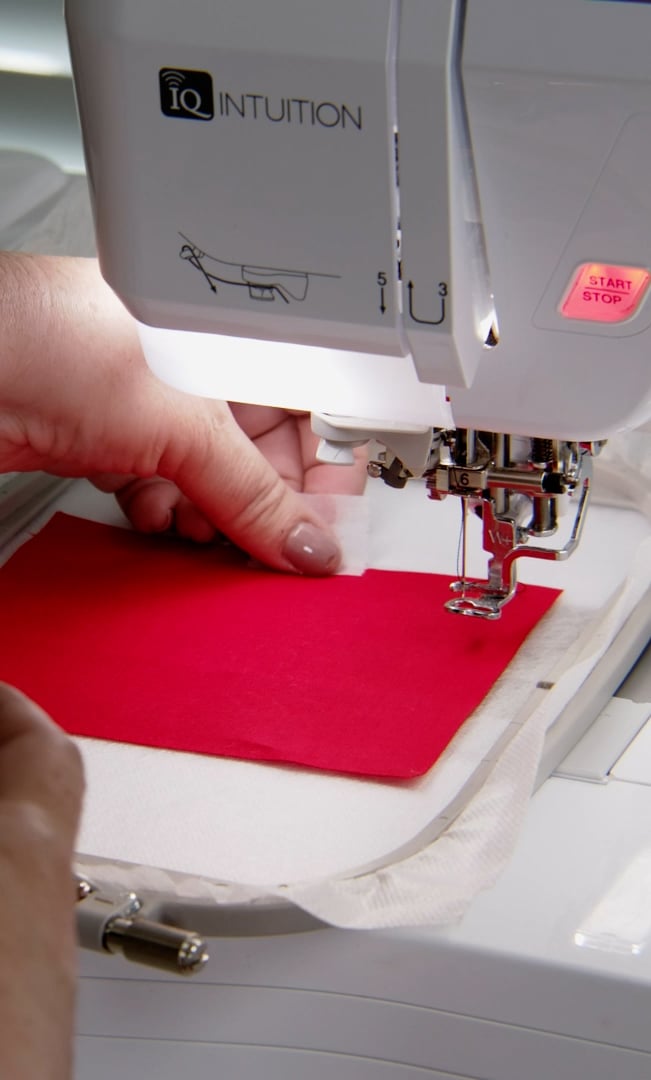
Place Fabric
Now place your pocket fabric on top of the placement line (right side up) and secure with Kimberbell Paper Tape. (Pssst...we have a new Paper Tape Dispenser now available through your favorite quilt shop!)
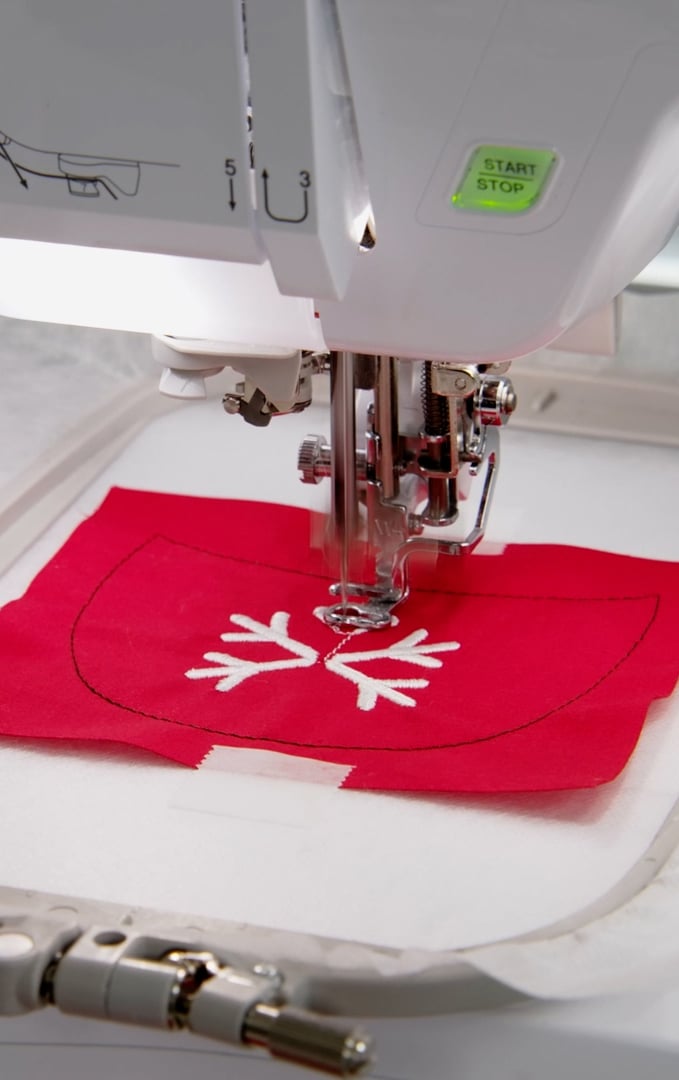
Stitch Tack-Down Line
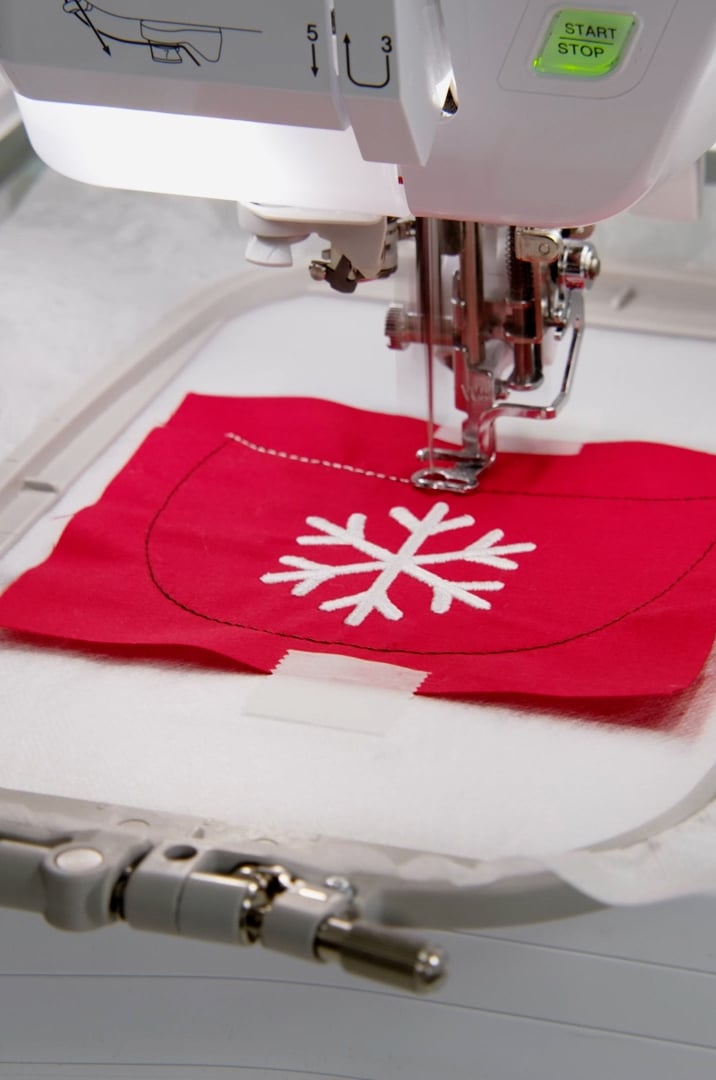
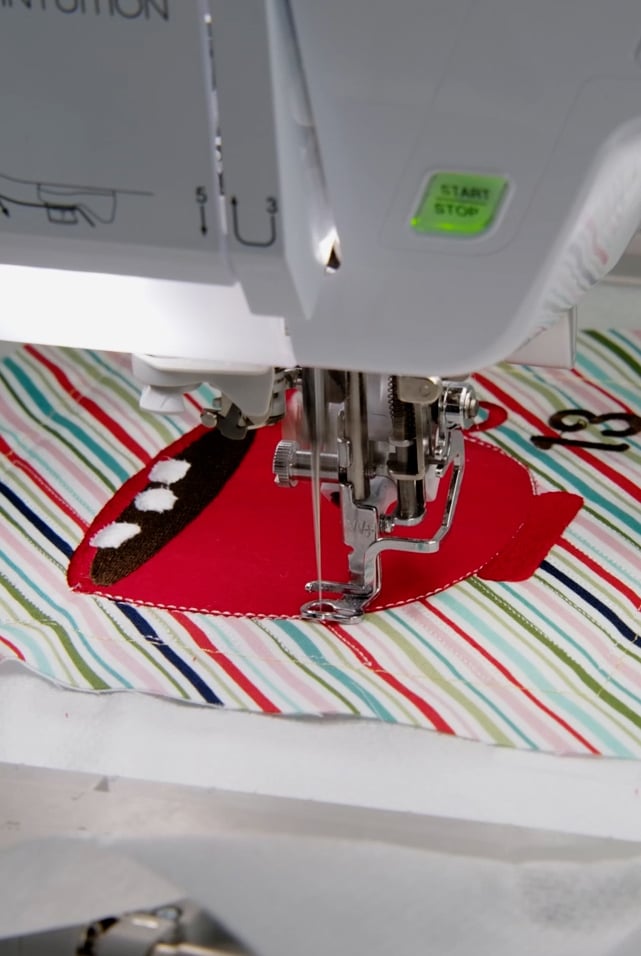
It's now time to stitch the fabric tack-down line. For this specific Cup of Cheer mug, we're also directed to change the thread to white and stitch the snowflake detail.
Place Fabric on Back of Hoop
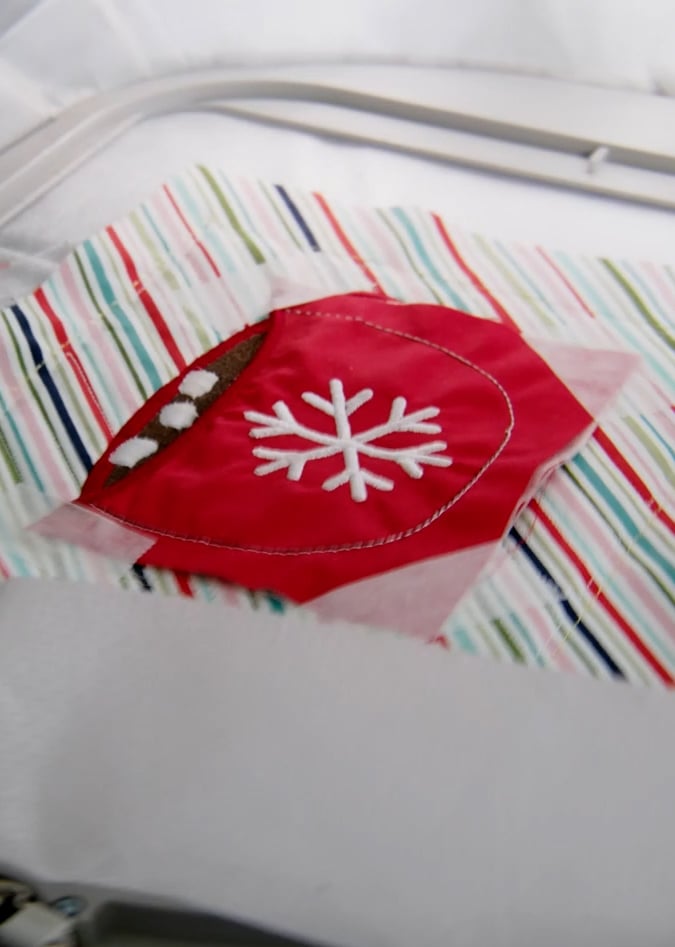
Now turn your hoop to the back and place your second piece of fabric (also right side up!) on the back of the stitched line. (This is where Kimberbell Paper Tape especially makes a difference!)
Stitch Tack-Down Line & Alignment Stitches
Time to stitch the tack-down line and alignment stitches! This will secure the back fabric to the front fabric and also tell you how to line the pocket up (which will be done later).
Trim Fabric
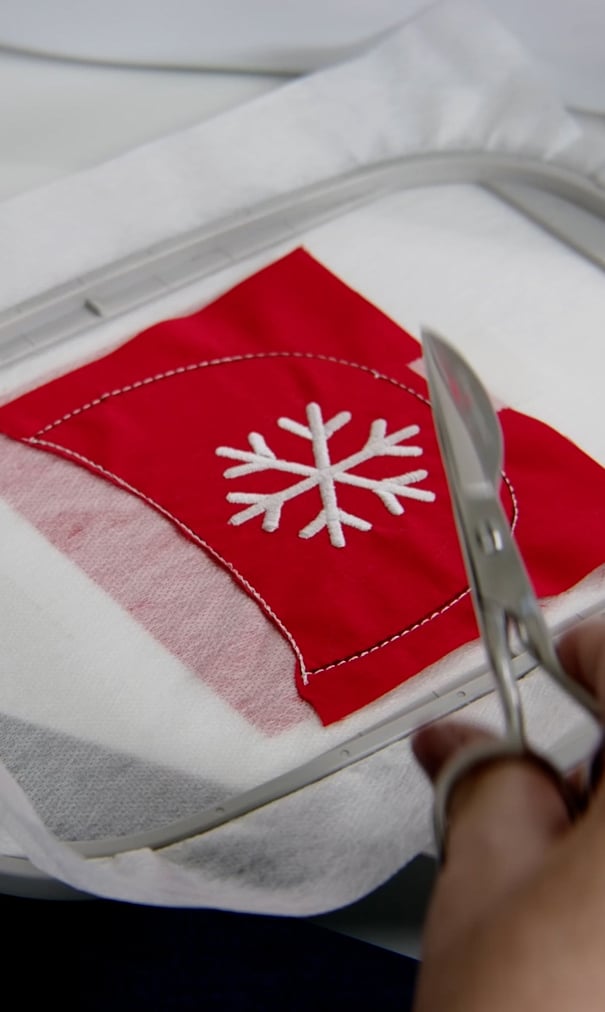
Now take the hoop out of the machine and trim the fabric just along the top curved edge of the design. Trim pretty close to the stitched line. (Our 5" Duckbill Applique Scissors make trimming a breeze!)
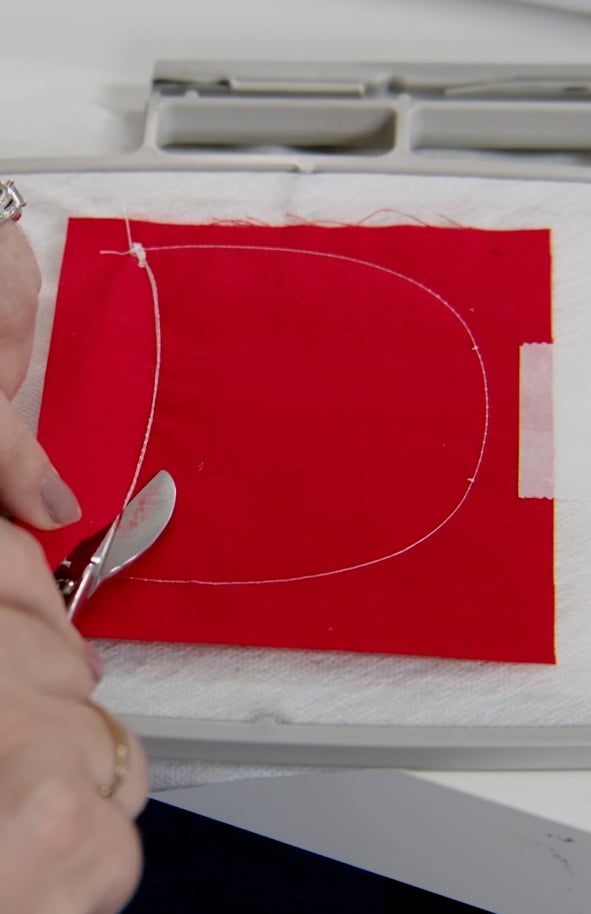
Trim Back Fabric
Turn the hoop to the back and once again trim the fabric along that top curved line.
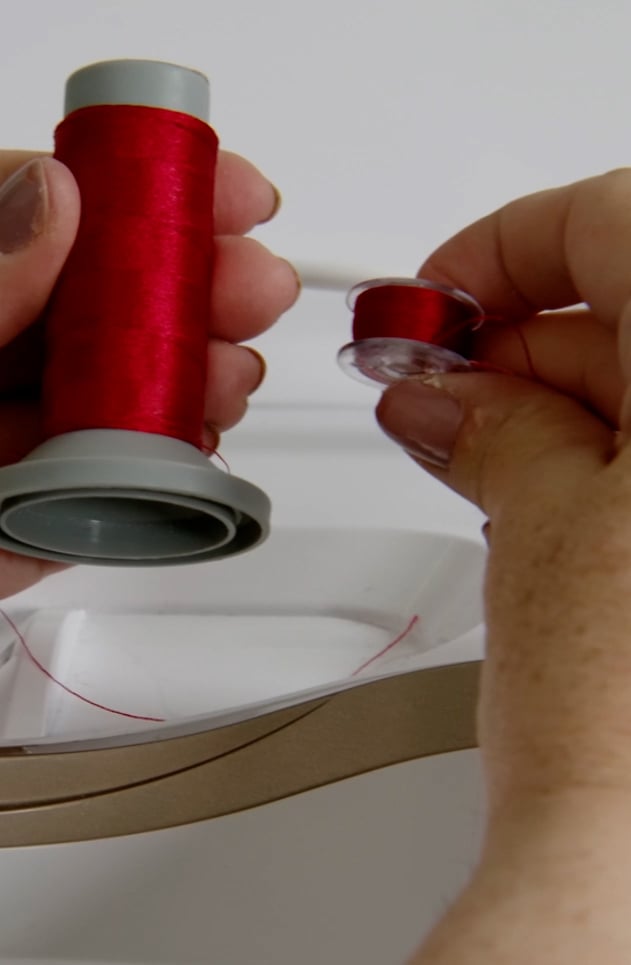
Change Bobbin Thread
It's now time to change your bobbin thread so it matches your top thread. Since we're creating a pocket, there's a good chance you'll see that bobbin thread! 😊
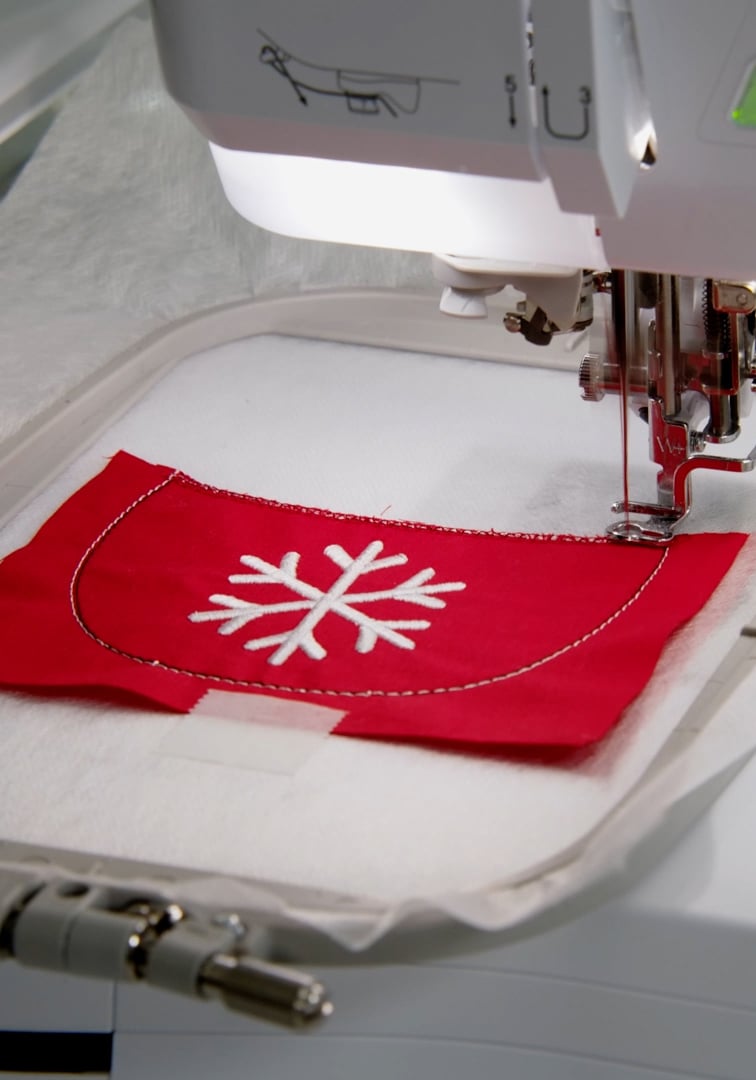
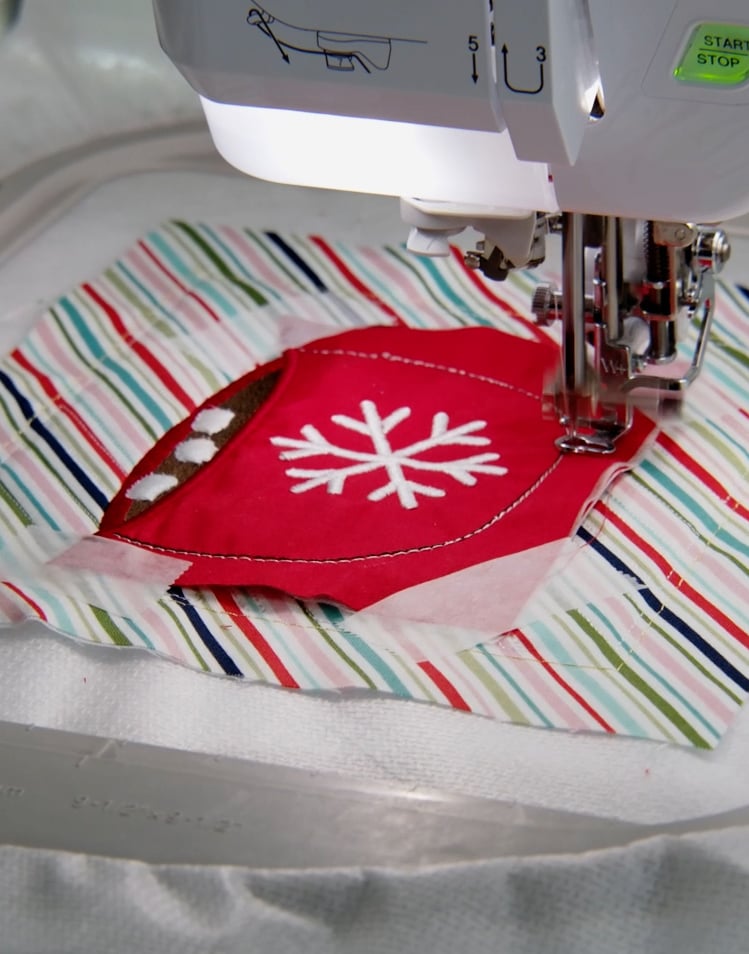
Stitch Satin Outline
Go ahead and stitch the satin outline along the top. That's all there is to Part A! After stitching the satin outline, remove the block from the hoop and trim away the extra stabilizer.
You can easily remove the excess stabilizer with a wet cotton swab or finger. As this was stitched on Wash-Away, the stabilizer will just dissolve! Allow your pocket to dry.
Part B
Hoop the Light Mesh Cut-Away Stabilizer and stitch the first part of your applique design. (Note: Optional background quilting is done before the applique!)
Because we're doing this particular design, we've also already stitched the mini marshmallows with white Embroidery Topping to really make them pop.
Stitch Pocket Placement Line
Once your stabilizer is hooped, go ahead and stitch the pocket placement line and the alignment stitches.
The alignment stitches are going to help you know where to line up and place your pocket, so they're pretty important!
This is where they are:
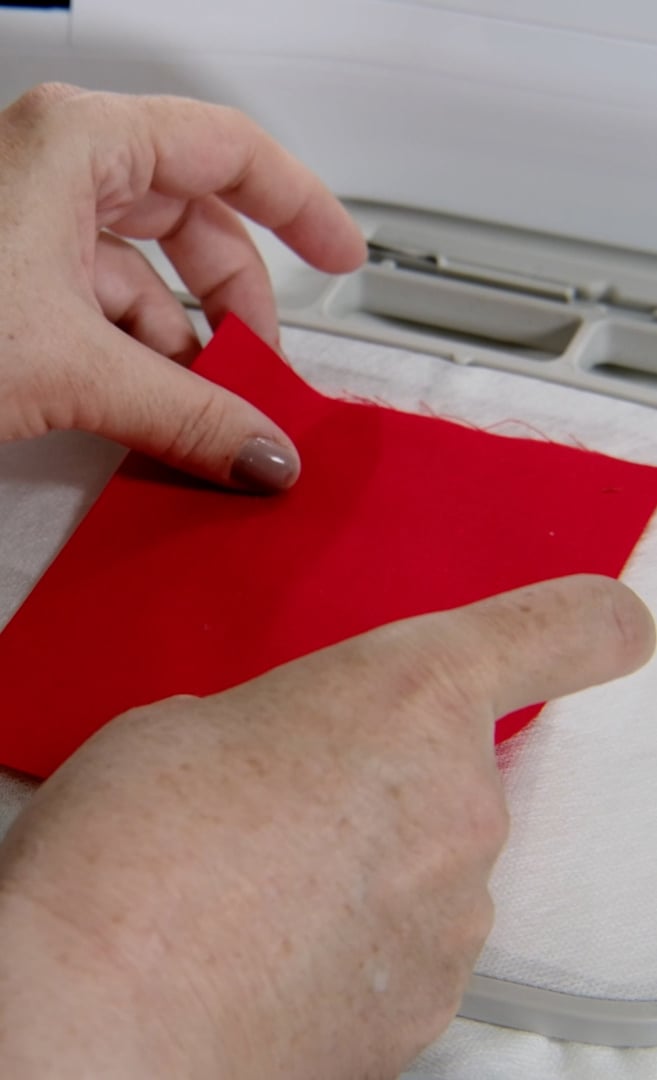
Align Pocket with Design
Now, take the pocket we stitched out in Part A and, with the design side up, align the top satin outline with the upper alignment stitches. Also check the lower alignment stitches to make sure everything is where it should be.
When it all looks good, tape the pocket in place with Kimberbell Paper Tape.
Stitch Pocket Tack-Down Line
Stitch the pocket tack-down line, then remove the hoop from the machine and trim away the extra fabric. (Be sure not to trim the mug satin stitch inside the tack-down line!)
Finally, stitch the mug satin outline and remove from the hoop!
A Pocket Full of Promise
That's all there is to it! Maybe it's hard to see in the picture, but this mug is now a pocket and the candy cane easily slips in and out. Pretty fun, huh?
To learn more about making a pocket, be sure to check out Kim's video tutorial below.