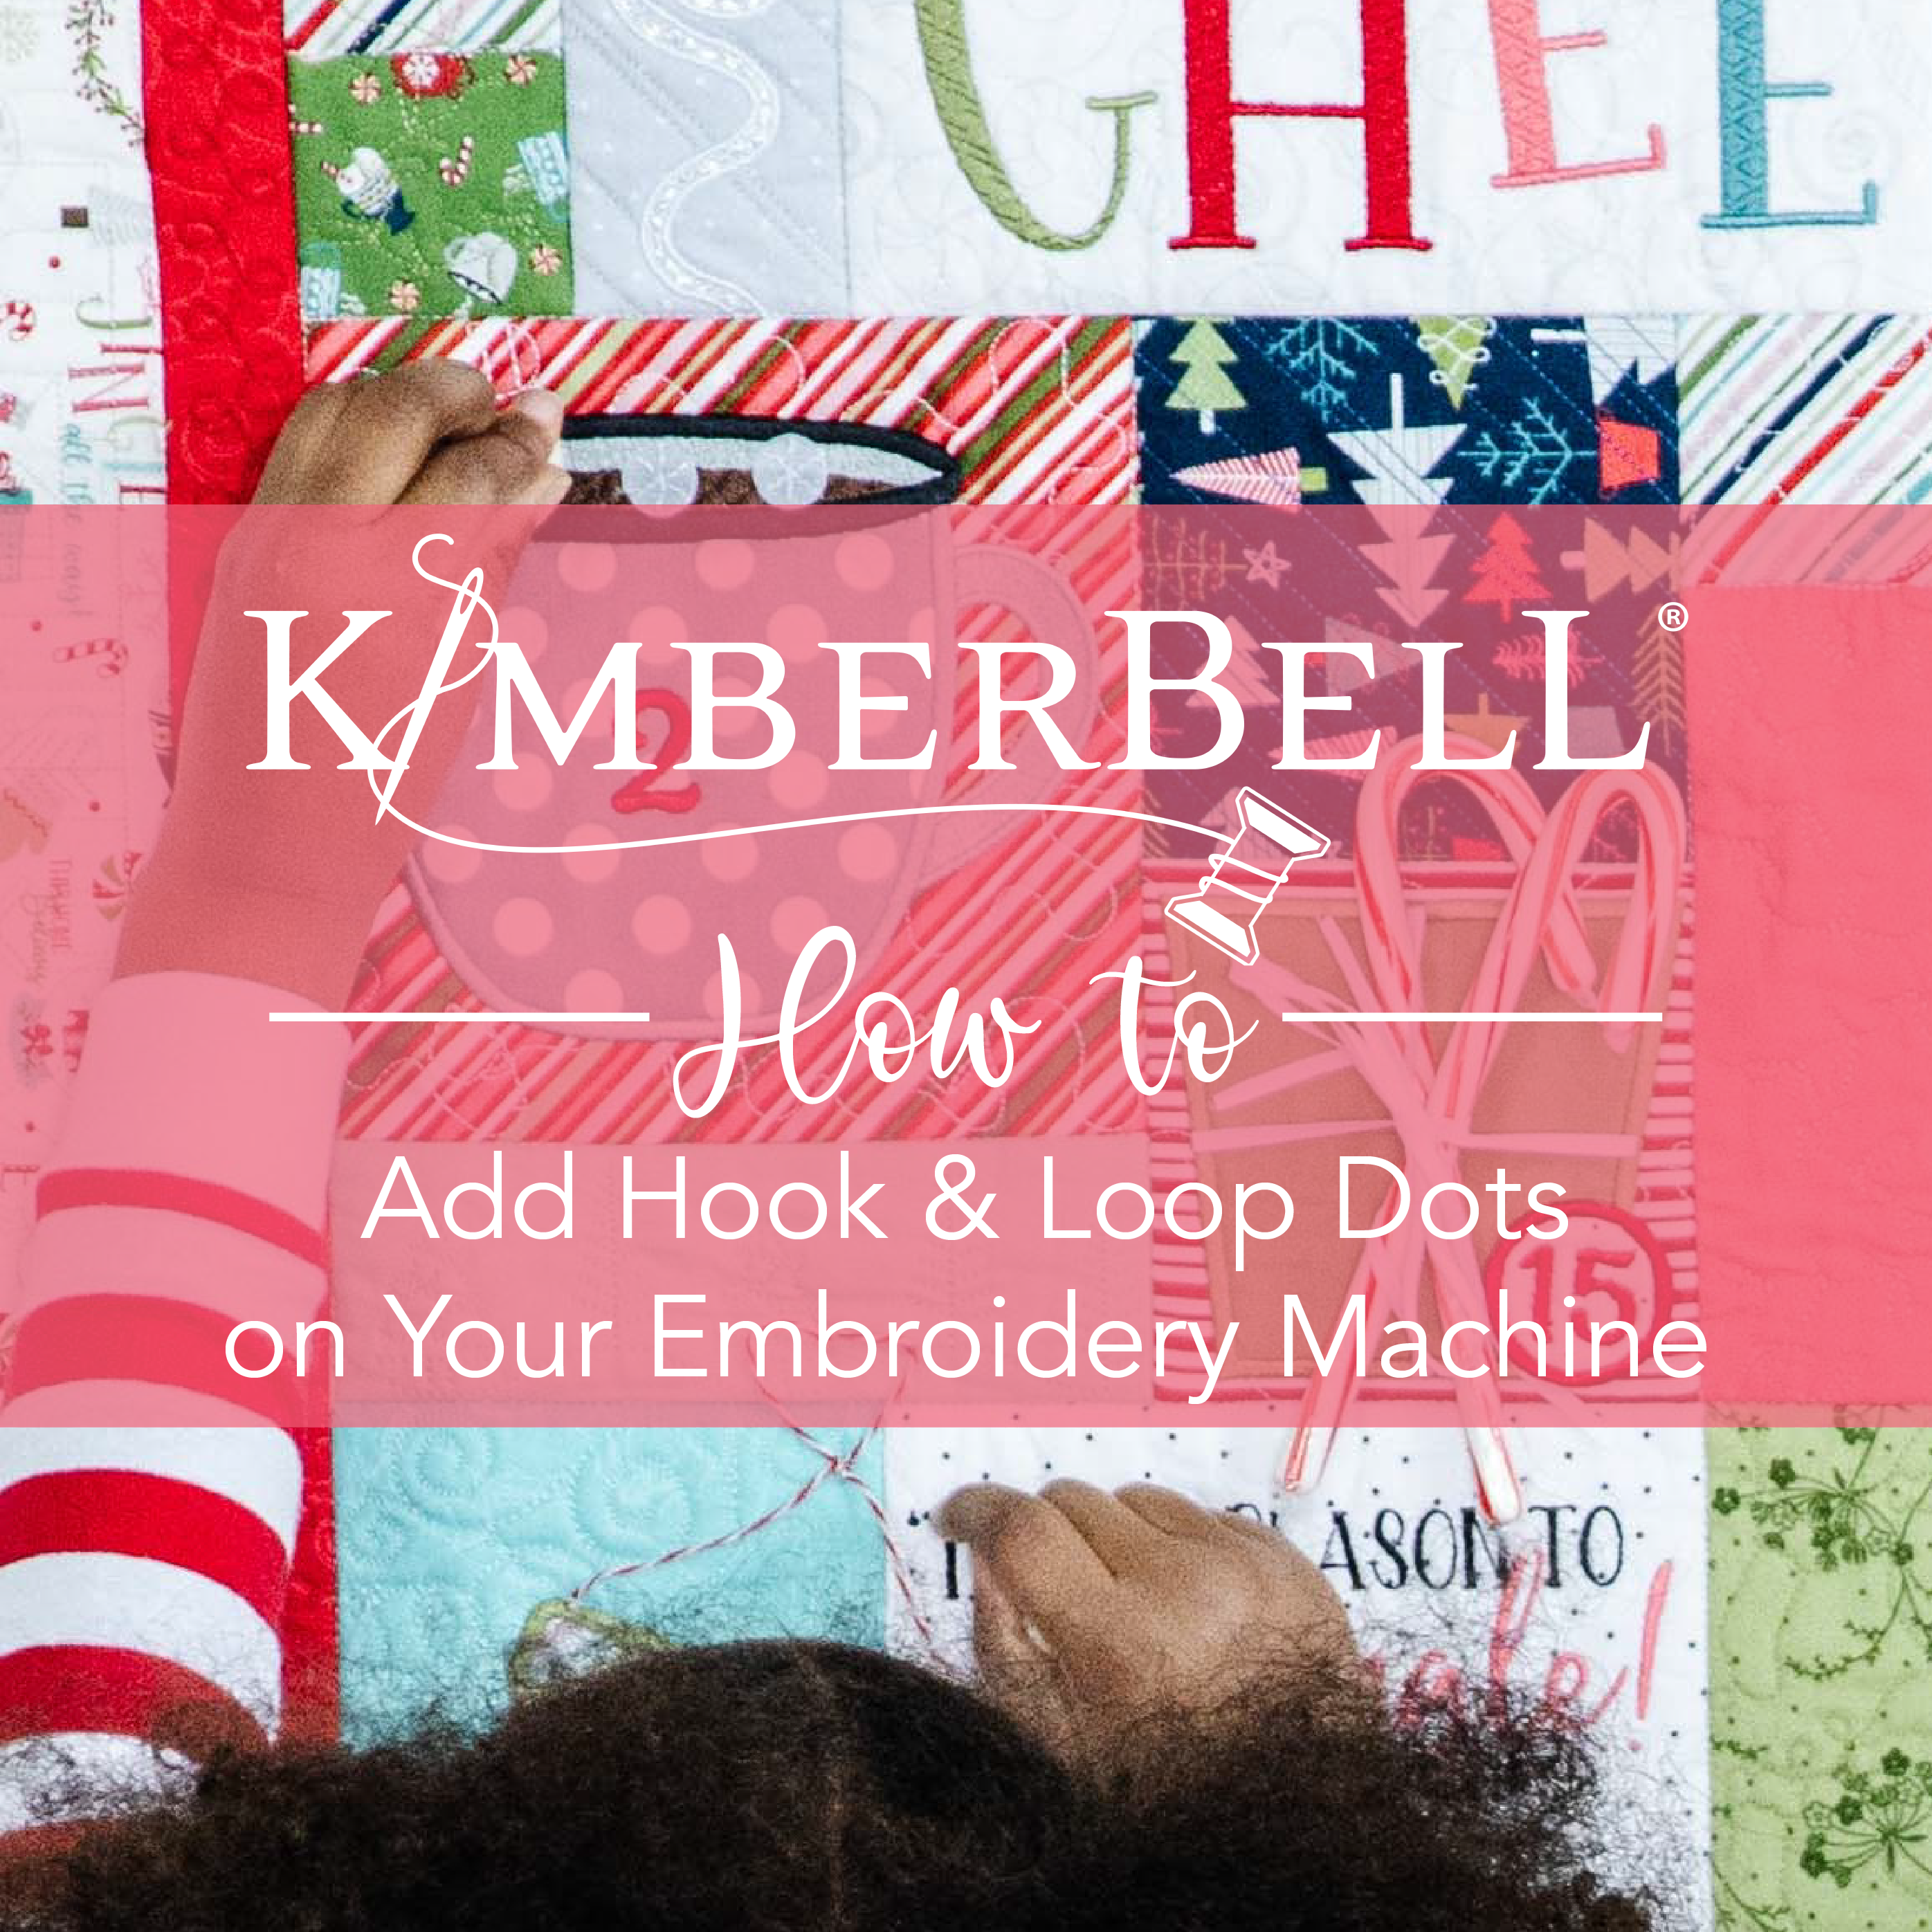
How to Add Hook & Loop Dots to Machine Embroidery Projects
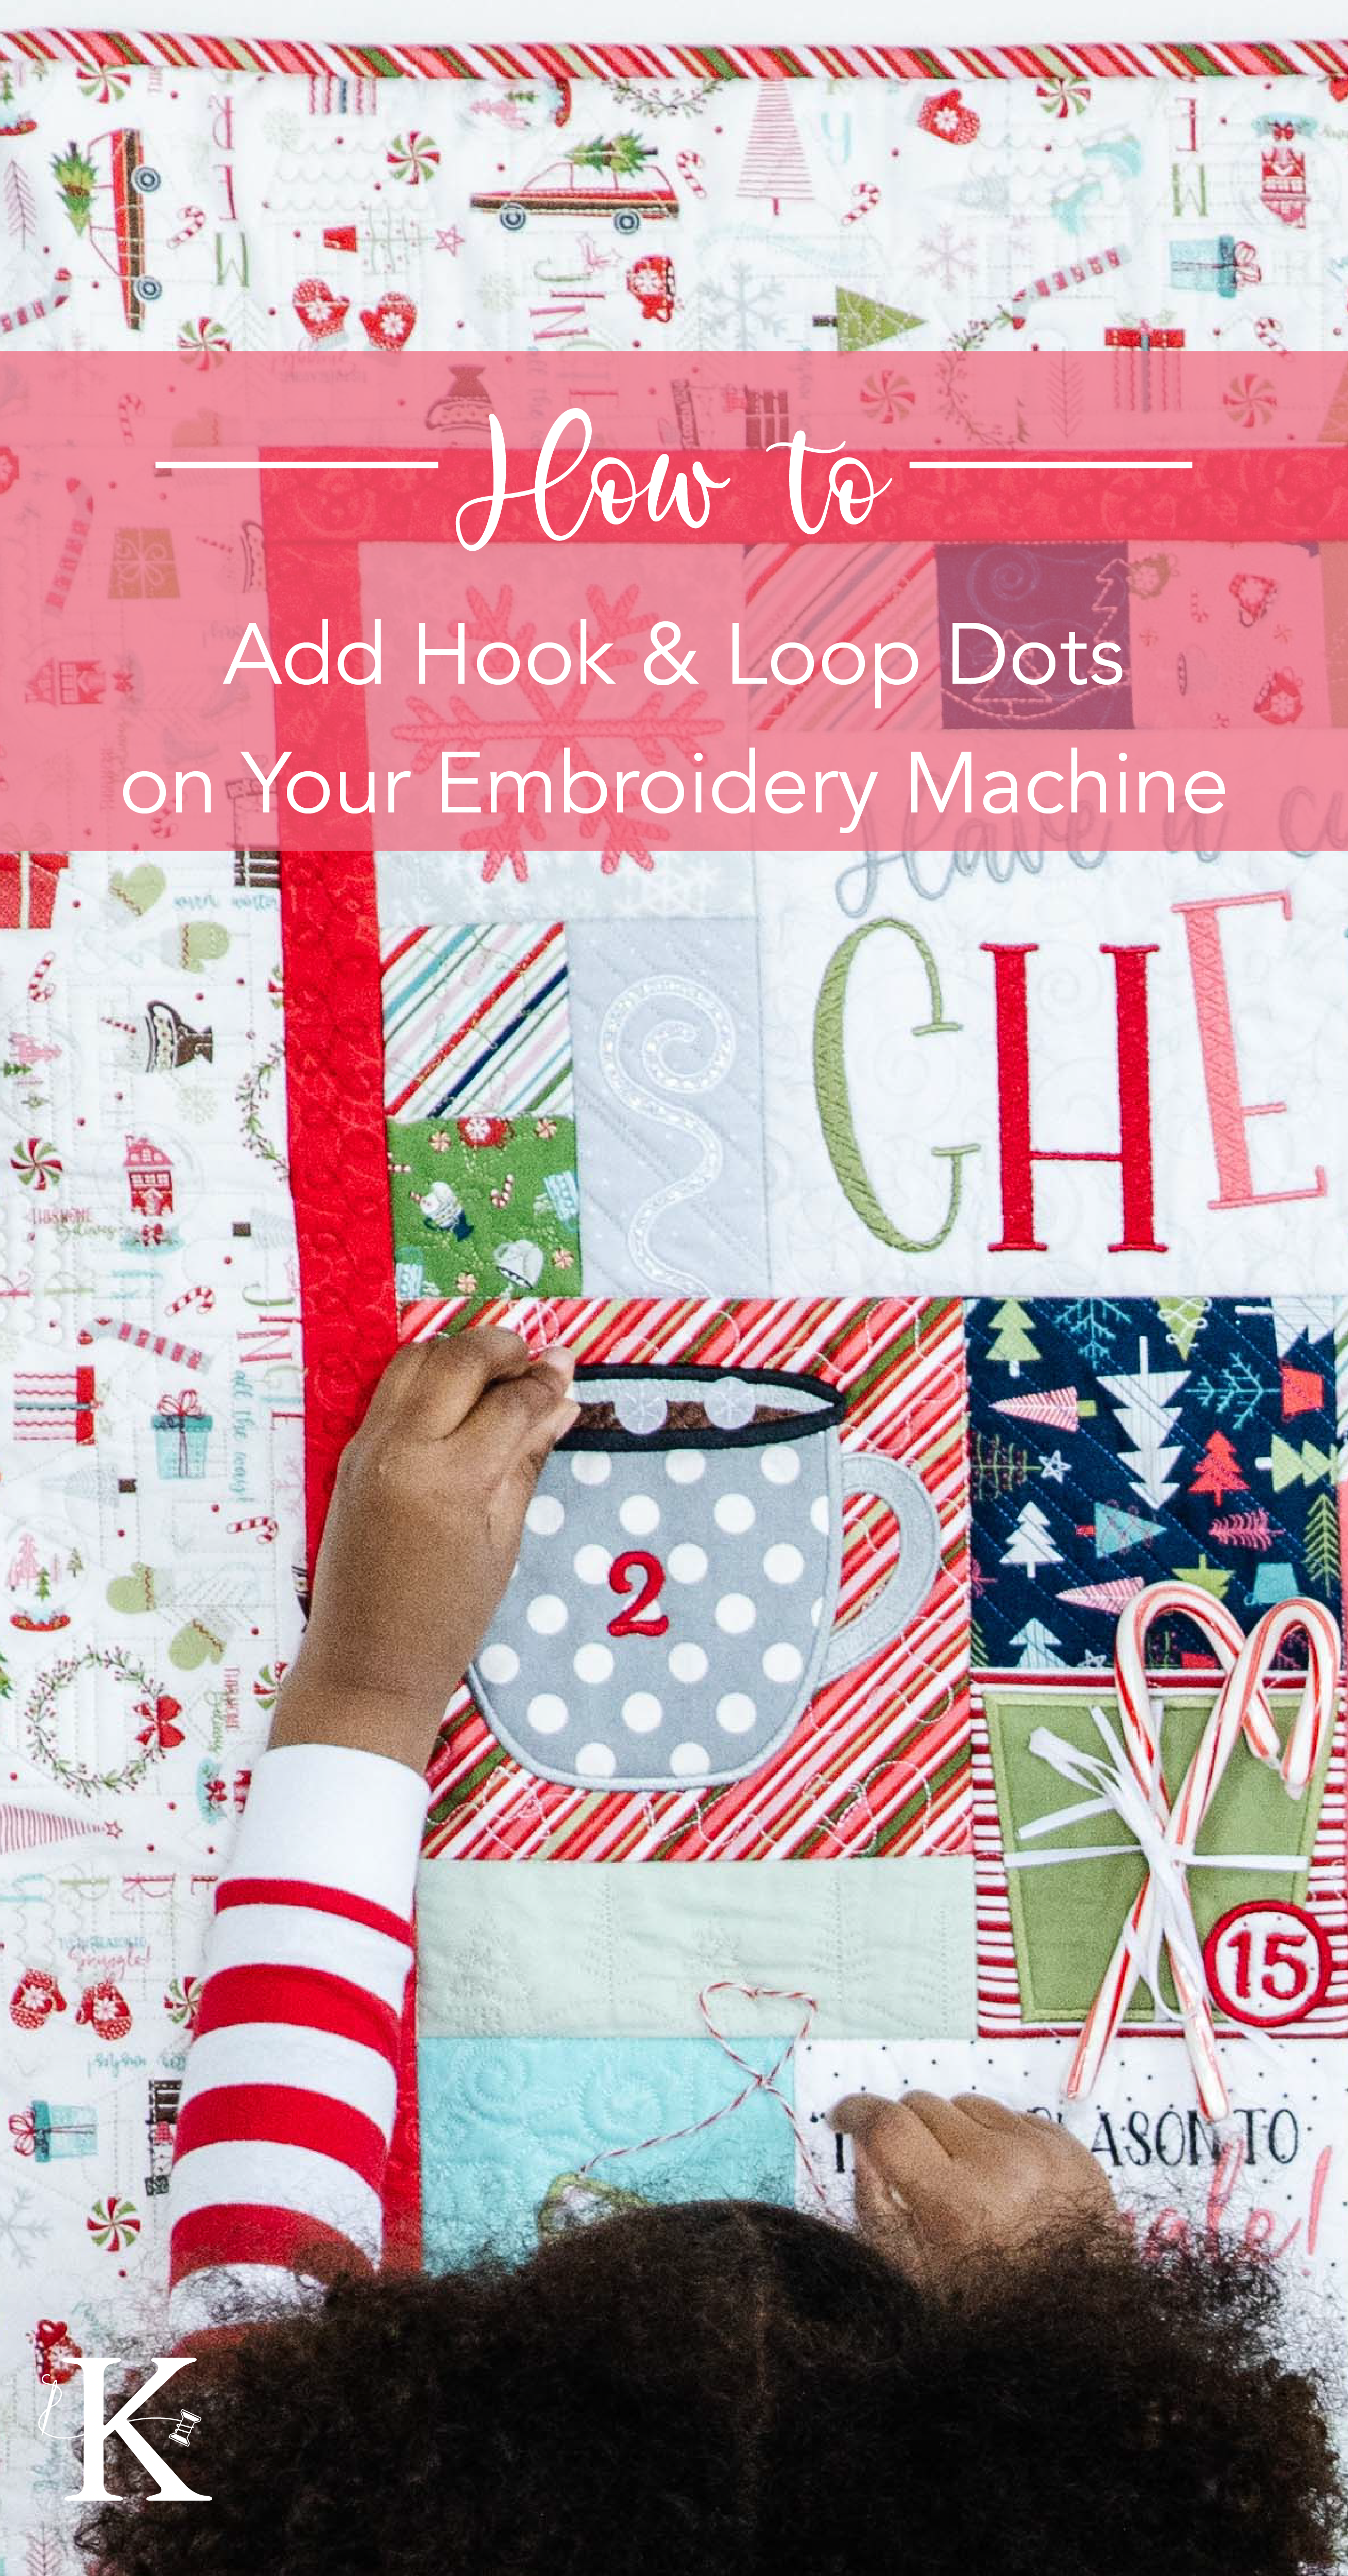
Like a cup of cocoa isn't complete without mini marshmallows, Kimberbell's Cup of Cheer Advent Quilt isn't complete without "marshmallow" balls!
Take a look:
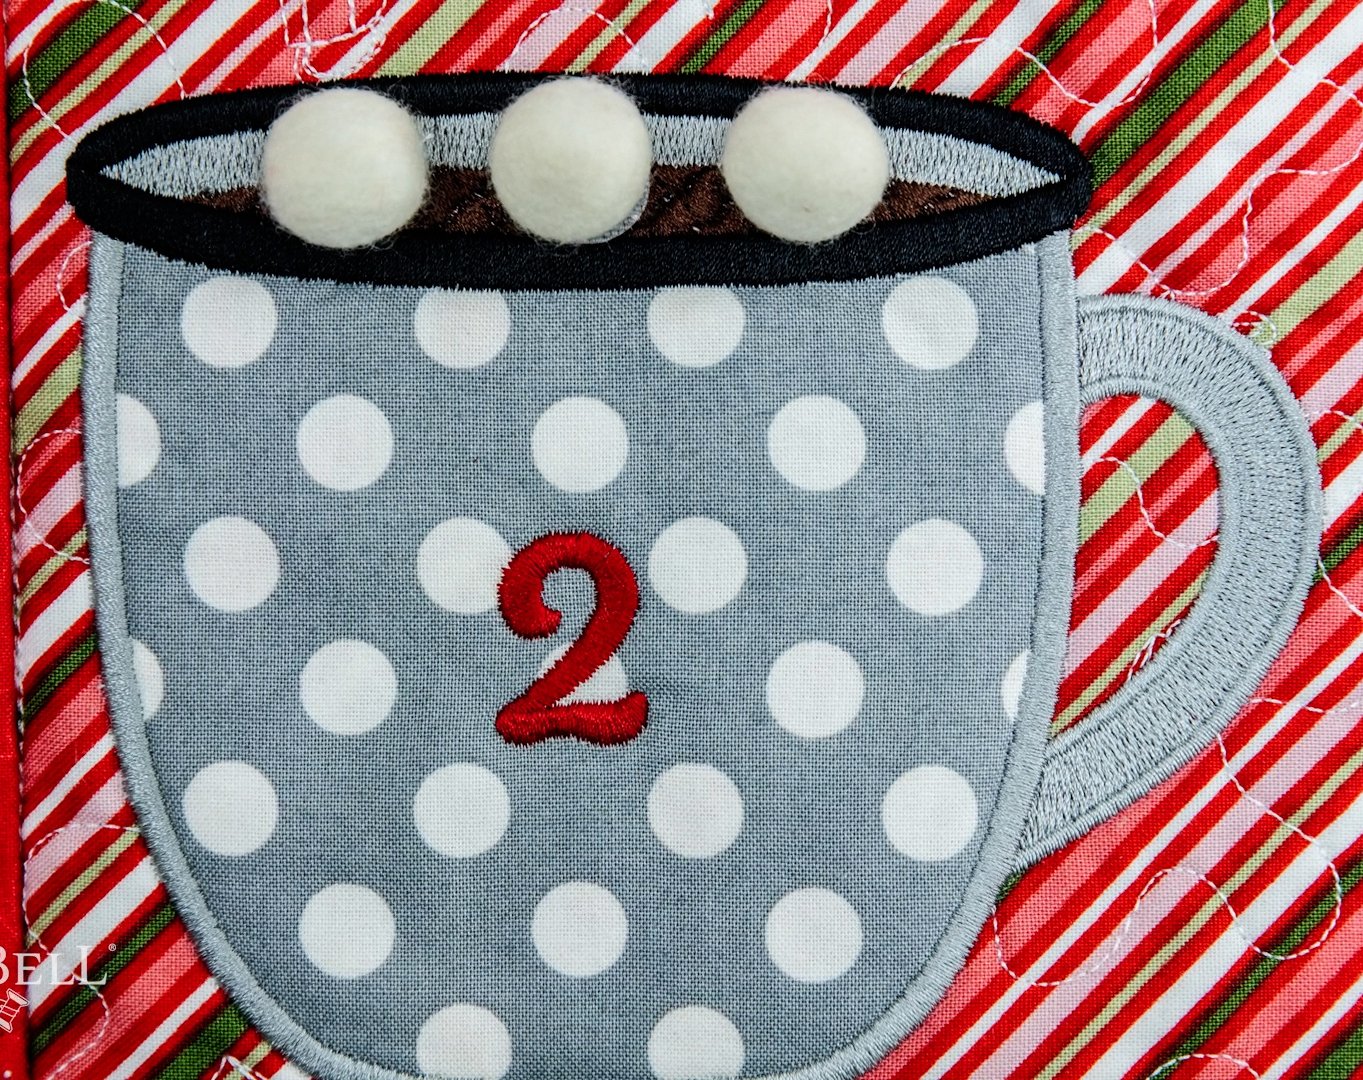
Darling, right? These little balls are added on Day Two as a fun way to count down to Christmas. And how do they attach?
With hook and loop dots! Hook and loop dots (also known as Velcro) are easily added to your quilt block, right in-the-hoop of your embroidery machine.
Here's how we do it:
Stitch Mug Applique
First, stitch the mug applique background, then change your thread to white and stitch the hook & loop placement lines.
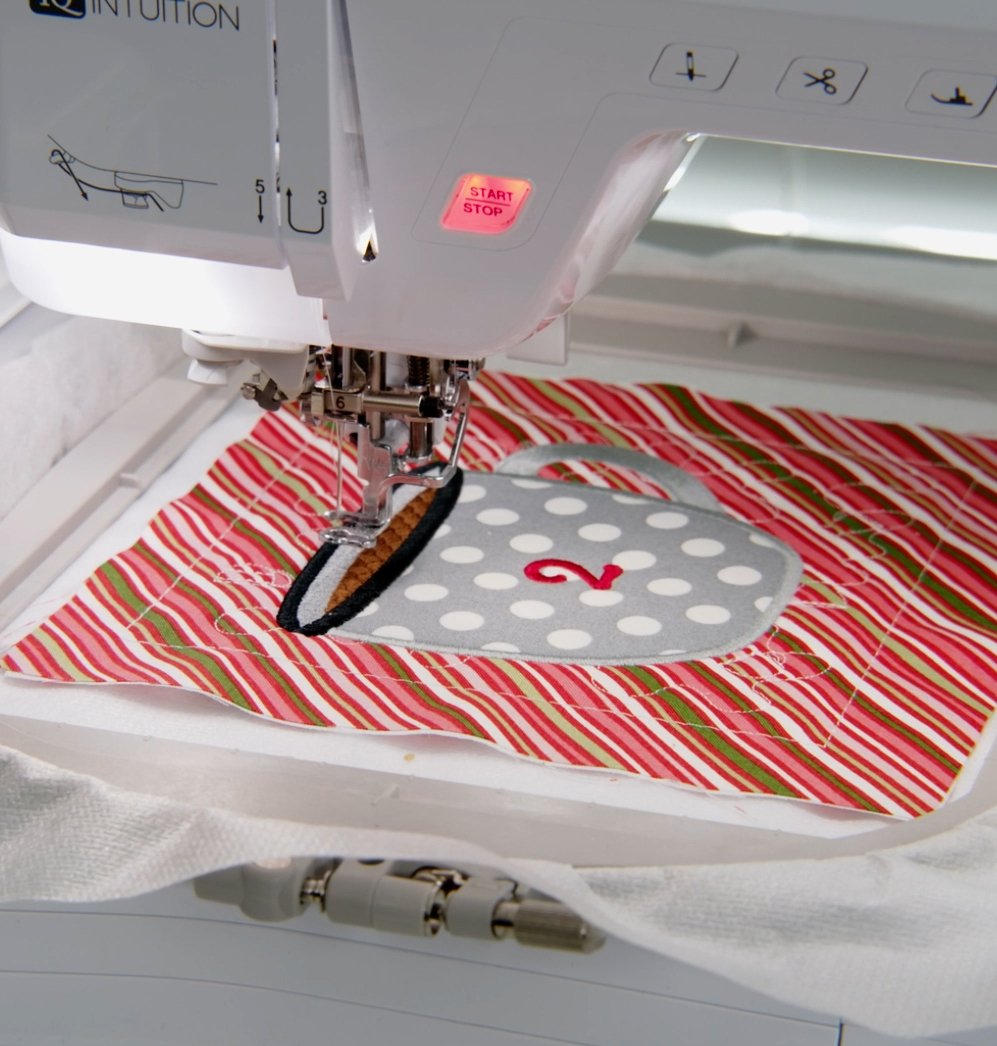
Place Hook Dots
The hook dots are the rough sides of the dots. Place three dots right side up within the placement lines. (The dots have a light glue on the back, which will help them stay put.)
Now stitch the hook & loop tack-down line.
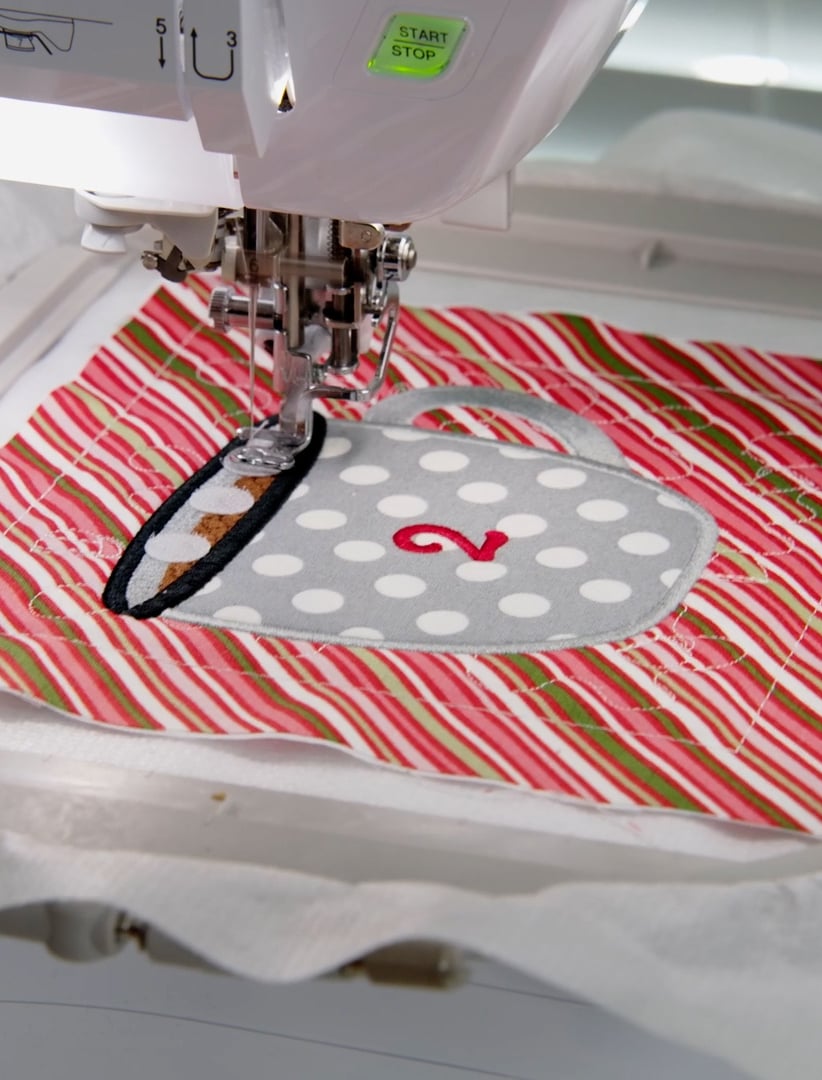
Please note that the loop (soft) part of the dots will not be used. You're going to attach the Wool Felt Balls as marshmallows instead. 😊
Remove and Cut Your Block
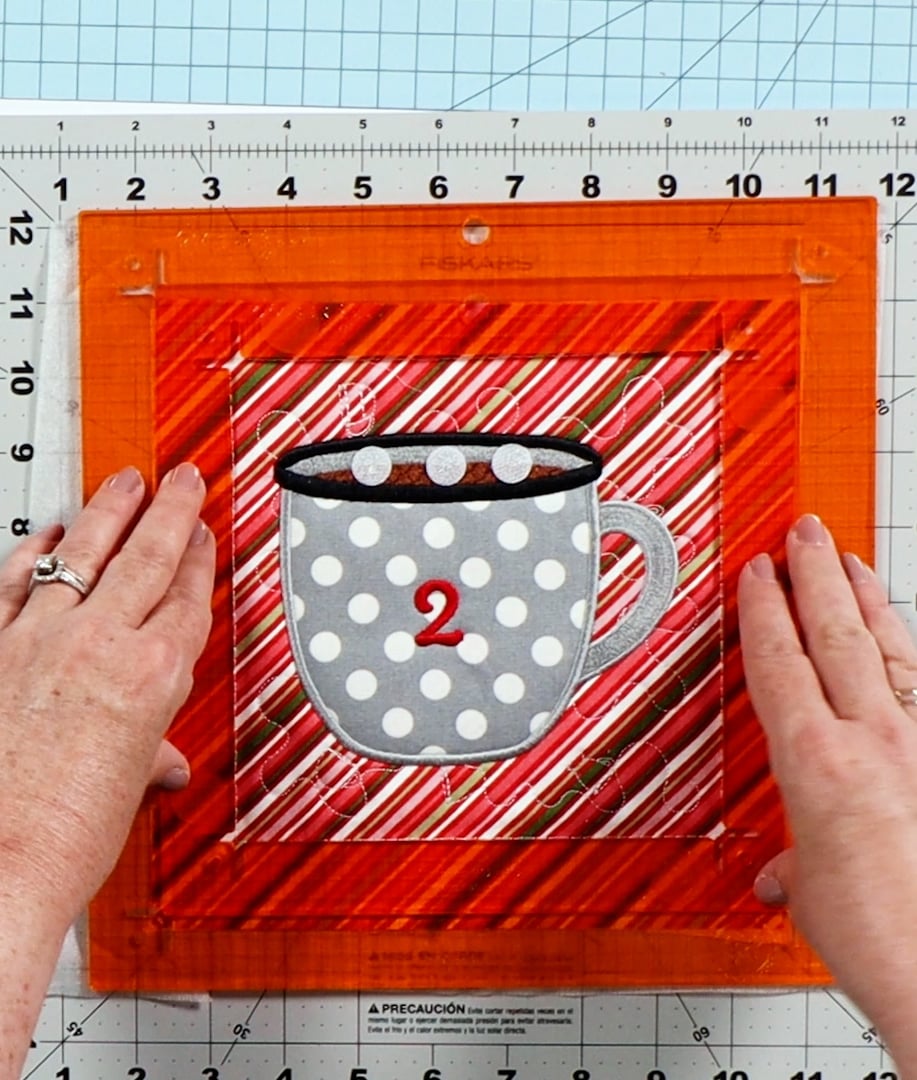
Using Kimberbell Orange Pop Rulers and a rotating mat, square your quilt block and cut to 6 1/2 x 6 1/2".
Add Wool Felt Balls
All that's left now is adding your three Wool Felt Balls on Day Two! Kimberbell's Cup of Cheer Advent Quilt is a fun and festive way to count down to Christmas.
And speaking of counting...you can absolutely count on Kimberbell's full-color, step-by-step instructions walking you through the creative techniques that make our projects special.
To see Kim's full video tutorial, just click below!


