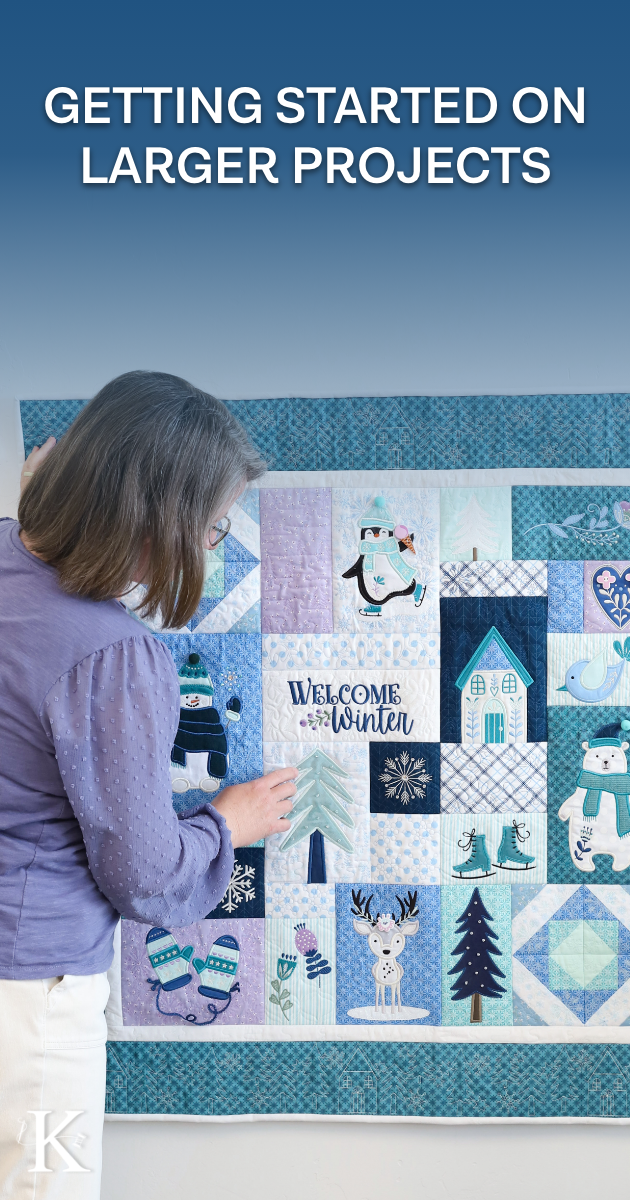
A larger machine embroidery project (like a feature quilt or bench pillow) can seem daunting at first. But preparing and organizing ahead of time makes all the difference!
Here are just a few tips for getting started.
Clean Workspace
Before embarking on a project, I think we can all agree that it's a good idea to tidy up your workspace. Clean up those loose thread strands, put away your fabric scraps, and make room for that new project!
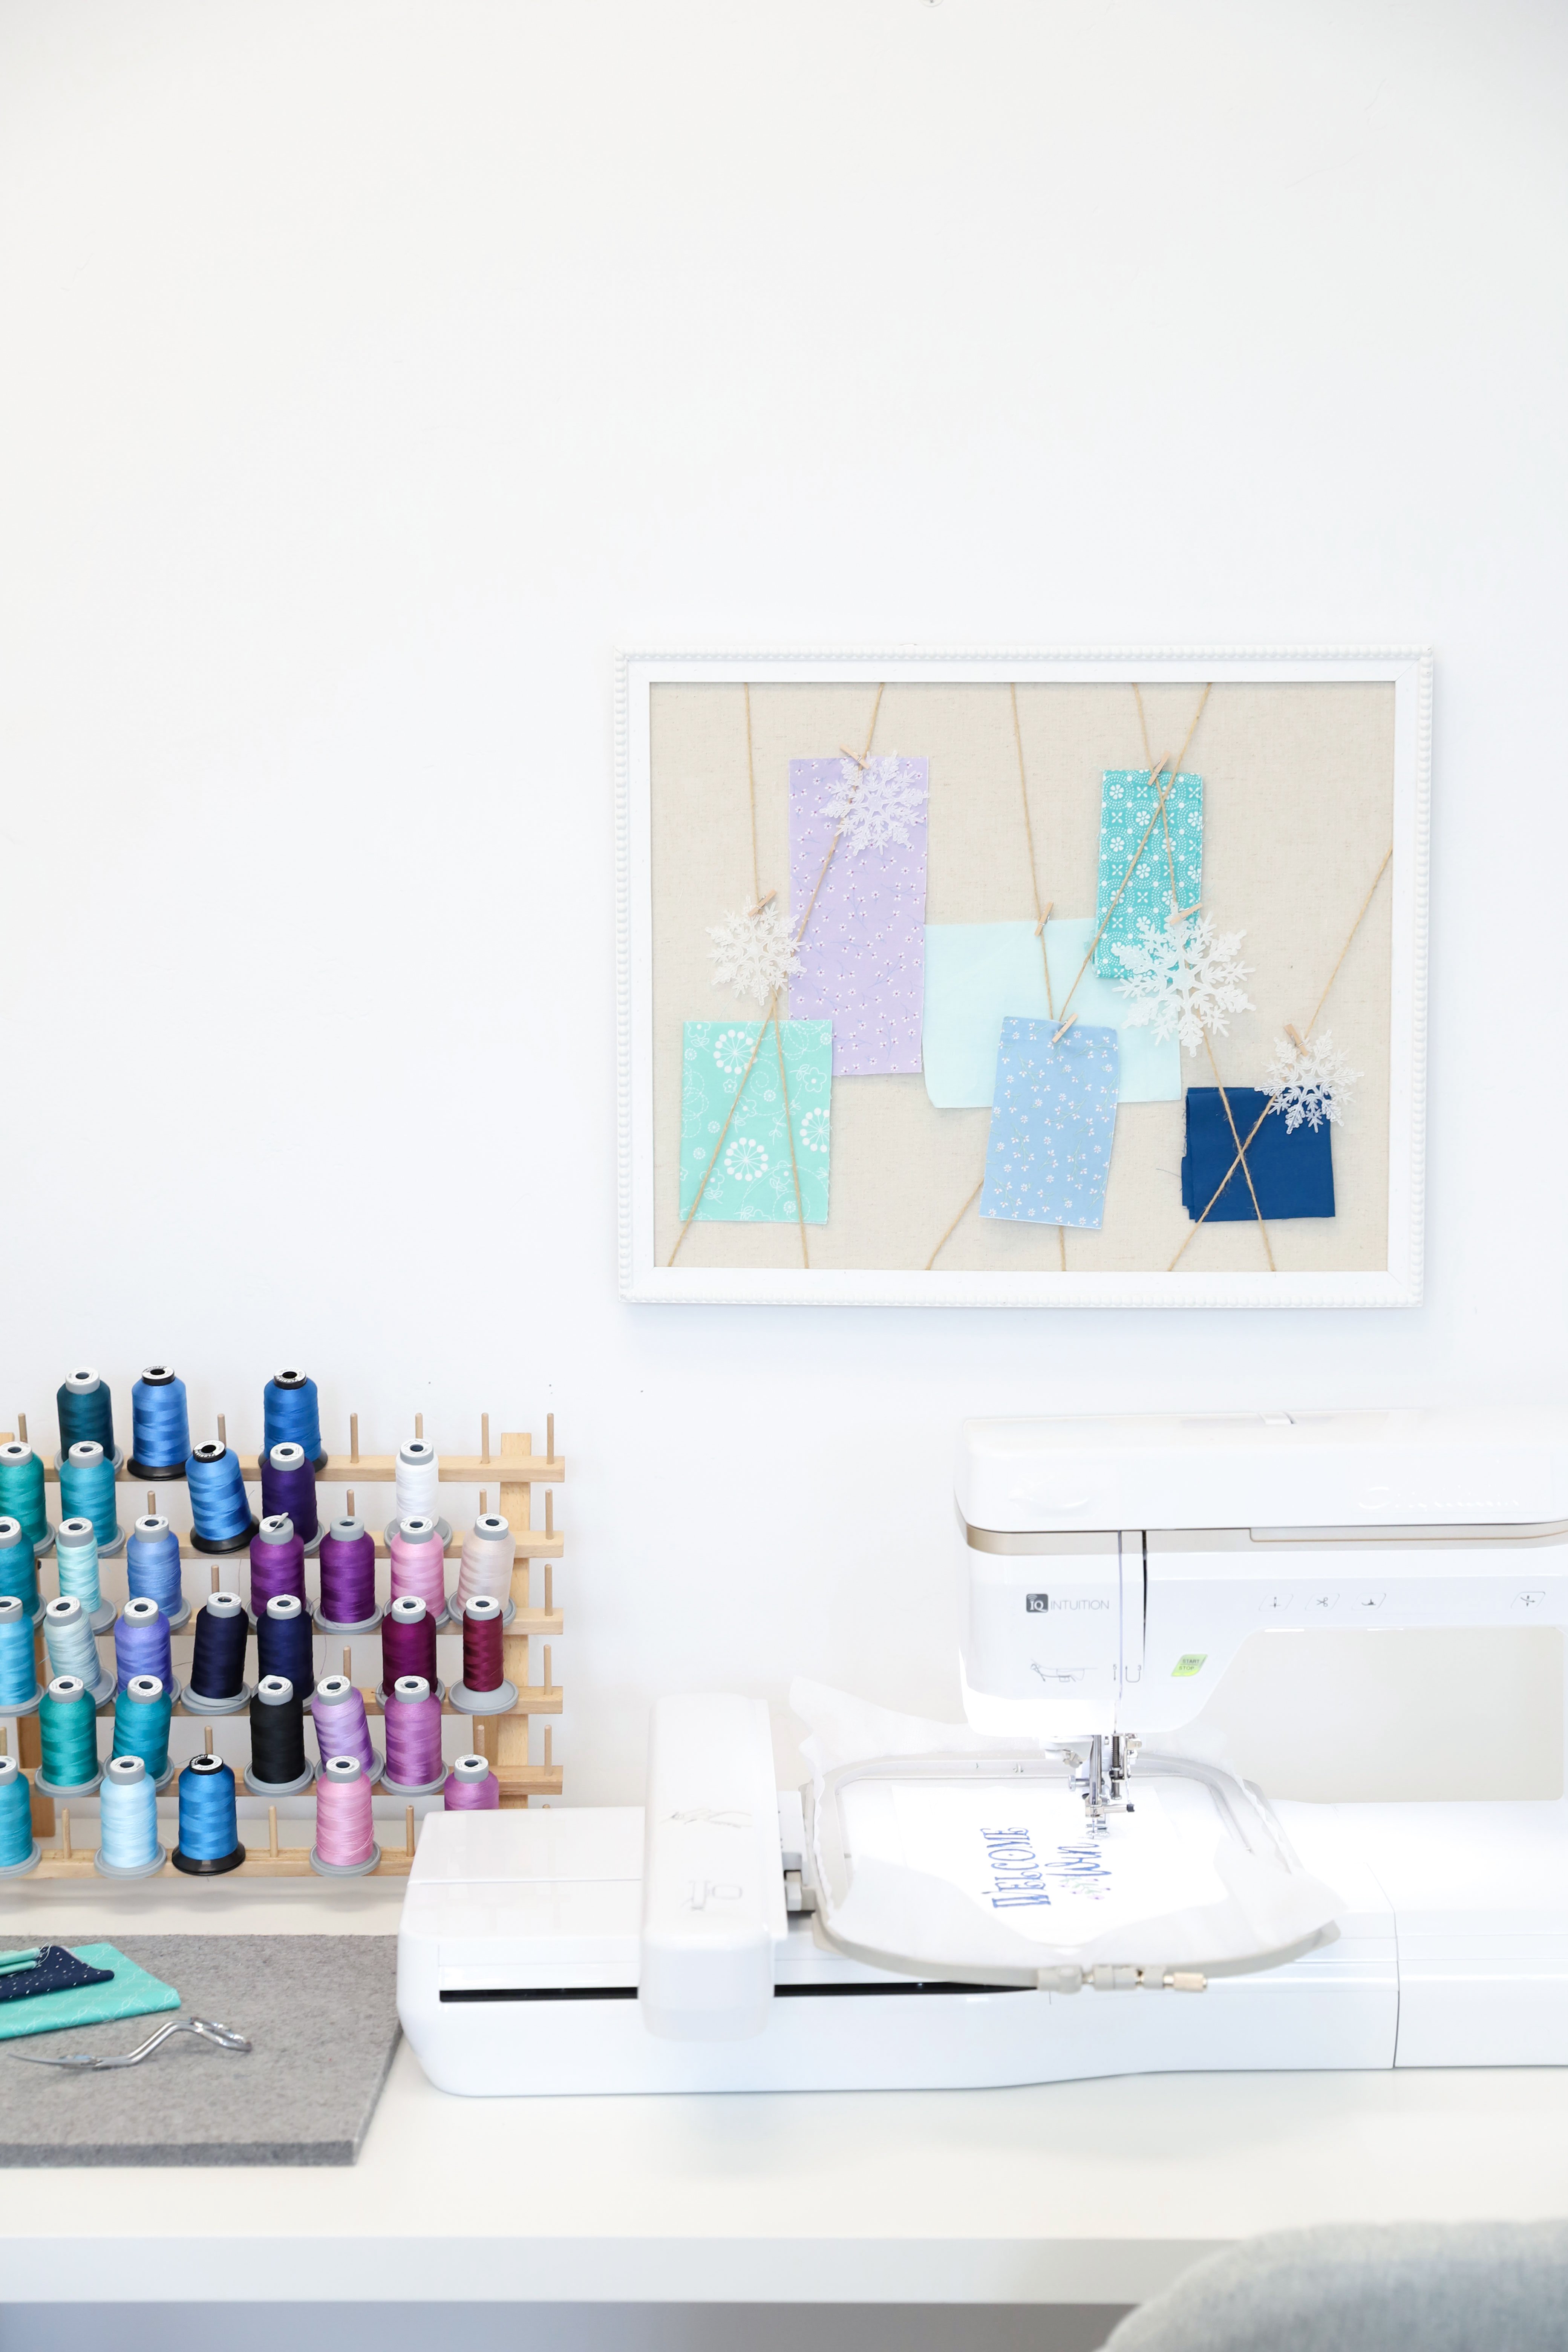
I feel a lot more peace and productivity when my environment is clean! 😀
Read Instructions
After your workspace is good to go, it's time to mentally prepare for your project by reading the instructions (or, at the very least, give them a good skim)!
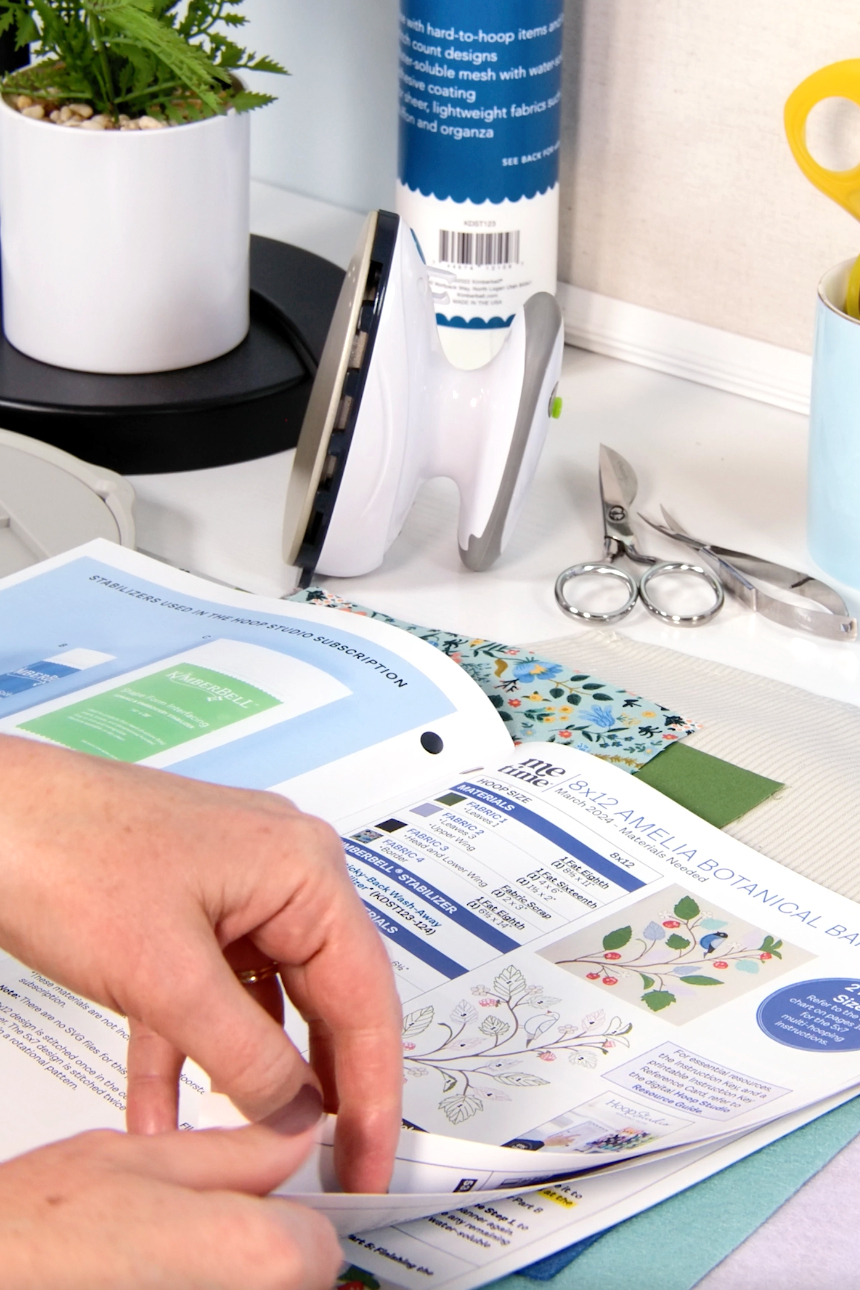
Kimberbell's full-color instructions will walk you through each step, but I find it helpful to read through the directions first so I can anticipate what's ahead of me.
Resealable Bags
Now that your space is ready and you're more familiar with the project, it's time to get organized! At Kimberbell, we love the simplicity of using resealable bags to sort fabric by block.
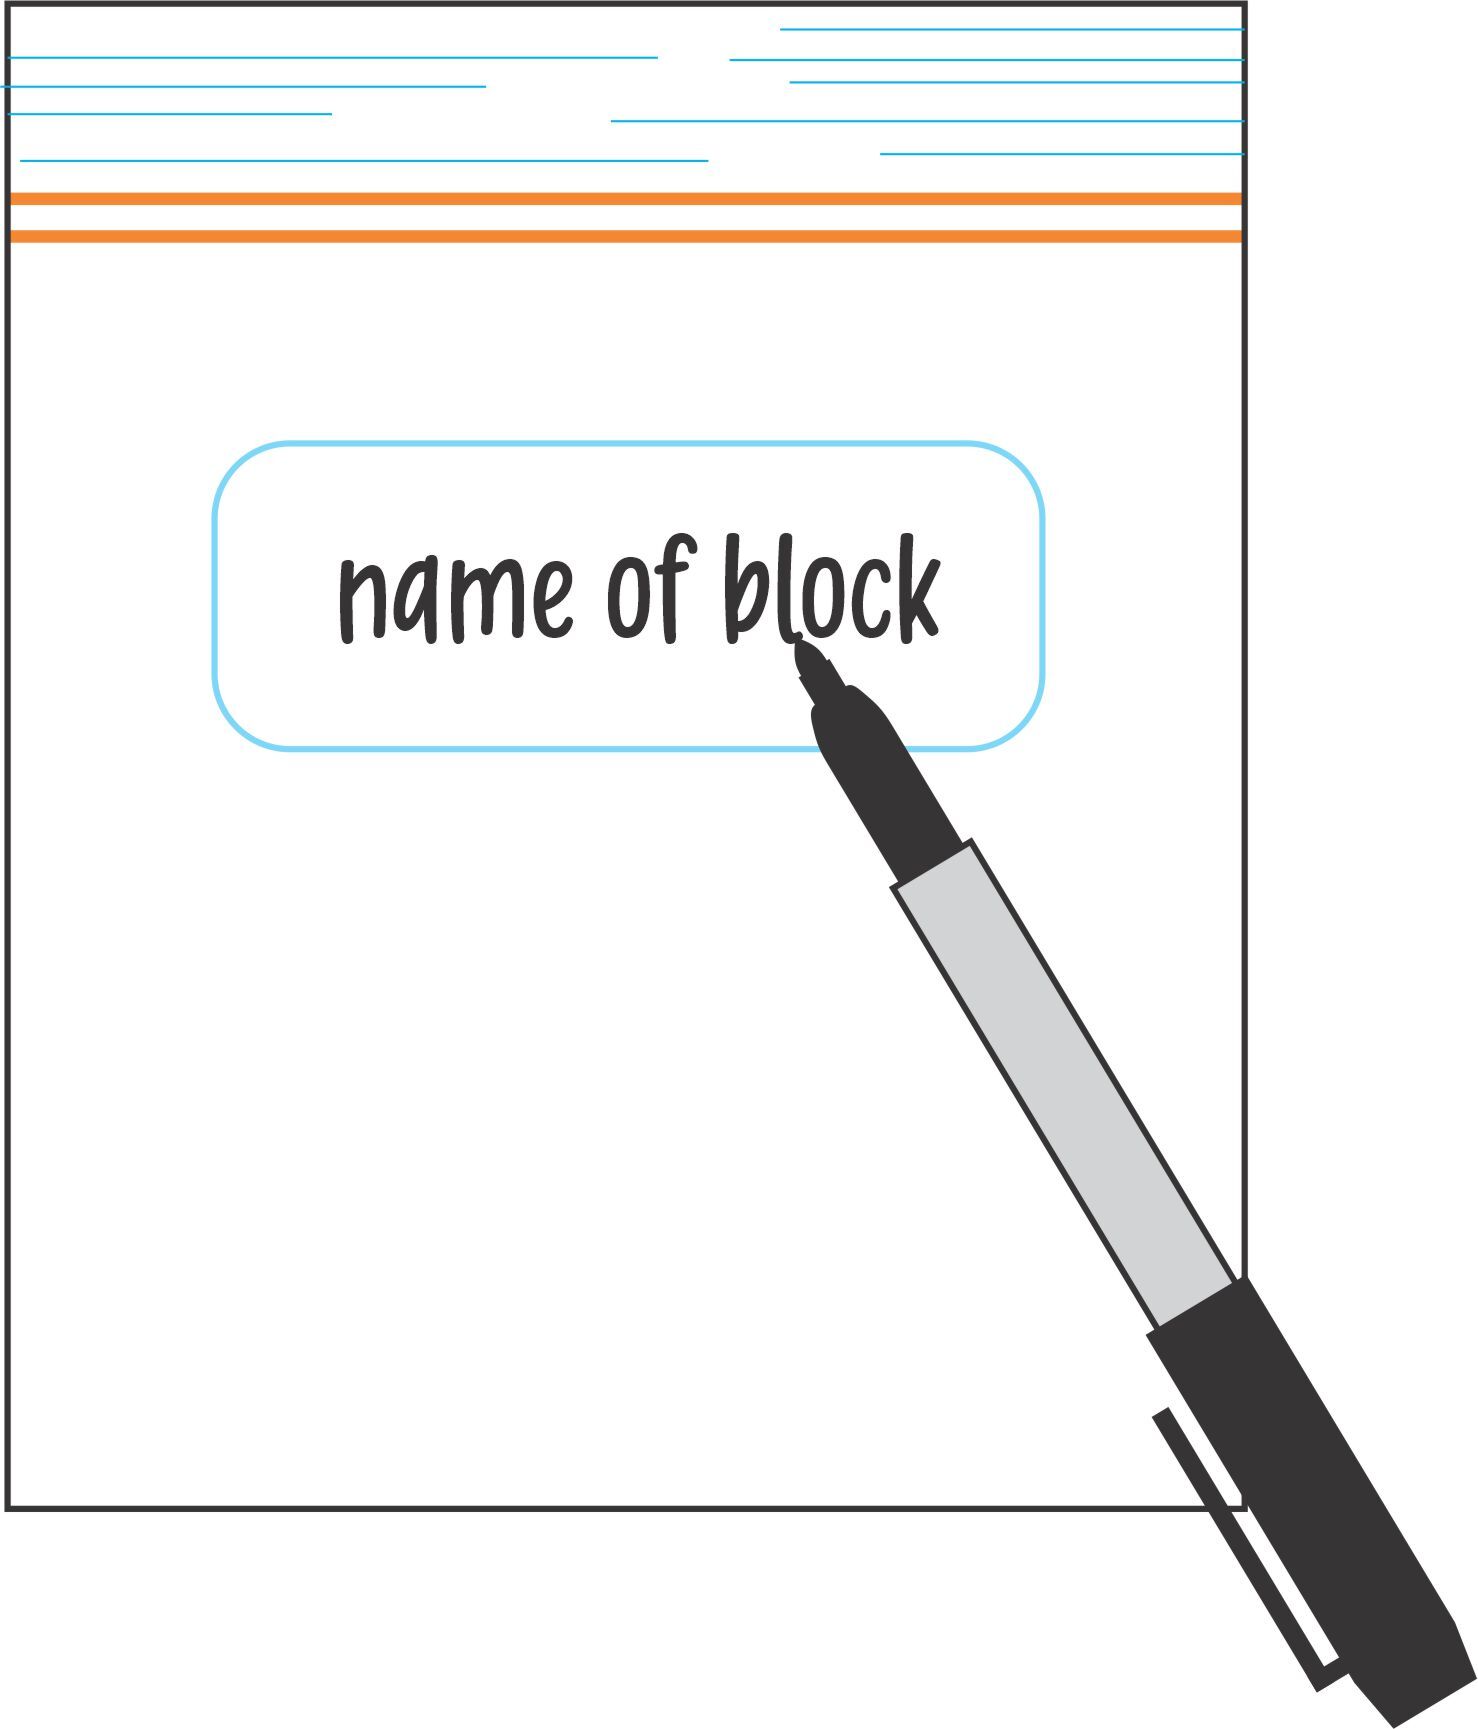
Label Bag
Start by writing the name of each block (and section) on the bag.
 Organize Sections
Next, organize your bags into sections so they're easy to find. Place the bags near your cutting mat.

Cut Fabric
Following the fabric, stabilizer, and embellishment cut lists and cutting diagrams in your instructions, cut everything you're going to need for a specific block and put those pieces into the corresponding bag.
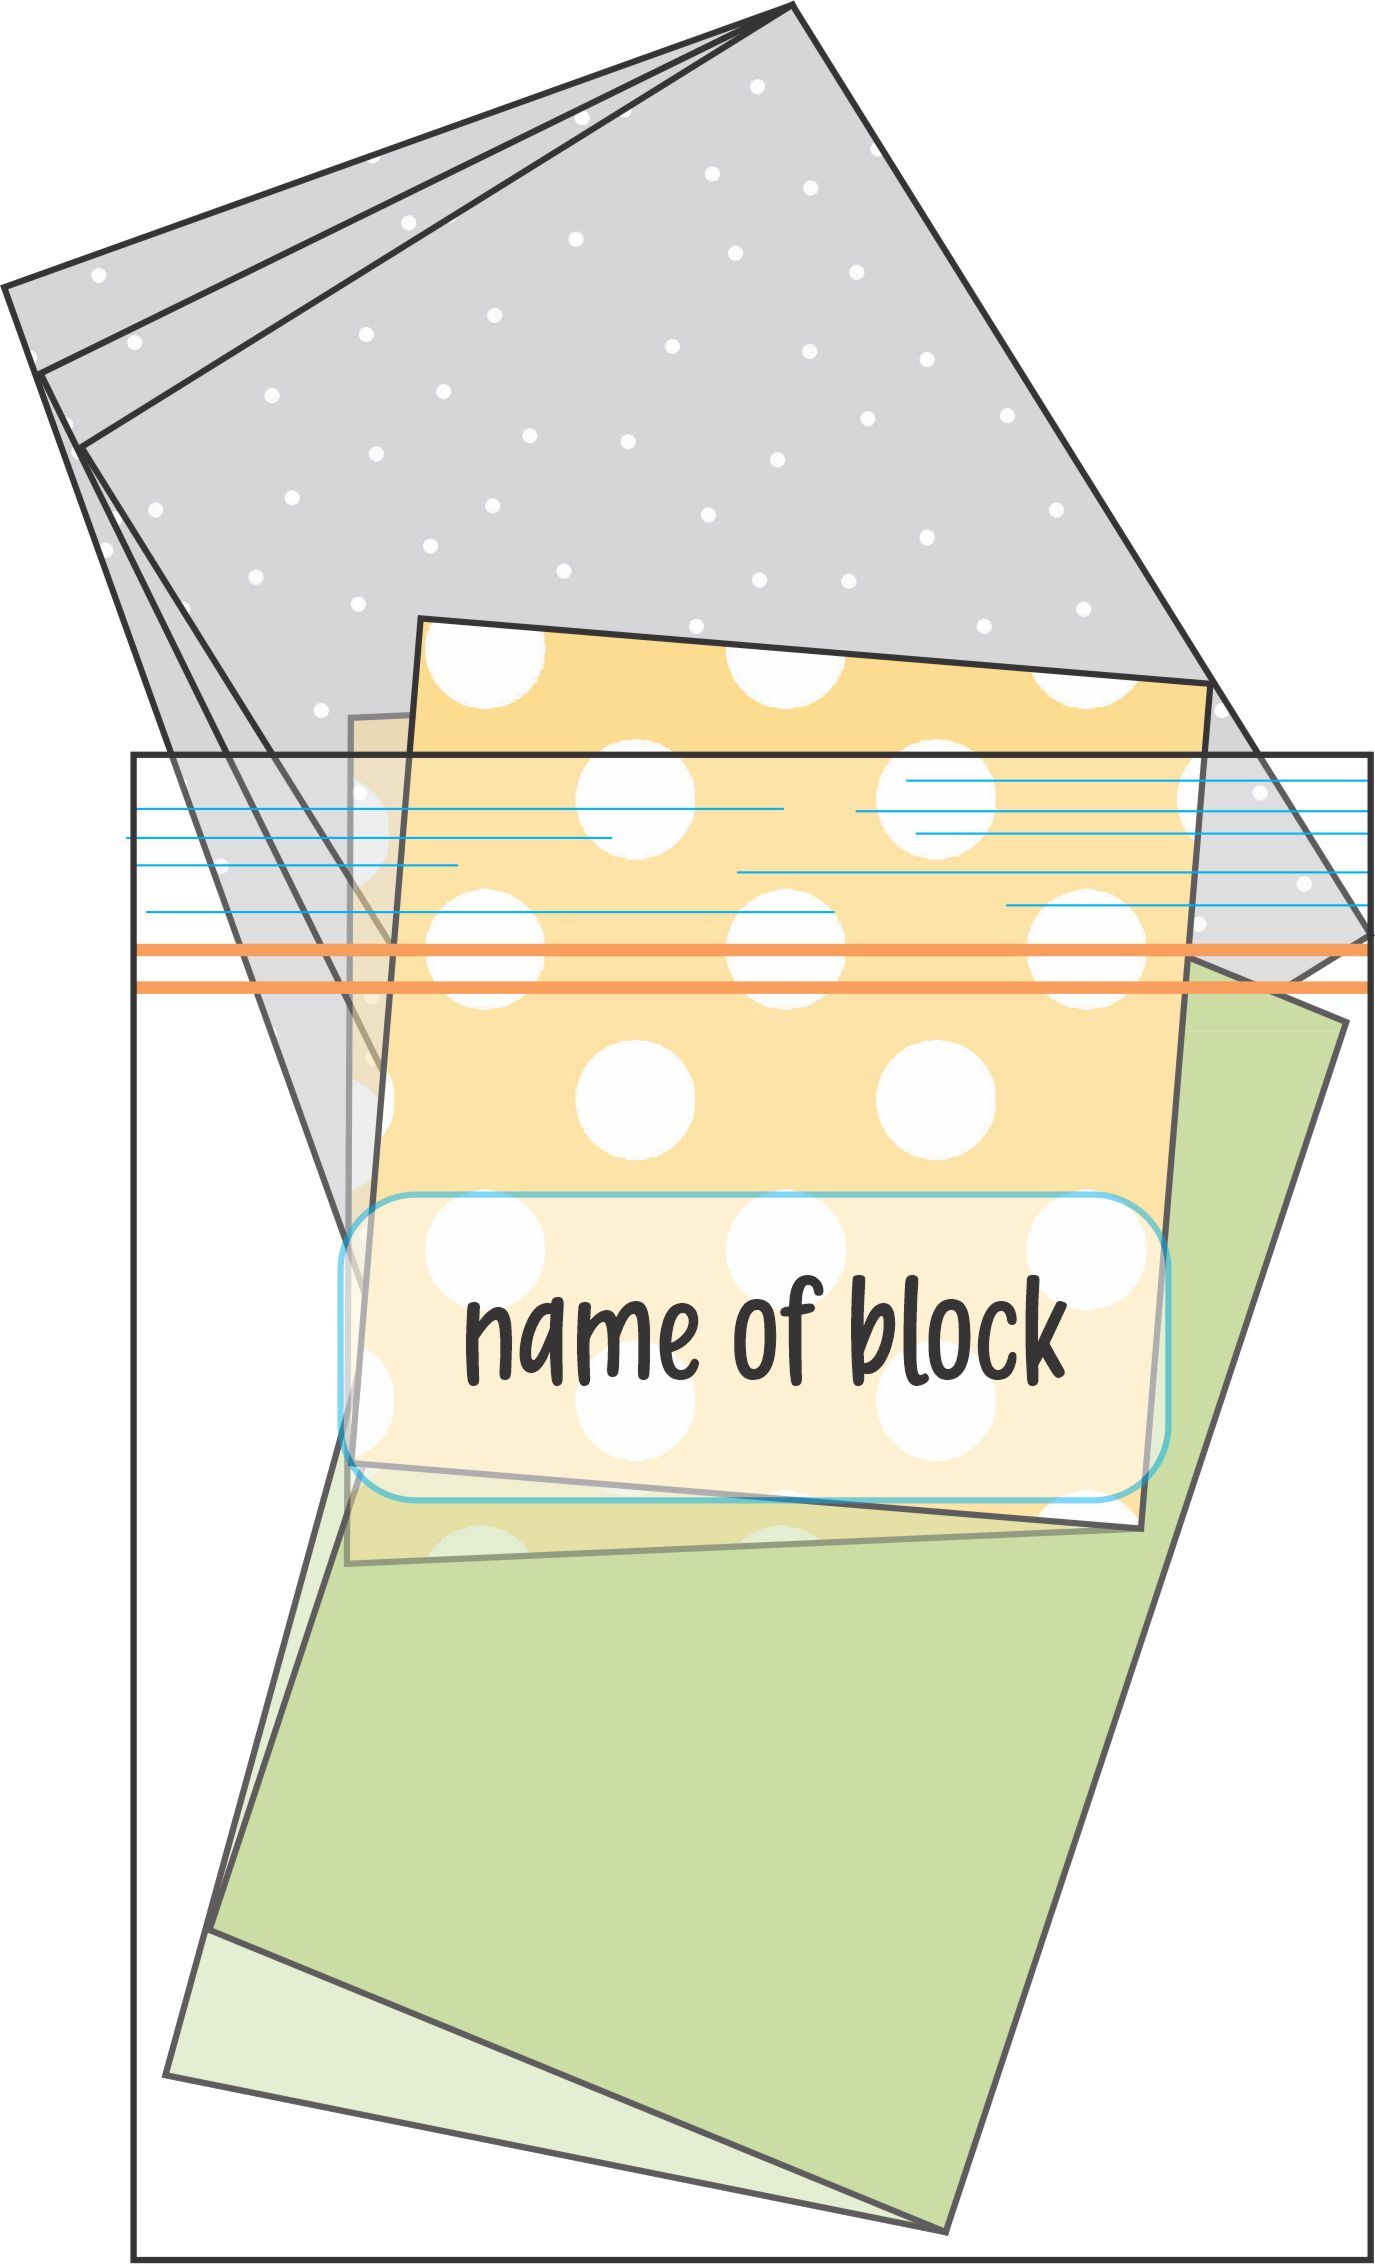
When the fabric is sorted this way, it's very easy to reach for everything you need in the moment. (It's like you're creating mini project kits for yourself!)
Kimberbell Fusible Backing
We also recommend ironing Kimberbell Fusible Backing to the back of fabric pieces. You can either do this before you put the fabric sections into the resealable bags OR when you pull them out to use them.
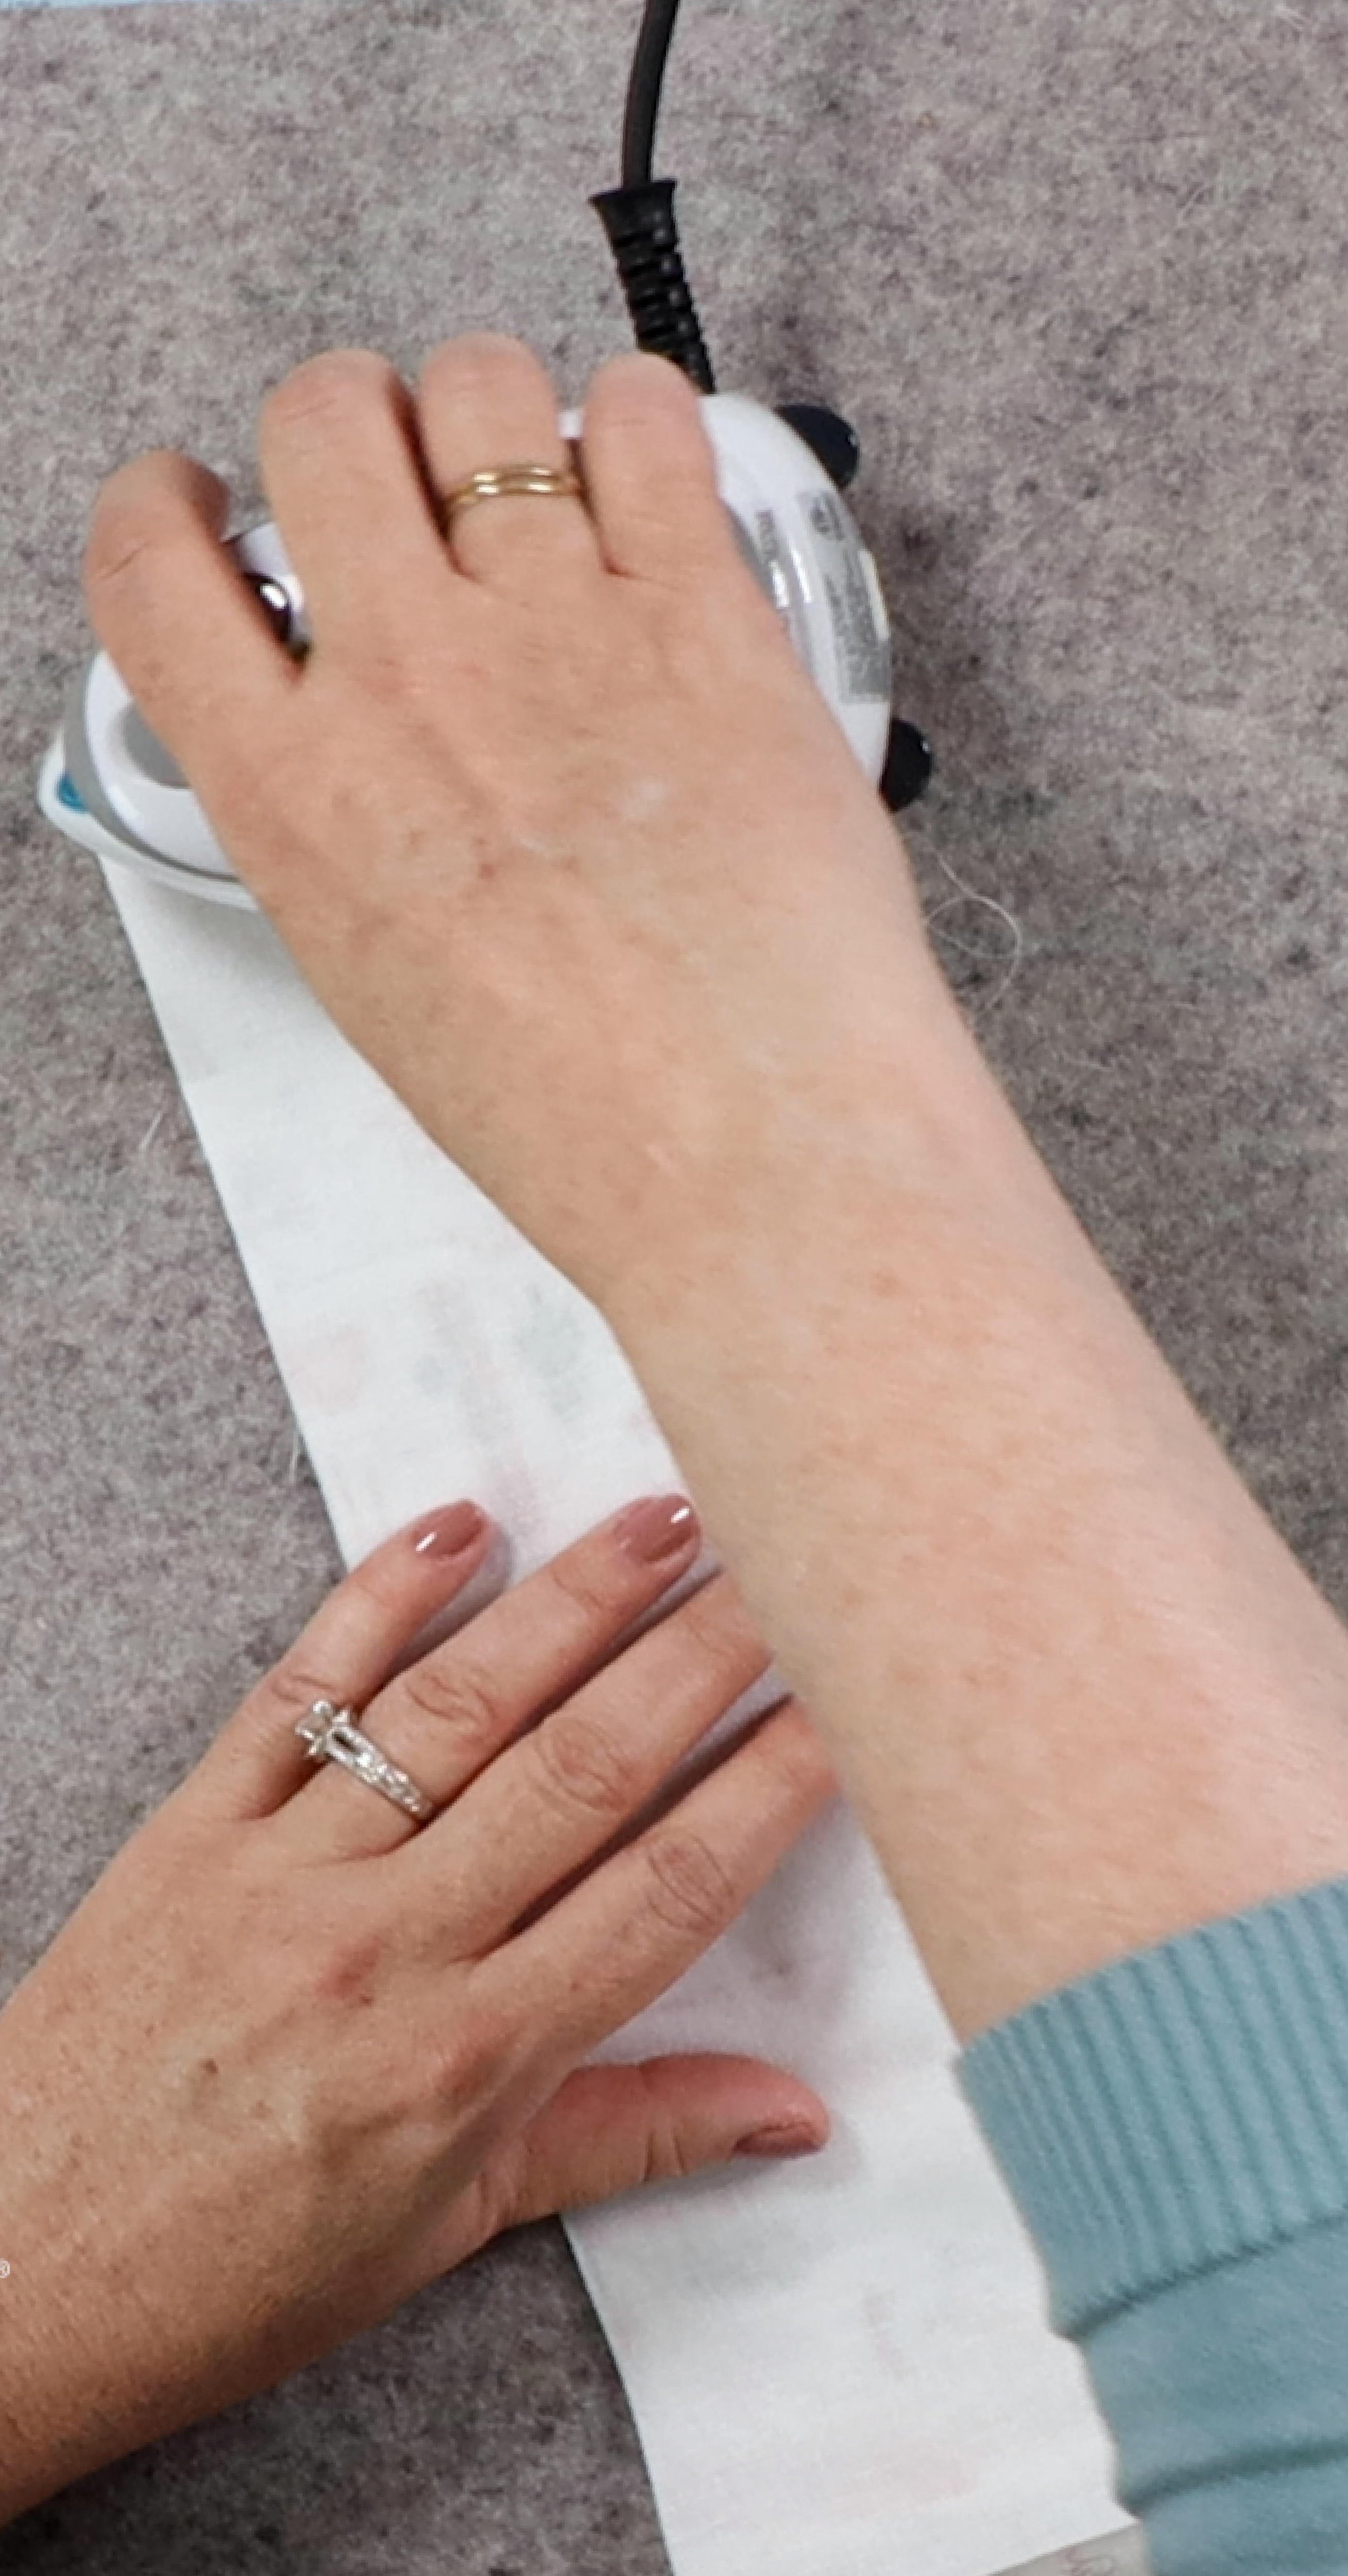
Fusible Backing adds extra structure to fabric, resulting in greater stability, reduced puckering, and beautiful stitches. (You won't believe the difference it makes!) Learn more HERE!
Gather Supplies
It's also very helpful to gather everything you're going to need for your project beforehand, including tools, thread, pre-wound bobbins, and some good needles. (We recommend size 80/12 for most projects.)
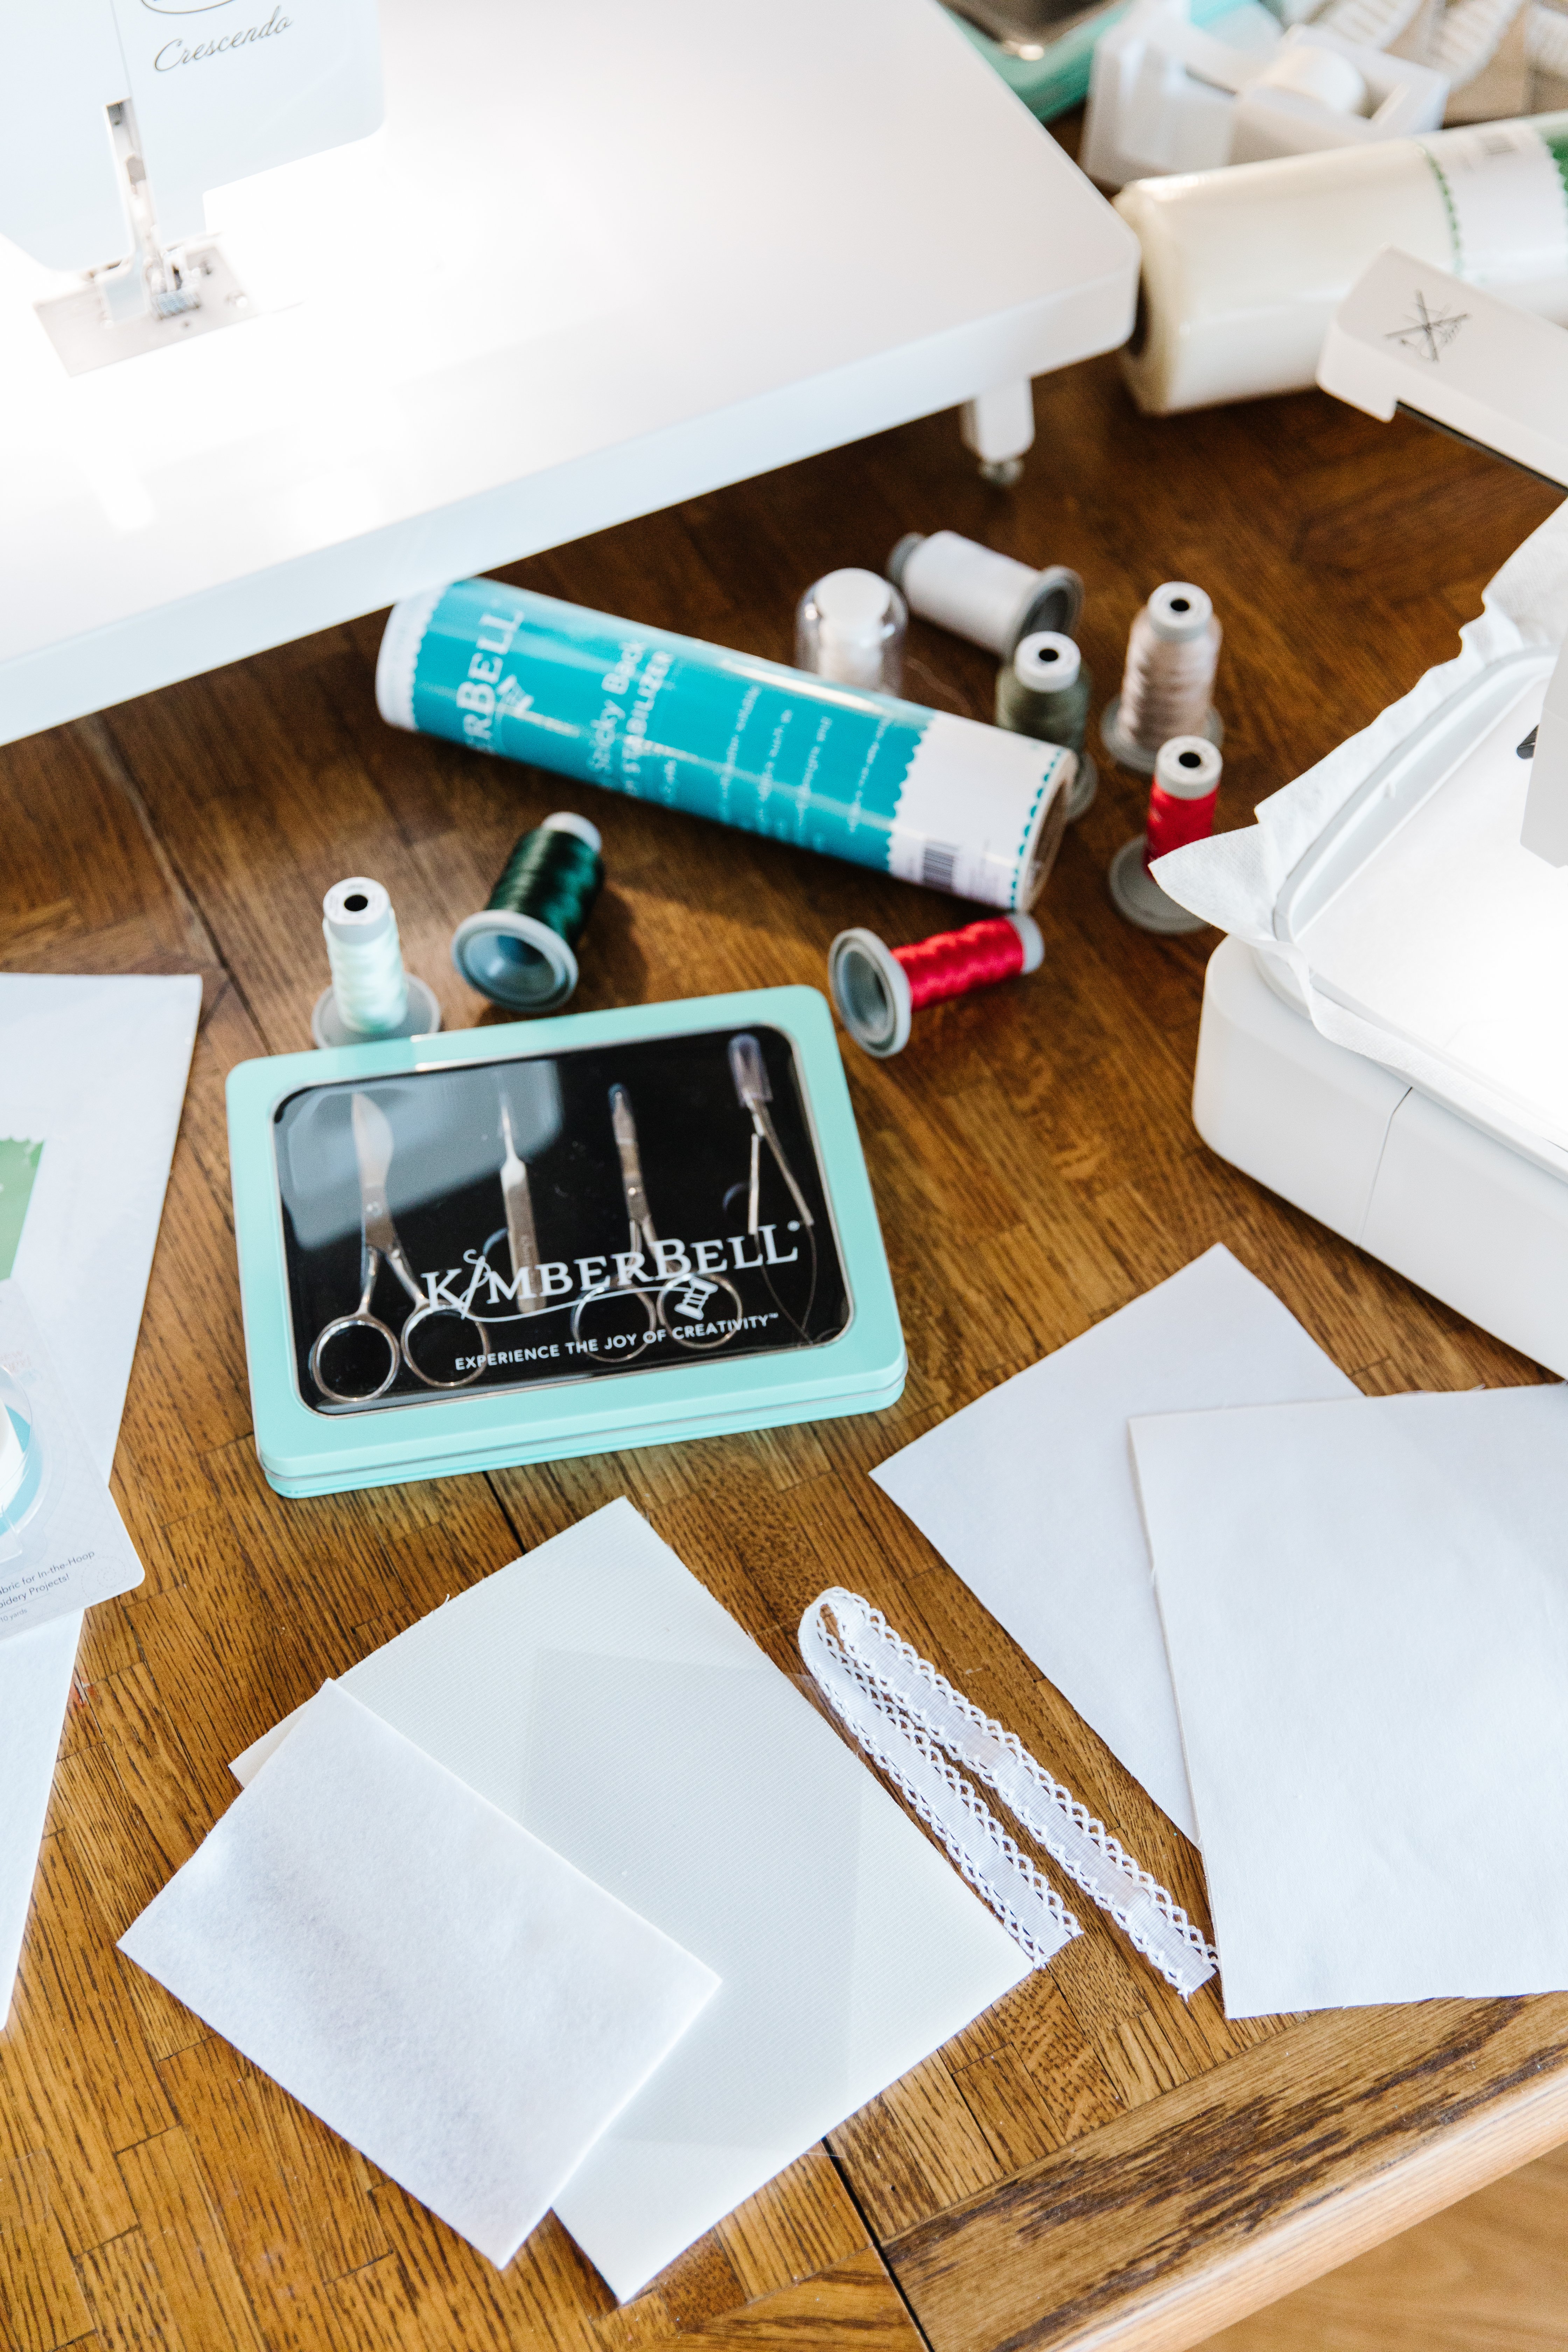
Before I start any machine embroidery project, I like having PLENTY of pre-wound bobbins on hand. Nothing's more irritating in the moment than having to stop what I'm doing to wind a bobbin!
The Best Tip
According to Kim, the best tip of all is to not be overwhelmed. You can do this! Take things one small step at a time and before you know it, you'll have completed a project you'll be proud of.
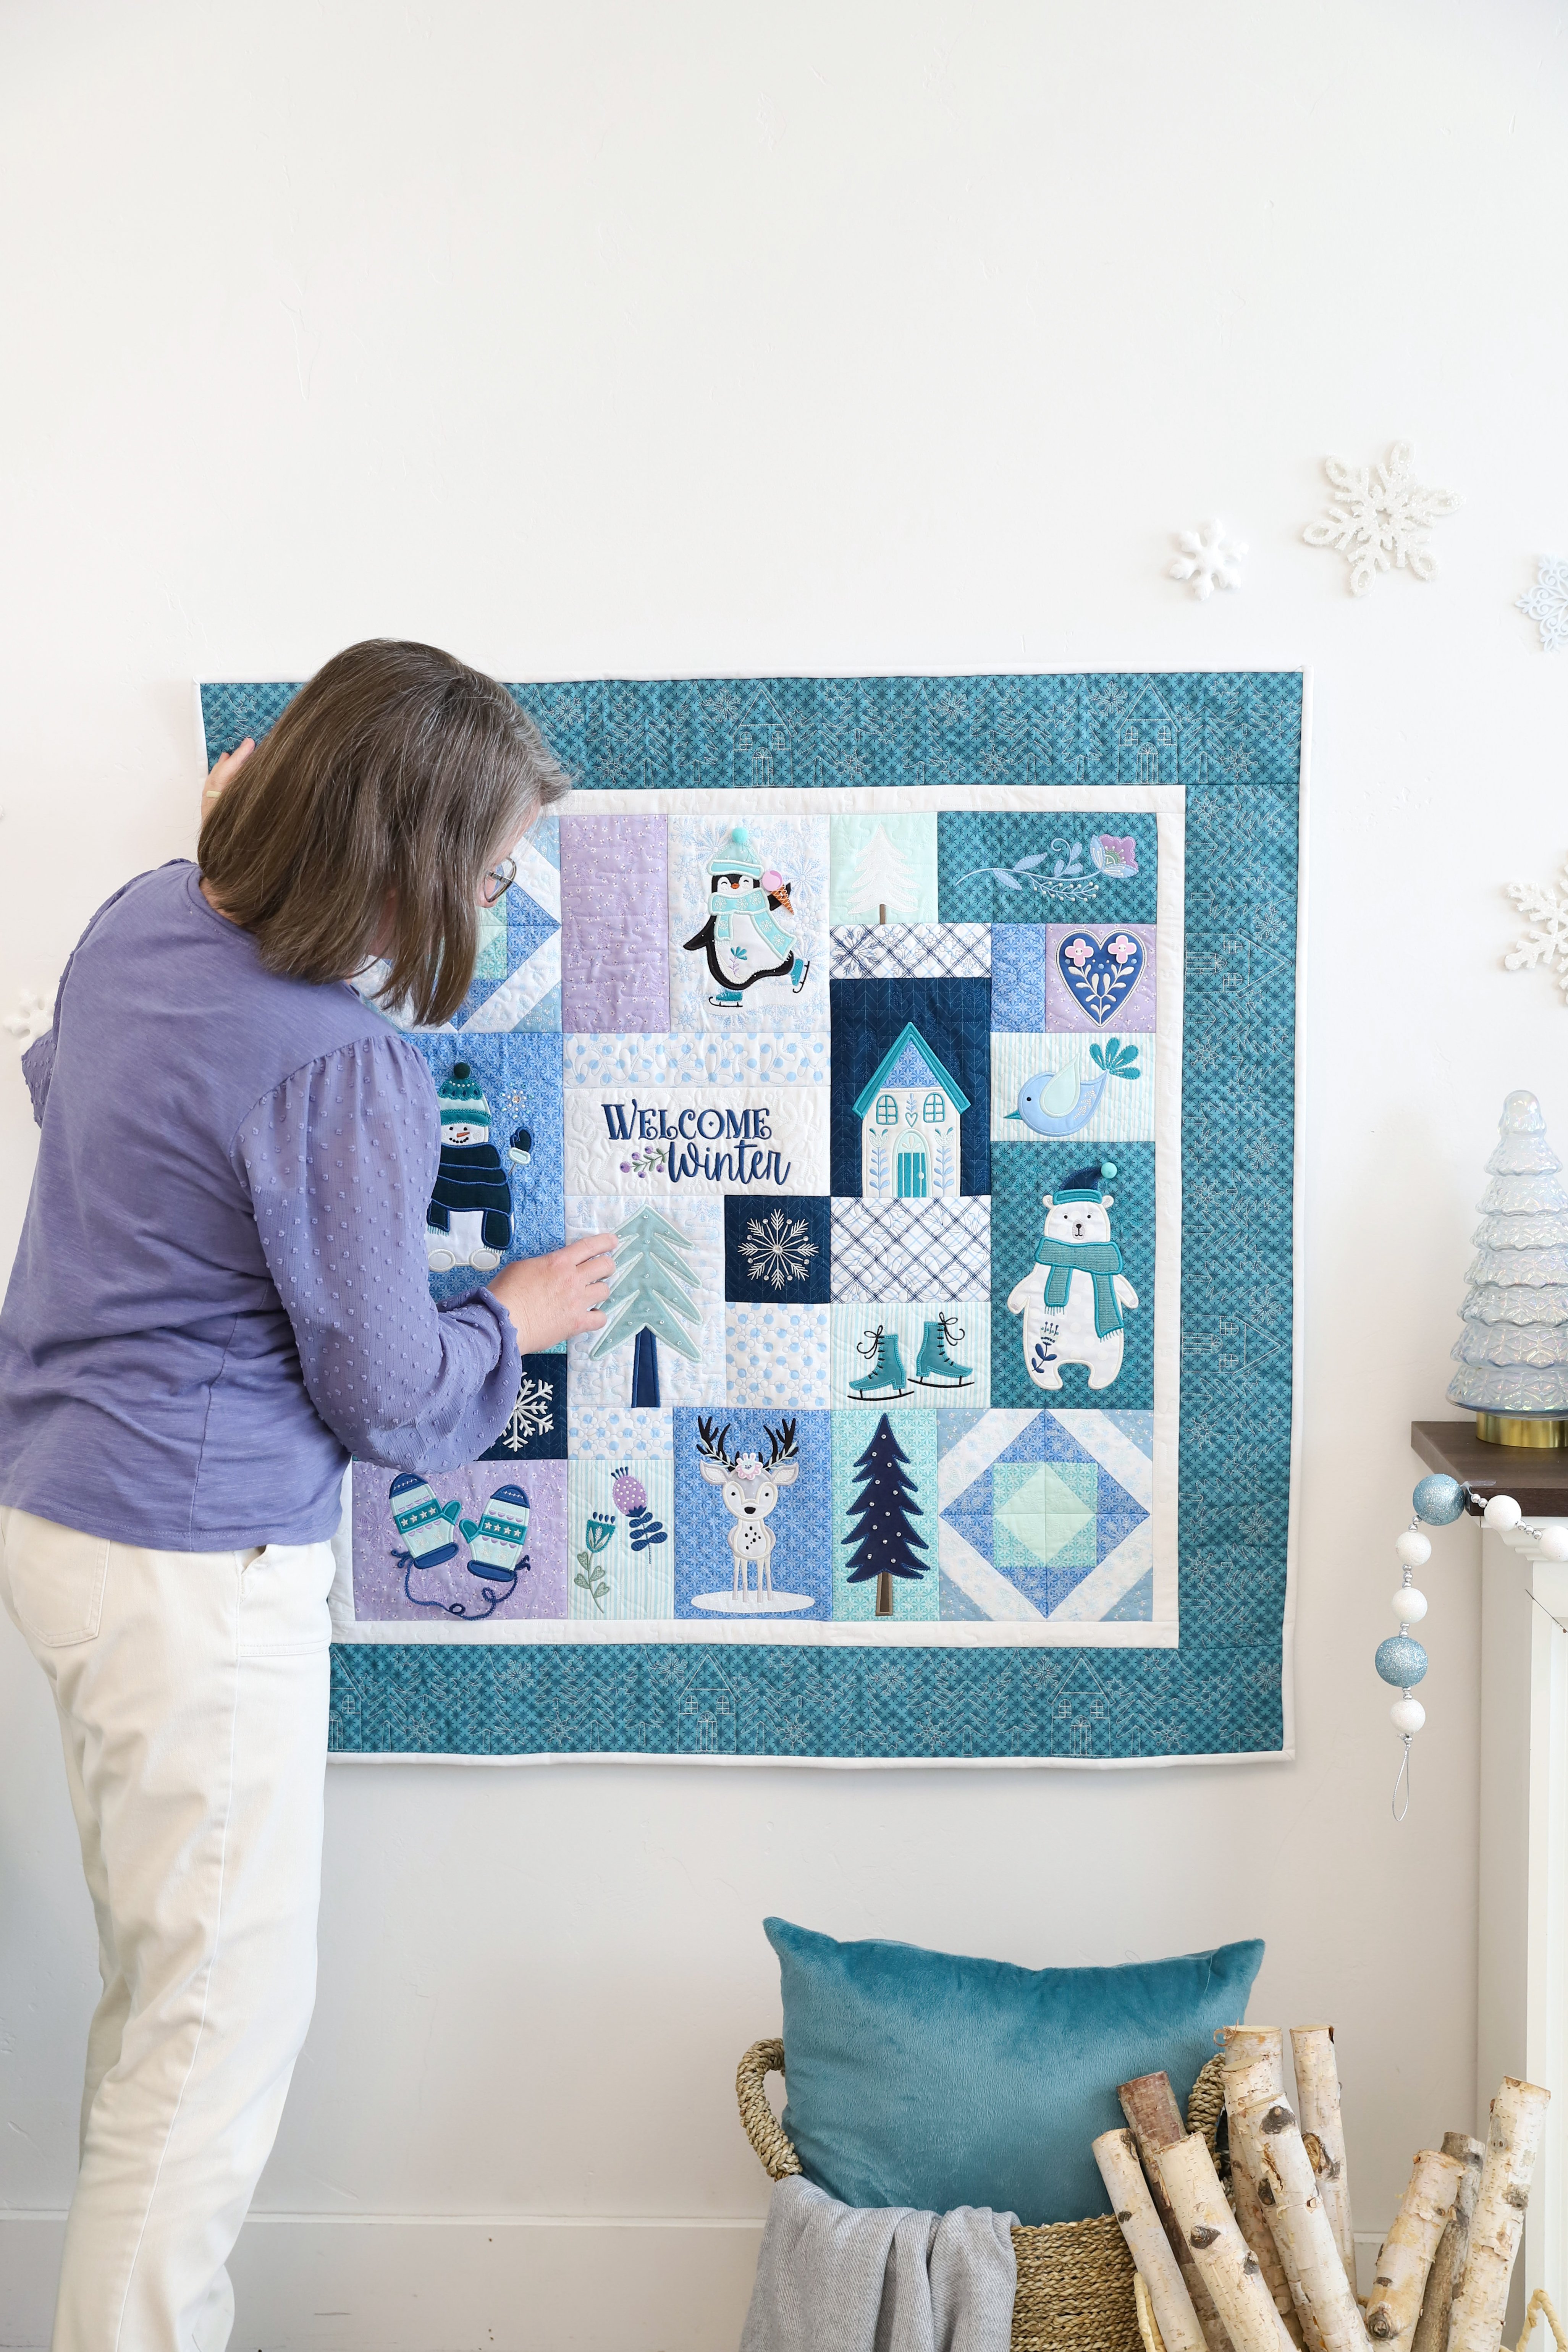
For the Enchanted Winter feature quilt (shown above), click HERE!
I hope these tips help you Experience the Joy of Creativity® more fully.
Happy stitching! 😀