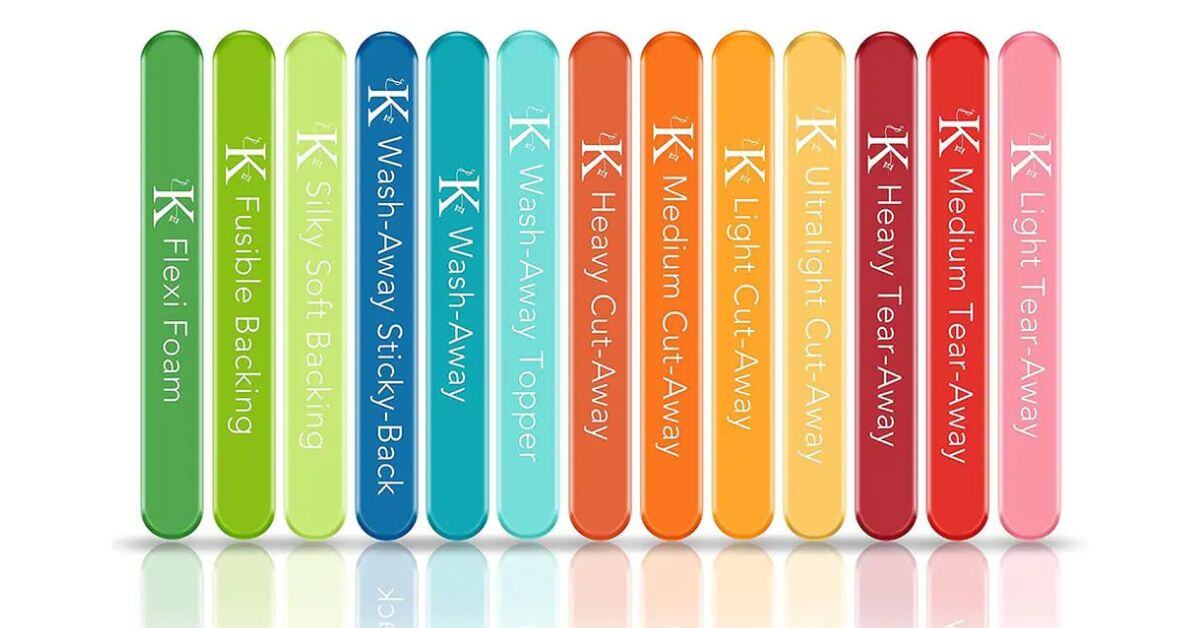
What To Know About Flexi Foam Backing

If you're someone who creates projects using machine embroidery, you’ve likely come across stabilizers of all kinds. But have you tried Flexi Foam backing? If not, this stabilizer might be just what you need! It adds a subtle dimensional effect to your embroidery projects, creating a slight "puff" beneath your stitches to enhance your designs.
Using Flexi Foam unlocks endless creative possibilities. Interested in learning more about this tool? Here's everything you need to know about Flexi Foam backing and how to incorporate it into your embroidery projects.
Why Use Flexi Foam Backing?
Flexi Foam backing is more than just a stabilizer—it's a game-changer for embroidery enthusiasts. Specifically crafted to provide structure and texture, it enhances the overall quality of your projects while maintaining a lightweight feel. Whether you're creating intricate details or bold designs, Flexi Foam ensures your work stands out with a professional finish. Here are a few reasons why it shines in the world of stabilizers:
- Adds dimensional appeal
- Lightweight and supportive, making it easy to work with
- Durable and versatile, perfect for a variety of embroidery applications
How To Use Flexi Foam Backing
Using Flexi Foam is straightforward, and you don’t need a longarm machine or specialized tools to achieve stunning, professional-quality results. To help you get started, here’s a simple guide to using Flexi Foam effectively.
Step 1: Select Your Design
Flexi Foam works best with designs that have bold, open shapes or satin stitches. Avoid dense or highly compact patterns, as the foam needs space to “puff” under your stitches.
Step 2: Prep the Foam
Cut the Flexi Foam slightly larger than your design area to ensure your entire embroidery field is fully covered. This extra margin not only guarantees better coverage but also makes the hooping process easier.
Step 3: Hoop or "Float" the Foam
Depending on your project, you can either hoop the foam along with your stabilizer and fabric or use the “floating” method. This means the foam is placed between the fabric and stabilizer without hooping it directly, which is ideal for hard-to-hoop projects.
Step 4: Embroider as Usual
Now comes the easy part. Your embroidery machine can stitch through Flexi Foam effortlessly. Any puffiness during stitching is normal and adds a professional, dimensional effect to your design!
Step 5: Trim and Finish
After finishing the embroidery, trim excess foam close to the stitching with sharp scissors for a clean, polished look. This careful step ensures the foam blends into the fabric, creating a seamless, professional finish.
Perfect Projects for Flexi Foam Backing
Not sure where to start? Flexi Foam backing is ideal for:
- Tote bags: Add textured monograms or bold designs that pop.
- Zipper pouches: Give your in-the-hoop projects a little extra oomph.
- Pillows and quilts: Easily achieve a quilted look with raised design elements.
If you’re a fan of Kimberbell’s design projects, Flexi Foam pairs brilliantly with popular products like Zipper Pouches and Bench Pillows!
Add Structure to Your Projects Today!
Now that you know everything you need to know about Flexi Foam backing, you're on your way to creating game-changing projects! This lightweight and dimensional stabilizer fabric for embroidery provides unmatched support, adding both practicality and a luxurious touch to otherwise flat designs. Whether you're creating bold patterns or intricate details, Flexi Foam backing helps elevate your work to the next level.

.jpg)
