Machine Embroidery Thread: Types, Tips, & Preventing Thread Breaks
-1.png)
.png?width=1309&name=Social-Image-Blog-01%20(1).png)
For the machine embroidery enthusiast, shopping for thread is like being a kid in a candy store. (They're just so pretty!) But how do you know which spools to choose?
Let's unravel some of the mysteries of thread, including different thread types and what to do if your thread is breaking or shredding.
Thread Types
Polyester
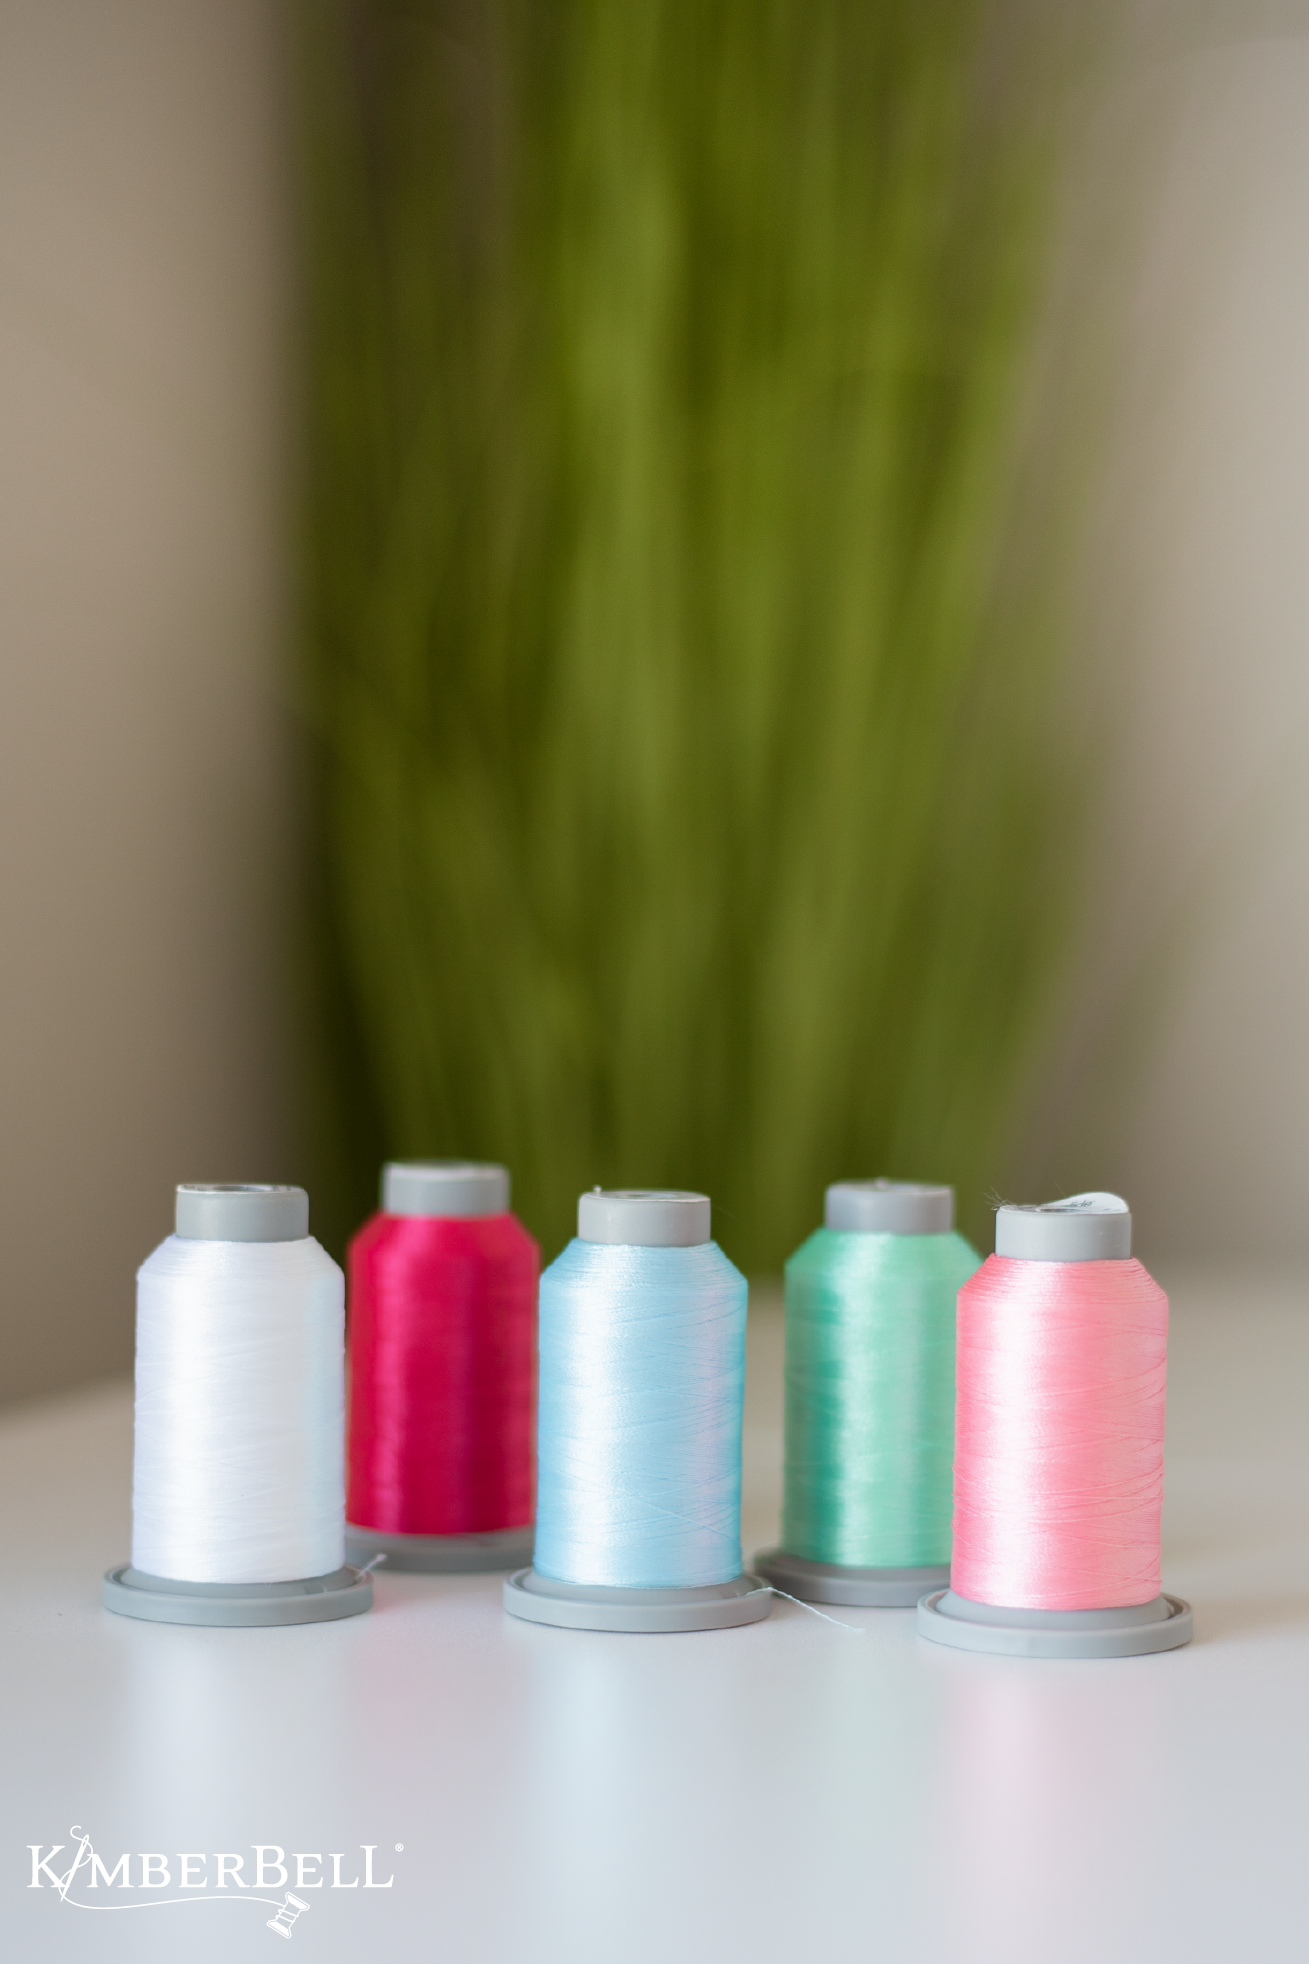
Polyester thread is lustrous, strong, and colorfast, even when bleached. Available in a wide variety of vibrant colors, polyester thread performs very well during embroidery and is made from multiple synthetic filaments. (Some brands offer both shiny and matte finishes. )
Rayon
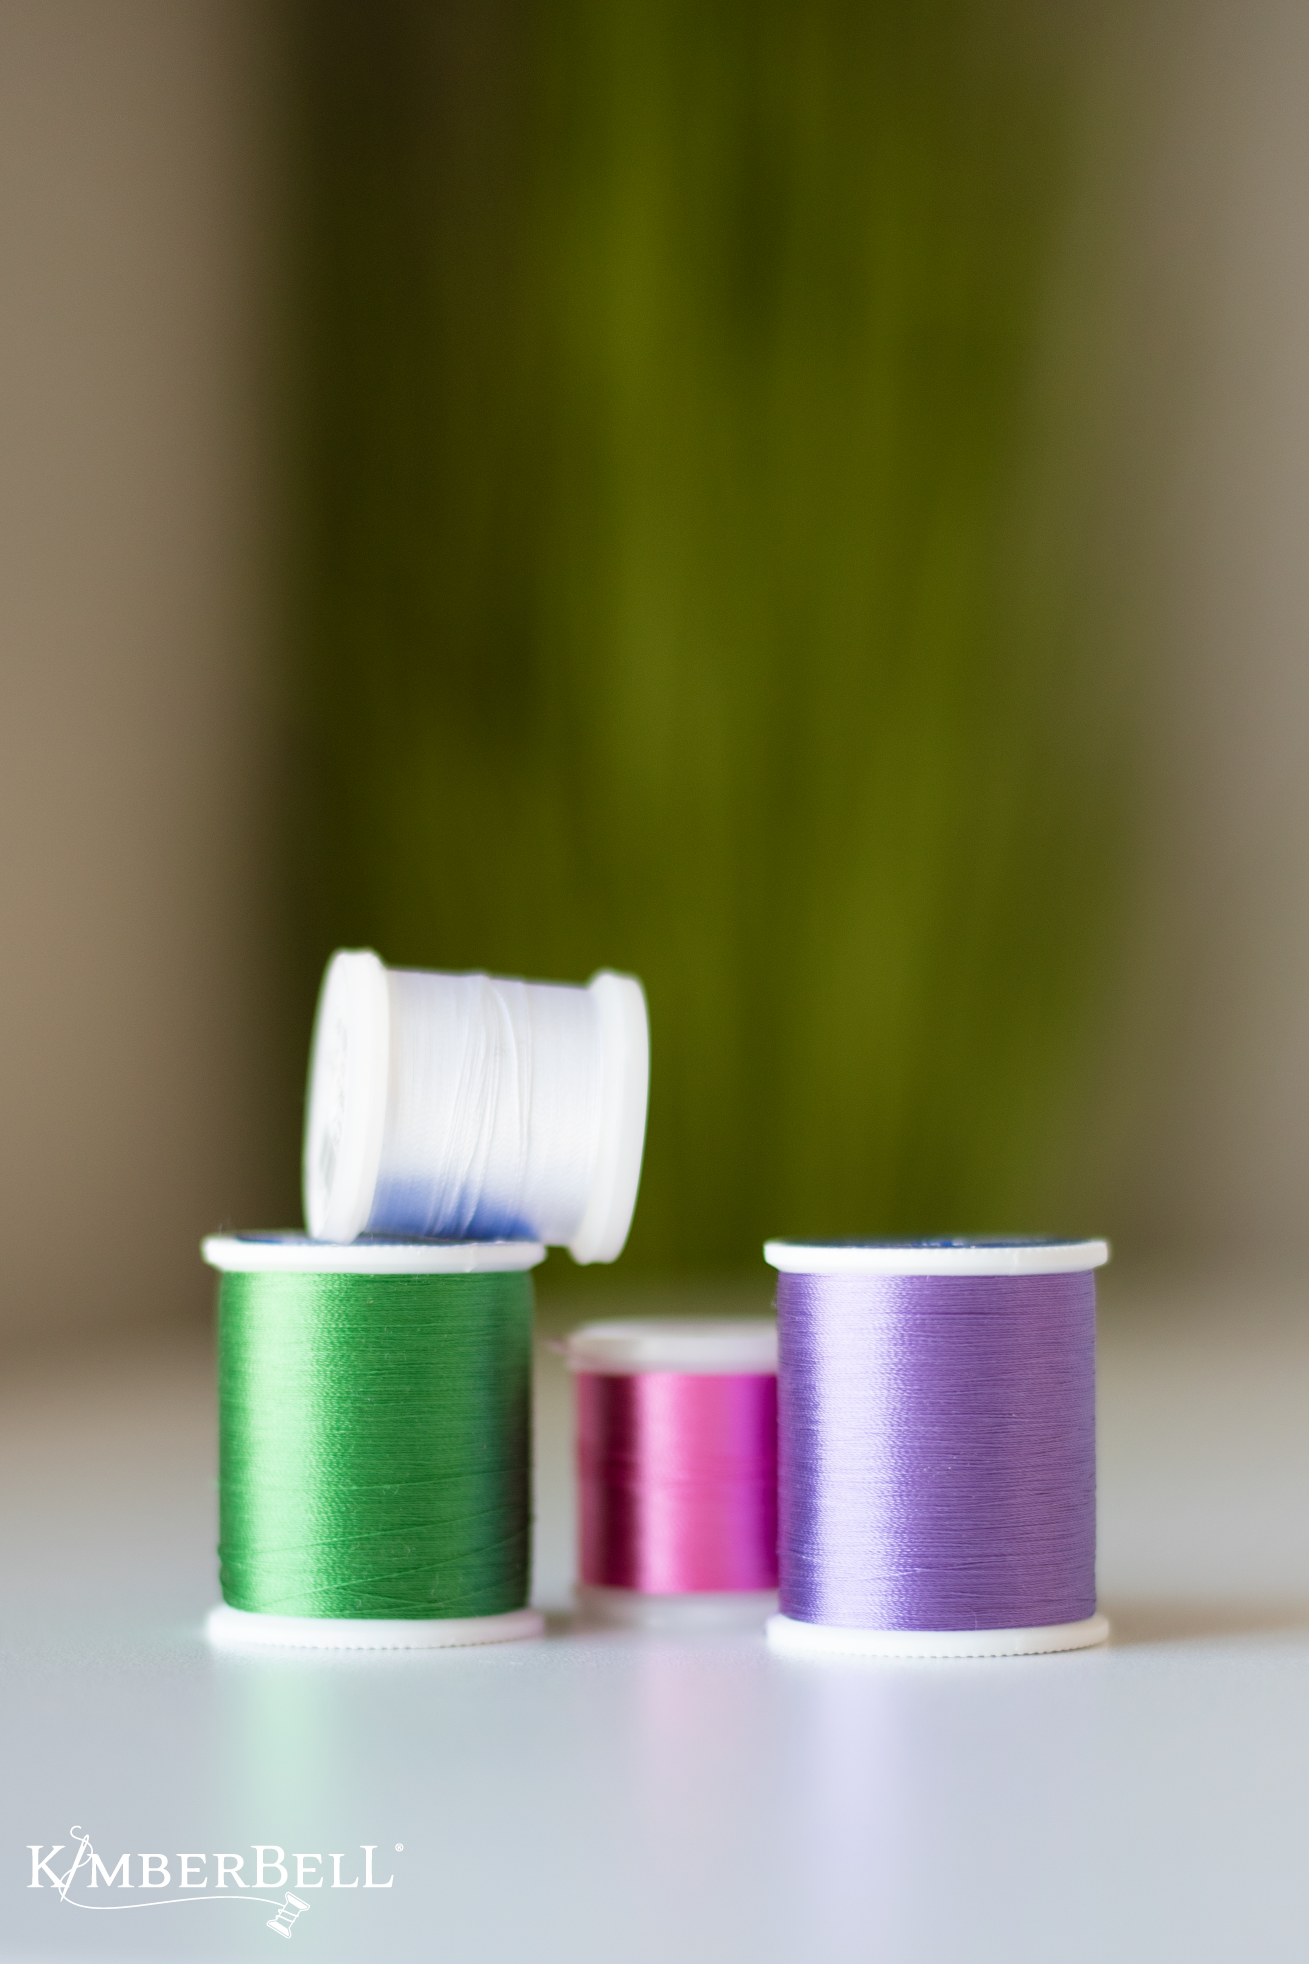
With fibers made from organic cellulose, rayon thread is soft, shiny, and available in a wide assortment of colors. Like polyester, rayon has a high tensile strength and consistently performs well during the embroidery process.
Cotton
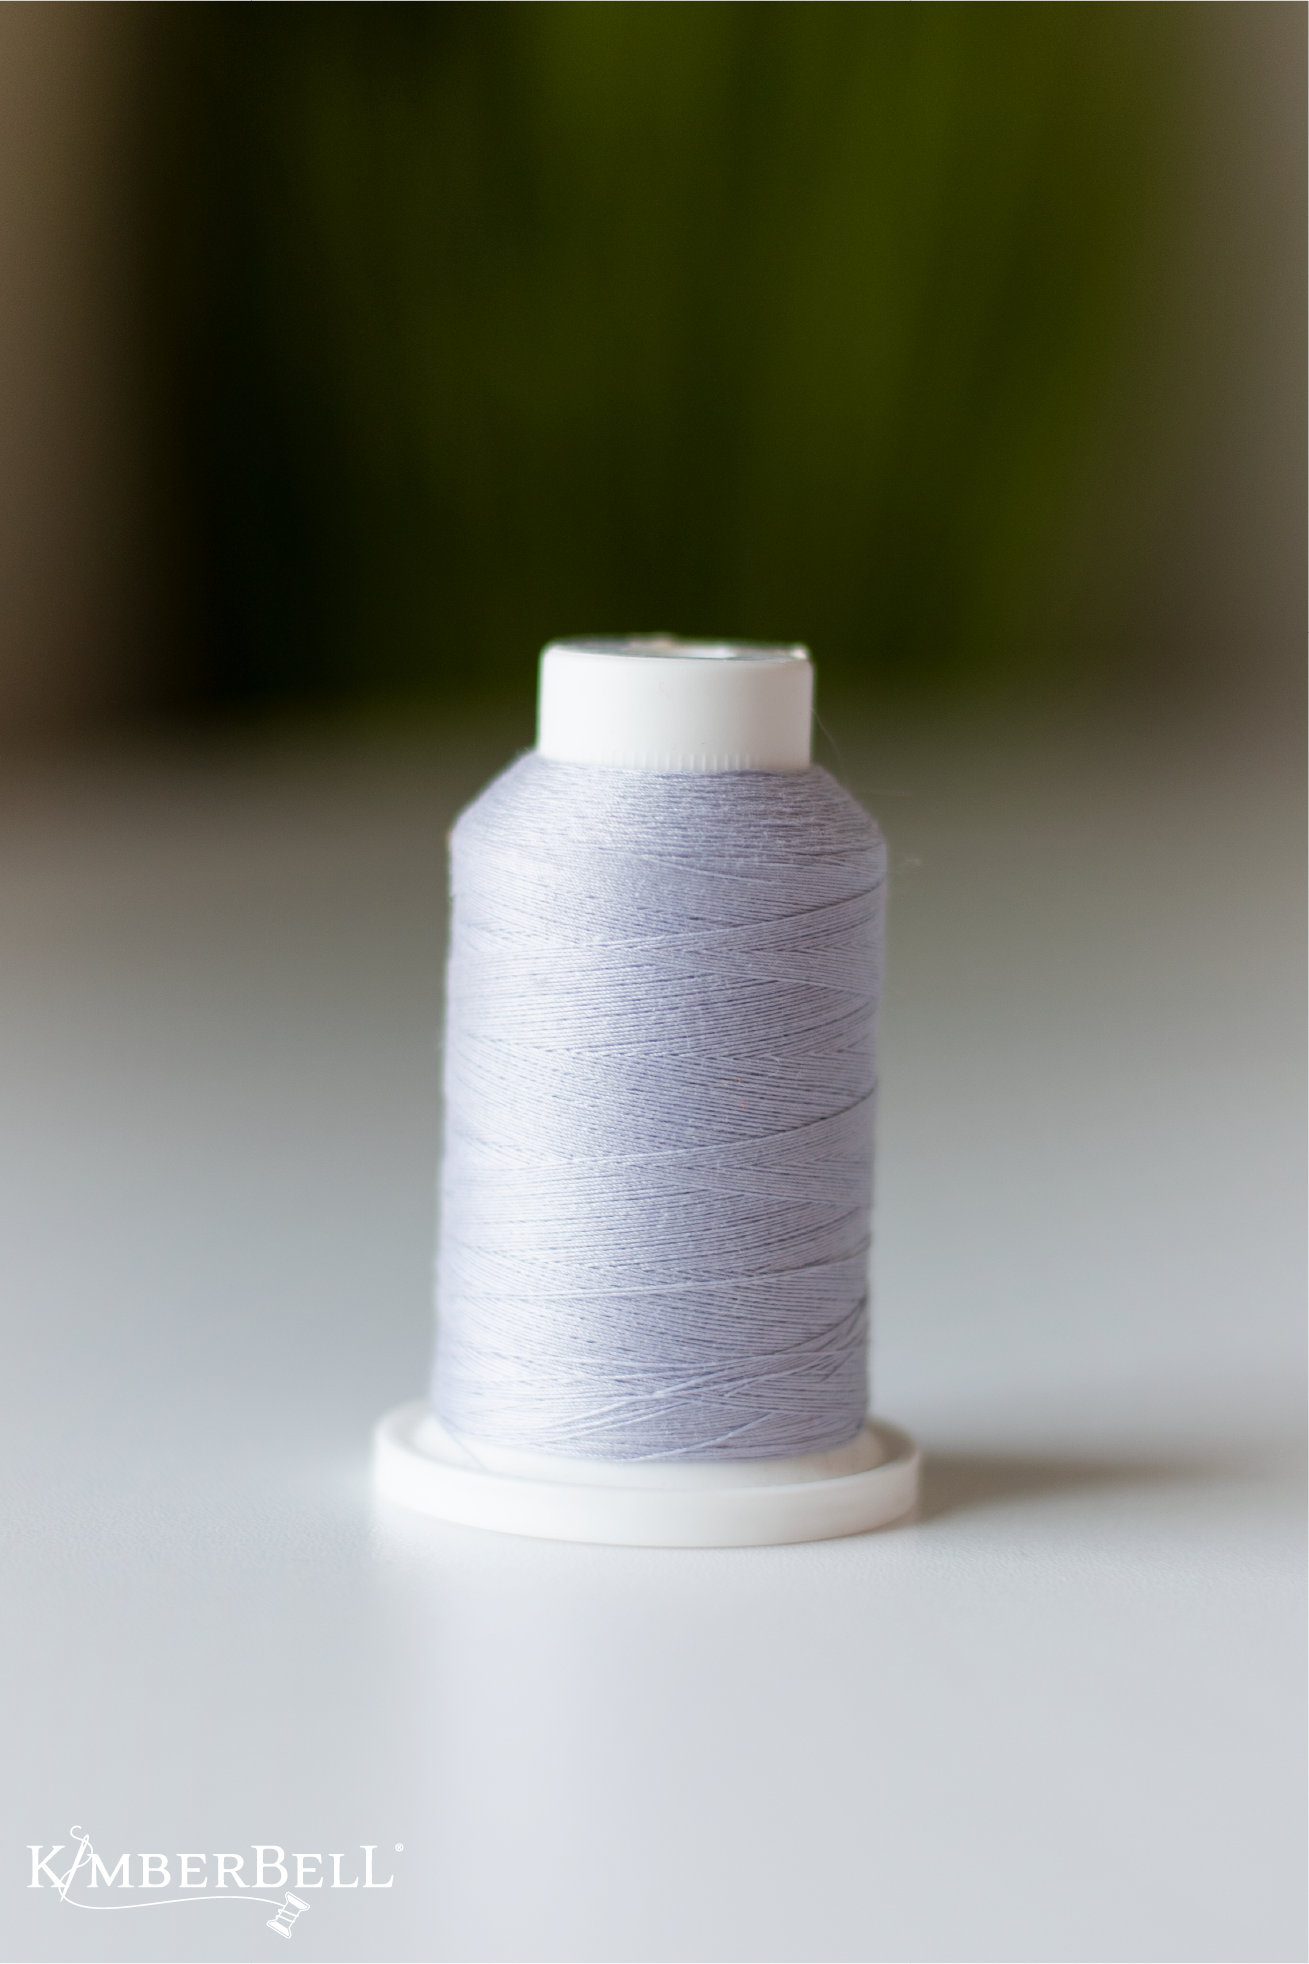
In contrast to the glossy sheen of rayon and polyester, cotton thread has a natural, matte finish. A favorite thread for quilting, redwork, cross-stitch designs and more, cotton thread looks a lot like hand embroidery when used on an embroidery machine.
Note: Because it’s made from natural fibers, cotton thread can generate more lint.
Metallic
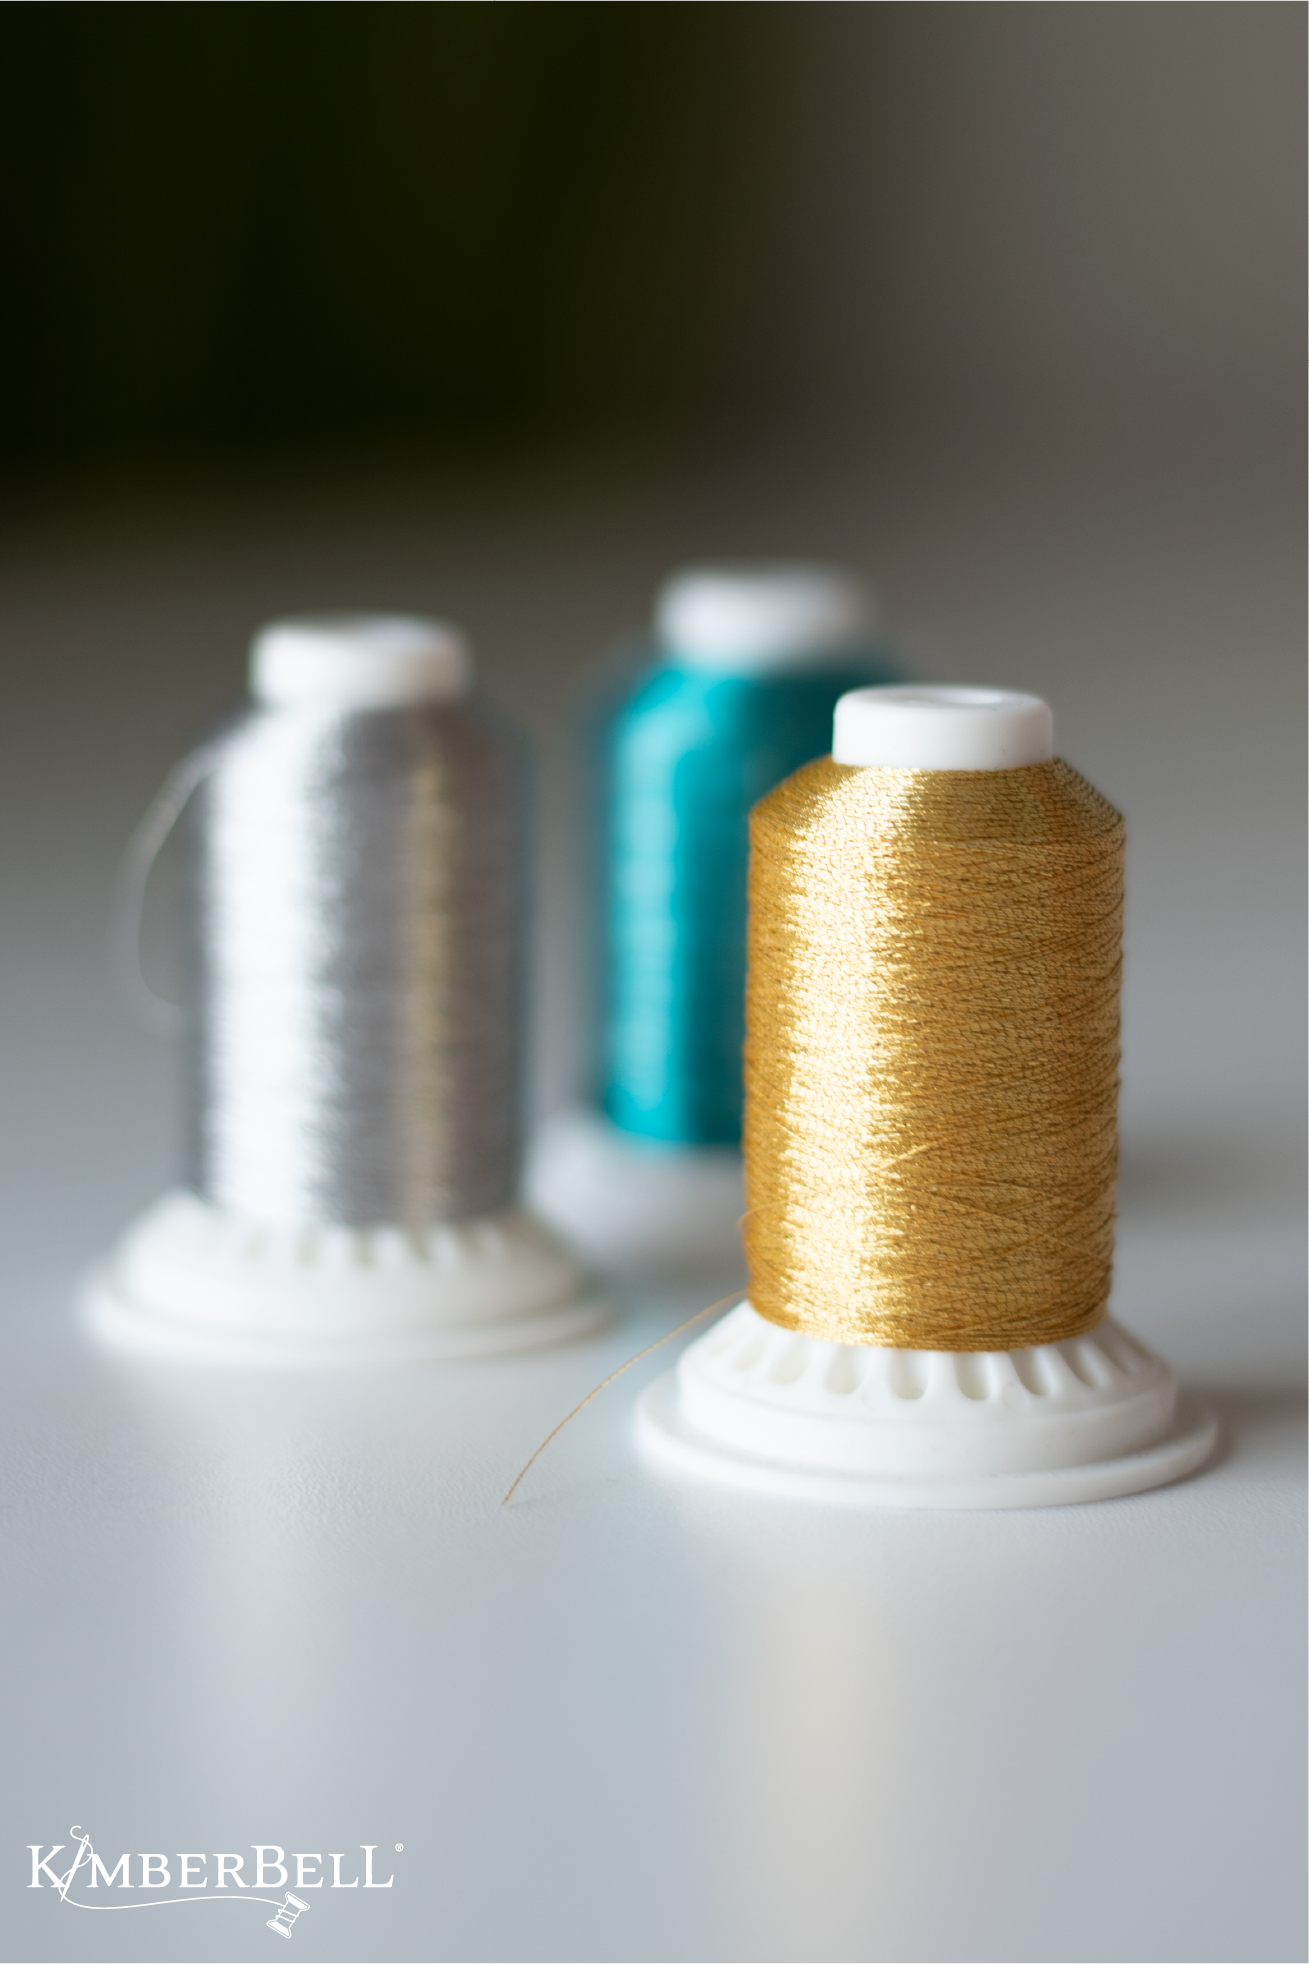
Metallic threads add a glitzy, eye-catching element to embroidery designs, but they can be a little tricky to work with. Because the rayon (or polyester) core is wrapped with actual metal foil, metallic threads often twist or kink when coming off the spool. To counter this, slow your machine down (Metallic thread generates heat!) and adjust your tensions as needed.
Tip: Consider using a plastic cap or thread stand to help the kinks work out as the thread comes off the spool.
Bobbin Thread
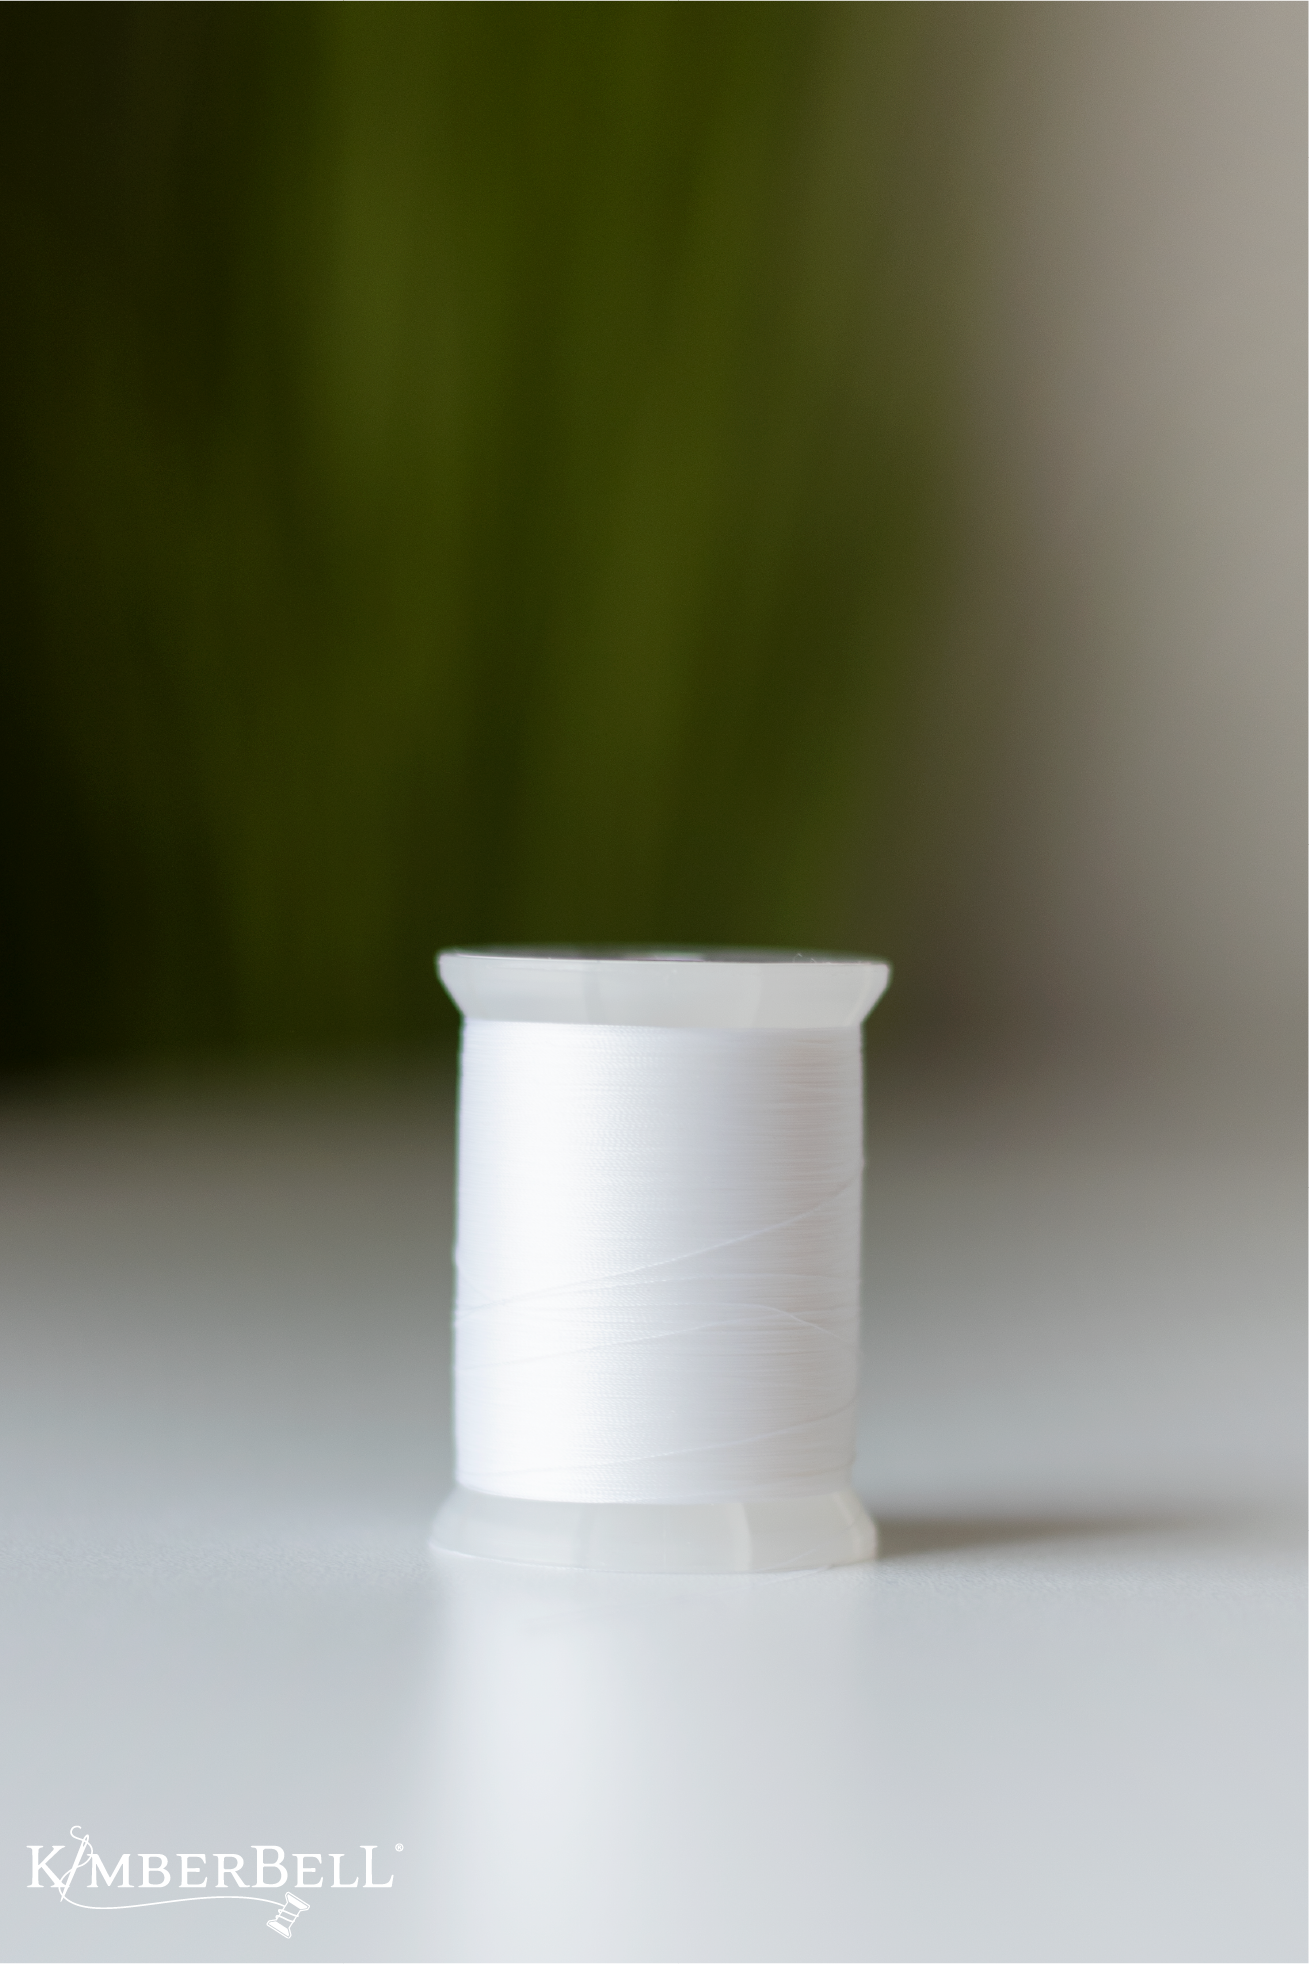
Bobbin thread is generally available in cotton, spun polyester, and filament polyester. Cotton is popular with quilters, but it does produce some lint. Polyester bobbin thread does not produce lint, and filament polyester is a particular favorite because it’s both thin and strong.
Bobbin thread can be wound from spools to the bobbin case with your machine OR you can also buy prewound bobbins.
Tip: Check with your machine manual and/or dealer for specific model recommendations!
Specialty Thread
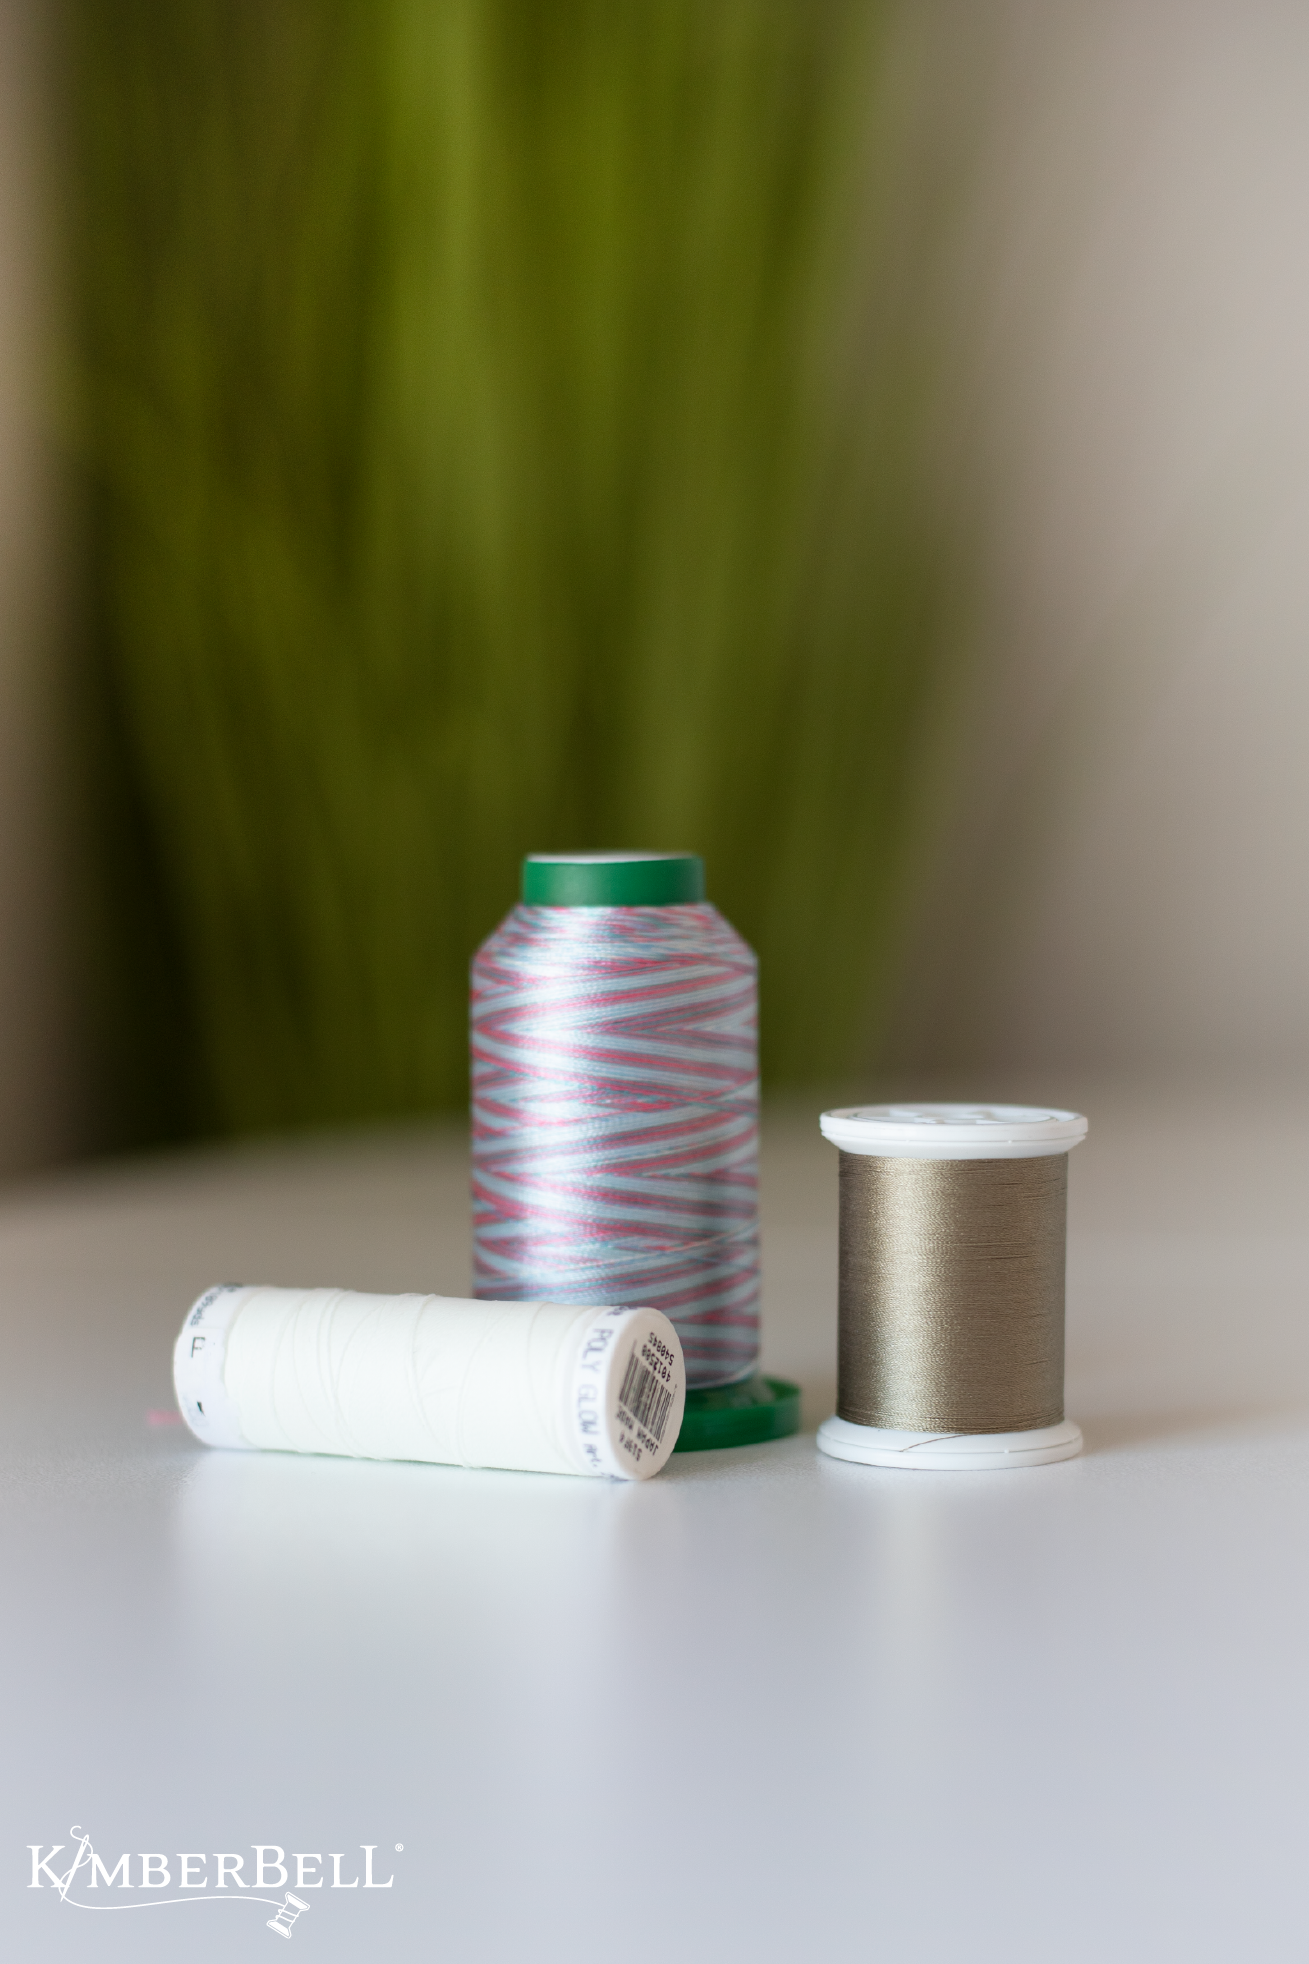
There are many specialty threads available to machine embroiderers today, including water-soluble, glow-in- the-dark, solar active, mylar, wool, silk, and more. When using a specialty thread, learn all you can about which needles, fabrics, and designs are appropriate for that specific thread, as well as any recommended tips and techniques. For example, wool thread (super thick!) is best when used on low-density designs.
Tip: Again, check to make sure a specialty thread will work for your specific machine!
Thread Weight (And Those Other Numbers You'll See on a Label)
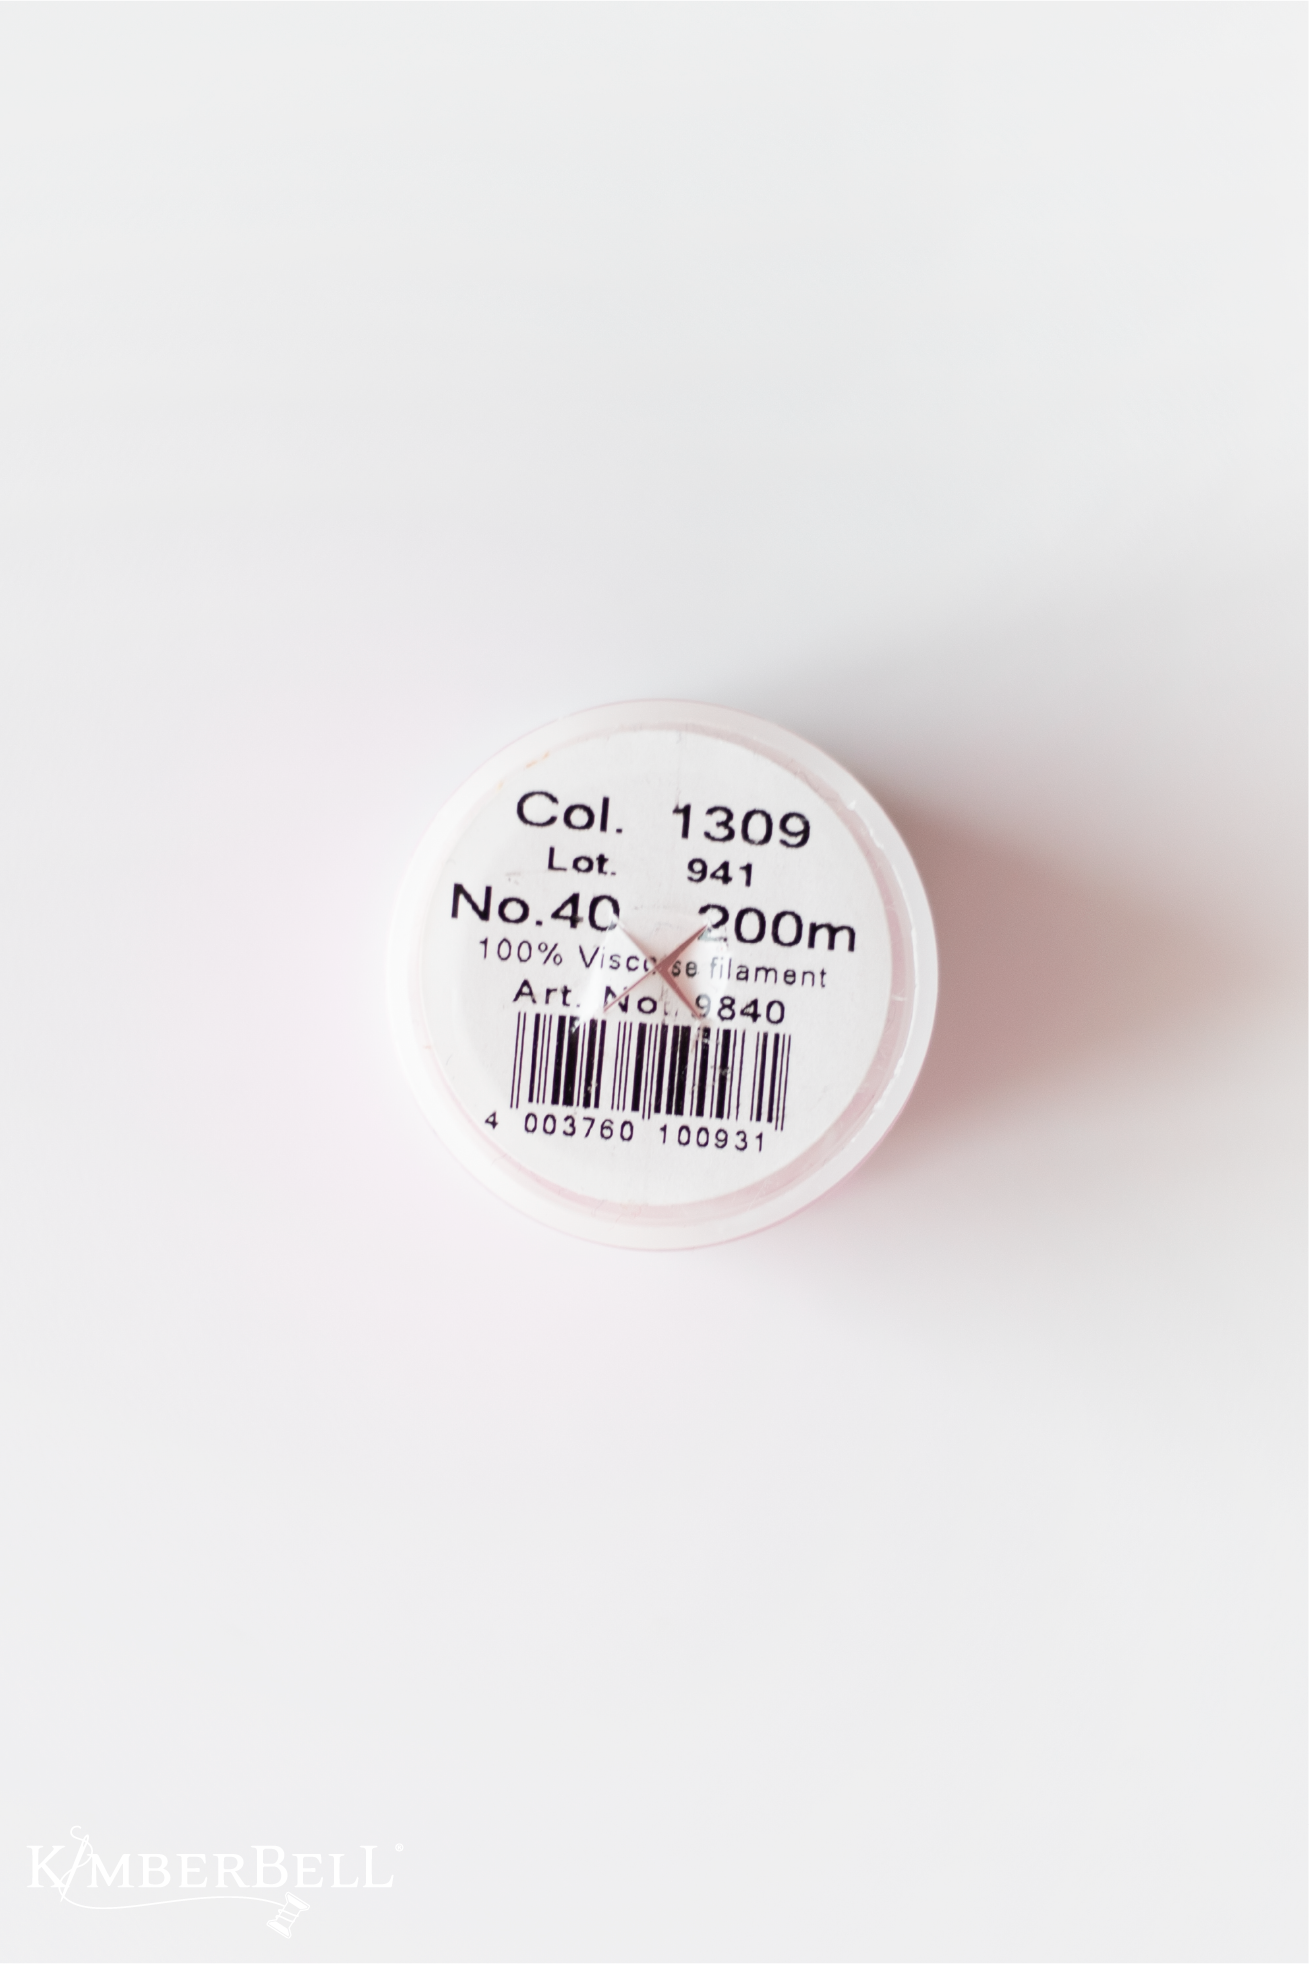
When looking at your thread spool, you’ll see several numbers printed on the label. Some of these numbers won't mean anything to you, but some are important. Pay close attention to the weight, the length, and the color ID number.
- Weight: In the example shown above, the "No. 40" designates the thread weight. Here's how it works: the higher the weight, the thinner the thread. The lower the weight, the thicker the thread. At Kimberbell, we generally use a 40 wt top thread and a 60 or 90 wt bobbin thread (depending on the machine) for most projects.
- Length: Shows how much thread comes on the spool (the "200m" shown above).
- Color ID Number: Use your favorite brand's ID number and/or name to identify the specific color so you can reorder.
Troubleshooting Thread Breaks
You know how it is. There you are, happily stitching along, when BAM! Your thread snaps and everything comes to a screeching halt. Every machine embroidery enthusiast knows how frustrating thread breaks are, so we’ve gathered our very best, Kimberbell-proven ways for preventing thread breaks, figuring out why they’re happening, and quickly getting back to the stitching you love.
The "TNT" Method
When troubleshooting thread breaks, try our “TNT”(Thread, Needle, Tension) formula for identifying and solving the problem:

Thread
- Check & rethread your top thread. Because of the long path your top thread takes through the machine and to the needle, chances are high that the thread-breaking issue lies with your top thread. At Kimberbell, we always check the top thread and try rethreading first (even if you’ve just threaded the machine)!
- Check your bobbin thread. Make sure the bobbin thread didn’t pull out somehow and/or get trapped underneath the bobbin. You might also check your bobbin for wear–plastic does eventually wear out and scratch, which can cause snagging. So try using a new bobbin!
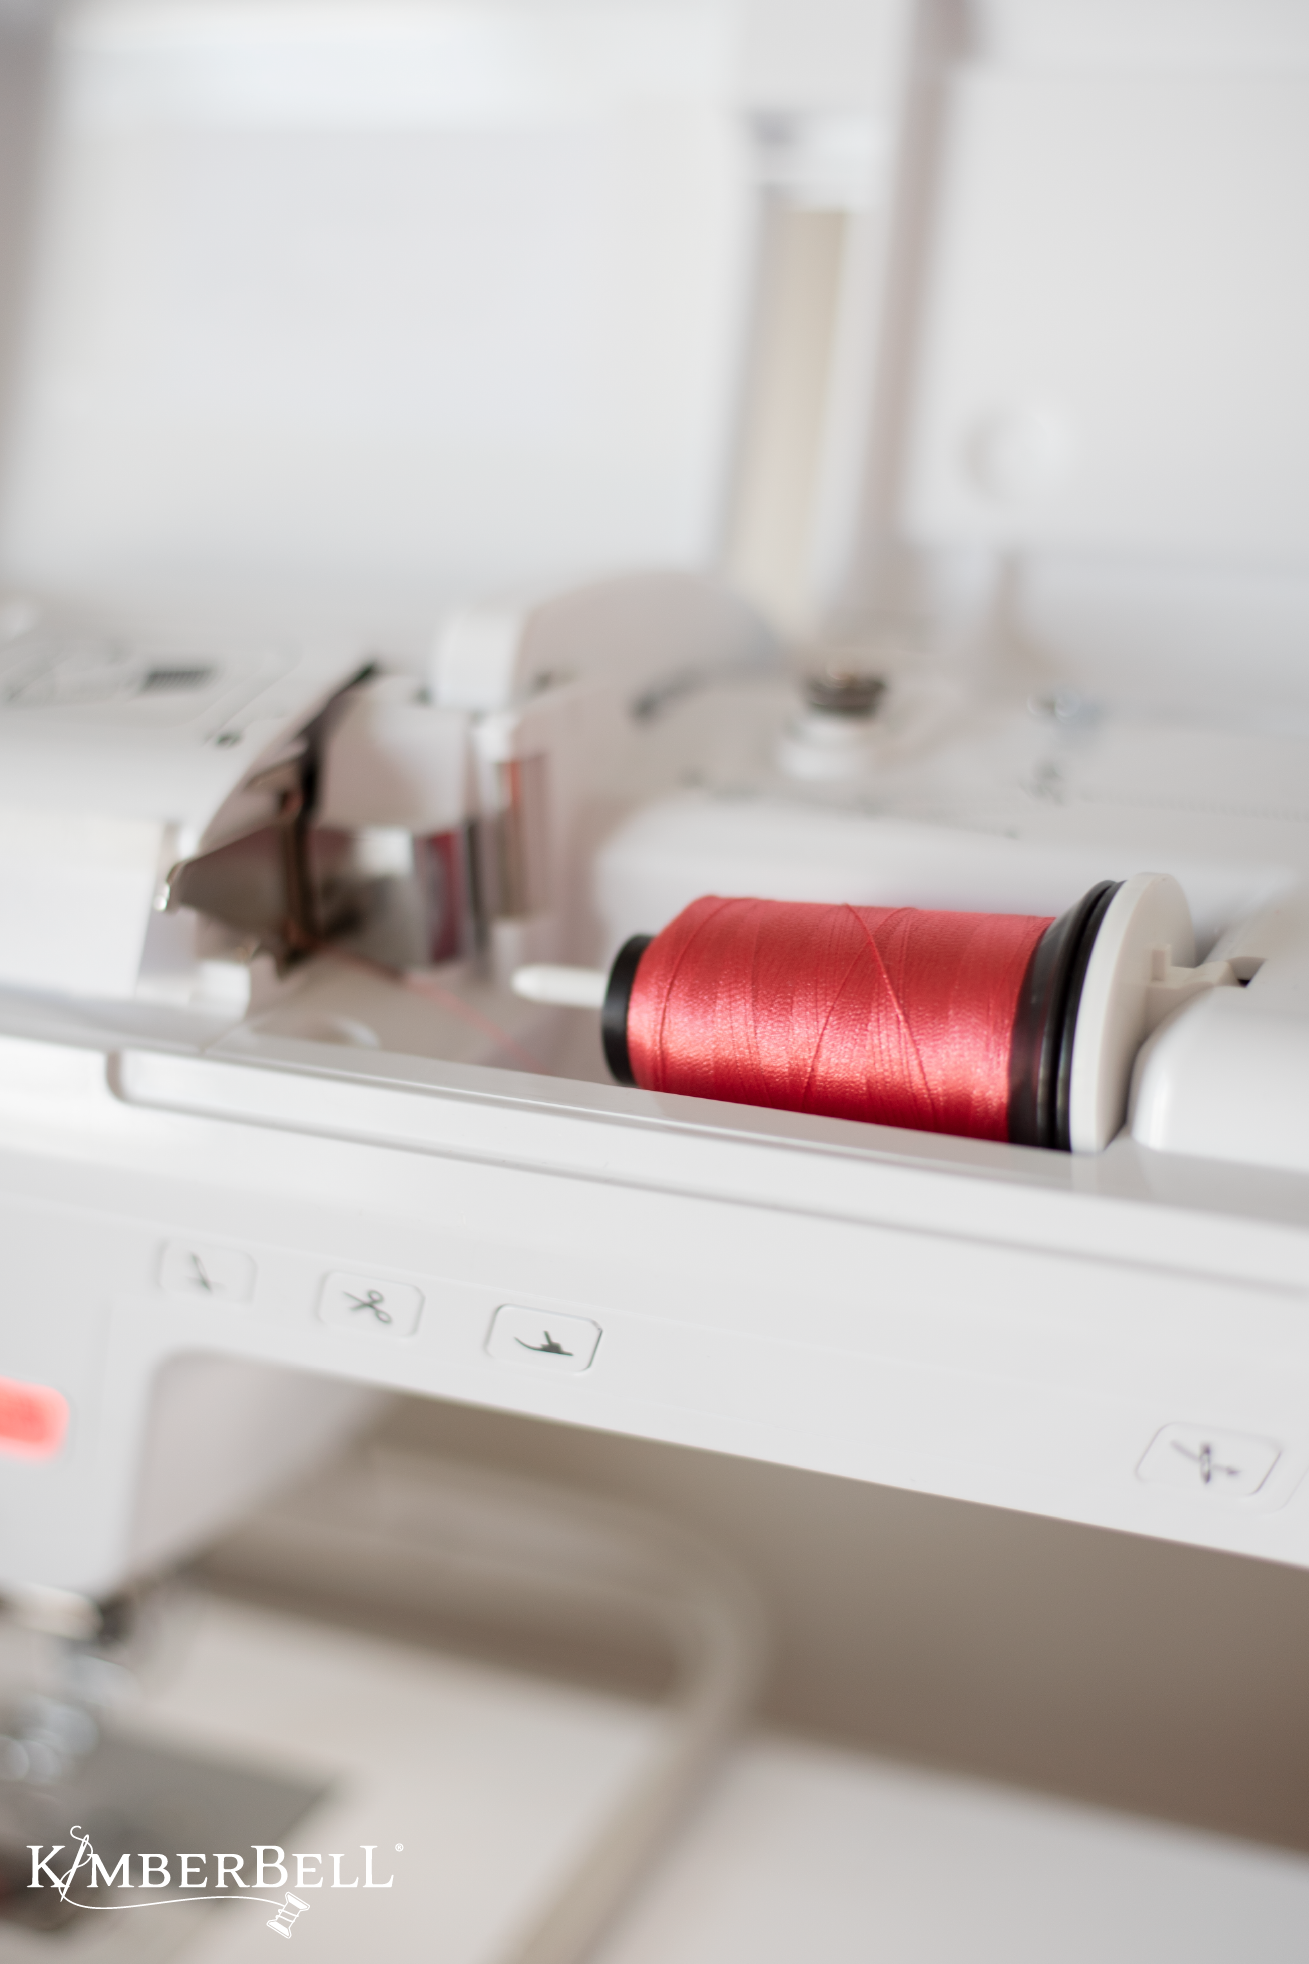
When working with thread, it’s important to become very familiar with the path your thread takes from the spool to the needle. Make sure it’s all flowing smoothly!
Tip: At Kimberbell, we often use a product called Sewers Aid. A few drops on the spool can help smooth the path of the thread.
Needle
- Check your needle. If your needle is even slightly bent, it’s going to start shearing the thread and causing a break. Your needle also can become gummed up, so use a new needle every eight hours of stitching.
Tension
- Adjust your tension: Tension is the tautness of your thread, which can be adjusted on both the machine and the bobbin case. Generally speaking, when looking at the underside of a satin stitch, about ⅔ of the thread should be needle thread and ⅓ should be bobbin thread.
- Check the tension on your bobbin case. Many bobbin cases have a tension control on them. You can loosen or tighten the screws to set your tension how you want it. Pull the thread to see how smoothly the thread is unwinding from the bobbin (you want it to pull smoothly off of the bobbin)! Remember, friction causes thread to break!
.jpg?width=760&name=Embroidery-Machine-Social-Image-02%20(1).jpg)
A Few Loose Ends...
Here are just a few more tried-and-true tips from your friends at Kimberbell!
- Check your thread weights. Make sure the weight of your top thread is a good match for the weight of your bobbin thread. A 40 wt top thread to a 60 wt bobbin thread is generally a good combination. (Avoid using a 40 wt top thread with a 90 wt bobbin thread when stitching small lettering; otherwise, the bobbin thread will come up through your stitches.)
- Check the height of your presser foot. When your machine is forming a stitch, the top thread and bobbin thread want to meet at the perfect point. If you’ve raised your presser foot for any reason and haven’t put it back down again, the top thread and bobbin thread will meet above the thread (instead of below the fabric where you want them to meet). Make sure the presser foot is set at the appropriate height of the fabric being sewn. We recommend you set the presser foot at factory settings.
- Check your machine speed. Simply slowing the machine down can help alleviate thread breaks, whatever the cause!
Just as an artist chooses color for their canvas, thread is your way to create a timeless masterpiece! I hope these tips help you Experience the Joy of Creativity™ to the fullest.


