How to Do Background Quilting on Your Embroidery Machine
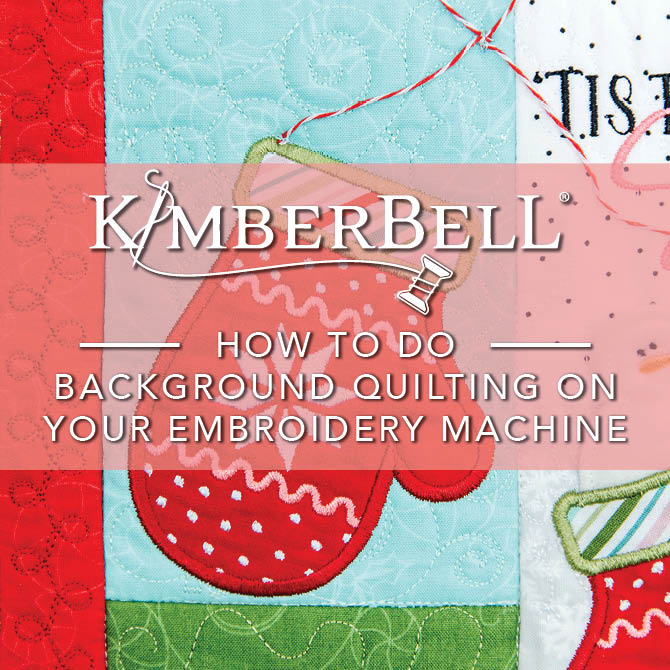
Have you heard all the chatter about background quilting with your home embroidery machine?
If you're new to machine embroidery and are just a little curious (or maybe intimidated), here's a snapshot of how Kimberbell's block-by-block background quilting is done.
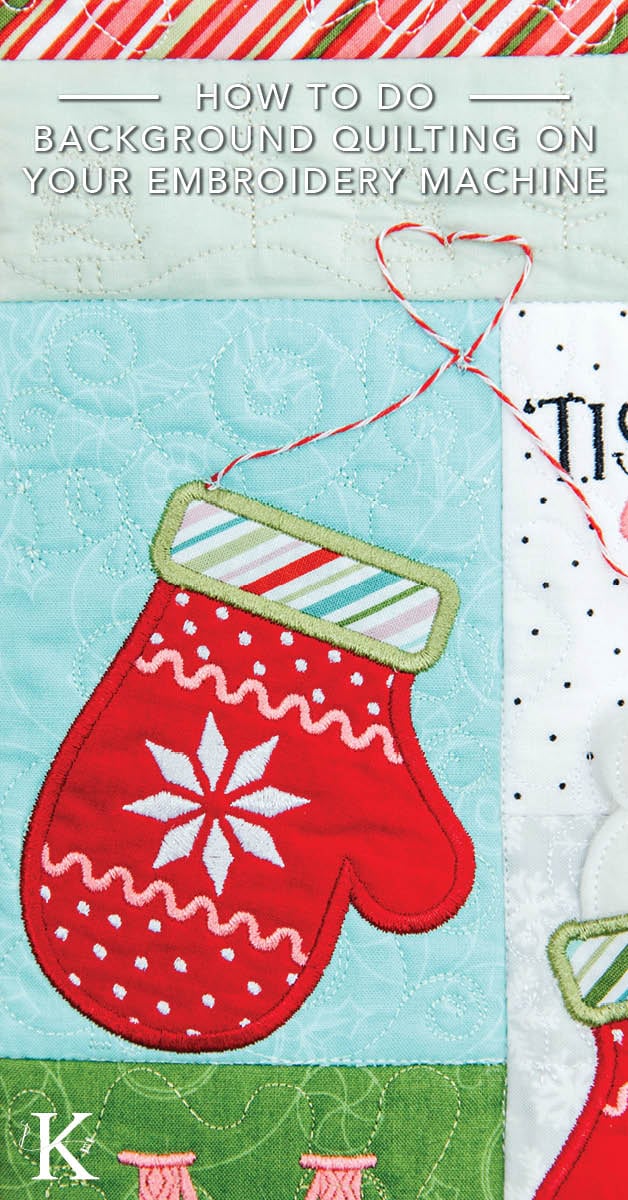
In this example, we'll demonstrate with the mitten block from Kimberbell's Cup of Cheer Advent Quilt.
Embroidery Fields and File Sizes
First, it's important to make sure that your background quilting file will fit in the hoop you have. Kimberbell background quilting designs are clearly labeled with sizes so you can easily see if they'll fit.
For example, this blue block is quilted with our KDQ099-Winter-2 design. This design comes in 22 file sizes for the block-by-block method as well as 22 additional sizes for the Clear Blue Tiles method described HERE.
.jpg?width=5381&height=8067&name=Cup%20of%20Cheer%20Advent%20Quilt1014highres%20copy%20(1).jpg)
To accommodate seam allowances, the 4x6 background quilting file used here requires a 4 1/2 by 6 1/2" embroidery field. Both the mitten applique design AND the Winter 2 background quilting file will easily fit in a 5x7 hoop. (To learn more about embroidery fields vs. hoop sizes, click HERE.)
If the required embroidery field is larger than your hoop, we recommend using our Clear Blue Tiles quilting method. For more information, please see our video How to Embroider Blocks With Background Quilting When You Have a Small Hoop.
Combining Background Quilting & Designs
Whatever your hoop size, I encourage you to stop and watch Kim's tutorial How to Combine Background Quilting & Designs below. This short video outlines three methods for combining Kimberbell's background quilting with the applique (or filled design) on top.
Now that you understand how to combine background quilting and designs, let's review how you'll stitch out your darling blocks.
Stitch Placement Line
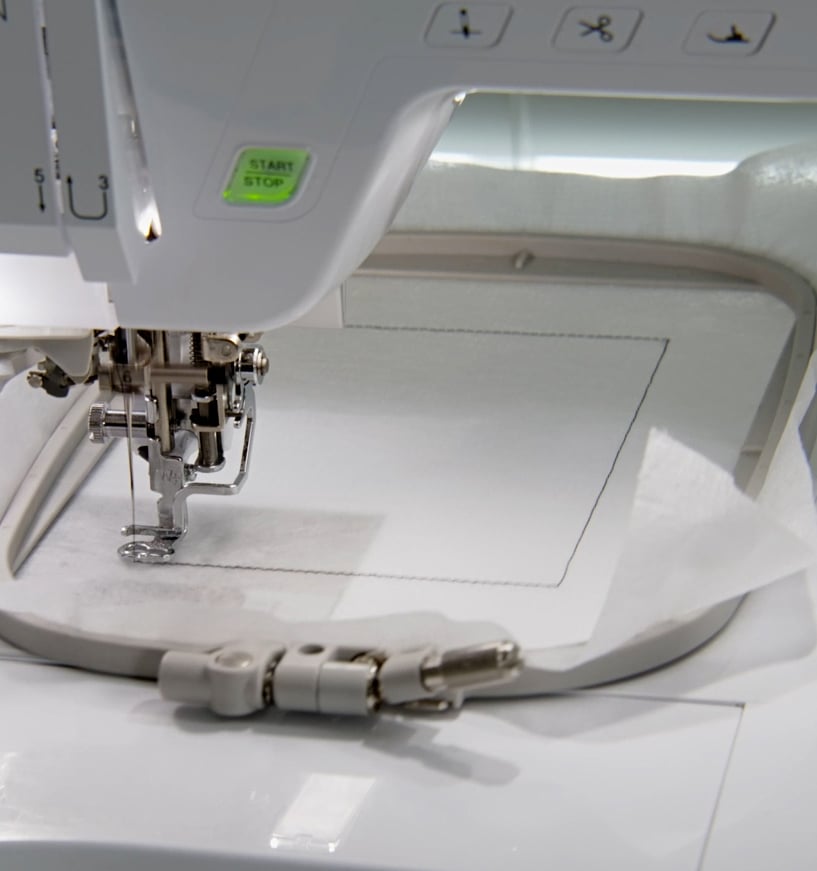
After hooping your stabilizer, stitch the placement line for your Kimberbell Batting. This placement line is stitched directly on your stabilizer.
Place Batting & Stitch Tack-down
Put a piece of batting on top of your stabilizer, completely covering the placement lines. Proceed with the tack-down stitches.
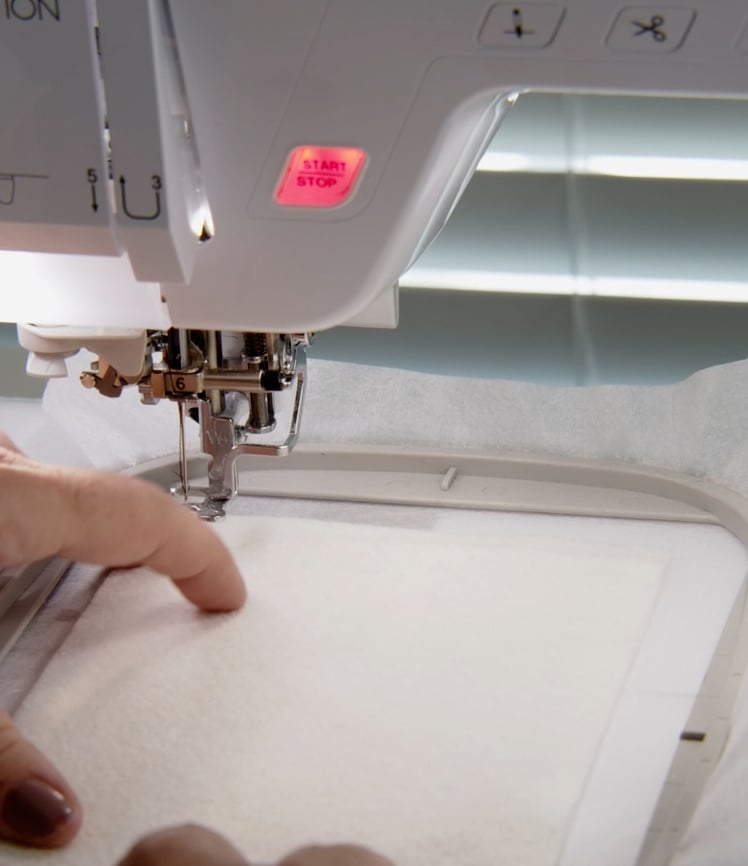
Make sure the batting is larger than the placement outline. To figure this out, you can:
- Use the included charts for your background quilting designs.
- Go to the Trimming Instructions at the end of your directions and cut your batting to the finished size of your block.
- Make your batting piece 1/2" larger on all sizes (in this case, 5 x 7").
Once the tack-down has been stitched, remove the hoop from your machine and trim away the excess batting.
Adding the Fabric
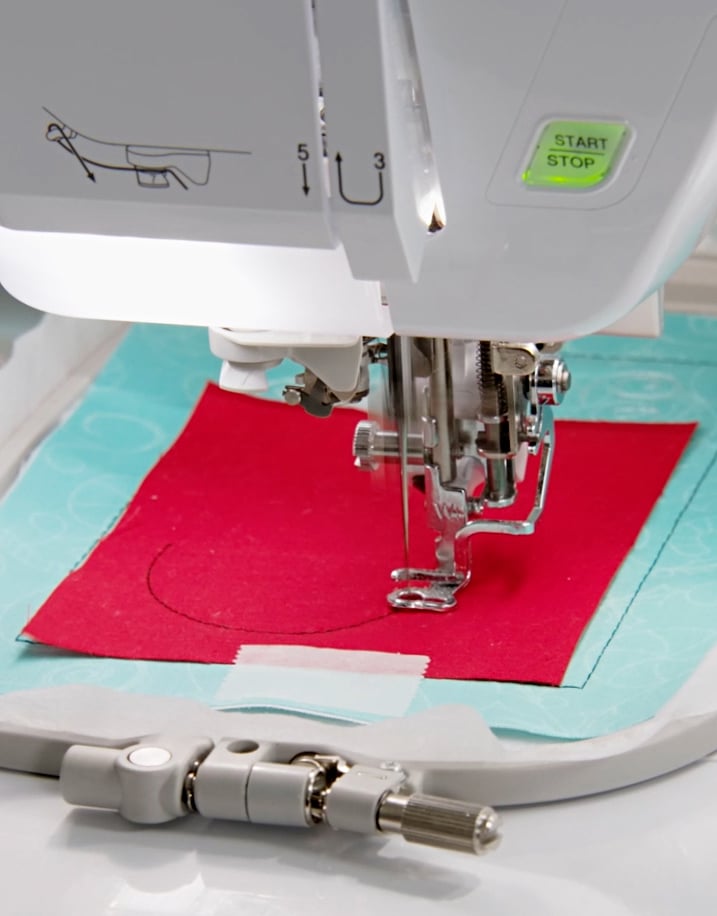
Next, you'll stitch the placement outline for your background fabric, then place the fabric on top and stitch the tack-down line. After this step, you'll trim the excess fabric close to the stitched line.
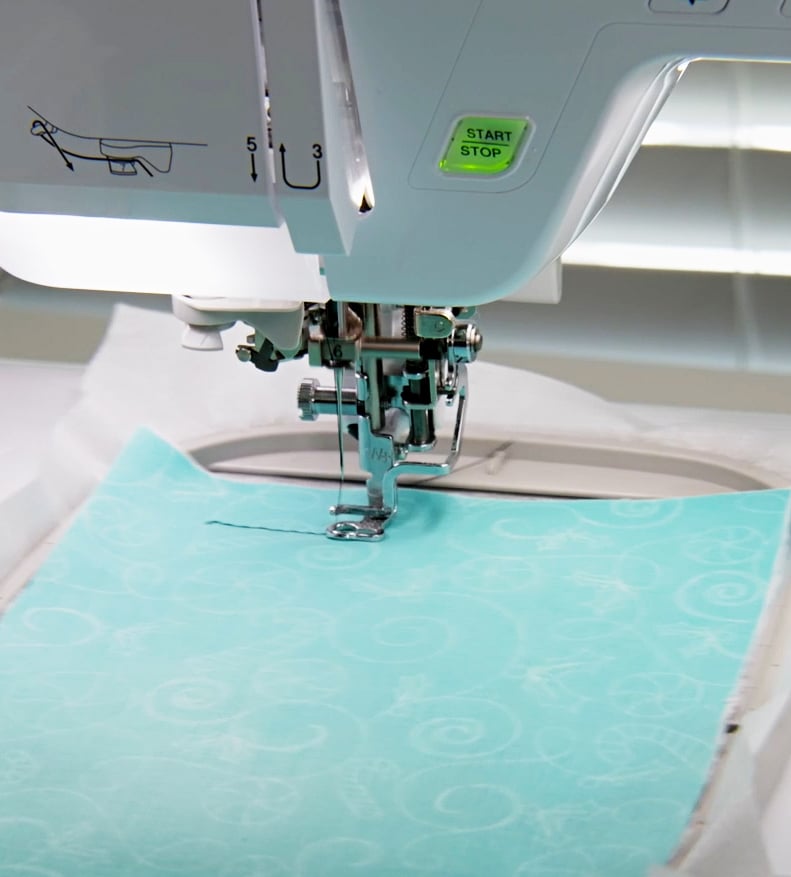
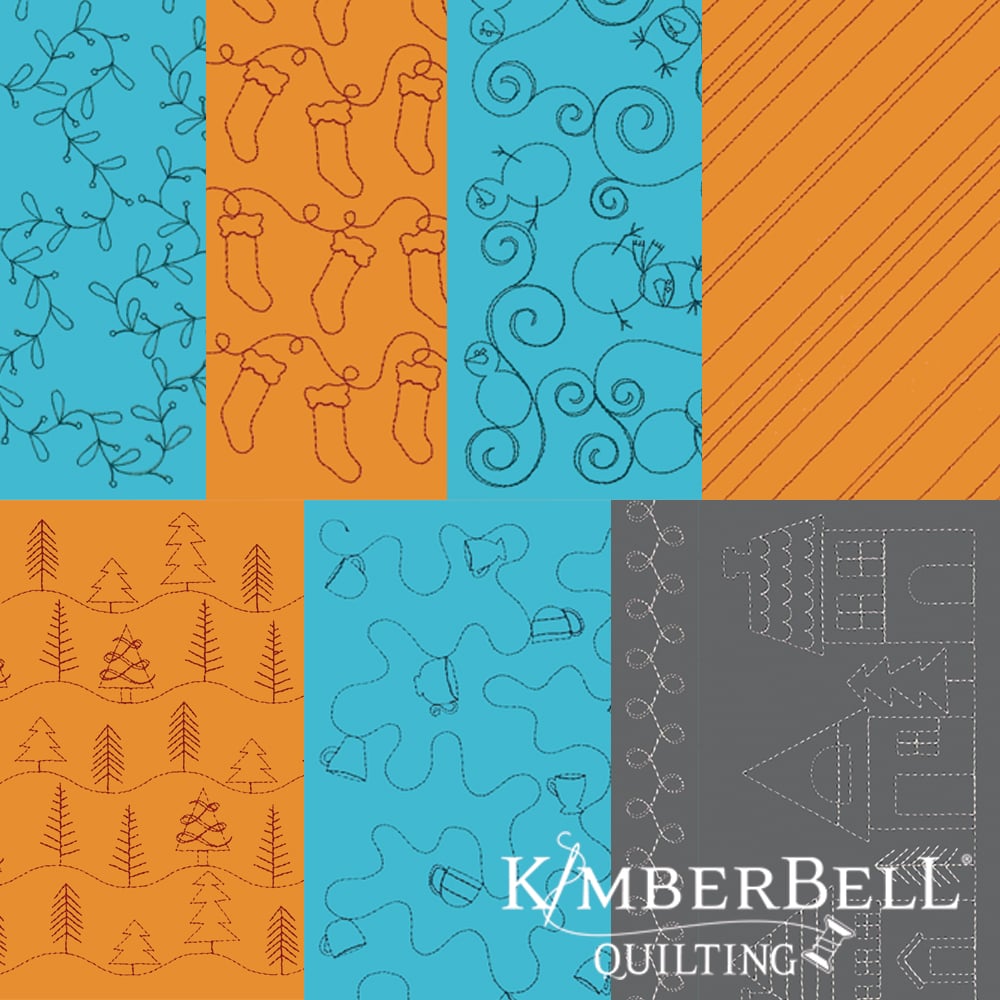
Now that your fabric is in place, it's time to stitch the background quilting. (We have a HUGE variety of darling designs to choose from!) Here's just a snapshot of some of the background quilting designs included in the Cup of Cheer Quilting Bundle. SO adorable!
Tip: Remember to enter your favorite quilt shop's affiliate link EVERY time you purchase background quilting designs from kimberbell.com! 😊
Add Design on Top
After the background quilting has been done, you simply add your applique (or other design) on top. In this case, we're adding the mitten applique design.
Your Finished Block
That's all there is to it! (Not hard, huh?!) Background quilting takes machine embroidery projects to a whole new level!
Here's the image of our finished block again. Notice the coordinating patterns of trees, swirls, snowmen, mugs, and more!
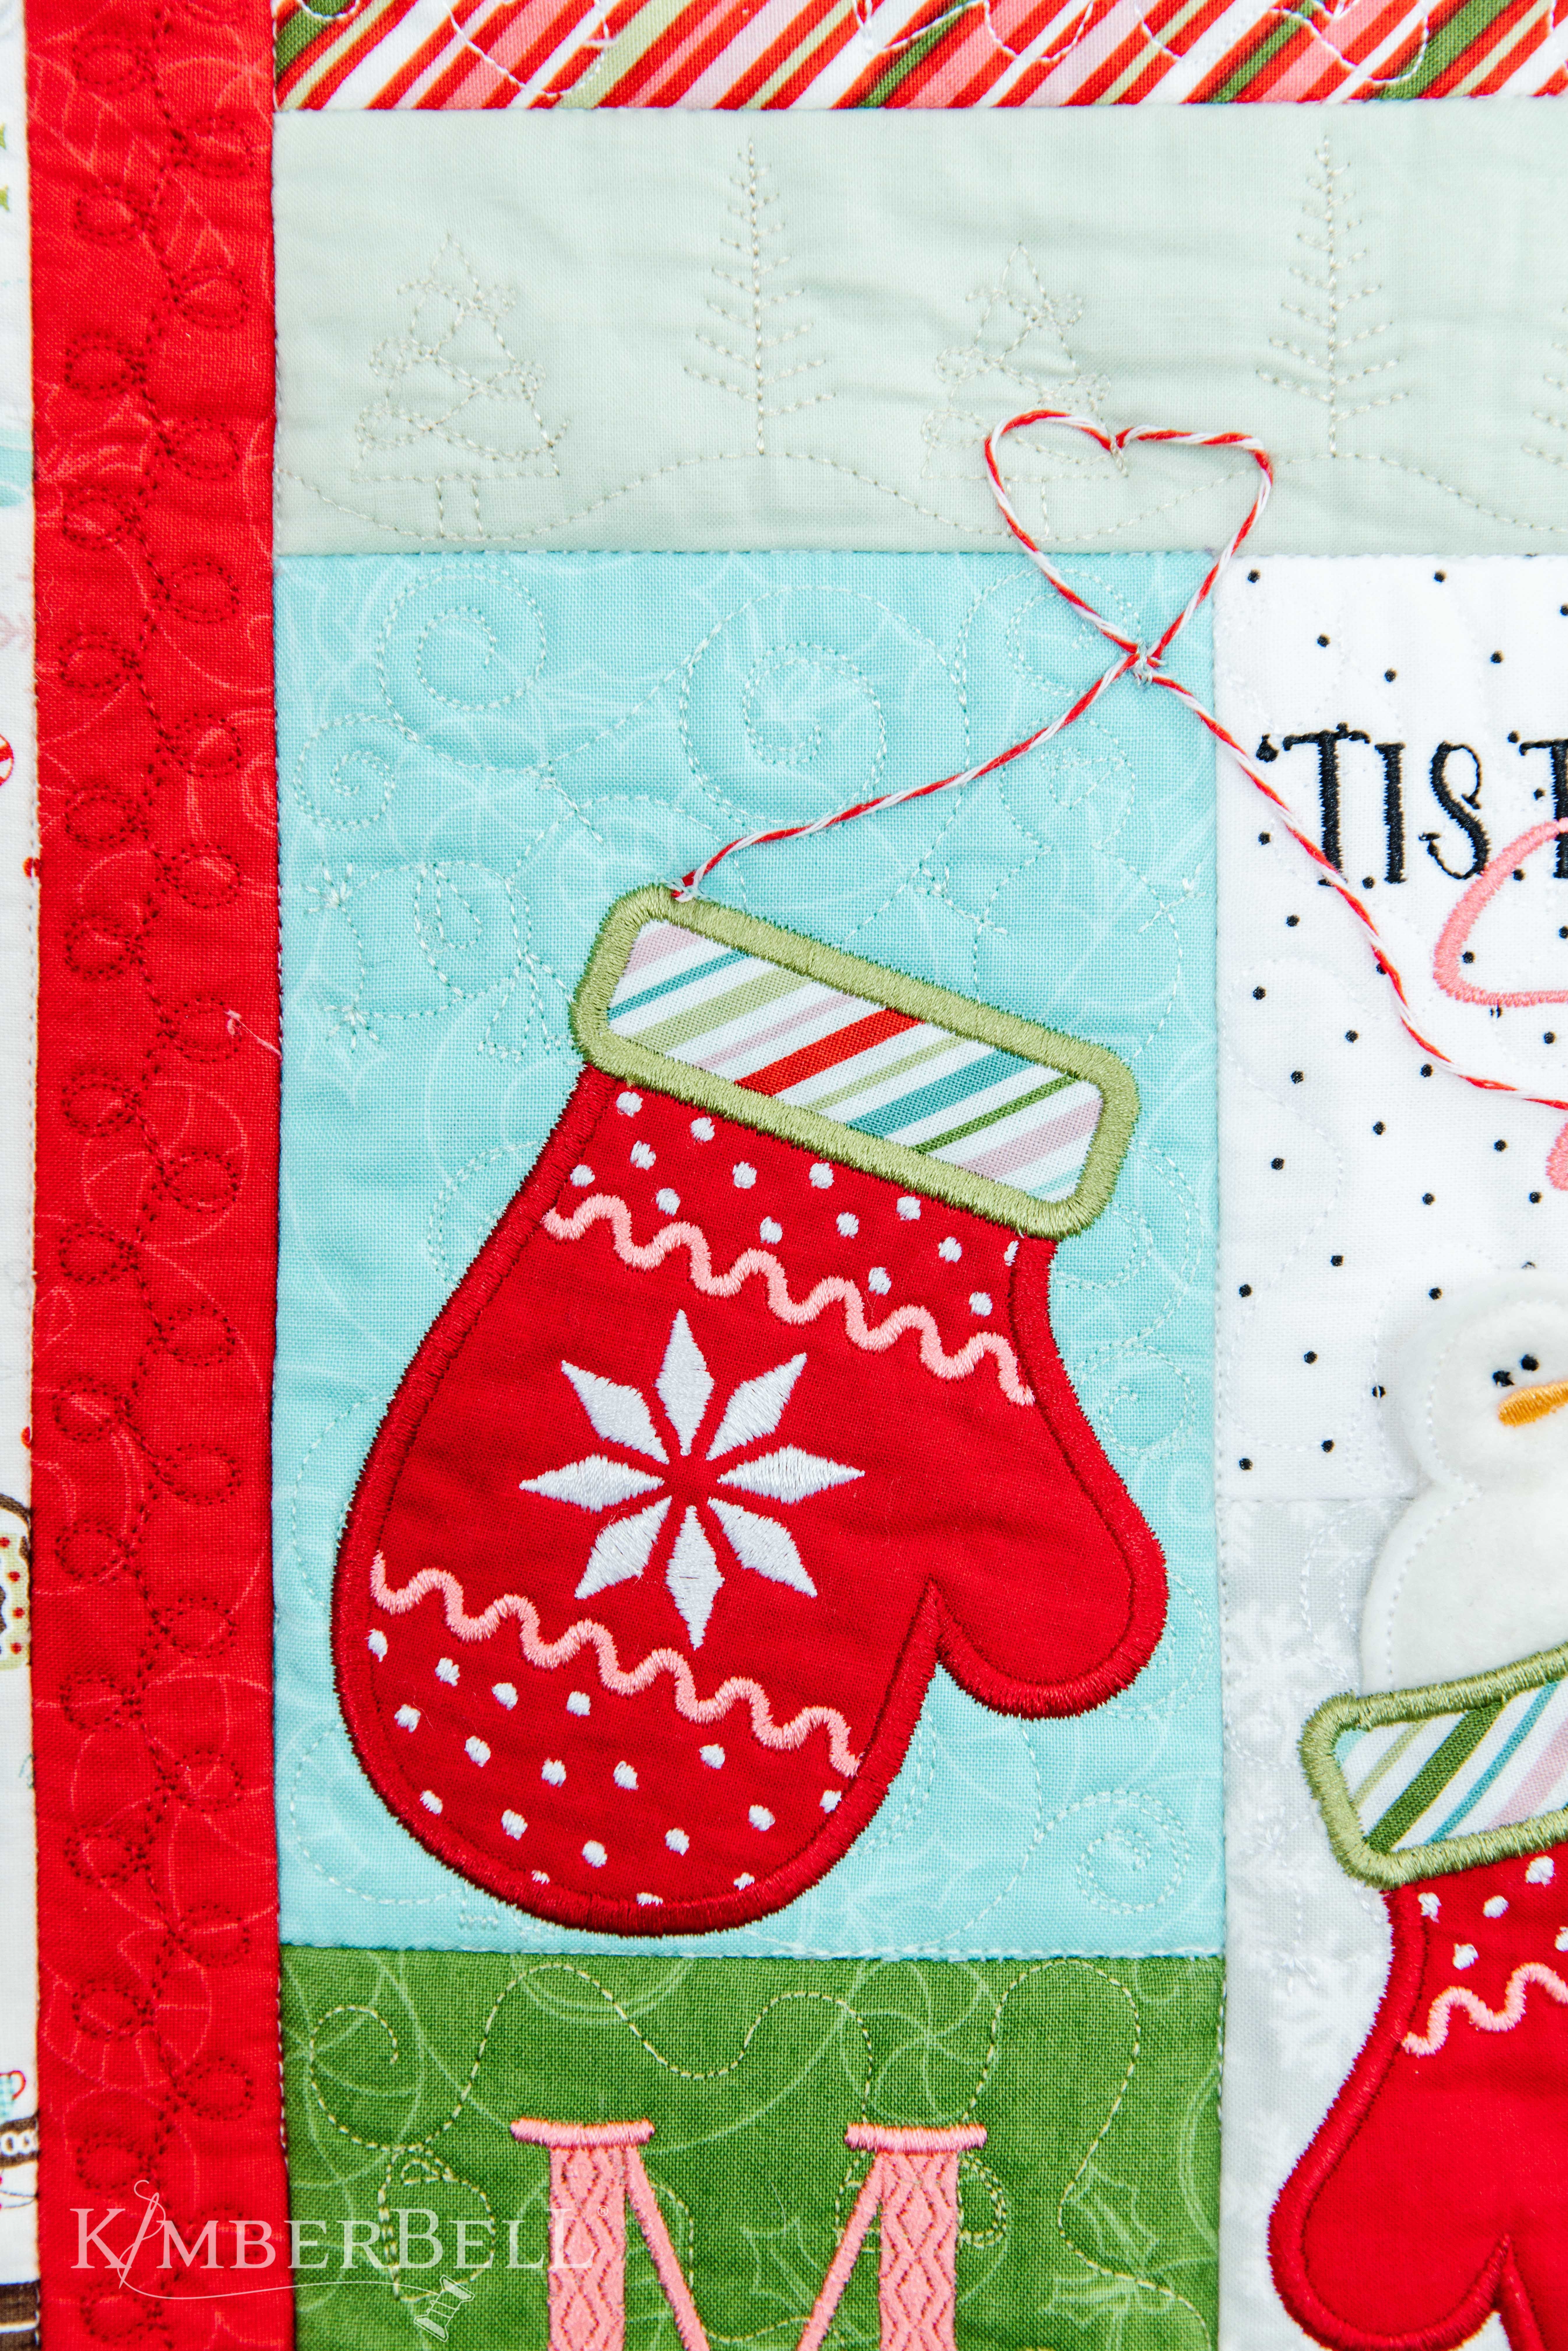
We're continually adding new designs for block-by-block quilting, Clear Blue Tiles quilting, and quilting specifically for borders.
Remember, if your background quilting file is larger than your hoop size, you can still do background quilting through our Clear Blue Tiles method! Be sure to check out our video How to Embroider Blocks With Background Quilting When You Have a Small Hoop.
We're excited for you to learn how to do background quilting on your embroidery machine and have created several tutorials to teach you the technique. I invite you to subscribe to our Kimberbell YouTube channel to learn more and Experience the Joy of Creativity® with us!


