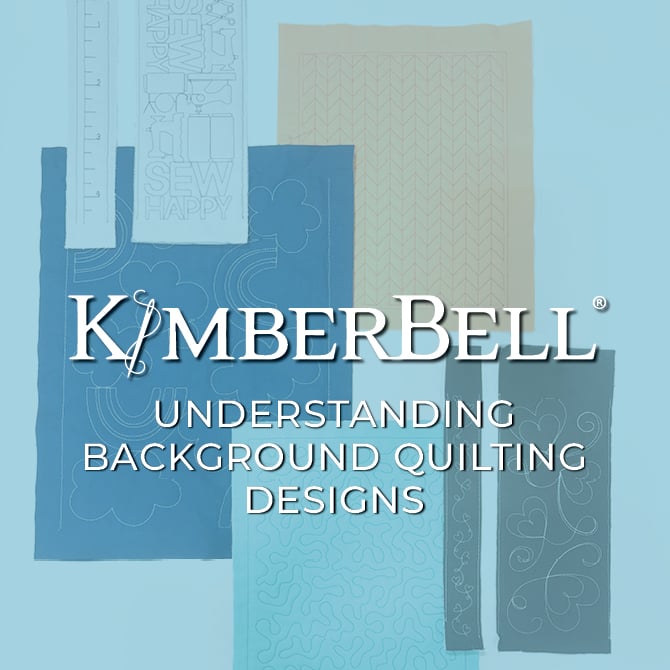
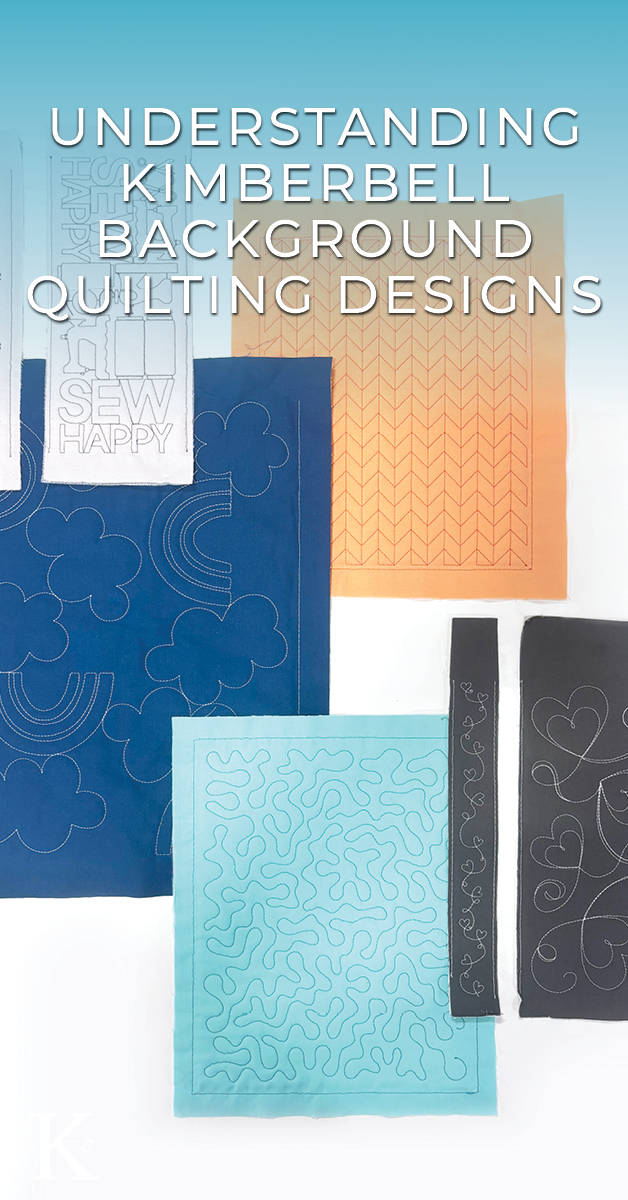
Kimberbell background quilting is a total game-changer. With our unique and innovative methods, you can completely finish every project on your home embroidery machine! (No more UFOs!)
And once you understand our system, it's very easy to choose the right design and take your projects across the finish line. So buckle your seatbelts, my friends, because I'm taking you on an in-depth journey through everything you need to know about Kimberbell background quilting!
You might want to grab a snack. This is a long post with a lot of important information . . .I'll wait. 😊
Got your snack? Great! Now, before we dive into the quilting designs, let's first go over how Kimberbell background quilting works. We have two quilting systems: Clear Blue Tiles and Block-by-Block.

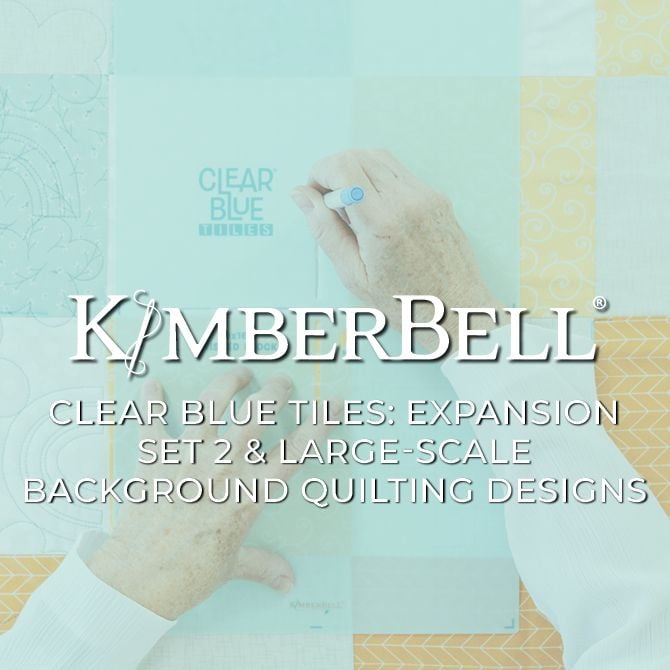
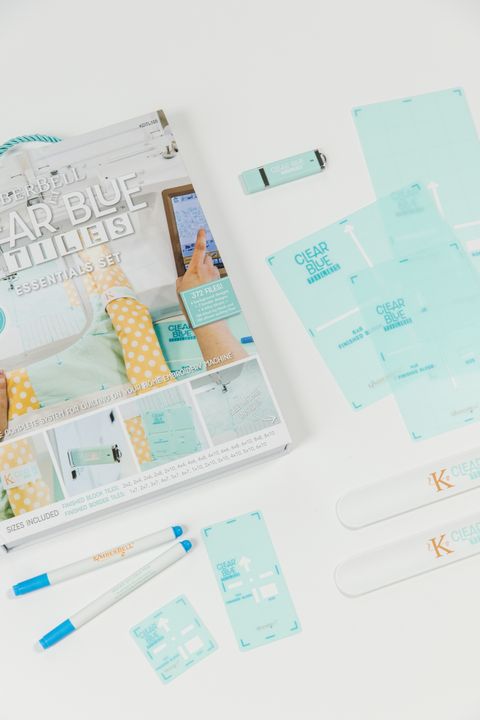
Clear Blue Tiles Quilting System
Kimberbell Clear Blue Tiles make it possible to create continuous, all-over quilting, just like you finished your project on a longarm machine (but you actually used your home embroidery machine)!
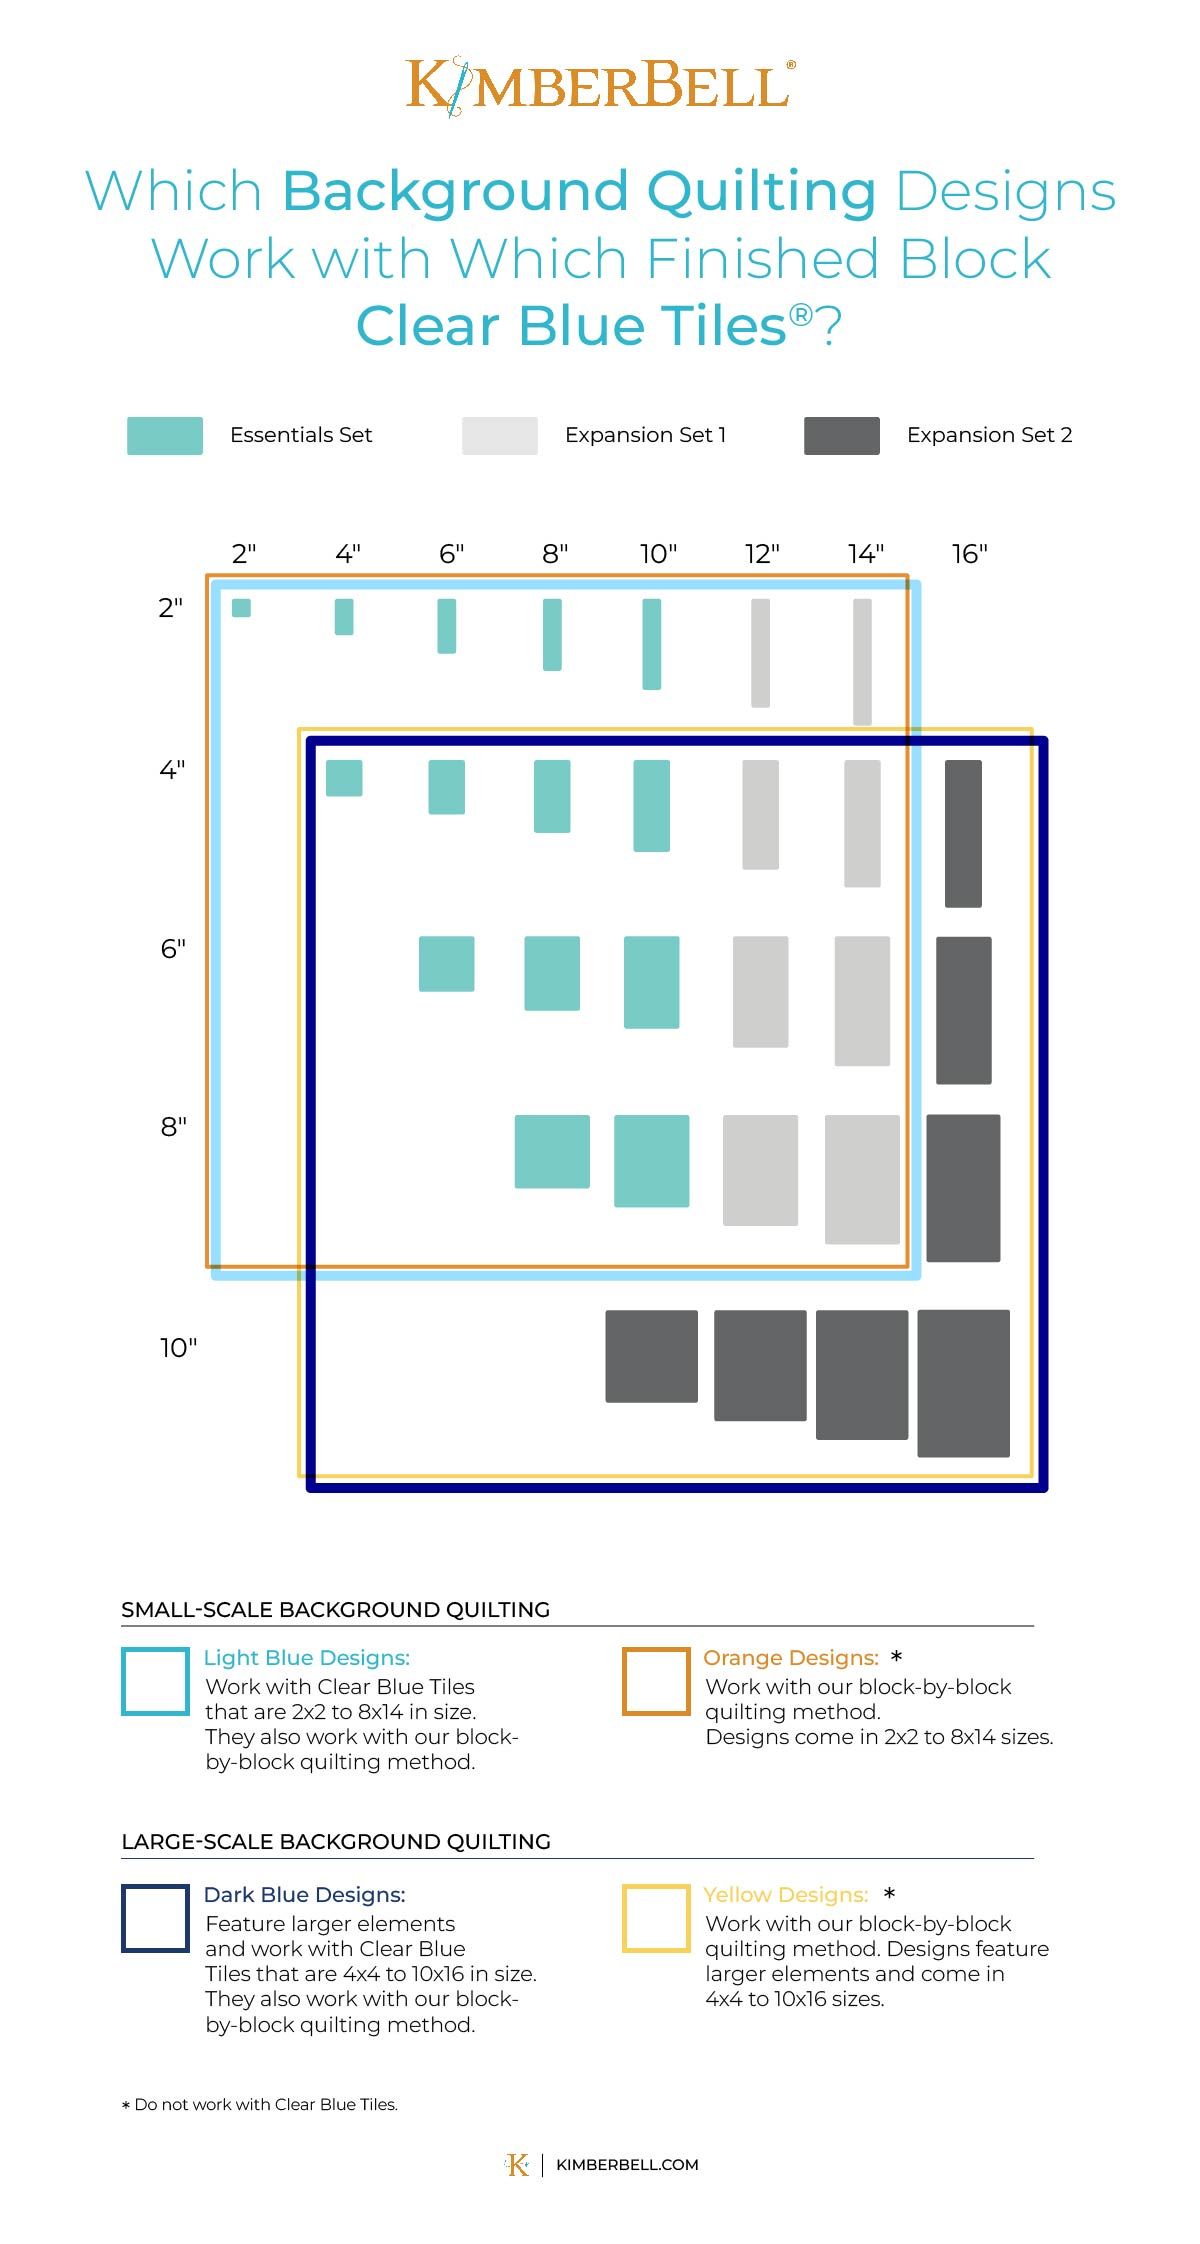
We have three sets of Clear Blue Tiles: The Essentials Set, the Expansion Set, and the Expansion Set 2. Please note that you'll need the Essentials Set before adding either expansion set to your collection.
So, how do Clear Blue Tiles work?
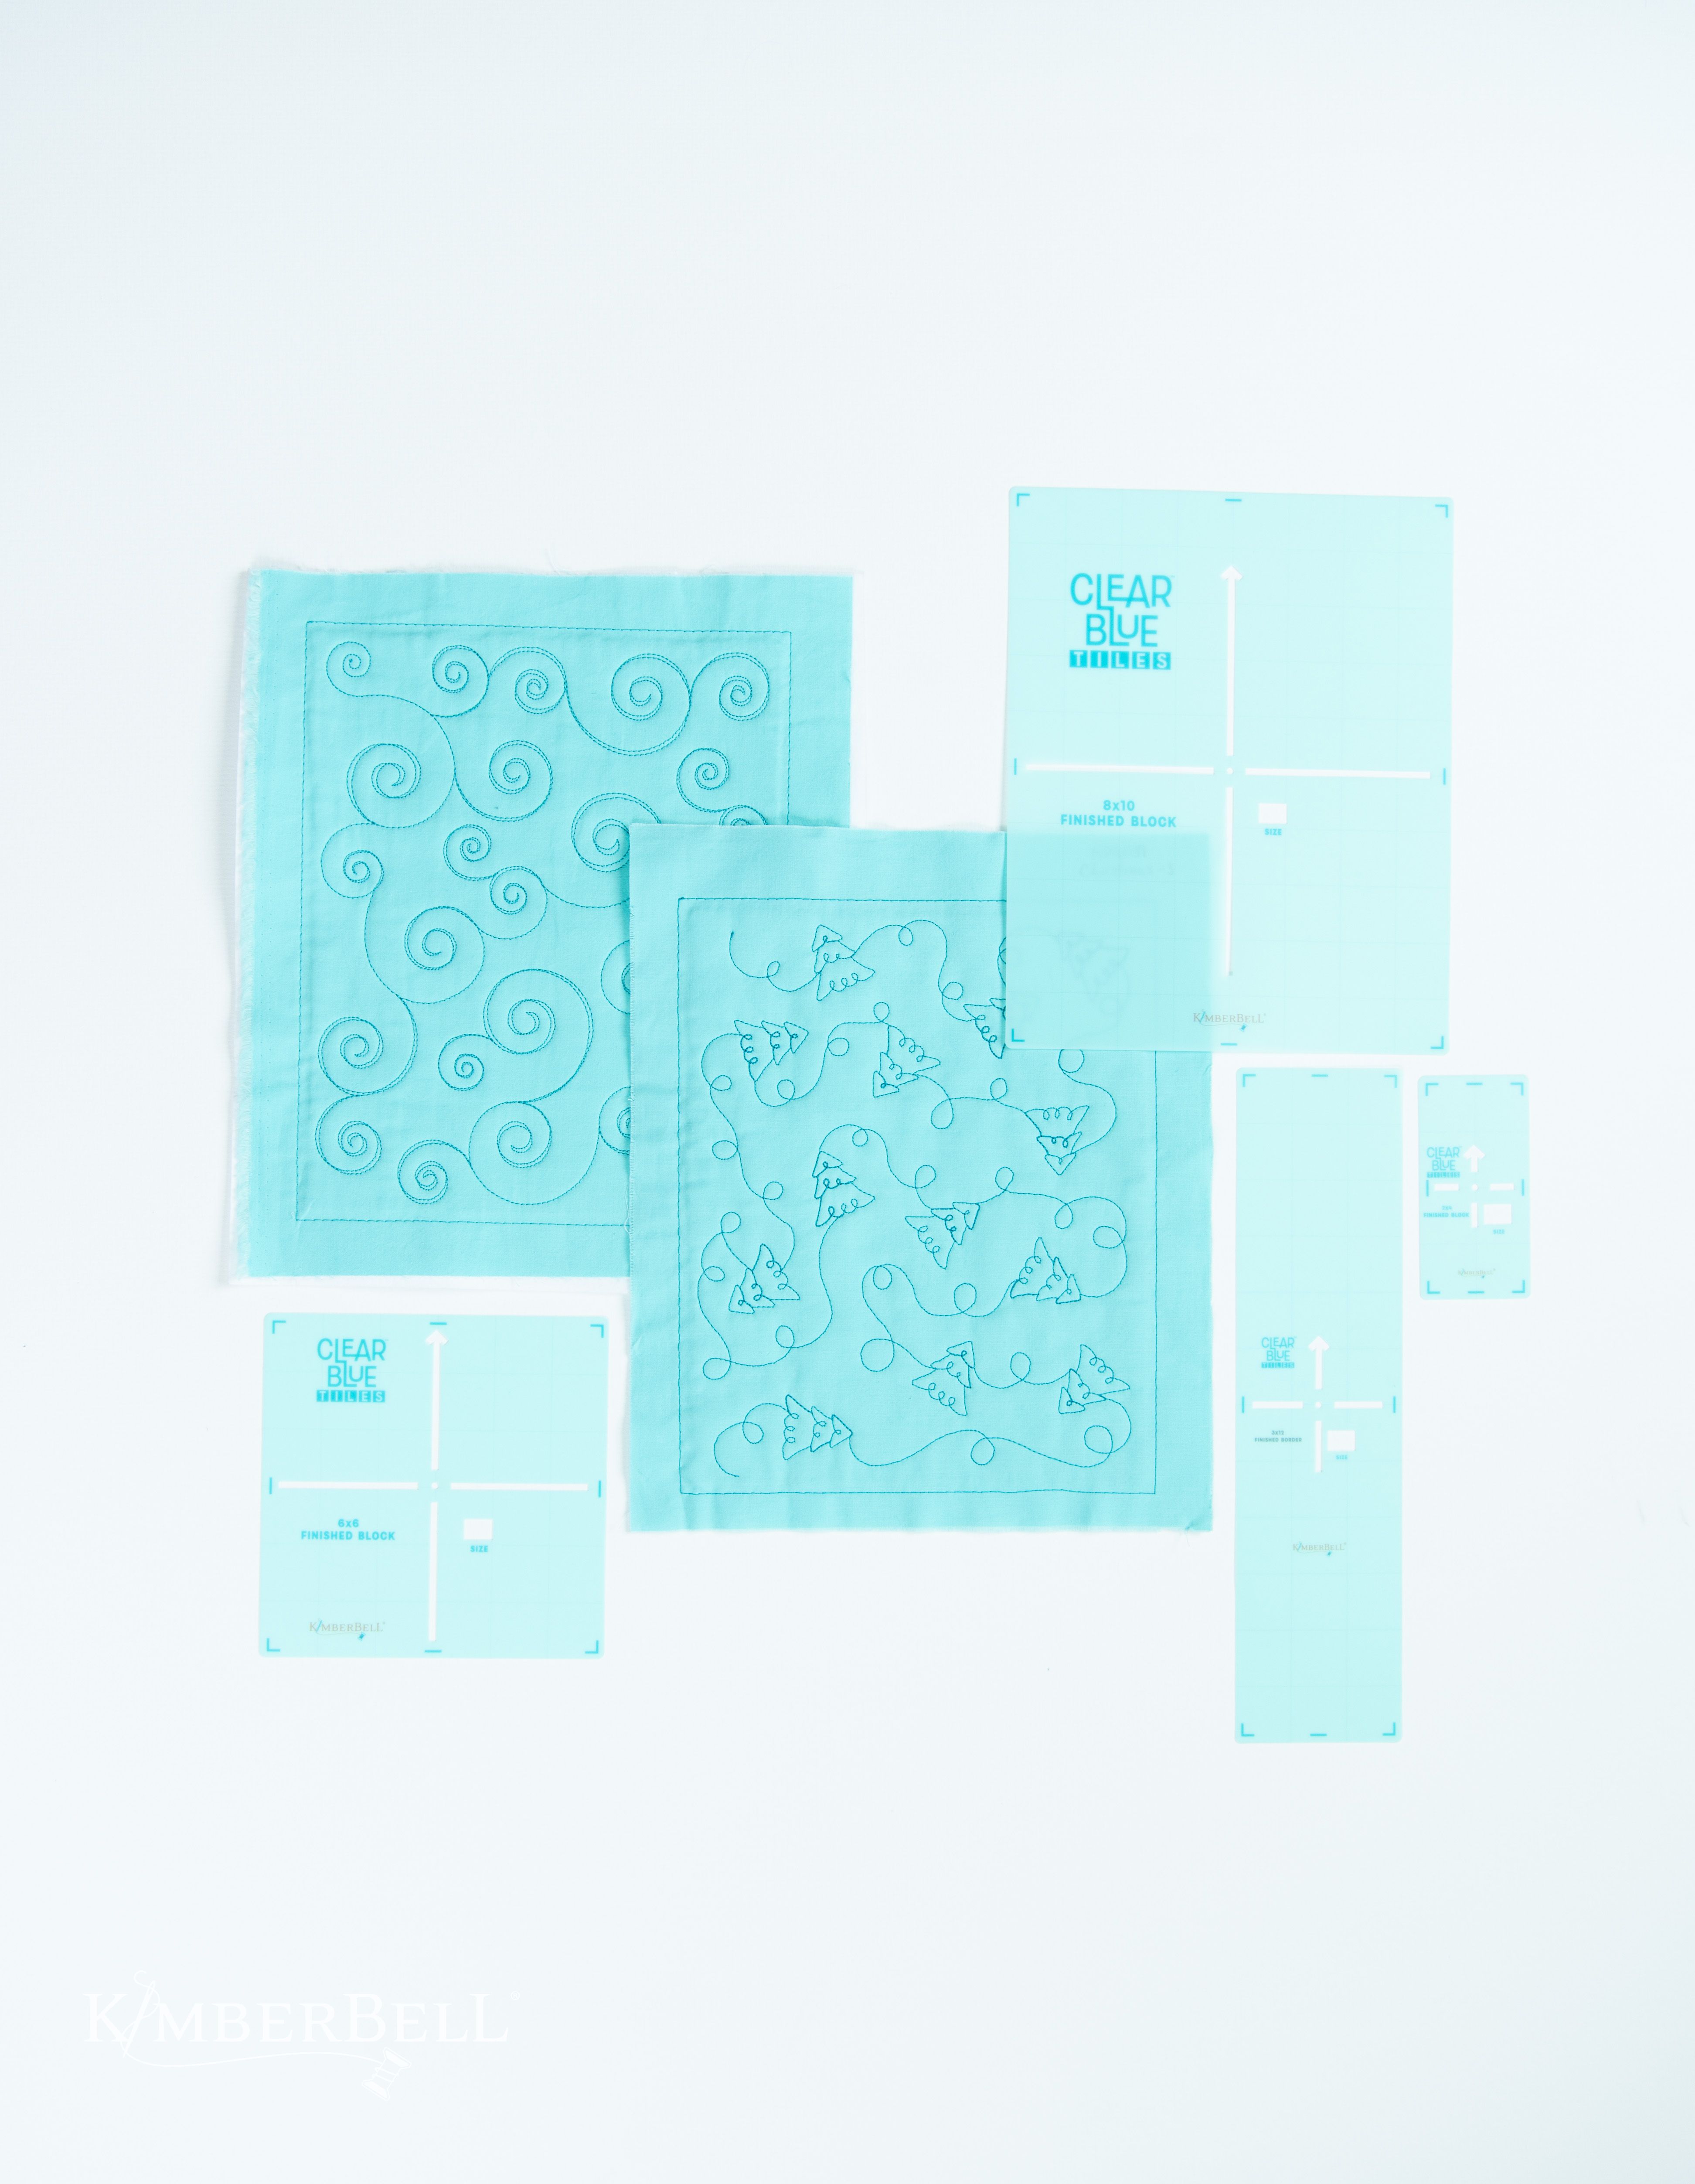
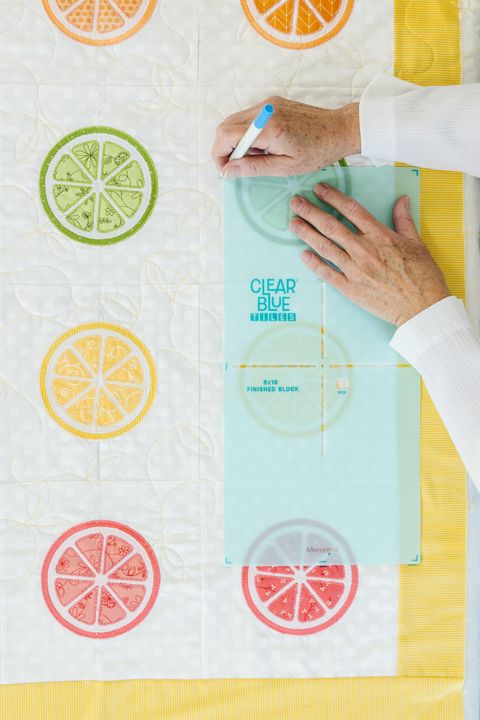
First, you'll place one of the Clear Blue Tiles on top of your quilt sandwich (or other project), then you'll use a water-soluble pen to mark the fabric as directed. (The included User Guide will walk you through each step!)
⭐ Tip: You can mix and match the tile sizes to fit your fabric! They're all the same scale.
It's a lot like using a rubber stamp. Place the tile and mark your fabric. Then move the tile, align with previous markings, and mark again. Repeat until you've "stamped" the fabric all over, indicating where quilting will go.
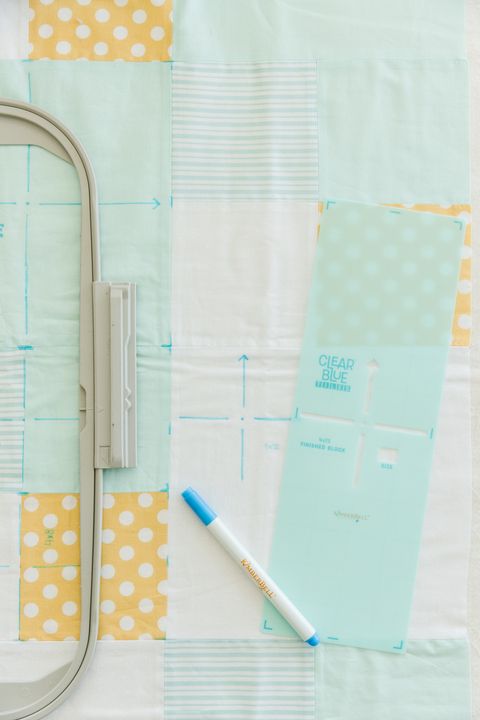
After you've marked your fabric, you'll hoop it, making sure your needle is aligned with the center crosshairs. You'll then stitch the corresponding embroidery file that matches the tile size you used. It's that simple!
When stitching is complete, hoop your fabric again with the next "stamped" marking and continue the process until the entire project is quilted. That's all there is to it! Couldn't be easier. 😊

Now that we've reviewed how Clear Blue Tiles work, let's take a look at the designs. When using Clear Blue Tiles, you're going to look for LIGHT BLUE, DARK BLUE, and DARK GREY designs on Kimberbell.com.
Here's the scoop about each of these colors:
Light Blue Designs (Small Scale)
Small-scale, LIGHT BLUE designs work with Clear Blue Tiles that are 2x2 to 8x14 in size, so you can use them with the Essentials Set and the original Expansion Set.
We have many, many LIGHT BLUE quilting designs on Kimberbell.com and that number is constantly growing. Build your background quilting library and you'll have darling designs at the ready for a variety of projects!
Let's now take a look at the DARK BLUE designs!
Dark Blue Designs (Large Scale)
Designs shown in DARK BLUE work with Clear Blue Tiles that are 4x4 to 10x16 in size. To use these designs, you'll need the Clear Blue Tiles Essentials Set, of course . . .
. . . BUT if you have large enough hoops, you'll also want to add the Expansion Set and the Expansion Set 2 to your collection and use large-scale DARK BLUE designs with the biggest tiles you can.
Why? Because the more area you cover with a single Clear Blue Tile and embroidery file, the more area you'll cover on your project and the faster your stitch time will be. Make sense? 😊
⭐ Tip: Although large-scale DARK BLUE designs will work with any Clear Blue Tile that's 4x4 and bigger, please note that tiles from the Expansion Set 2 will only work with DARK BLUE designs.
Blue vs. Blue
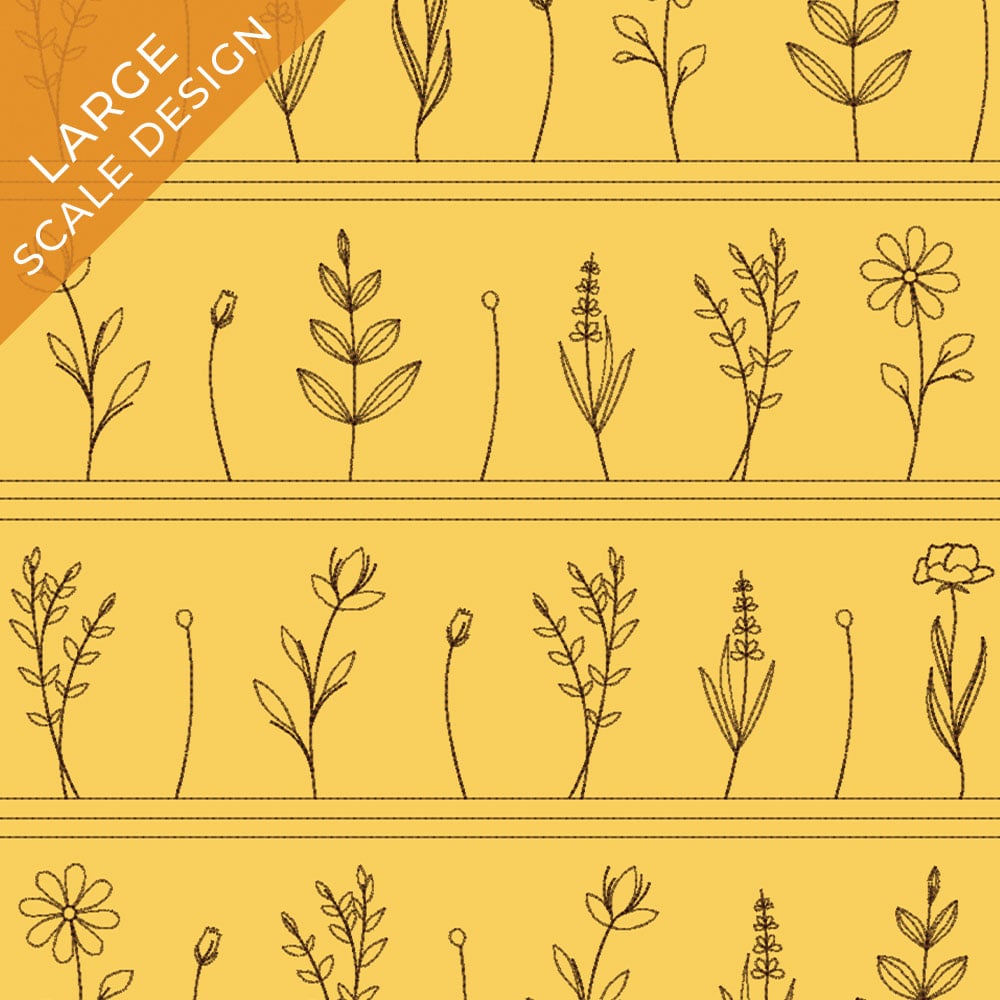
The difference between a small-scale LIGHT BLUE and a large-scale DARK BLUE design is the size of the design elements. The DARK BLUE designs are just so much bigger.
Here's a look at a DARK BLUE design right next to a coordinating LIGHT BLUE design.
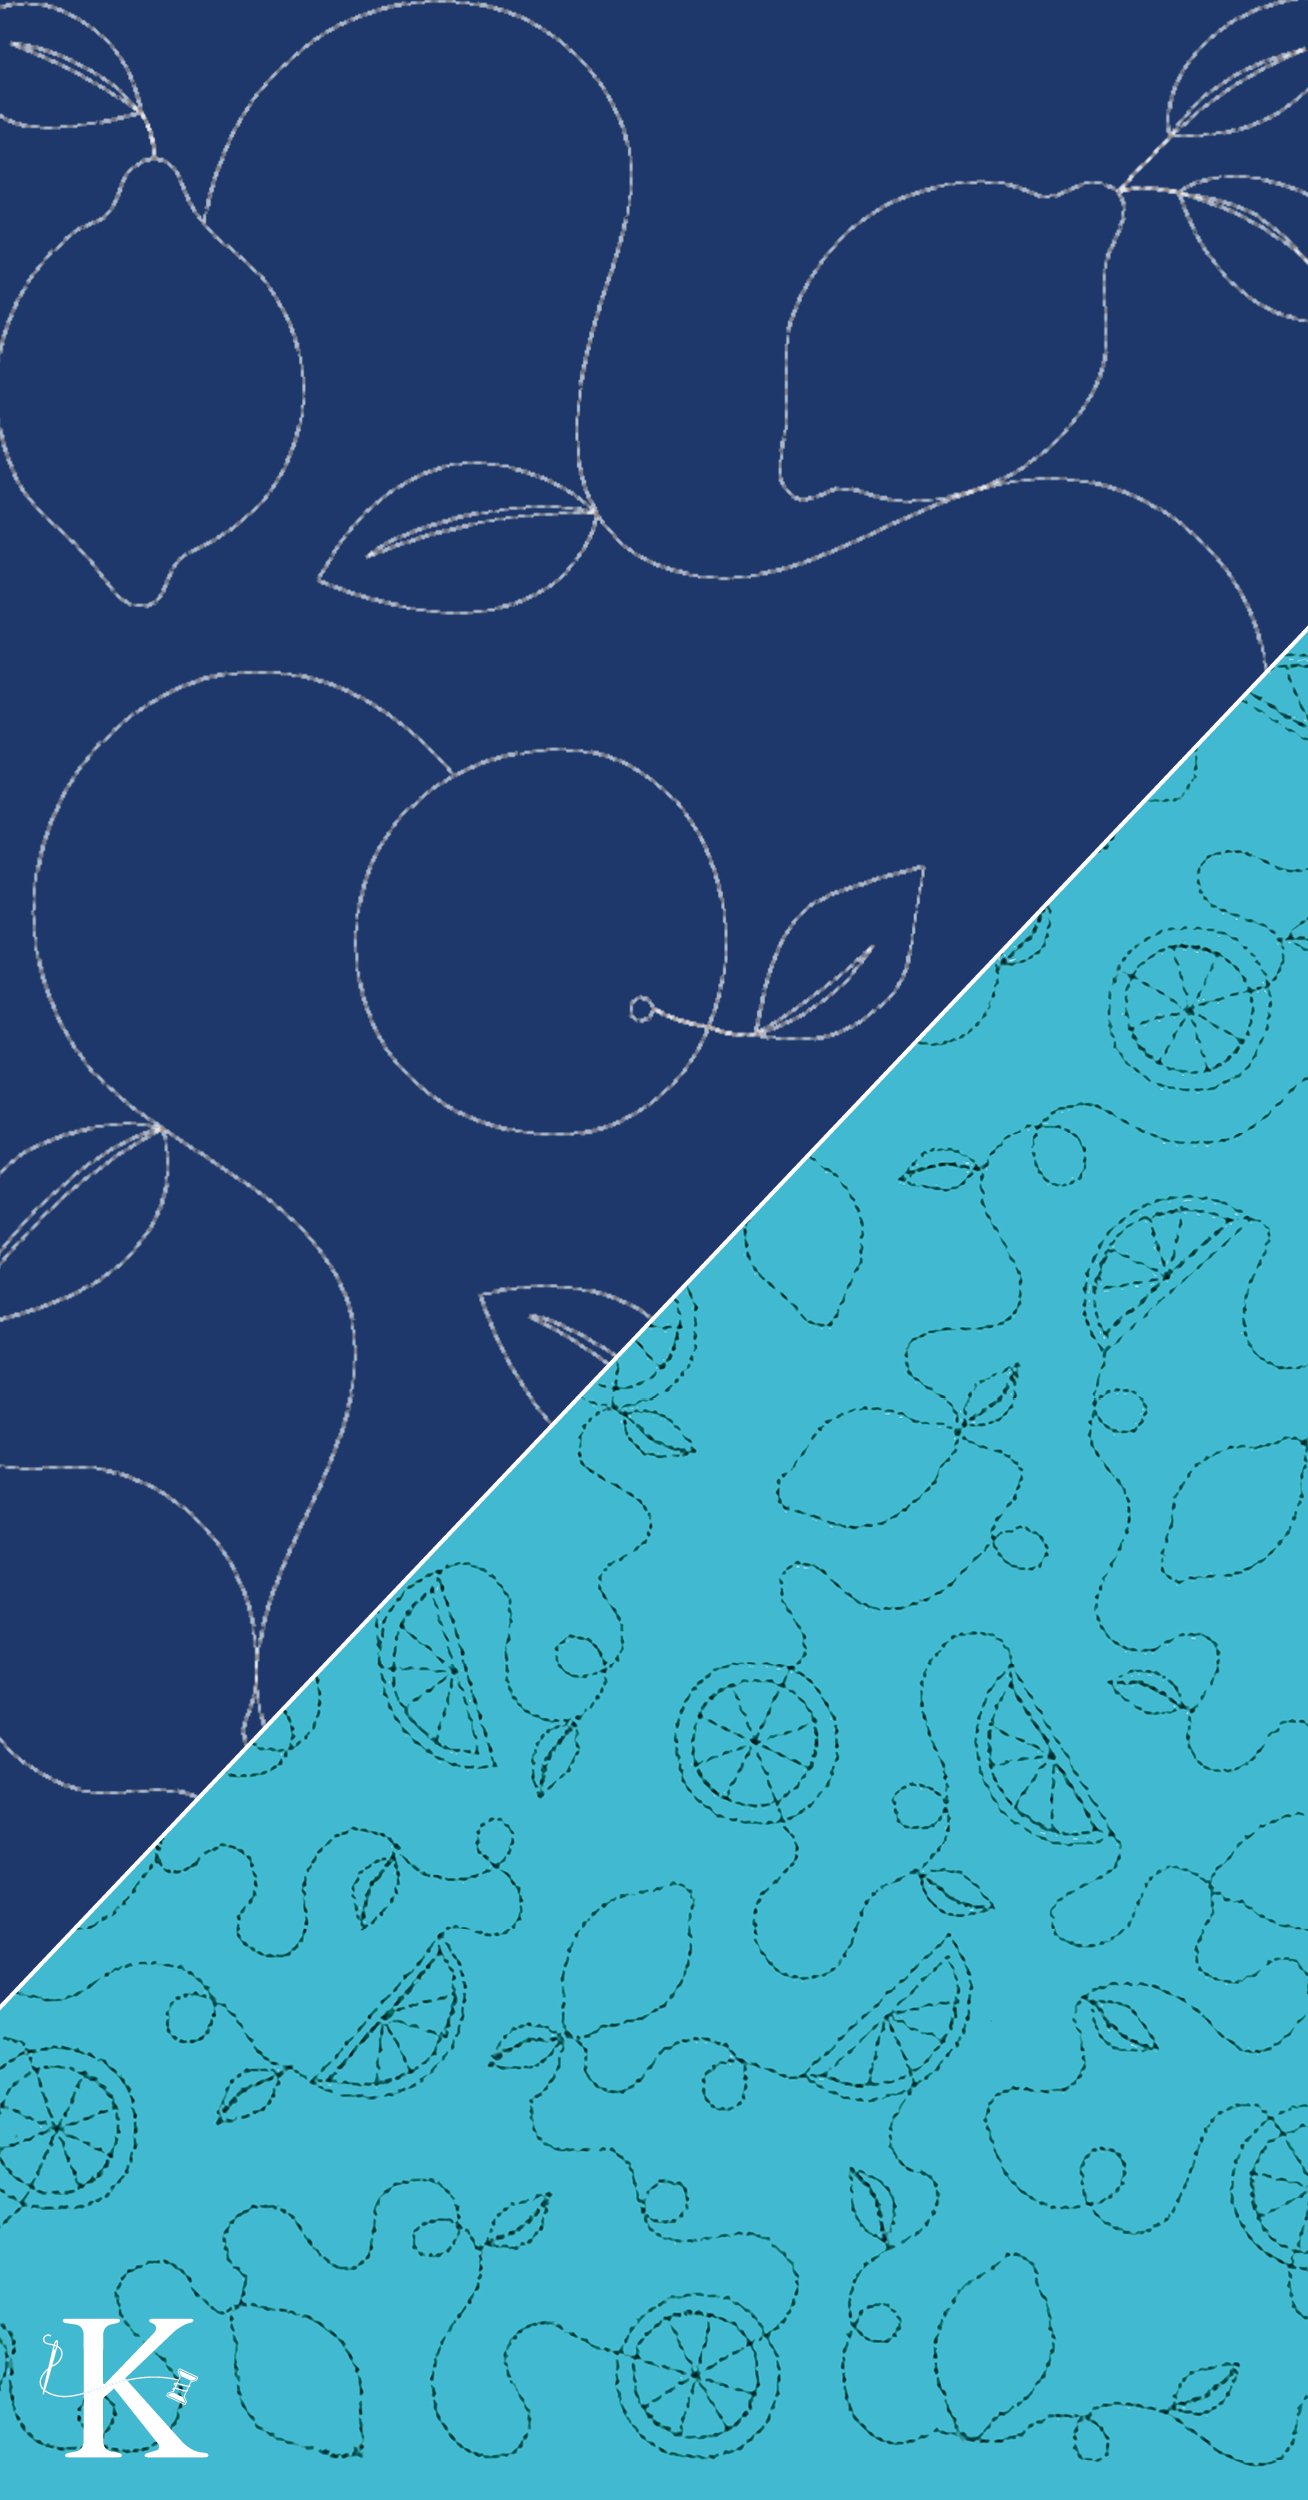
As you can see, they both feature fruit, leaves, and vines. But the DARK BLUE design elements are much larger and spread out, whereas the LIGHT BLUE elements are smaller and more closely placed together.
To learn more about how the large-scale background quilting designs work with our Clear Blue Tiles Expansion Set 2, please click HERE.
⭐ Tip: When you purchase LIGHT BLUE, DARK BLUE, or DARK GREY designs, you'll also receive a set of Block-by-Block quilting files along with the Clear Blue Tiles files. (More on Block-by-Block below!)
Dark Grey Designs (Clear Blue Tile Borders)
As I mentioned above, we also offer DARK GREY designs. These designs are also used with Clear Blue Tiles, but they're specifically for borders that are 1", 2", 3", 4", 5" and 6" in width (but any length)!
When you download DARK GREY designs, you'll receive two coordinating designs so you can quilt inner borders and sashing strips along with large borders.
DARK GREY designs work with Clear Blue Tiles that are 1x7 to 6x14 in size. Now, let's go ahead and talk about our Block-by-Block quilting system, then we'll dive into ORANGE, YELLOW, and LIGHT GREY designs!
Block-by-Block Quilting System
So, what makes our Block-by-Block system different from our Clear Blue Tiles method? Block-by-Block files feature the same designs as the Clear Blue Tiles version, but they contain batting and tack-down lines so you can quilt a single block or border. They are also specially digitized so there's no batting in the seams.
Block-by-Block quilting is ideal for projects with a lot of applique. The quilting goes behind the applique, like this:
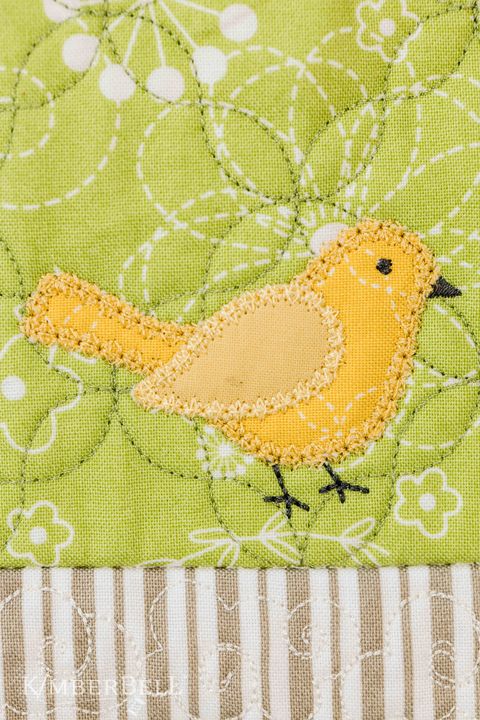
These background quilting stitches do NOT show on the back of the project, as only the top fabric has been quilted. When you're done creating your blocks, your quilt is finished by sewing the blocks together, creating a "sandwich" with the quilted top, Project Batting, and back fabric, and then stitching in the ditch.
For a demonstration of how Block-by-Block quilting is done, please click HERE. 😊
Now let's take a look at the designs. When doing Block-by-Block quilting, you can use designs designated in ORANGE and YELLOW . . .or LIGHT BLUE and DARK BLUE . . .or LIGHT GREY and DARK GREY because all of these colors include Block-by-Block files!
⭐ Tip: Although you can use any BLUE design for Block-by-Block quilting (since they include Block-by-Block files), you cannot use ORANGE or YELLOW or LIGHT GREY designs with Clear Blue Tiles.
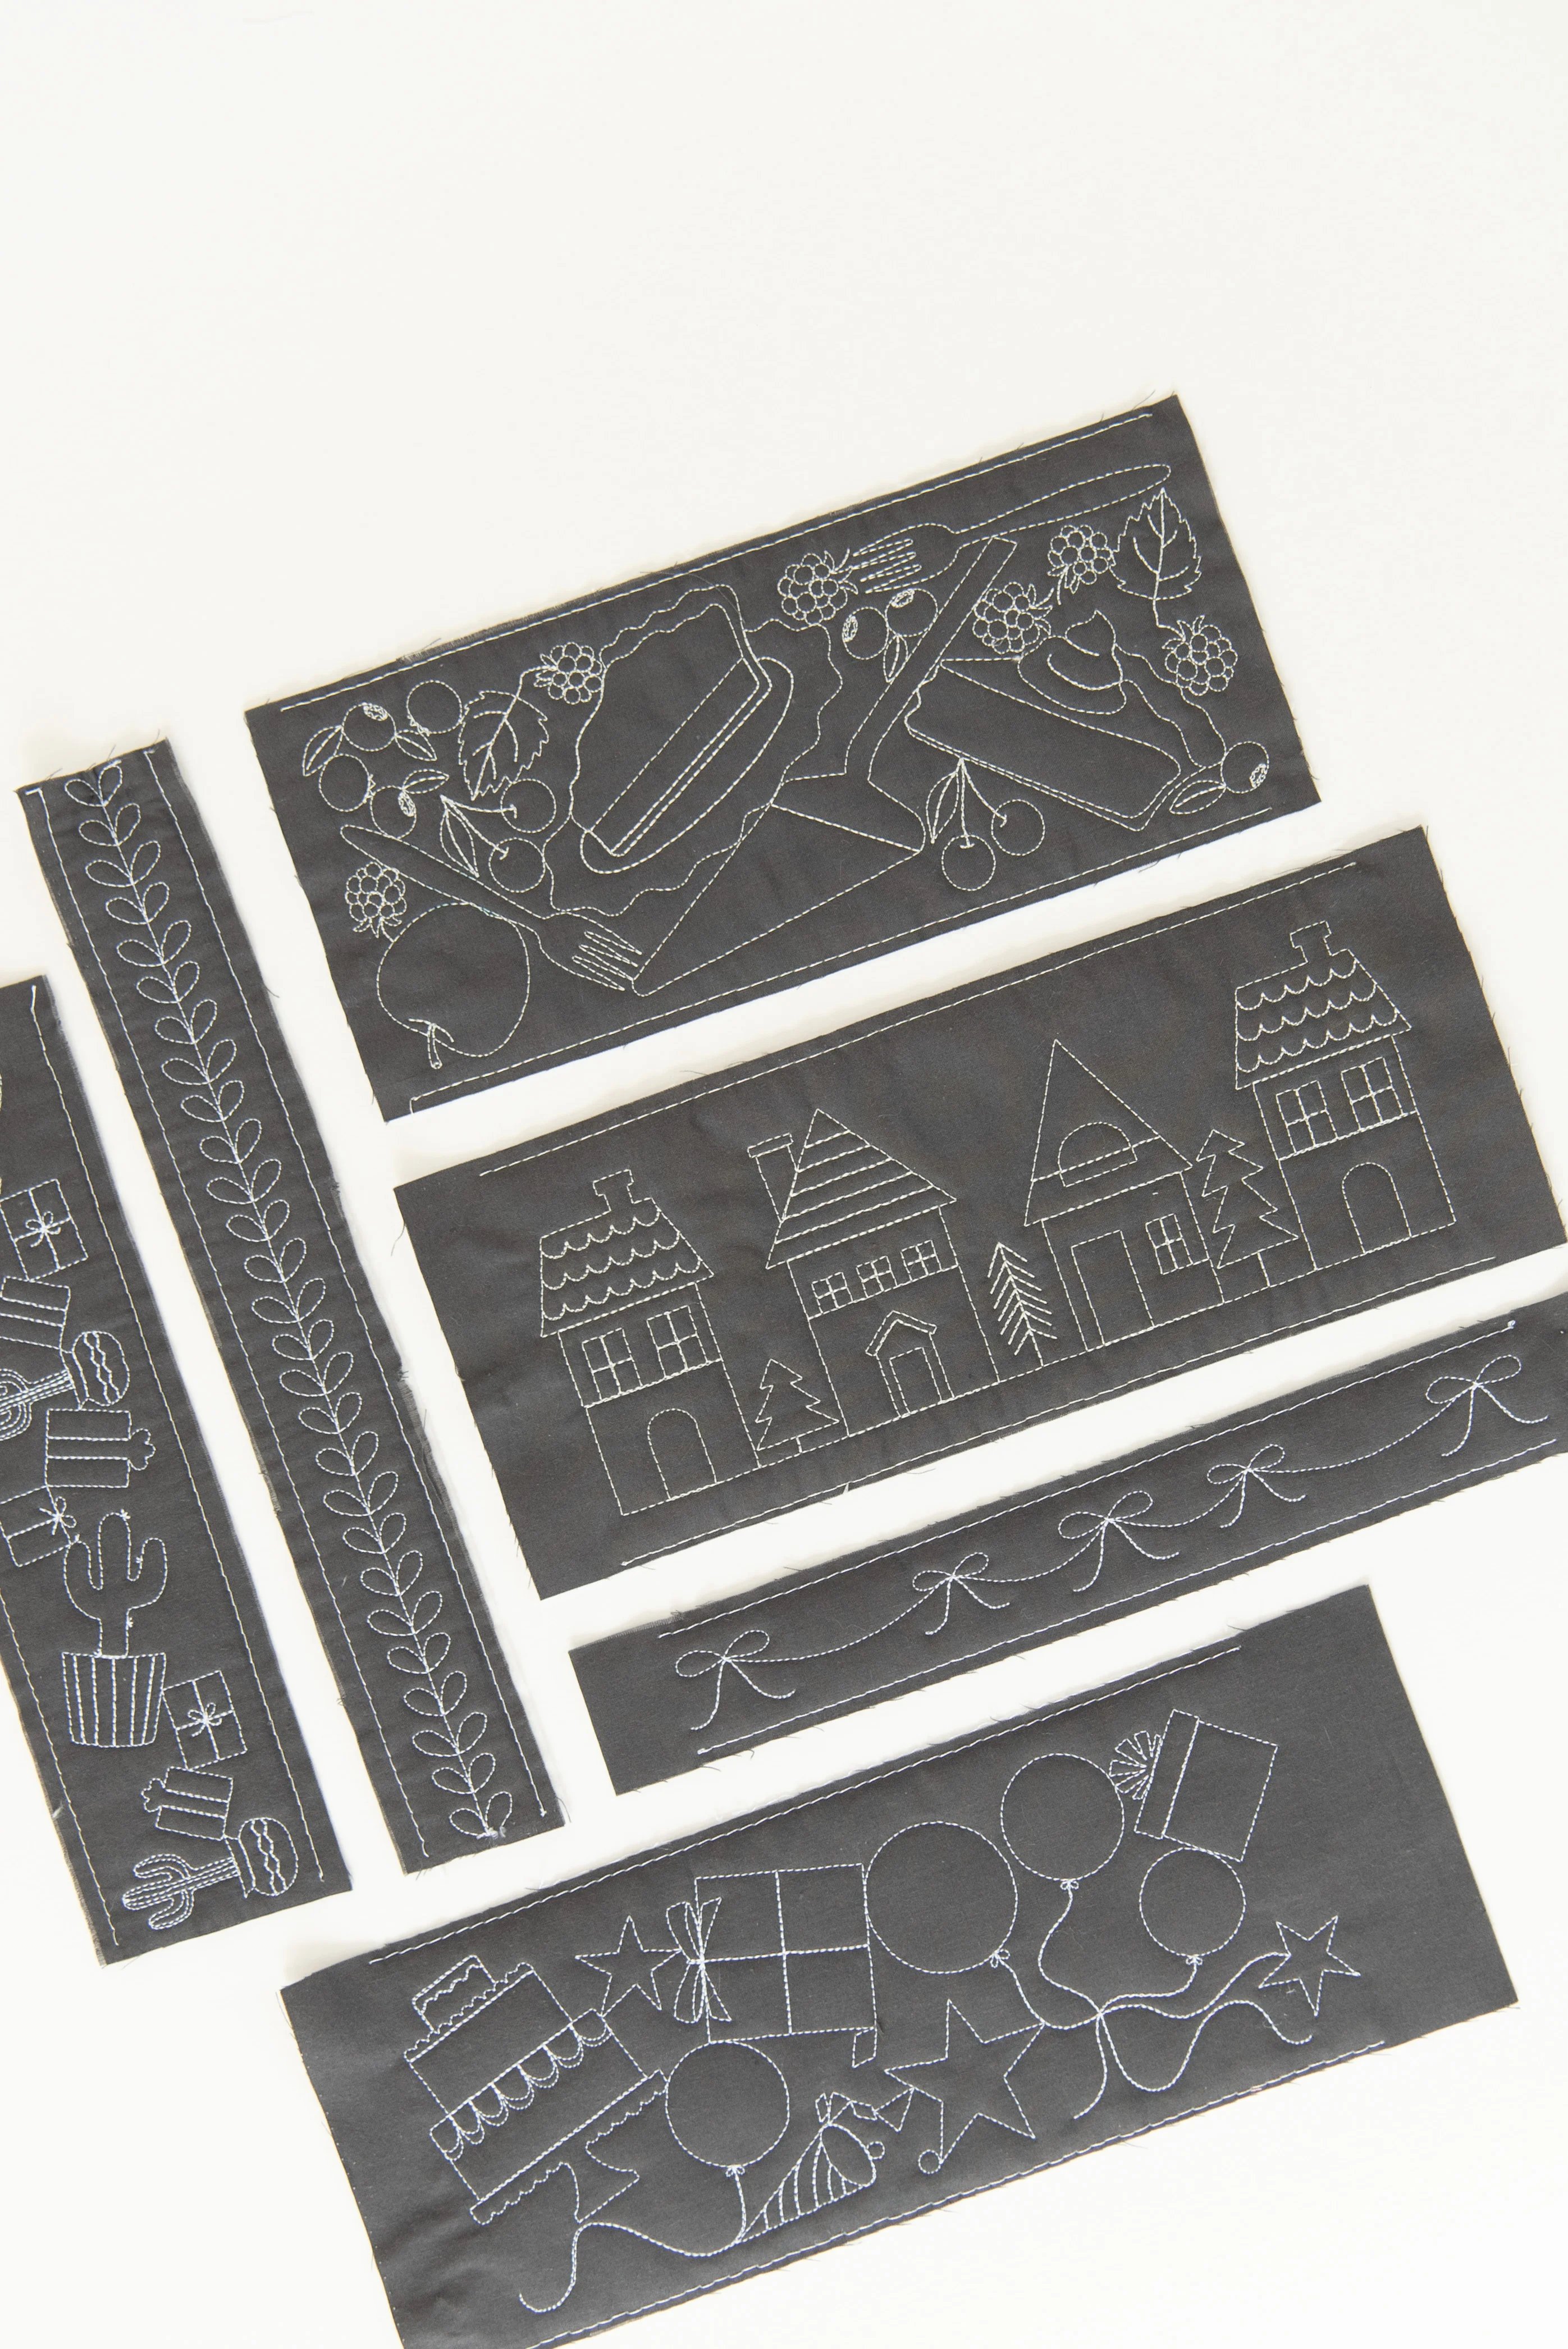
Orange Designs (Small Scale)
As mentioned above, ORANGE designs contain batting and fabric tack-down lines and are digitized so no batting will be in the seams. ORANGE designs are ideal for feature quilts, bench pillows, mini quilts, and more and come in 2x2 to 8x14 sizes.
Take a look at the ORANGE designs below. As you can see, there are tack-down lines that go around the design like a border. These lines will be hidden in your seams when you sew the blocks together.
Again, ORANGE designs are ONLY for the Block-by-Block quilting method. They will not work with Clear Blue Tiles. Their color means they work well with Kimberbell’s Orange Pop Rulers.®
⭐ Tip: Remember, if you purchase designs shown in BLUE, you'll receive both Clear Blue Tiles and Block-by-Block quilting files. But it doesn't work the other way around. If you purchase an ORANGE design, you'll receive Block-by-Block quilting files only.
Yellow Designs (Large Scale)
Okay. Remember how DARK BLUE designs are like LIGHT BLUE designs only with bigger elements? Same with YELLOW designs: they're like ORANGE designs only with bigger elements.
⭐ Tip: If I were writing a question for a school aptitude test, I might say something like this: YELLOW is to ORANGE as DARK BLUE is to LIGHT BLUE . Maybe that's an easy way to think of it?
YELLOW designs come in 4x4 to 10x16 sizes, so they're meant for use with larger embroidery machine hoops to cover more area at a time. Larger design elements=faster stitch time! 👏
Light Grey Designs (Block-by-Block Borders)
In addition to the ORANGE and YELLOW colors, we also offer LIGHT GREY designs for Block-by-Block quilting. LIGHT GREY designs are specifically for borders and come in 1x7 to 6x14 sizes.
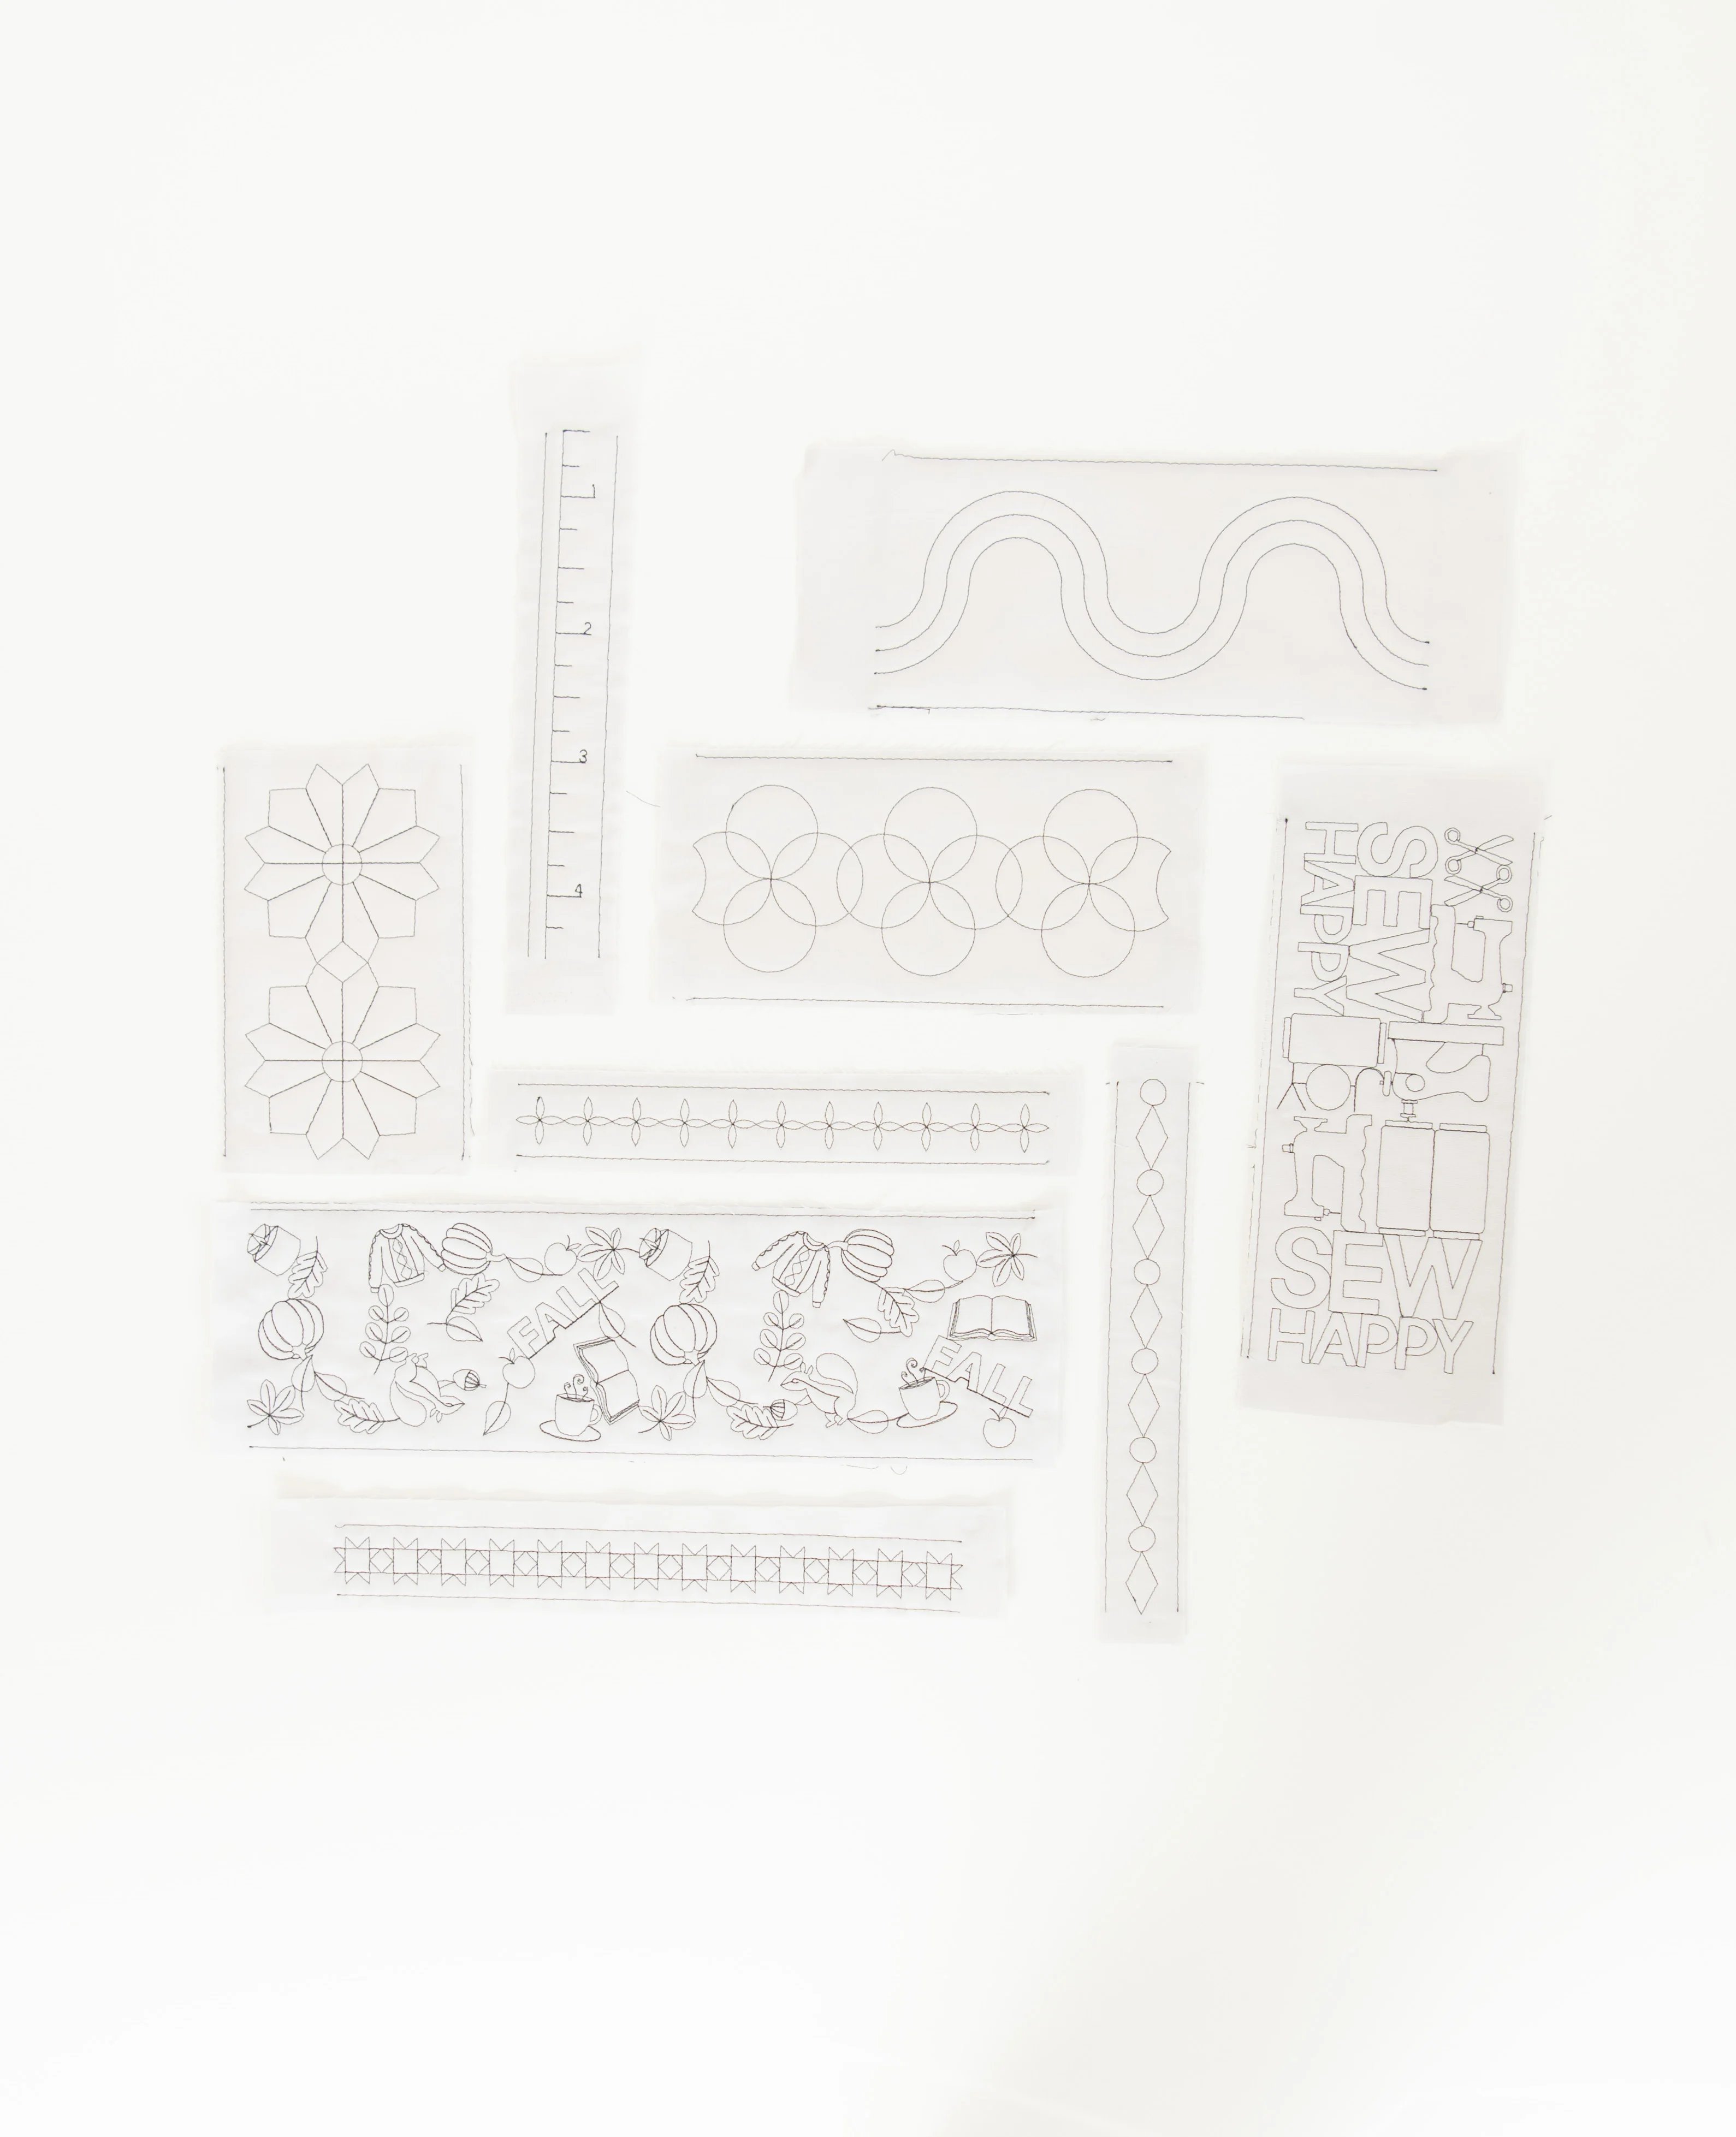
When you download LIGHT GREY designs, you'll receive two coordinating designs so you can quilt inner borders and sashing strips along with the larger borders.
The LIGHT GREY border quilting designs work only with our Block-by-Block quilting method. This is because these designs are exact, repeated patterns. The length of the border is shortened so you can easily match them up from one hooping to the next.
Embroidery Field Sizes
Now that we've gone through both types of background quilting and their assigned colors, let's talk for a minute about embroidery fields. (Come again? What's that? 🤔)
The embroidery field is the maximum area a design will stitch. (This is different than your hoop size!) To accommodate the presser foot and needle, the embroidery field will always be smaller than your hoop. This is because there's a buffer on each side so the needle doesn’t collide with the edge of the hoop.
Below are two charts showing block sizes and their corresponding Clear Blue Tiles and Block-by-Block embroidery field sizes. The first chart is for LIGHT BLUE designs, and the second is for DARK BLUE.
Light Blue Design Embroidery Field Sizes
%20(1).jpg?width=5352&height=4365&name=3-Block-Embroidery-Field-Sizes-Blue%20(1)%20(1).jpg)
Dark Blue Design Embroidery Field Sizes
.jpg?width=1226&height=1000&name=3-Embroidery-File-Size-Table-CBT-Dark-Blue%20(1).jpg)
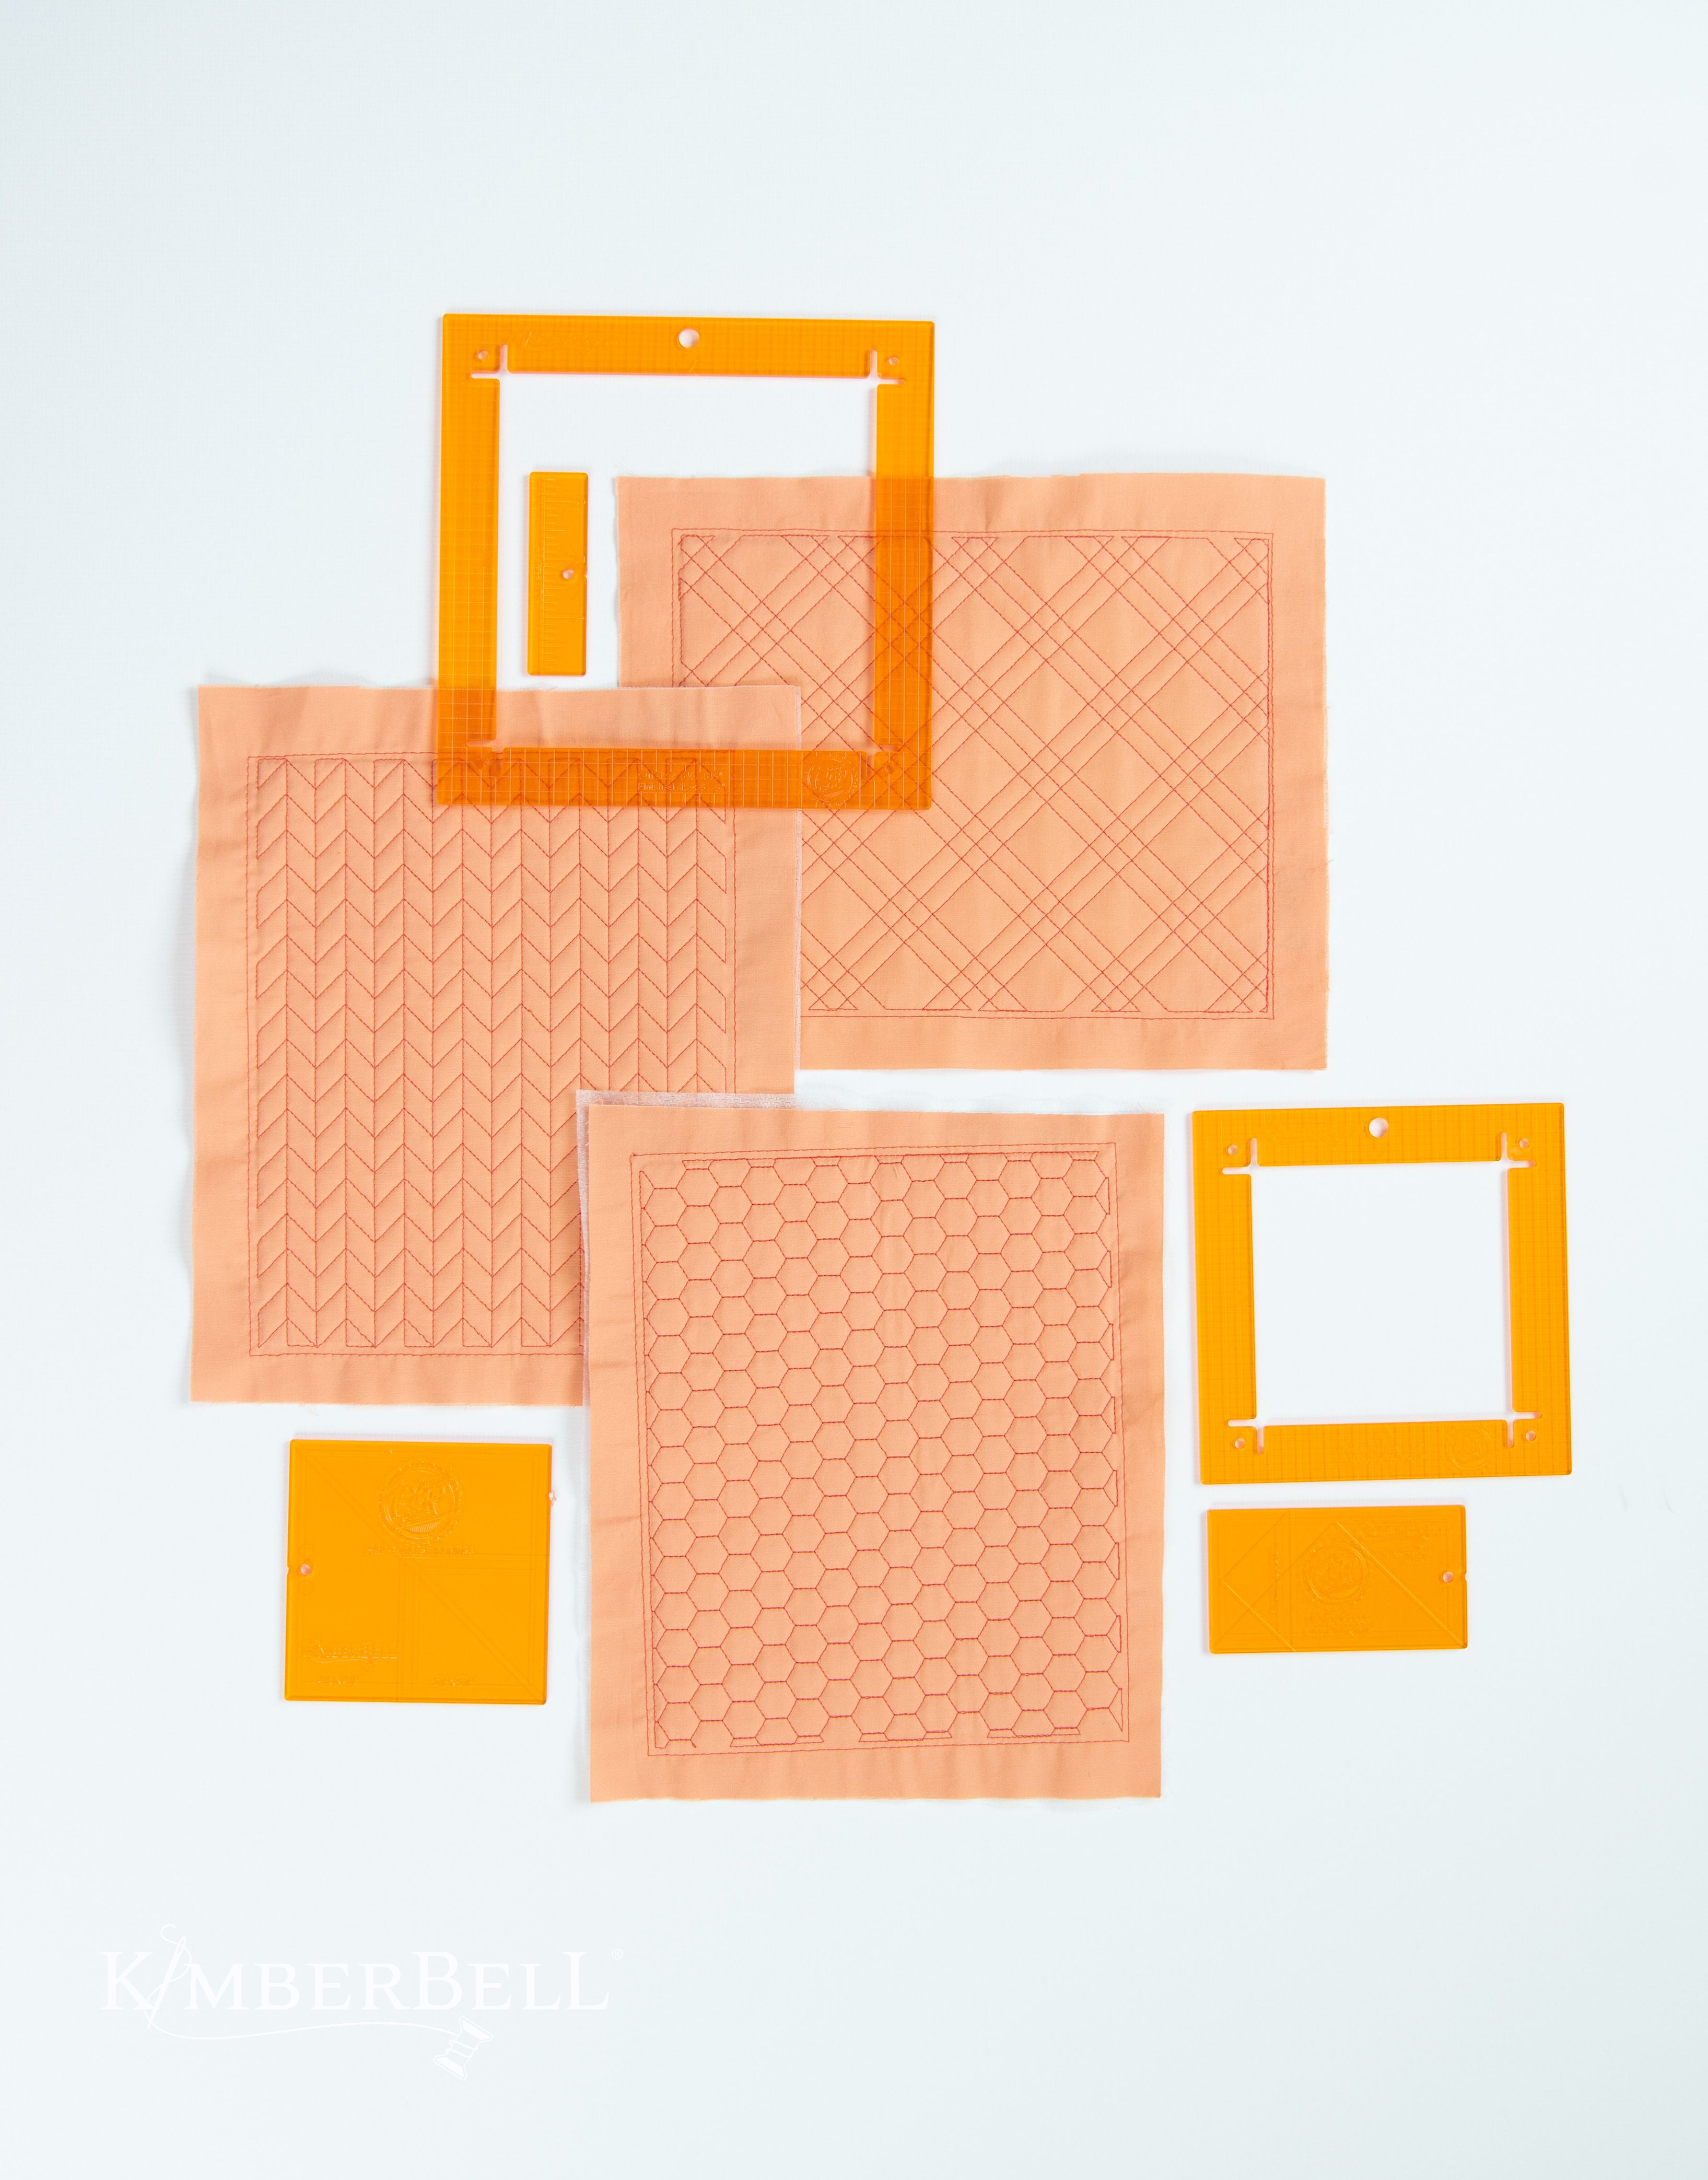
Clear Blue Tiles Sizes
Here's another helpful chart for your reference. This chart shows which designs work with which sizes of Clear Blue Tiles. Again, please note that you'll need the Essentials Set before adding either Expansion Set.
For more details about our Expansion Set 2 and how it works with DARK BLUE designs, please click HERE!
Let's Sum Up . . .
My friends, I just dumped a whole lot of information into this post. (I hope it wasn't too much like drinking from a fire hose!) Please allow me to briefly summarize the main points:
- If you want continuous quilting like you'd get with a longarm machine, use Clear Blue Tiles and look for designs shown in LIGHT BLUE, DARK BLUE, or DARK GREY.
- If you want to do quilting on an individual block, use our Block-by-Block quilting method and use designs shown in ORANGE, YELLOW, LIGHT GREY, LIGHT BLUE, DARK BLUE, or DARK GREY.
Whether you’re using Clear Blue Tiles to finish a baby quilt or our Block-by-Block quilting on a bench pillow, we have the perfect Kimberbell background quilting pattern for you!
Background quilting takes machine embroidery projects to the next level. 😊 I encourage you to start building your own background quilting library of designs!
I hope this post was helpful to you. If you have any questions, please leave a comment below and I'll do my best to answer! We also have several video tutorials HERE on our Kimberbell YouTube channel and our Kimberbells [and Fellas, Too!] Facebook group is an inspirational resource, too.
Thanks for joining me in talking about Kimberbell background quilting. I'm excited for you to give it a try! There's just SO MUCH your home embroidery machine can do, even with the very smallest hoops.
Happy stitching! 😊