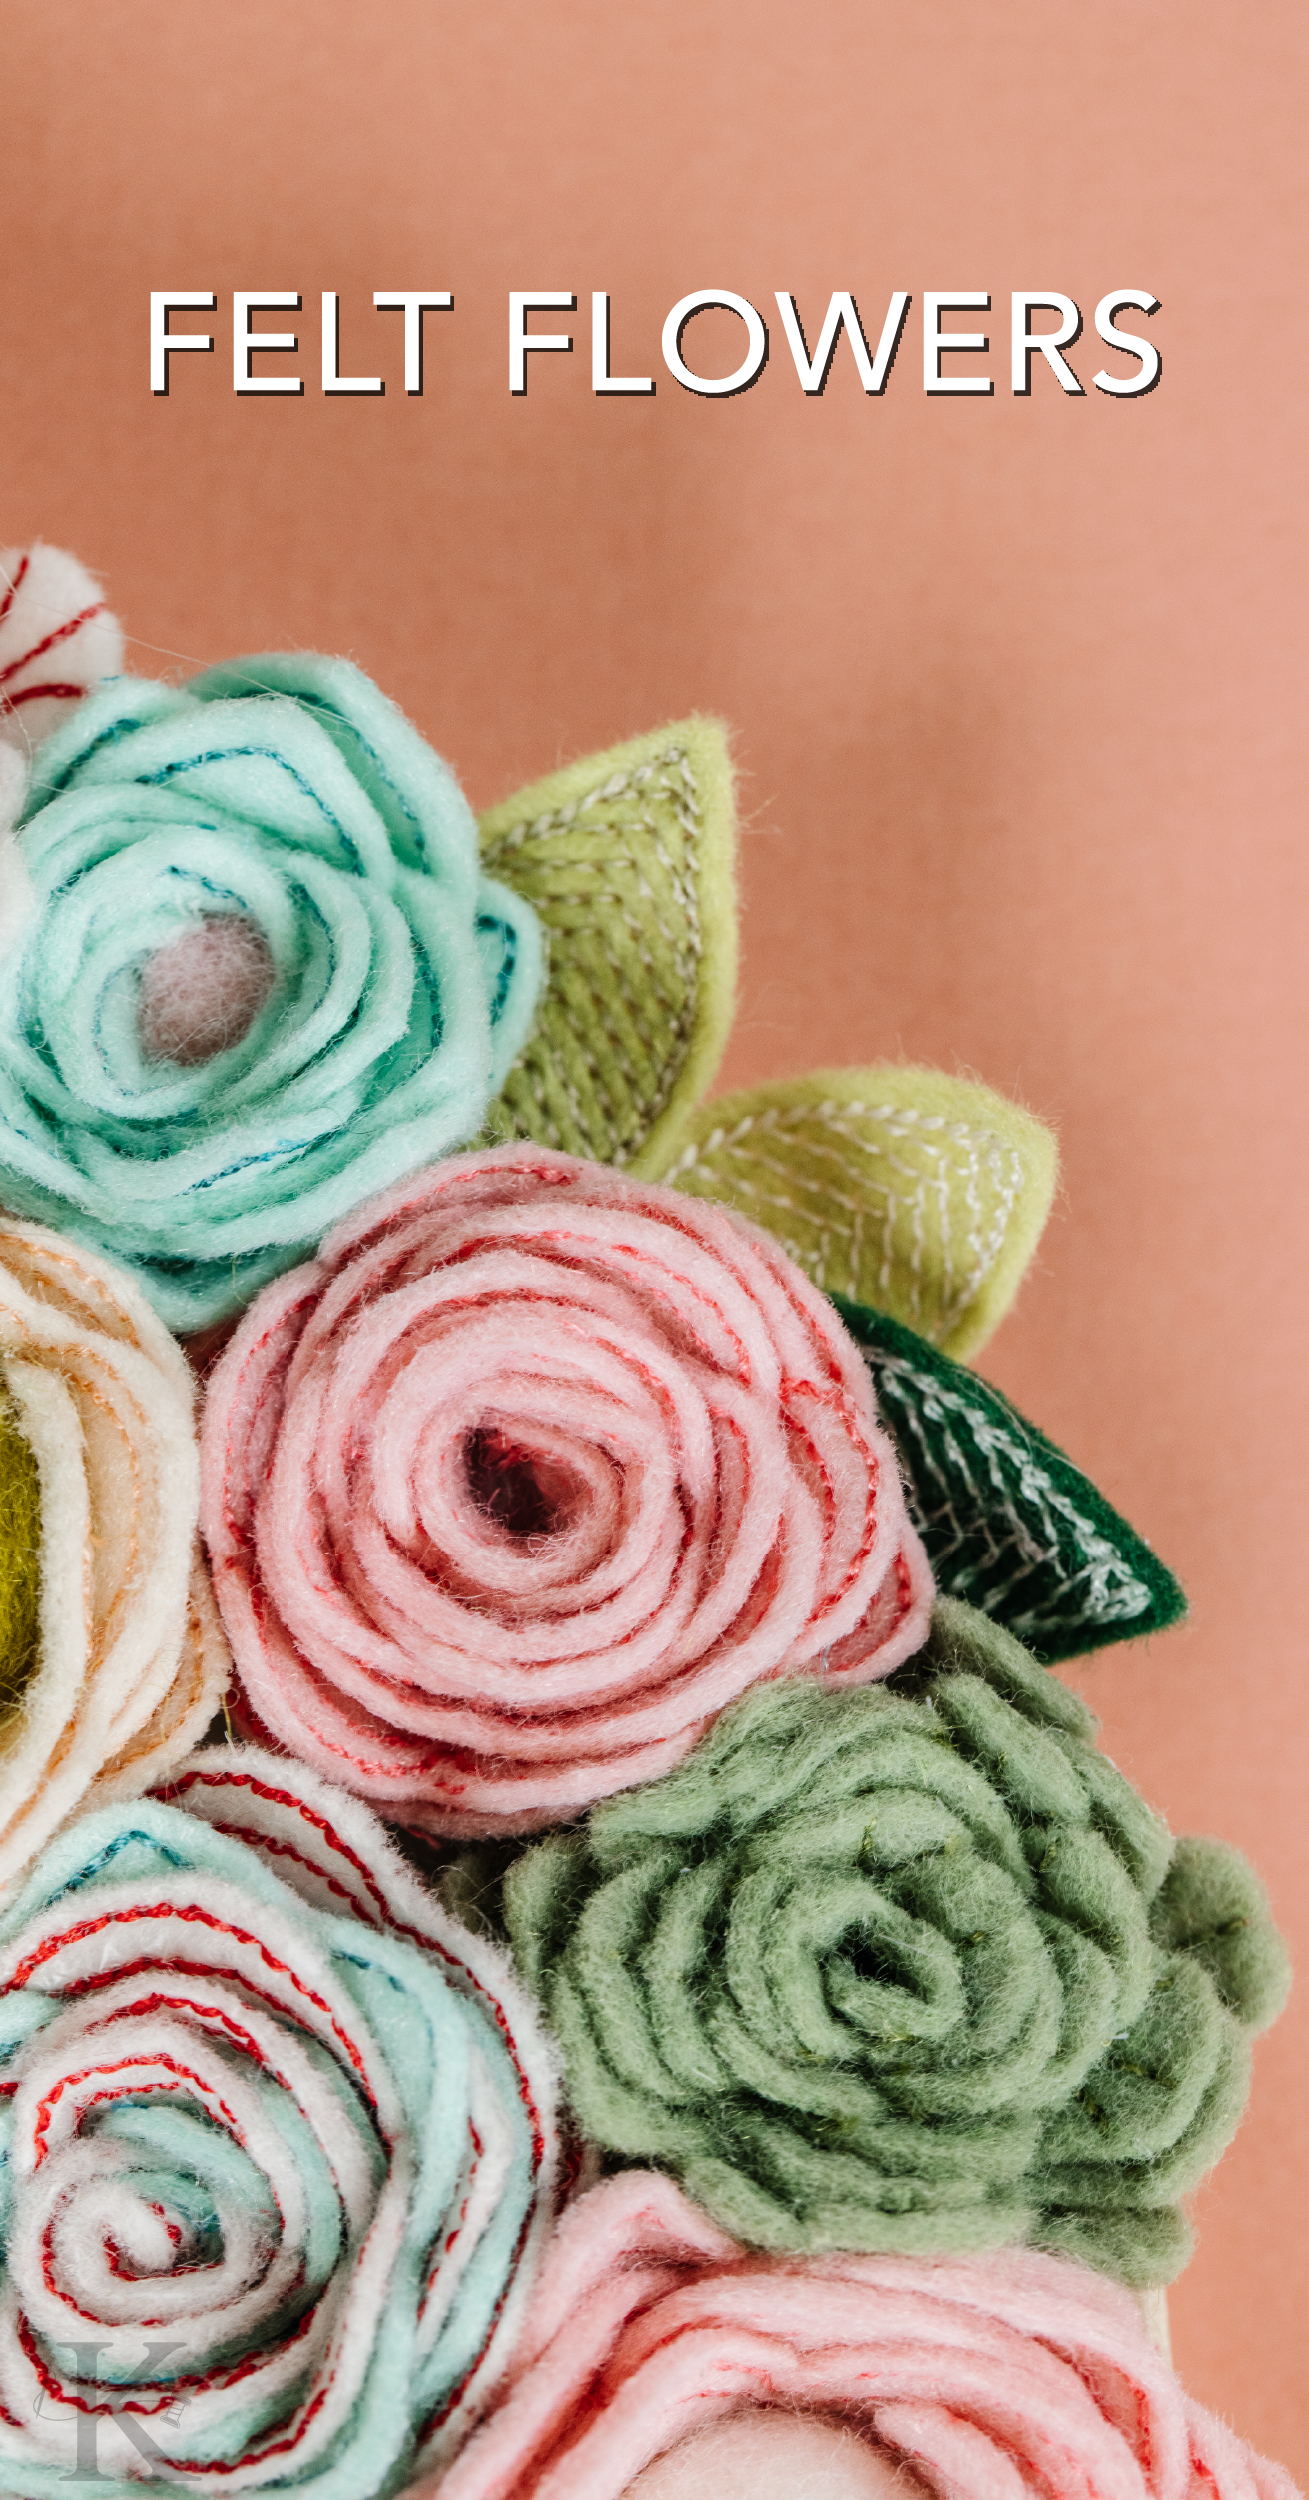

Dimensional felt flowers take Kimberbell's Spring Showers machine embroidery quilt to a whole new level of WOW. Not only are they on the quilt itself, they're also featured on two of the three bonus projects!
Let me show you what I mean. Take a look at this applique wheelbarrow brimming with "bee-utiful" felt flowers! 🌺
Life is Bee-utiful Bonus Project
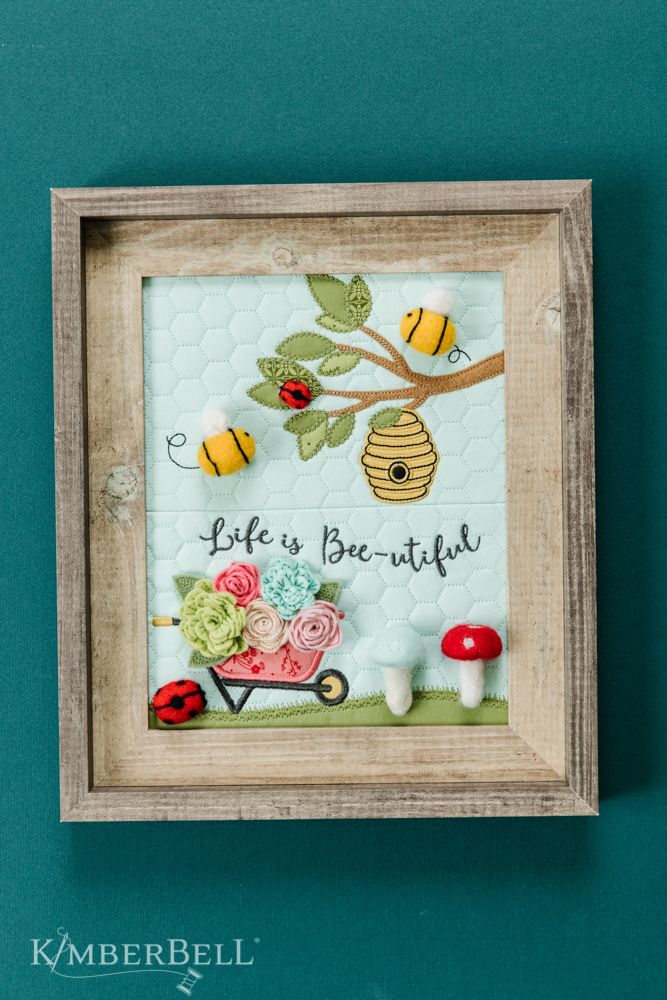
Just imagine the creative possibilities! Kimberbell Felt Flowers can be added to, well, anything. Baby headbands. Purses. Quilts. Wall hangings. Pillows. Anything!
But...How Hard Are They?
Don't let fear hold you back from trying your hand (and your machine) at felt flowers. They're not hard at all! In fact, they're remarkably easy to make.
I'll be honest. When I first saw Kimberbell felt flowers, I was blown away and "felt" (no pun intended) just a little intimidated. After all, I'd never made anything like this on an embroidery machine before!
But after watching Kim's What's New Wednesday on February 16th (see video below!) I decided to give it the ol' college try and to my absolute delight, discovered that Kimberbell felt flowers couldn't be easier to make. Just follow the steps and you're done within minutes.
Let me walk you through the whole 5-10 minute process. (Yep, it only takes that long. 🙂)
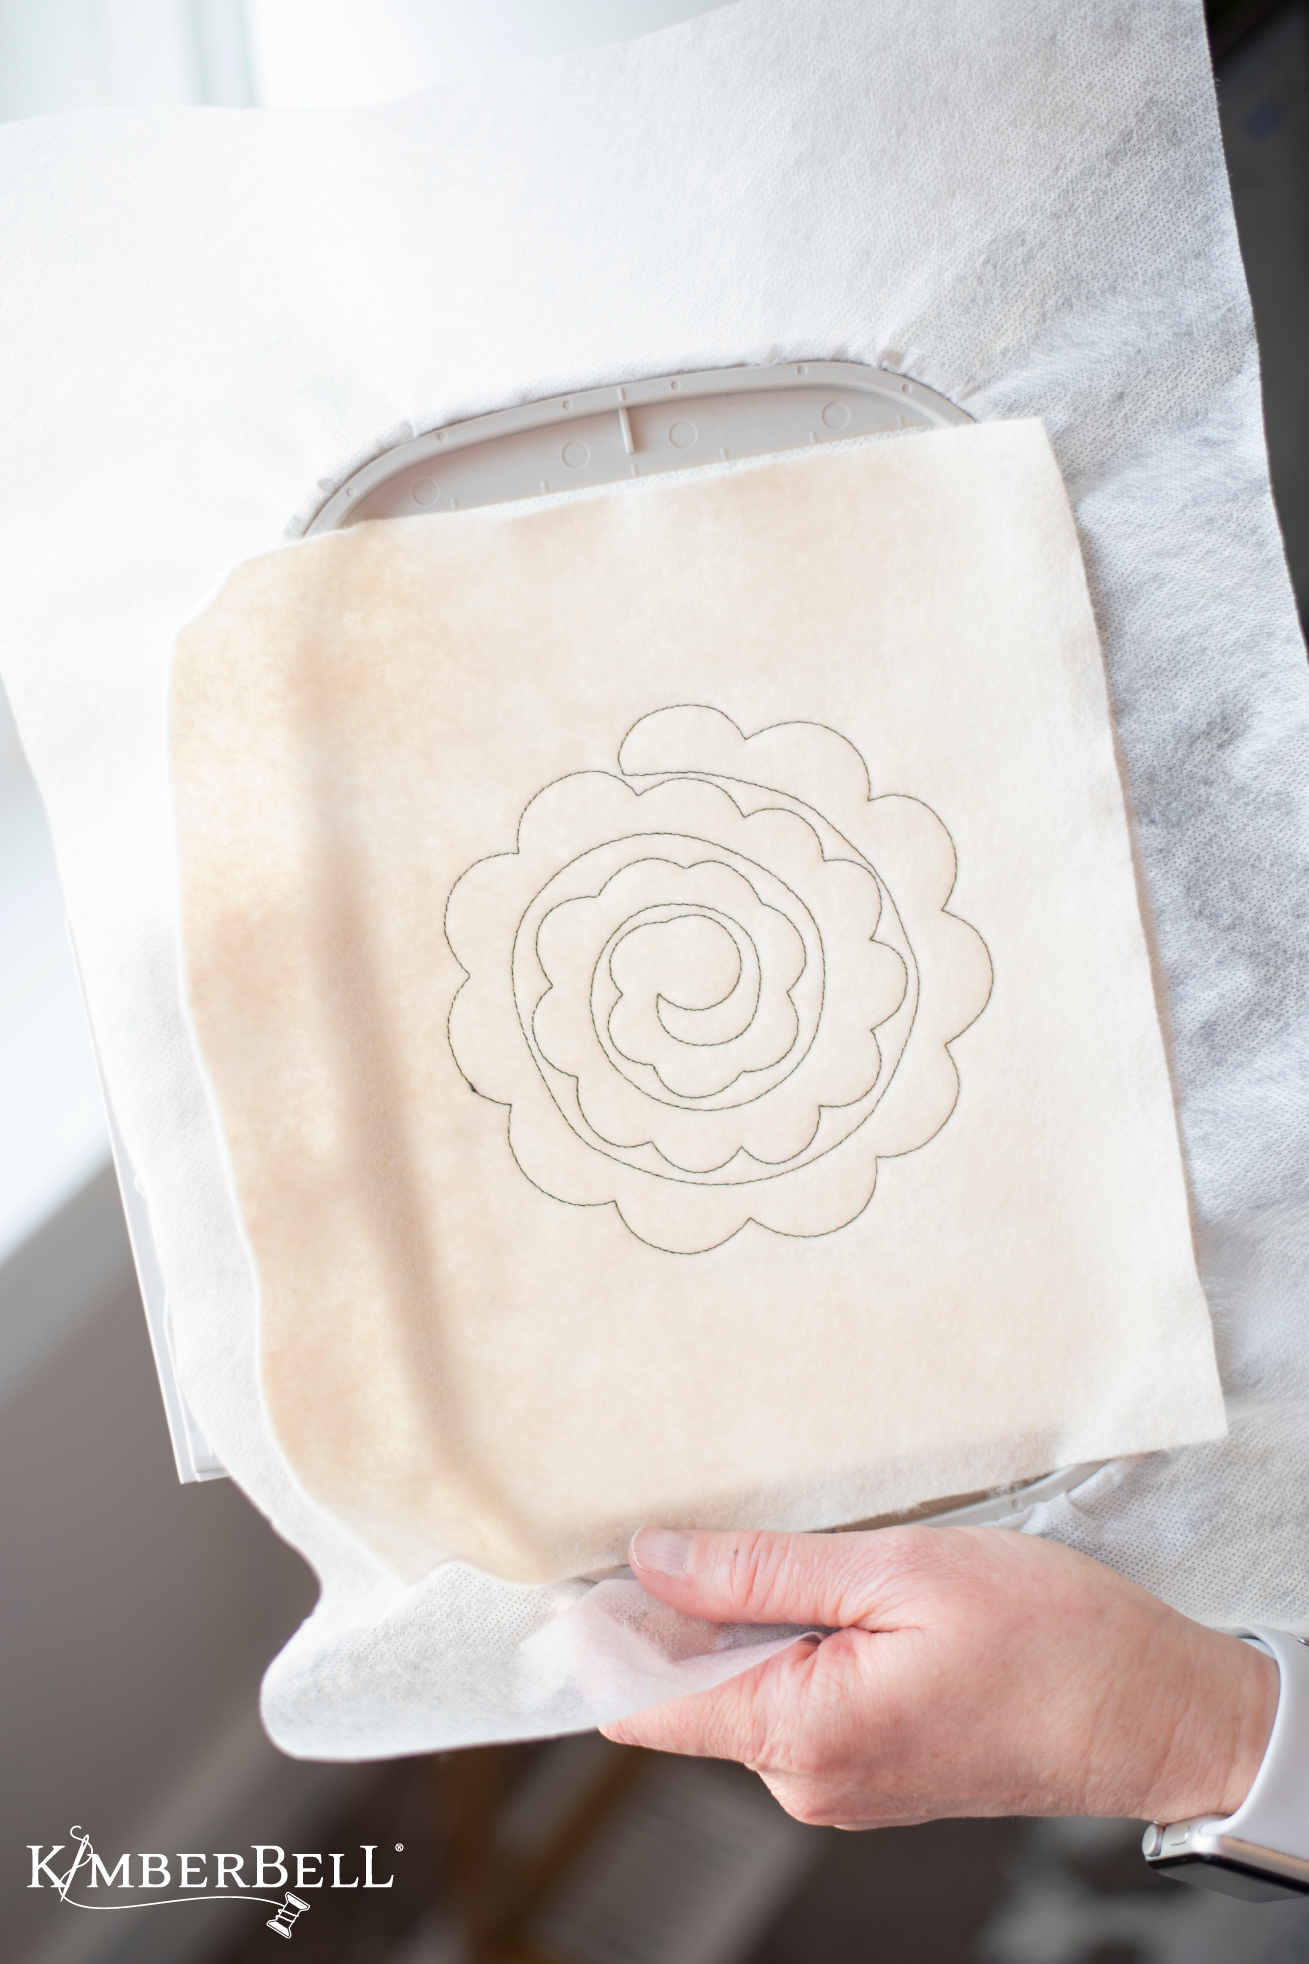
1. The Placement Line
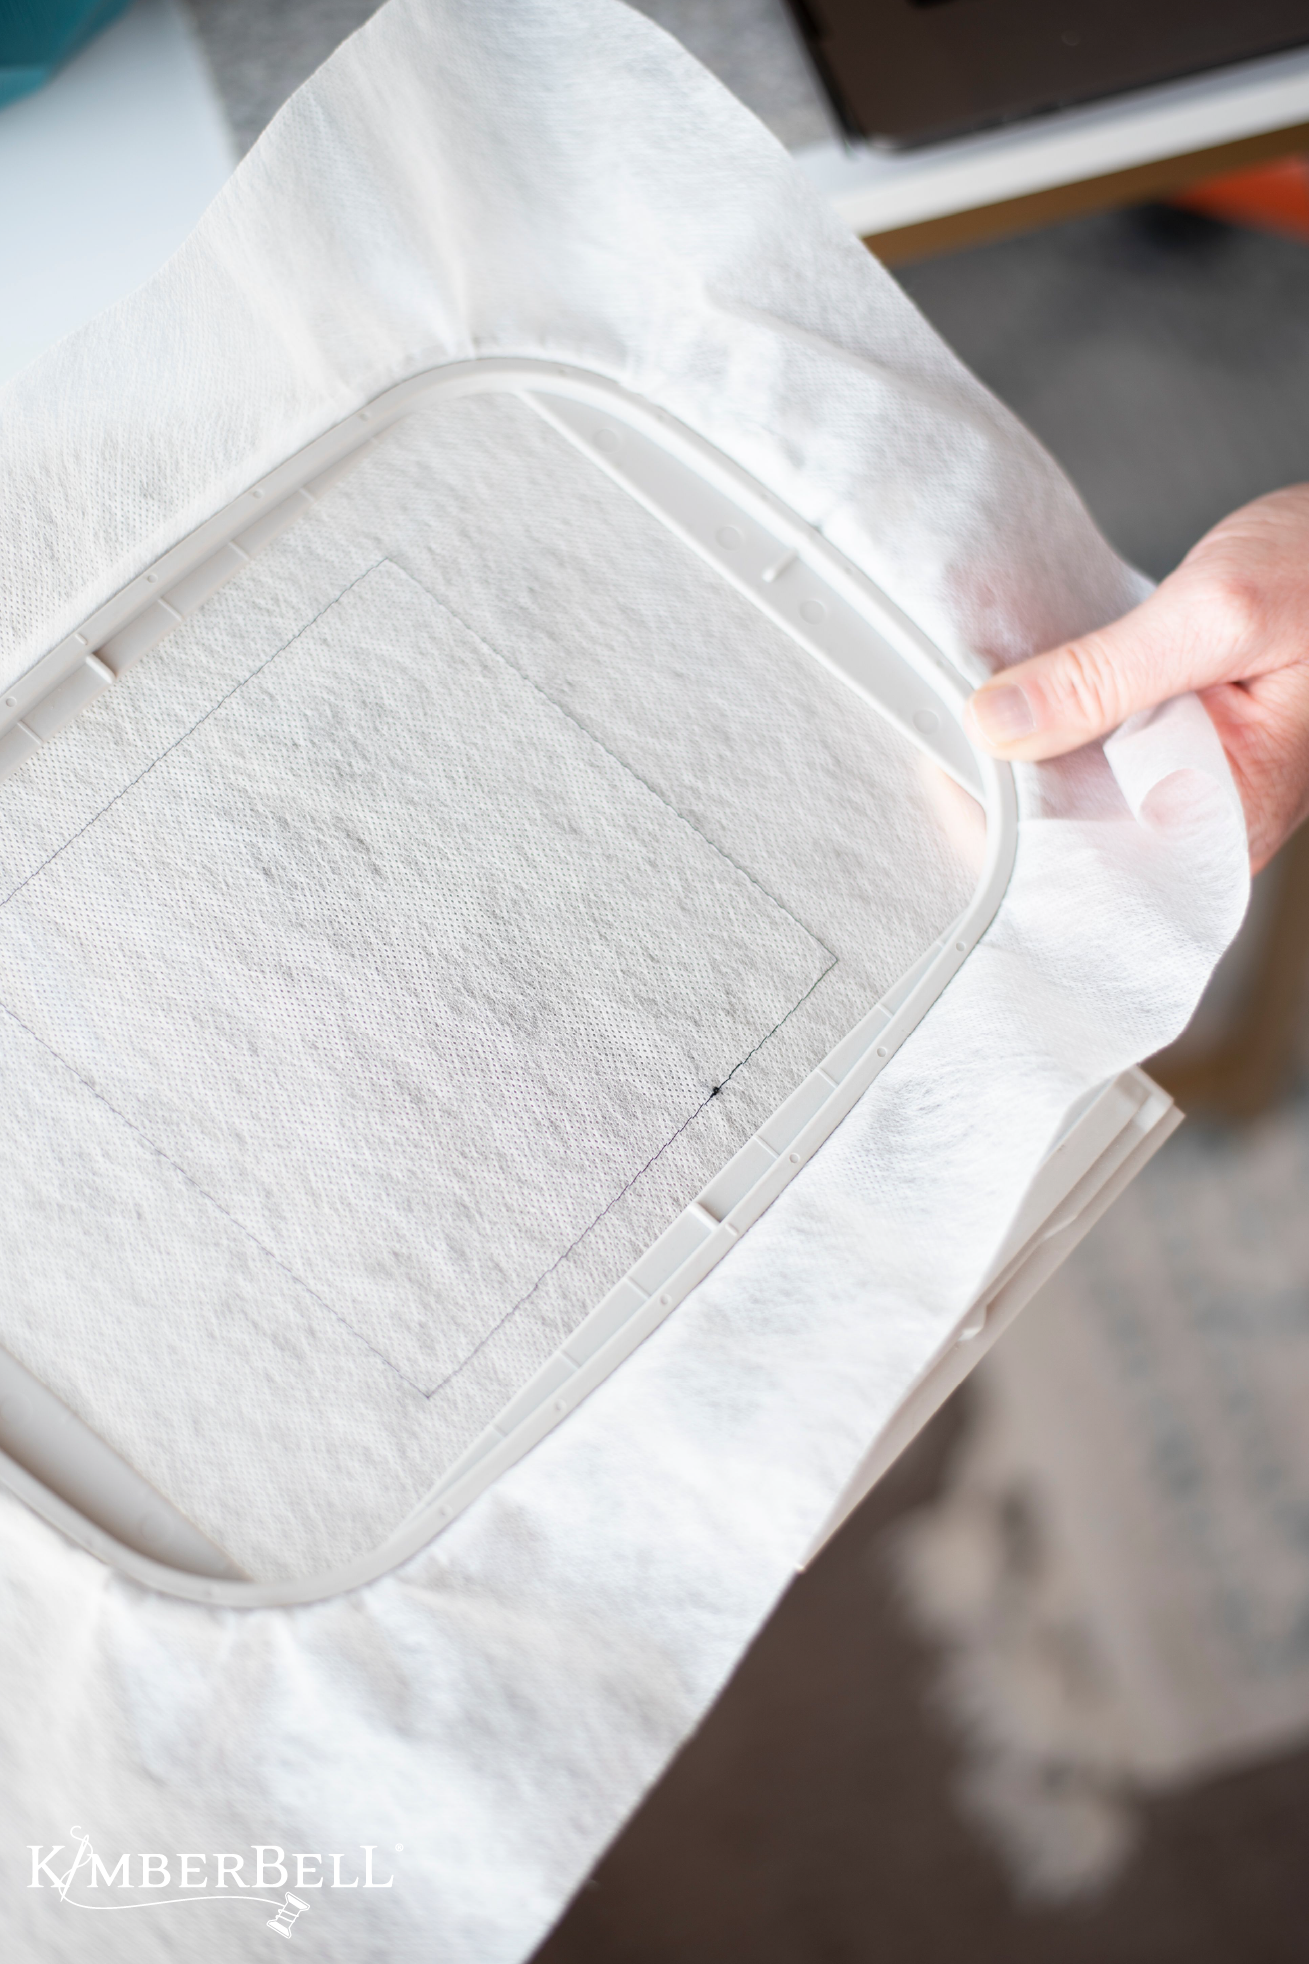
After loading the embroidery file* into your machine and hooping a sheet of Wash-Away stabilizer, your first step is to stitch the placement line. This line simply tells you where to place your sheet of felt.
*Felt flower embroidery files come with your Spring Showers project. Rose, daisy, and dahlia flowers are available in various sizes!
2. The Cut Line
Next, you'll stitch the cut line. I stitched this in black so it would be VERY OBVIOUS where I would need to cut later. (Don't stitch the cut line in the same thread as the detail stitches!)
3. The Detail Stitches
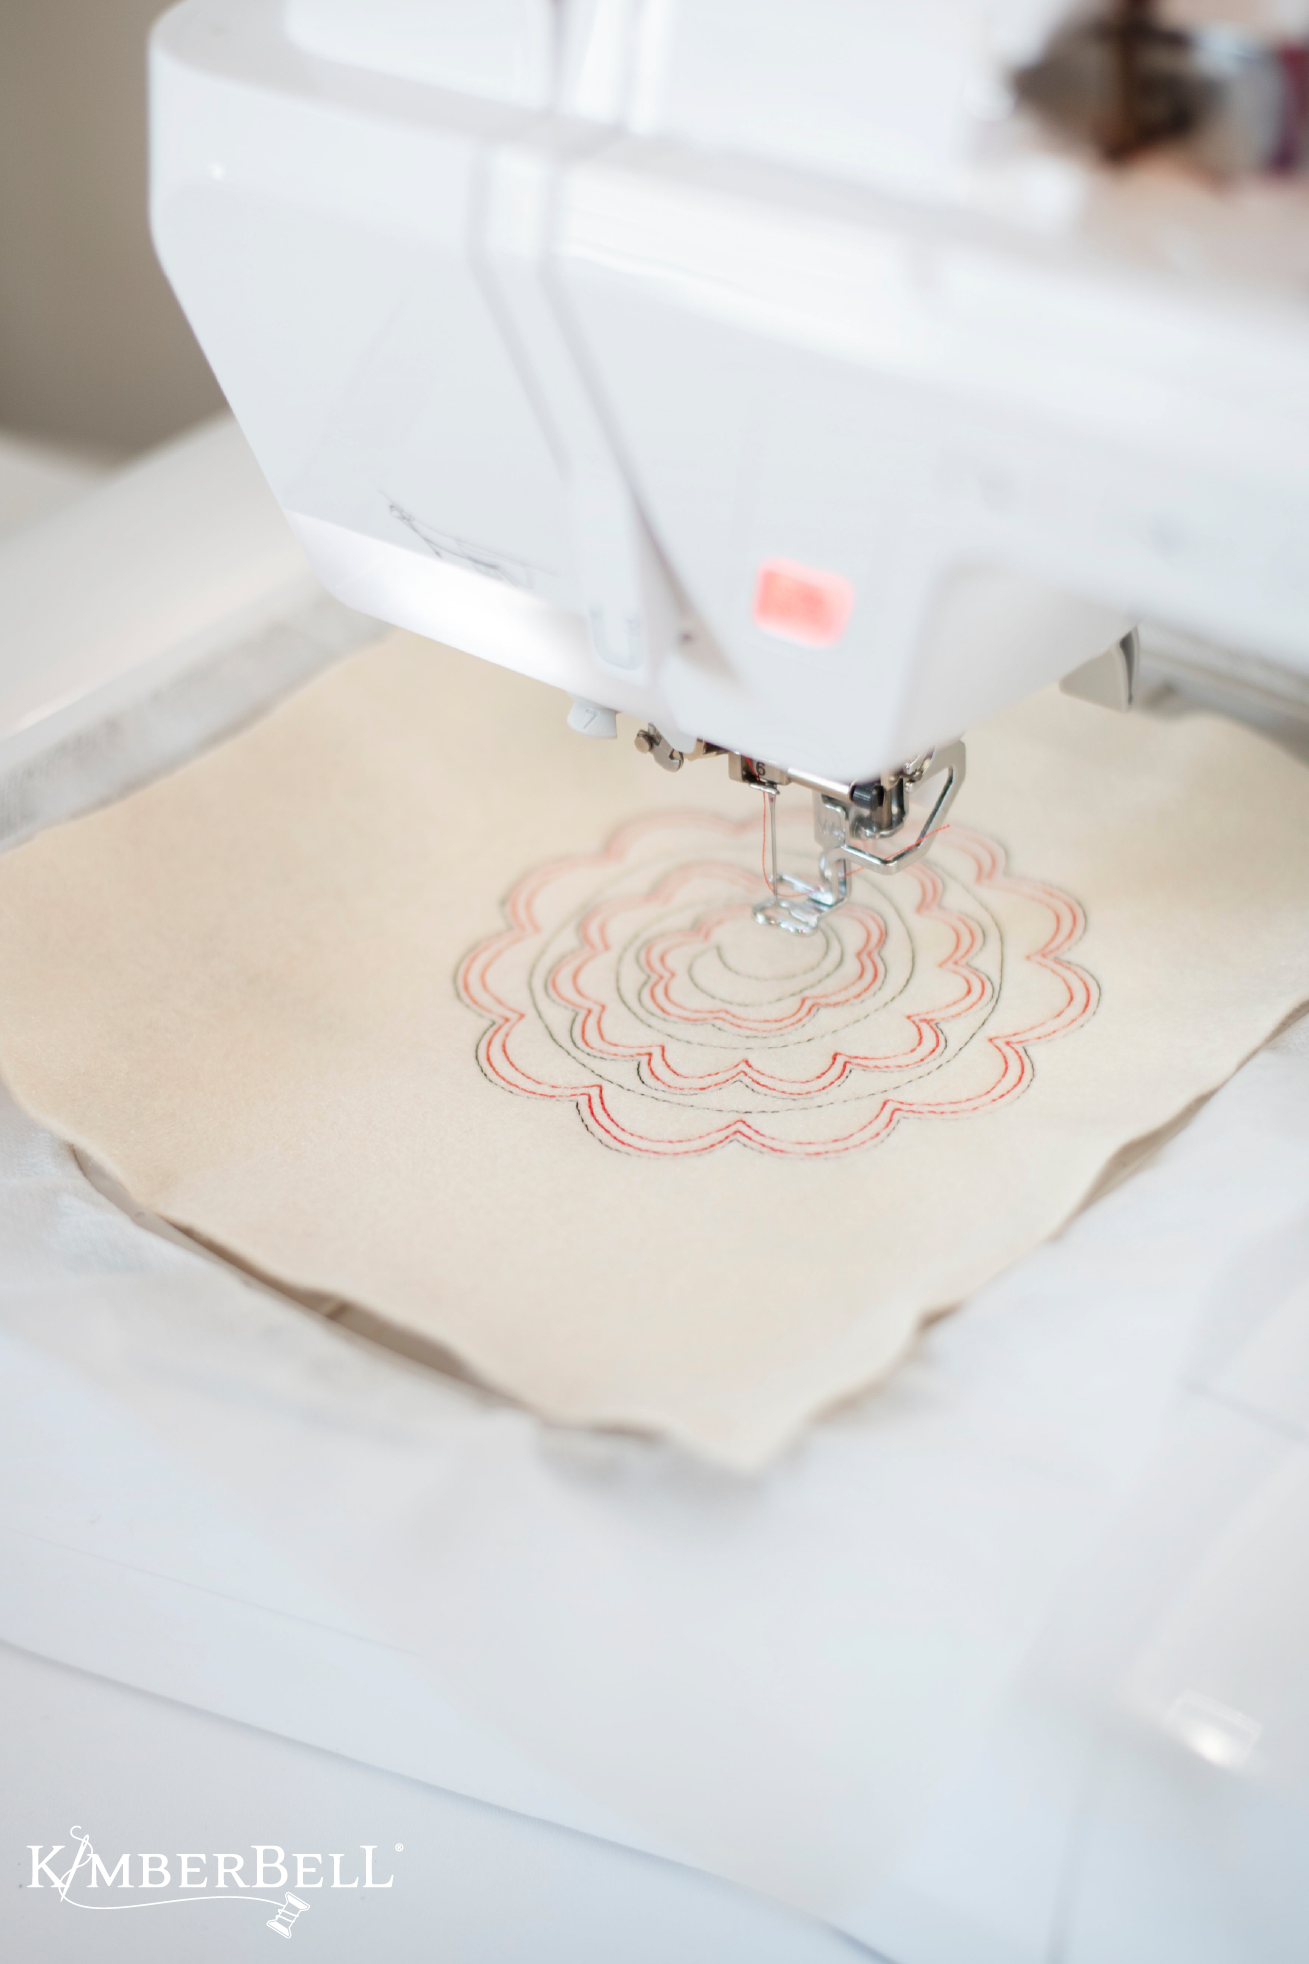
Now change your bobbin thread to match your top thread and stitch the flower details. (See why you want the cut line to be in a different color? You definitely don't want to mix up your detail stitches and your cut stitches!)
You're now done with all of the embroidery steps!
4. Cut Along the Cut Line
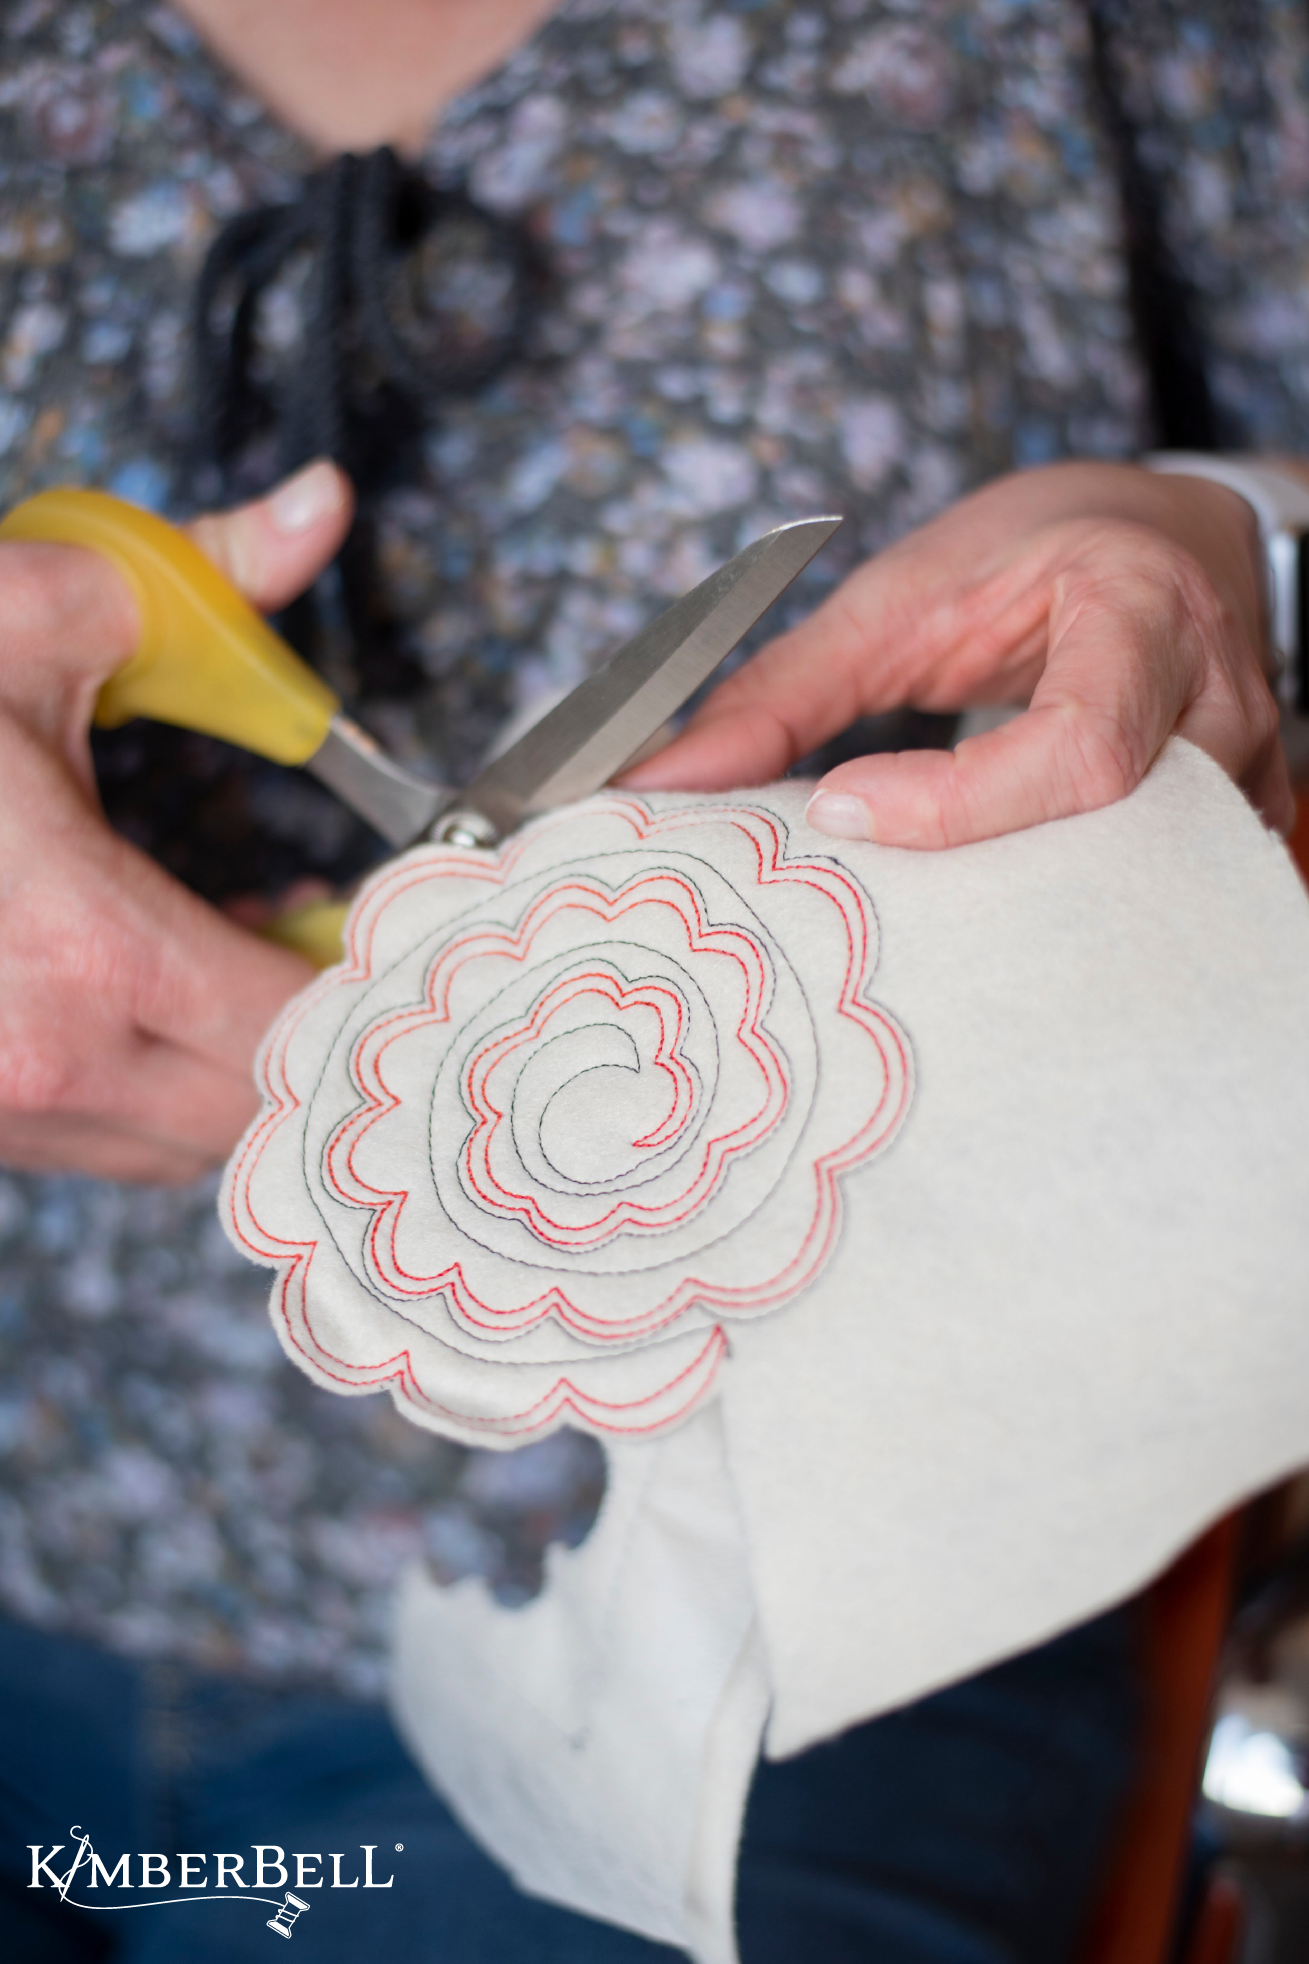
Take the felt out of your hoop and, with a sharp pair of scissors, cut along the cut line. (Yep, right on top of that black thread.) Around and around you'll go and it only takes a minute or two!
5. Merrily We Roll Along...
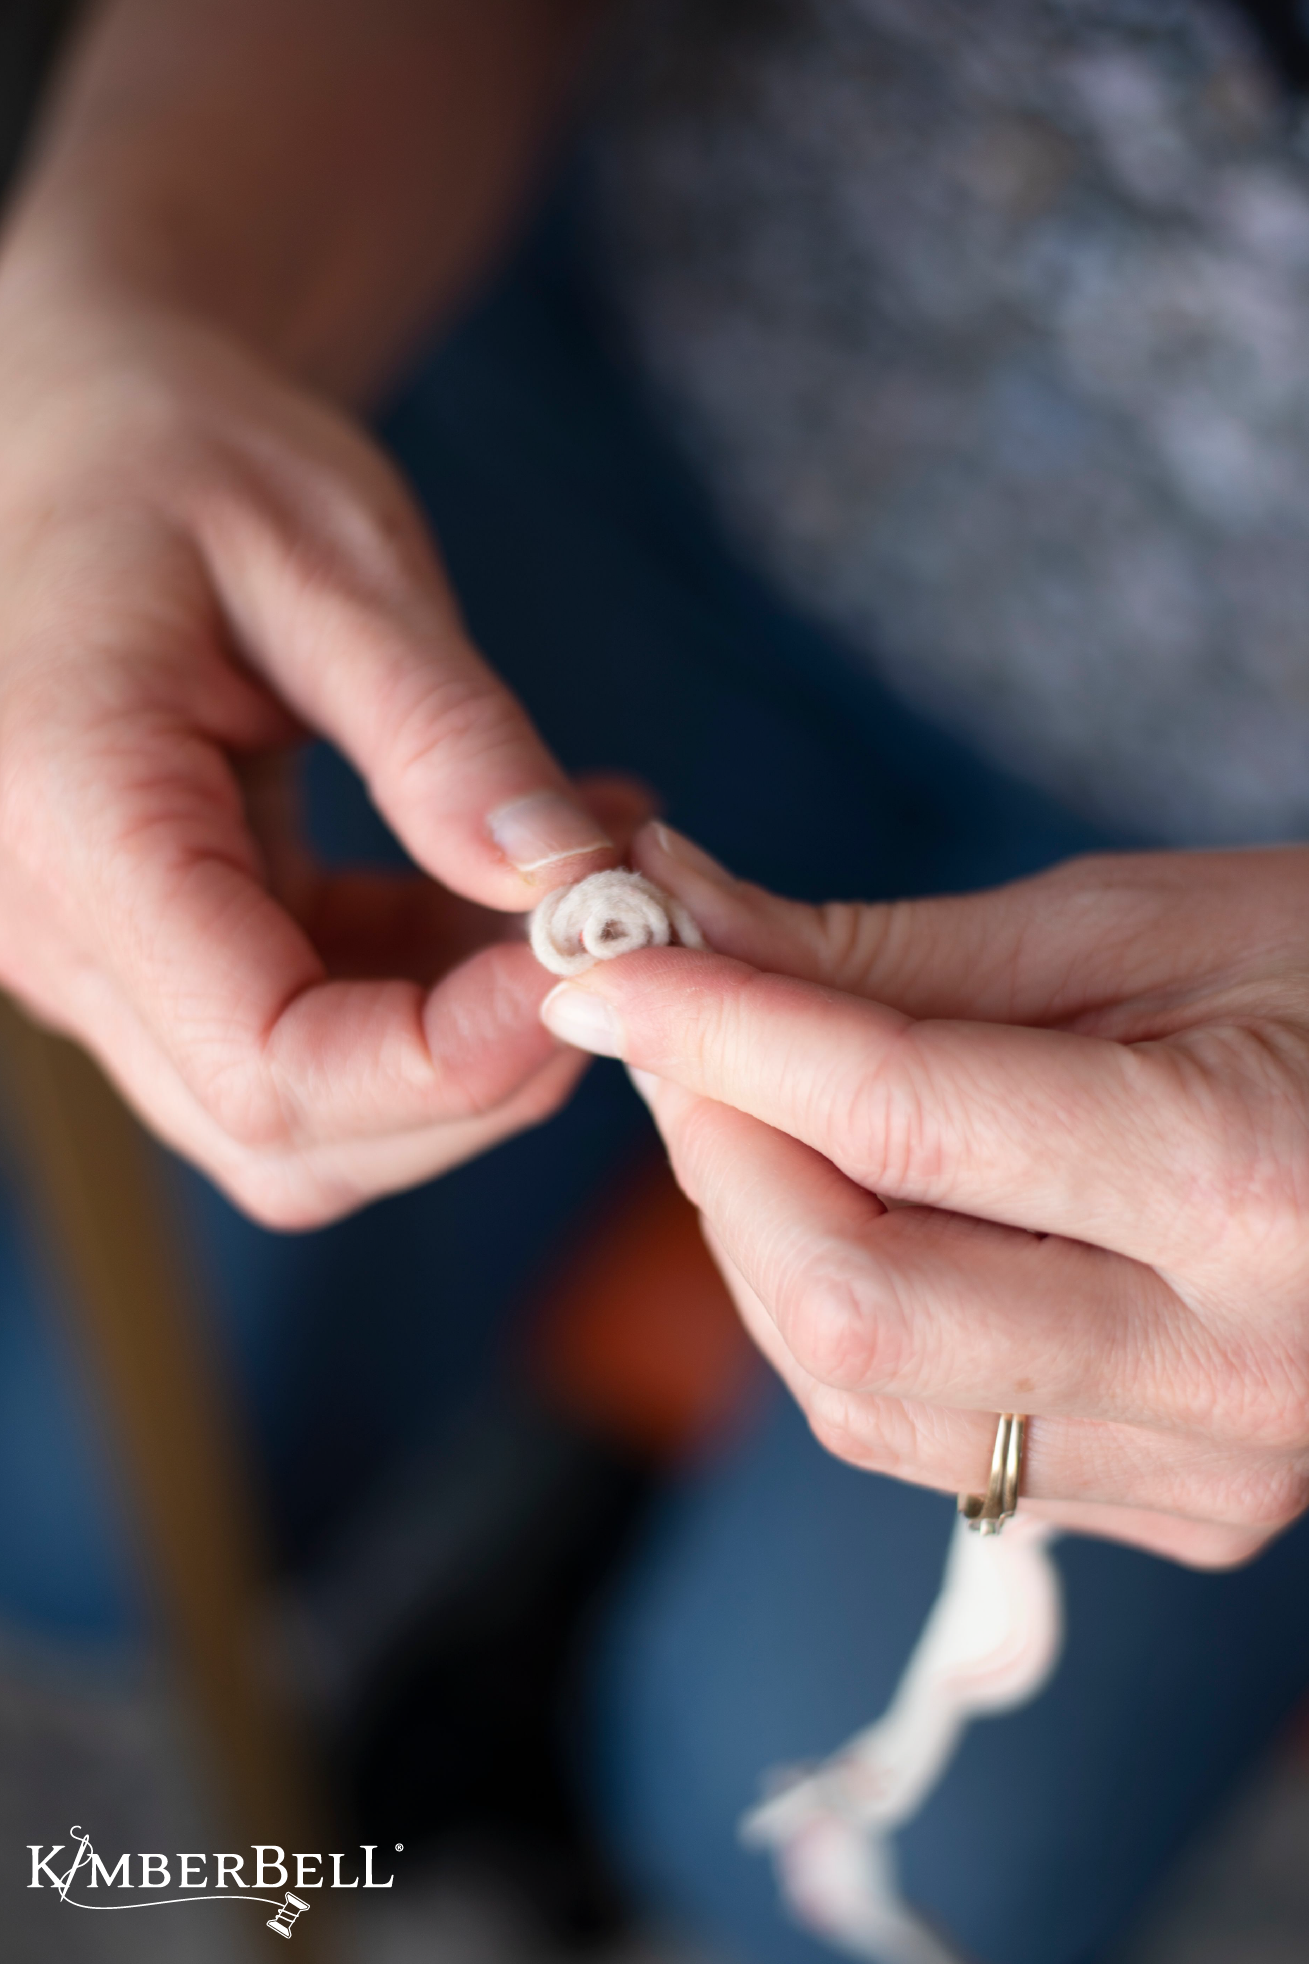
After you've cut out your flower you'll see that one side includes a circular base. Starting on the opposite end of the flower (not the base side), simply roll, roll, roll the flower until it's all rolled up.
6. Your Flower is Complete!
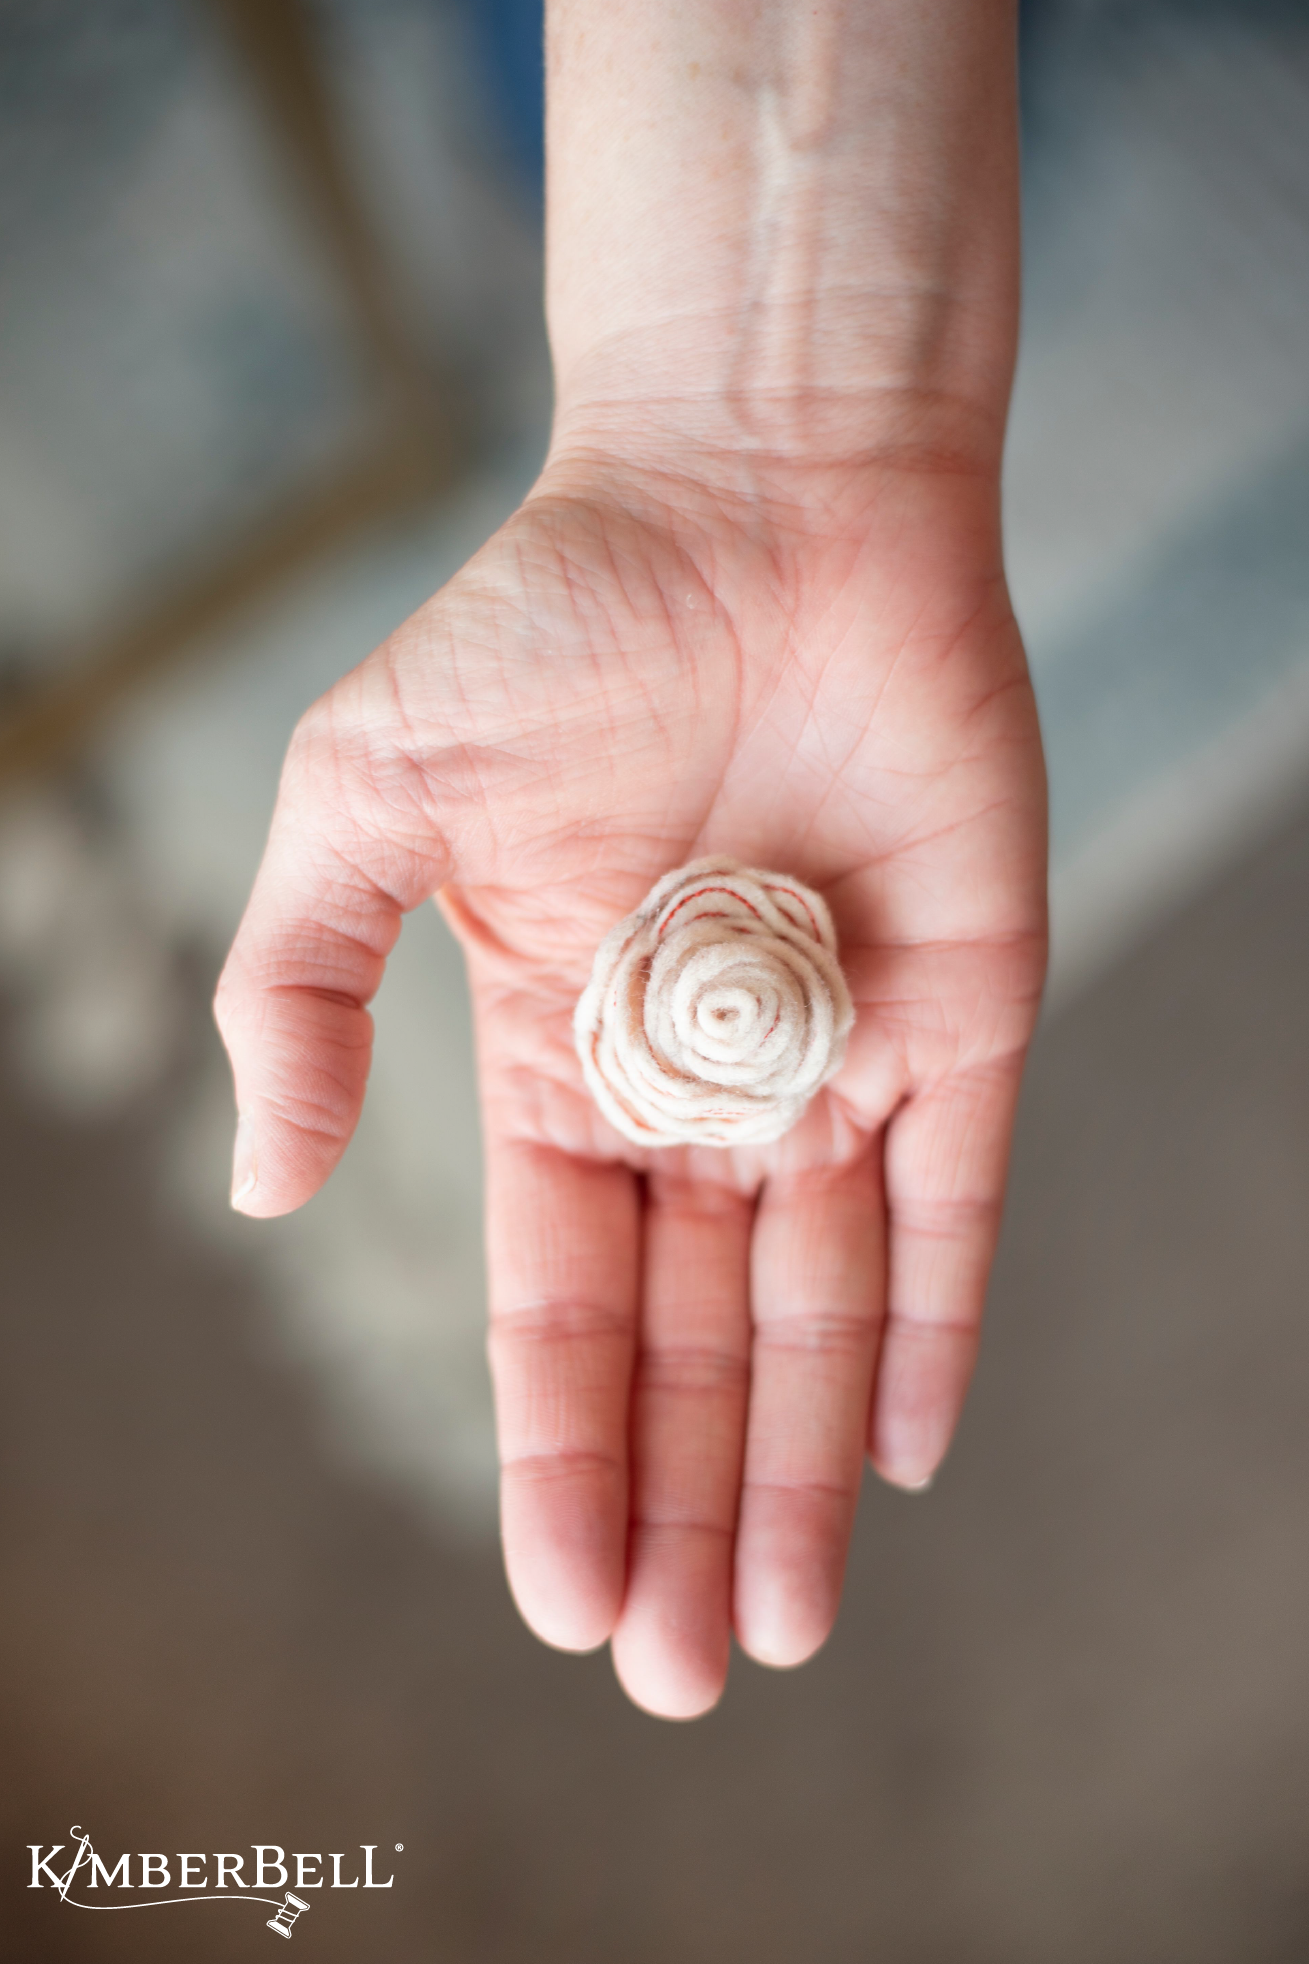
Add a dab of hot glue to stick it to the base and voila! Your flower is all done and ready to be added to your favorite project. Purchase Kimberbell's Spring Showers quilt from your favorite quilt shop today!
For even more details, watch Kim's What's New Wednesday demonstration below. Have fun making flowers for your craft and machine embroidery projects!