The Un-Fluffy Sheep: A Cautionary "Tail"
I was first introduced to the chenille technique a few years ago while making Kimberbell's Happy Hoop Decor: Nativity Ornaments. You're supposed to chenille the sheep's hair so it's fluffy and soft.
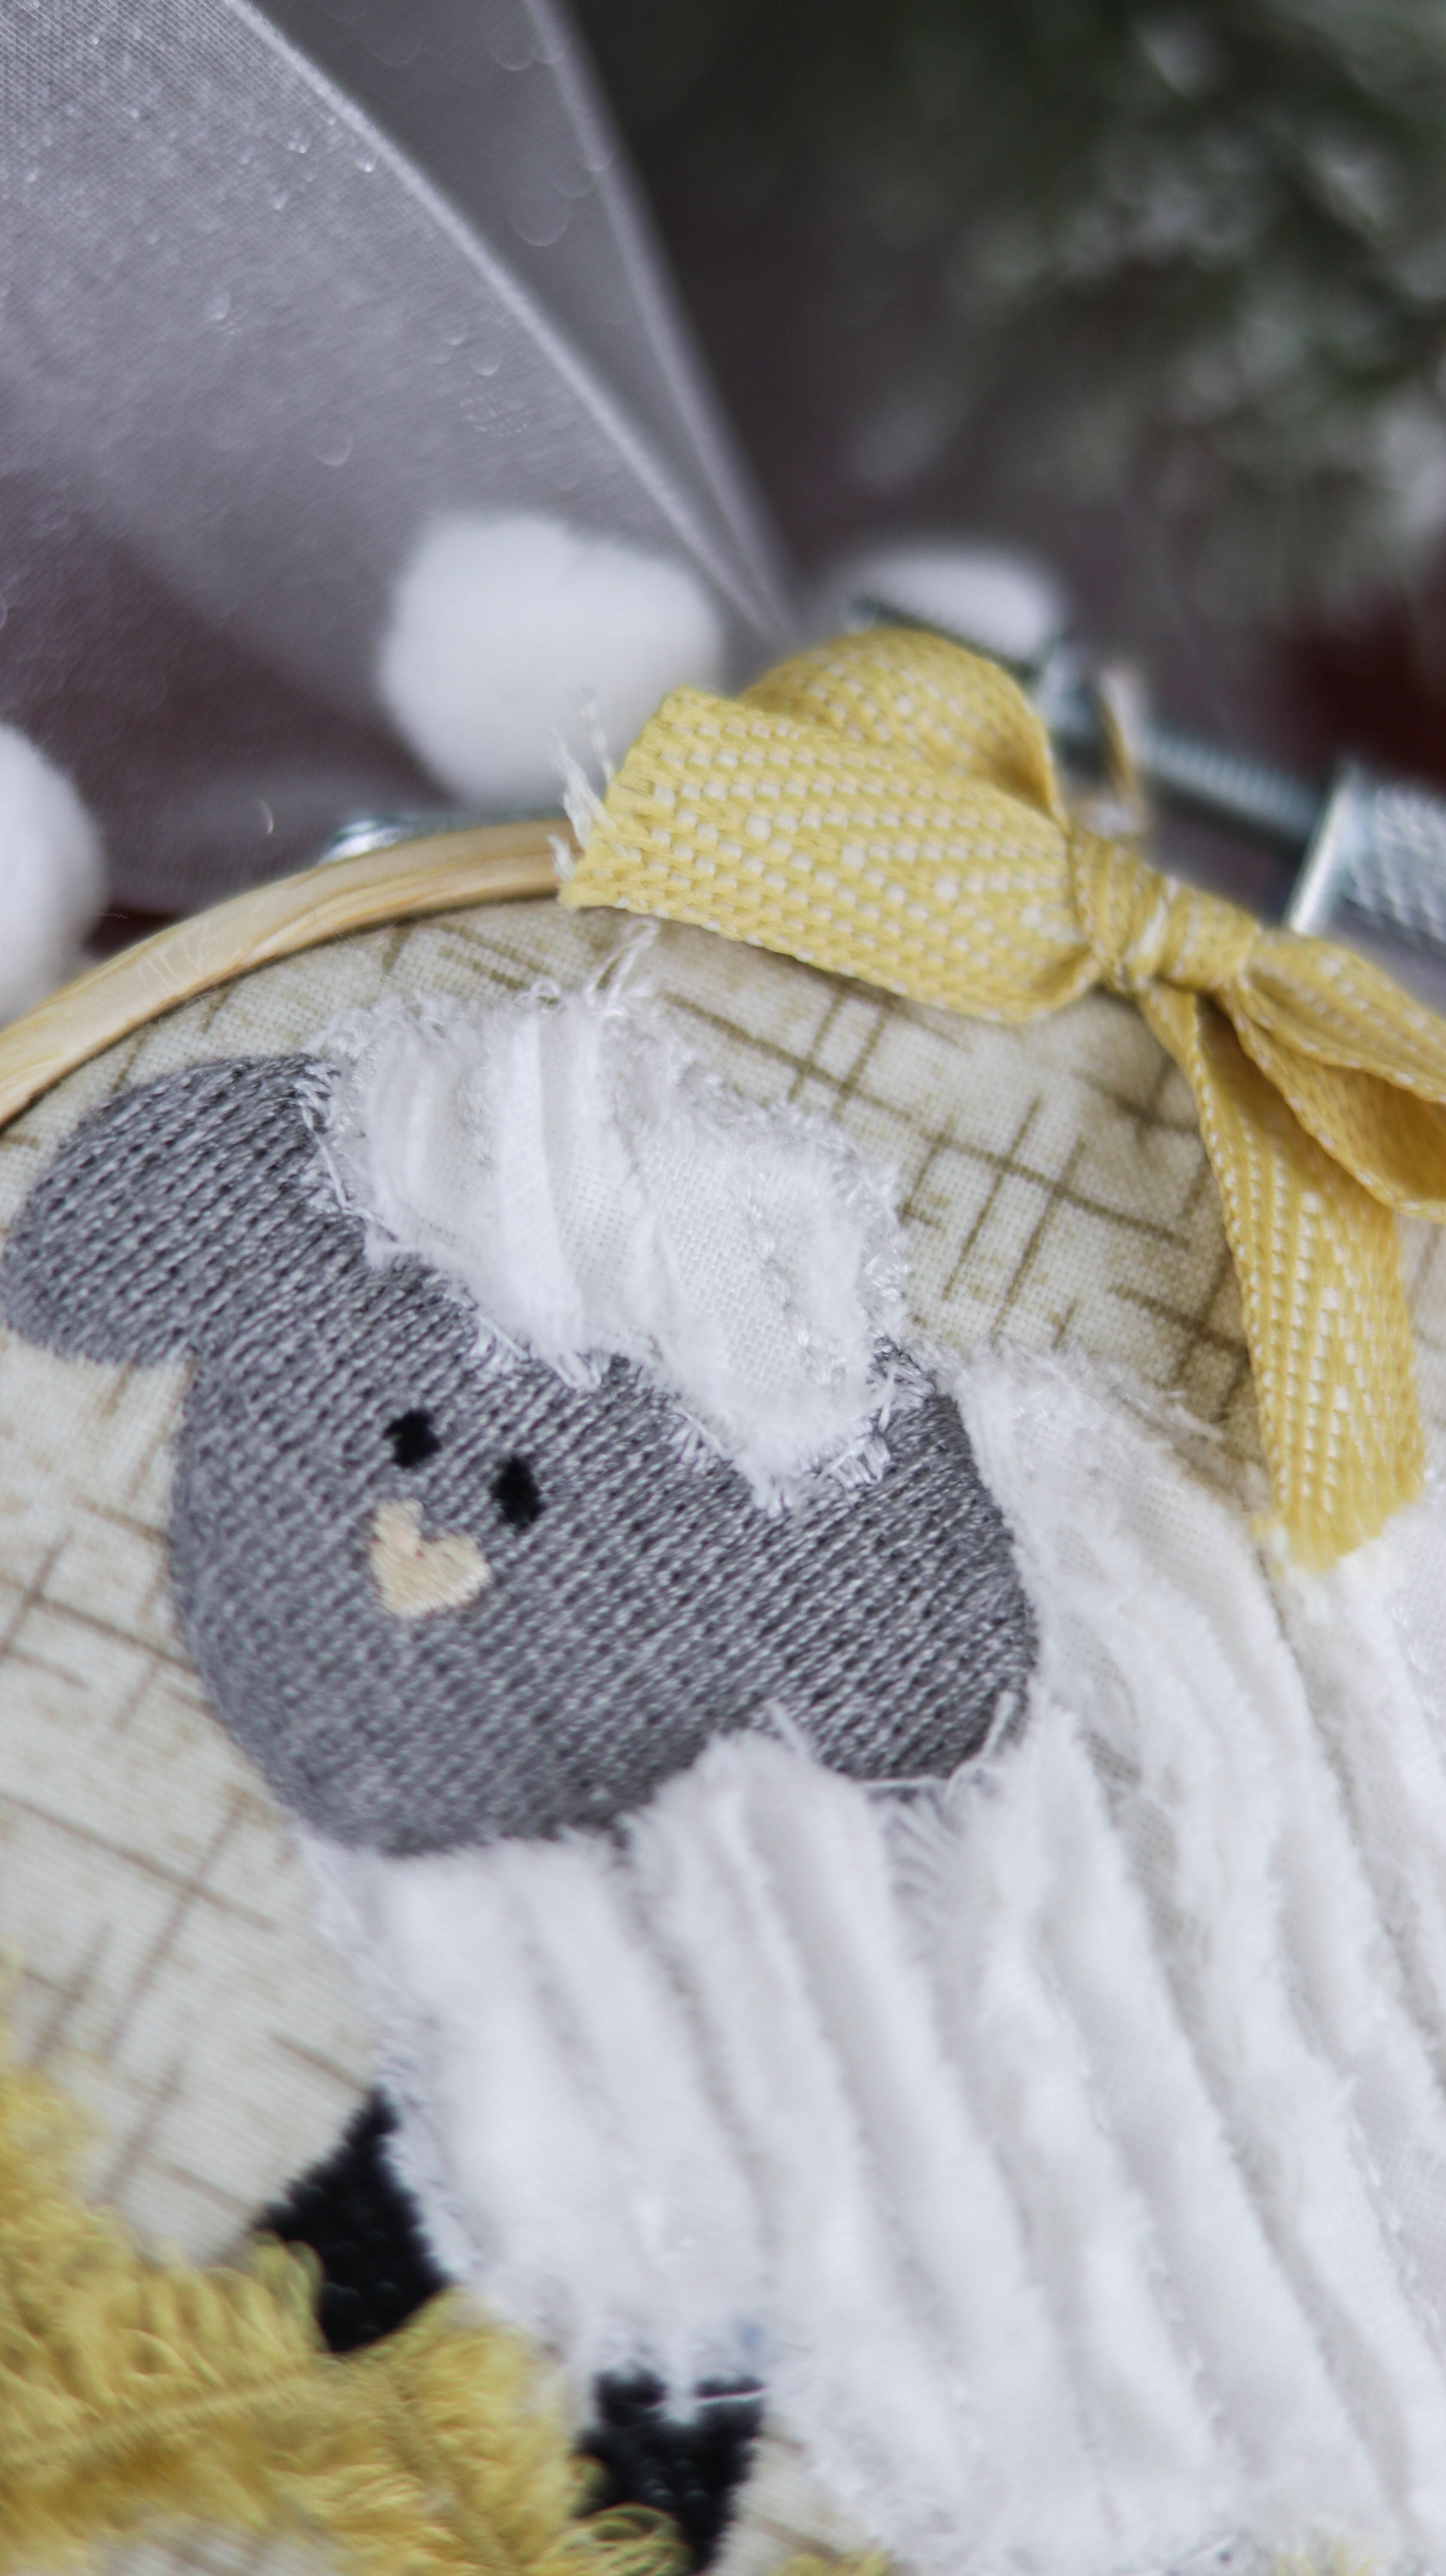
But I didn't.I was too nervous to try it. I mean, what if I did something wrong and ruined the whole thing? I just didn't dare. So, sadly, my sheep's hair remained flat and woefully un-fluffy.
But it could have been SO MUCH MORE. (And boy, do I feel "sheepish" for not even trying!) My story has a happy ending, though.
As I've now made multiple sets of the Nativity Ornaments, I finally decided to give the chenille technique a try and guess what? It's not hard at all!
In fact, I'm now happy to report that I'm 100% confident with chenille. (Isn't that how it works with machine embroidery? As we try new things, our skills just grow and grow!)
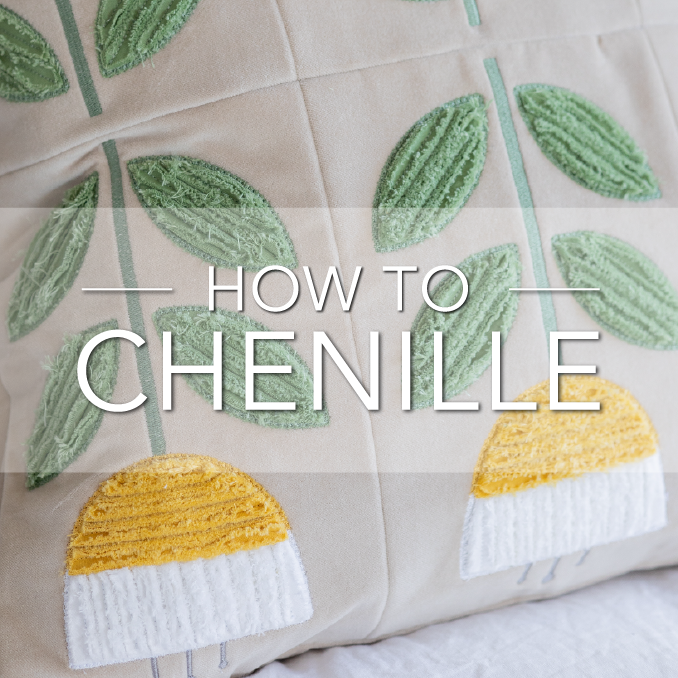
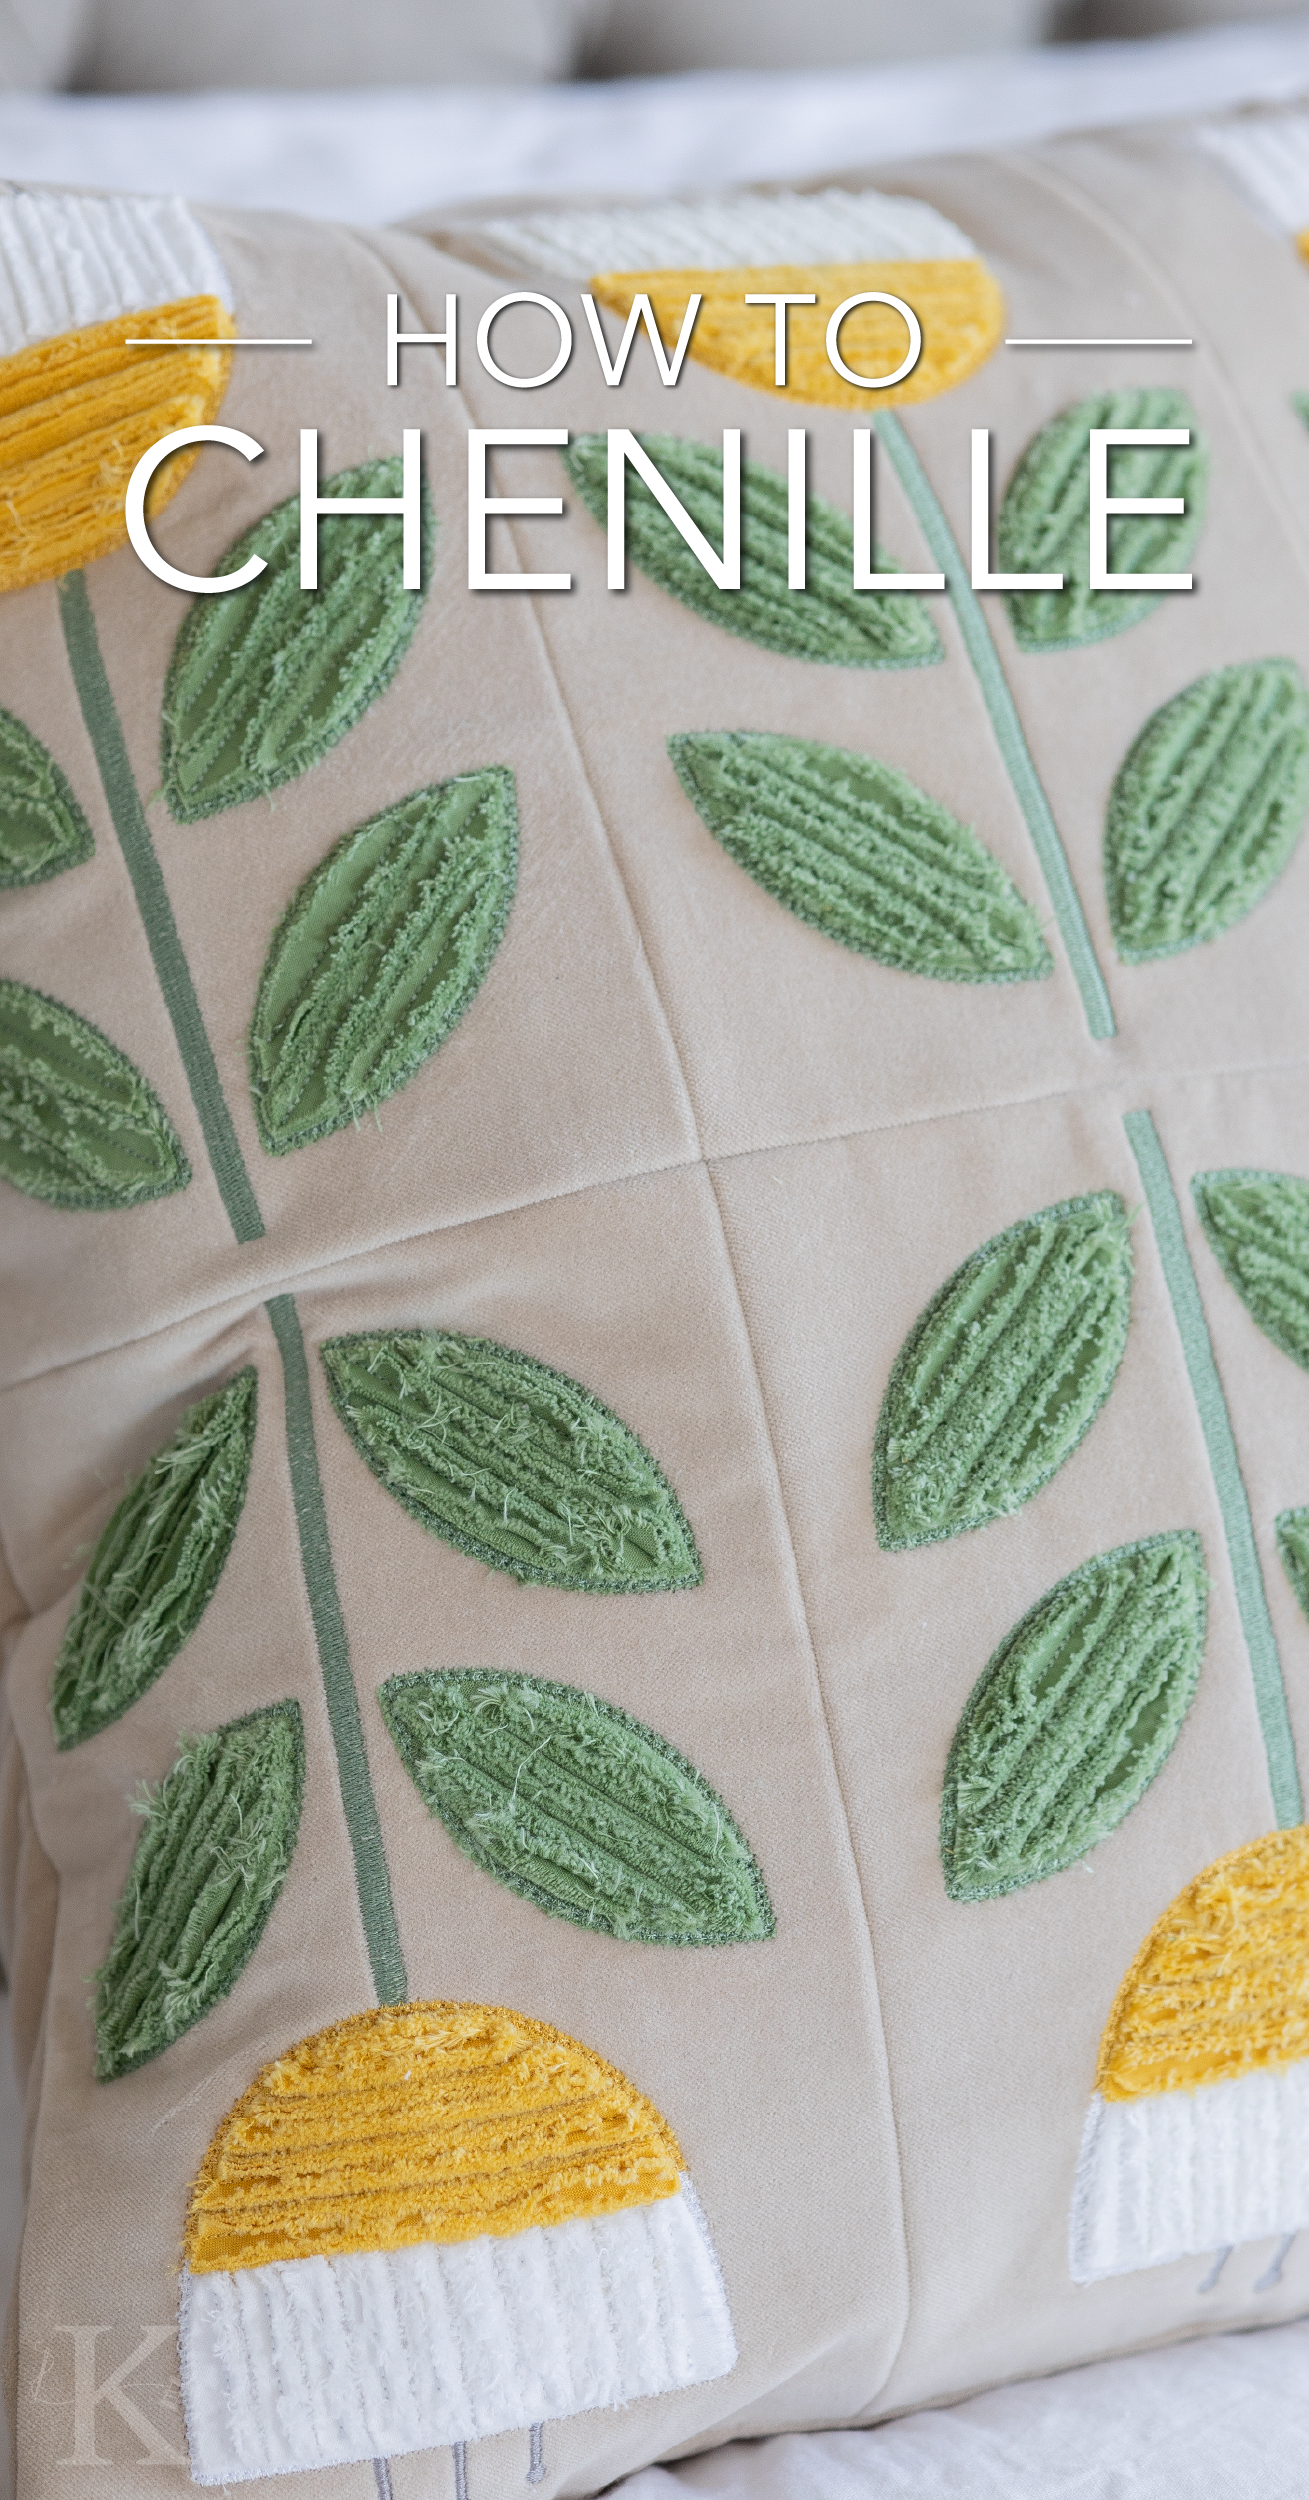
So I made something else: I stitched a tulip from Annika's Throw Pillows and documented the whole chenille process so you can see exactly how it works.
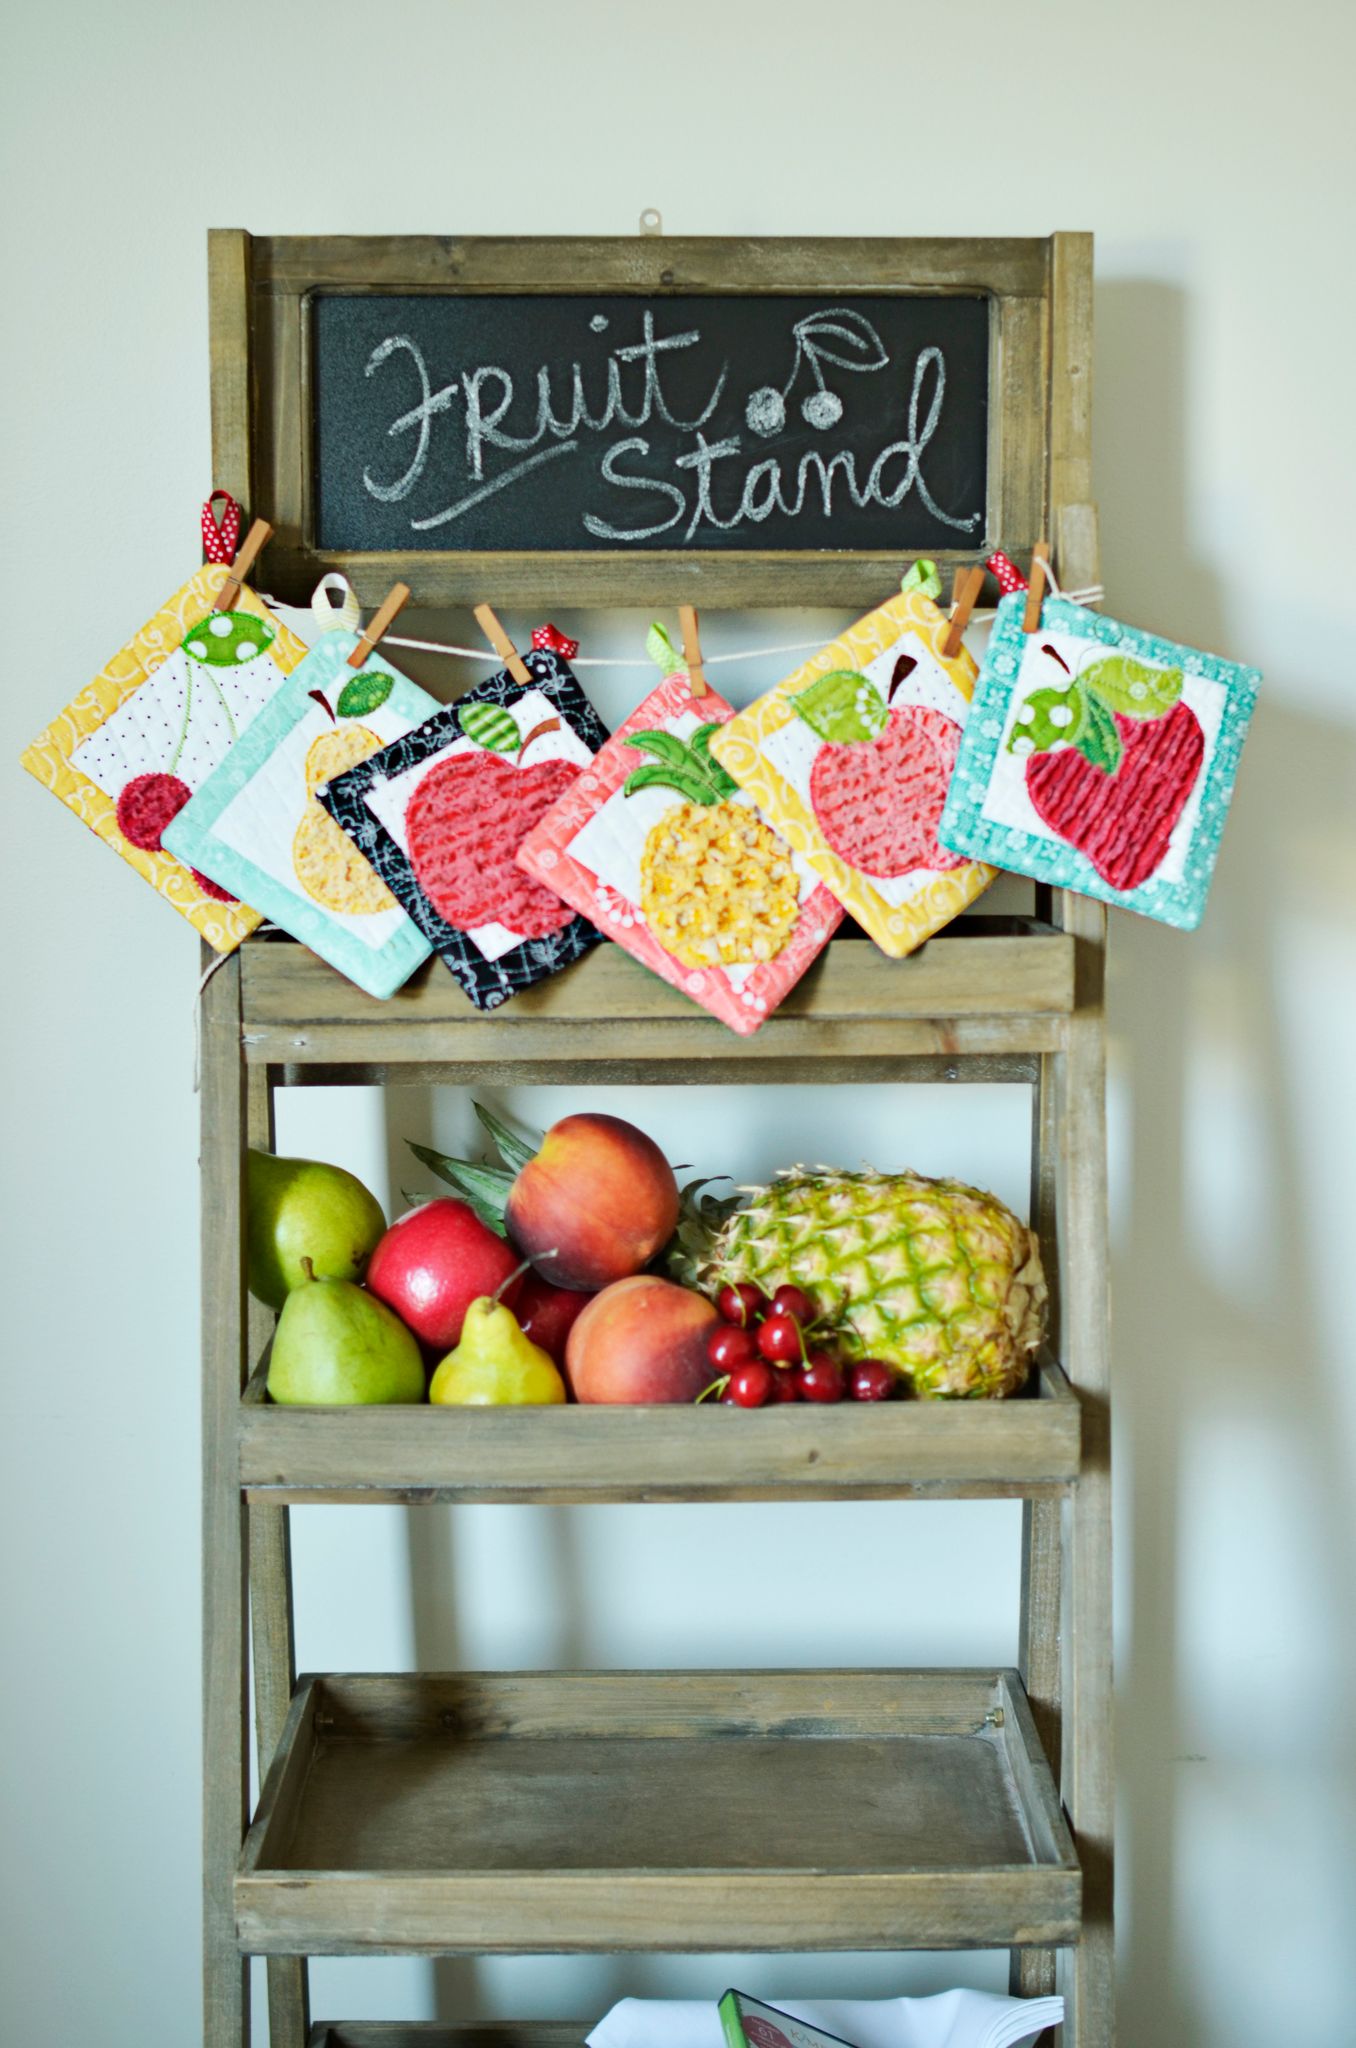
These same basic steps are used on a variety of Kimberbell projects, including That's Sew Chenille: Fruit Stand Hot Pads, Annika's Throw Pillows, the Watermelon Hot Pad from Kimberbell's Digital Dealer Exclusives program, and more!
And you don't even need to be nervous. Not one little bit.
![]()
Creating a Chenille Tulip
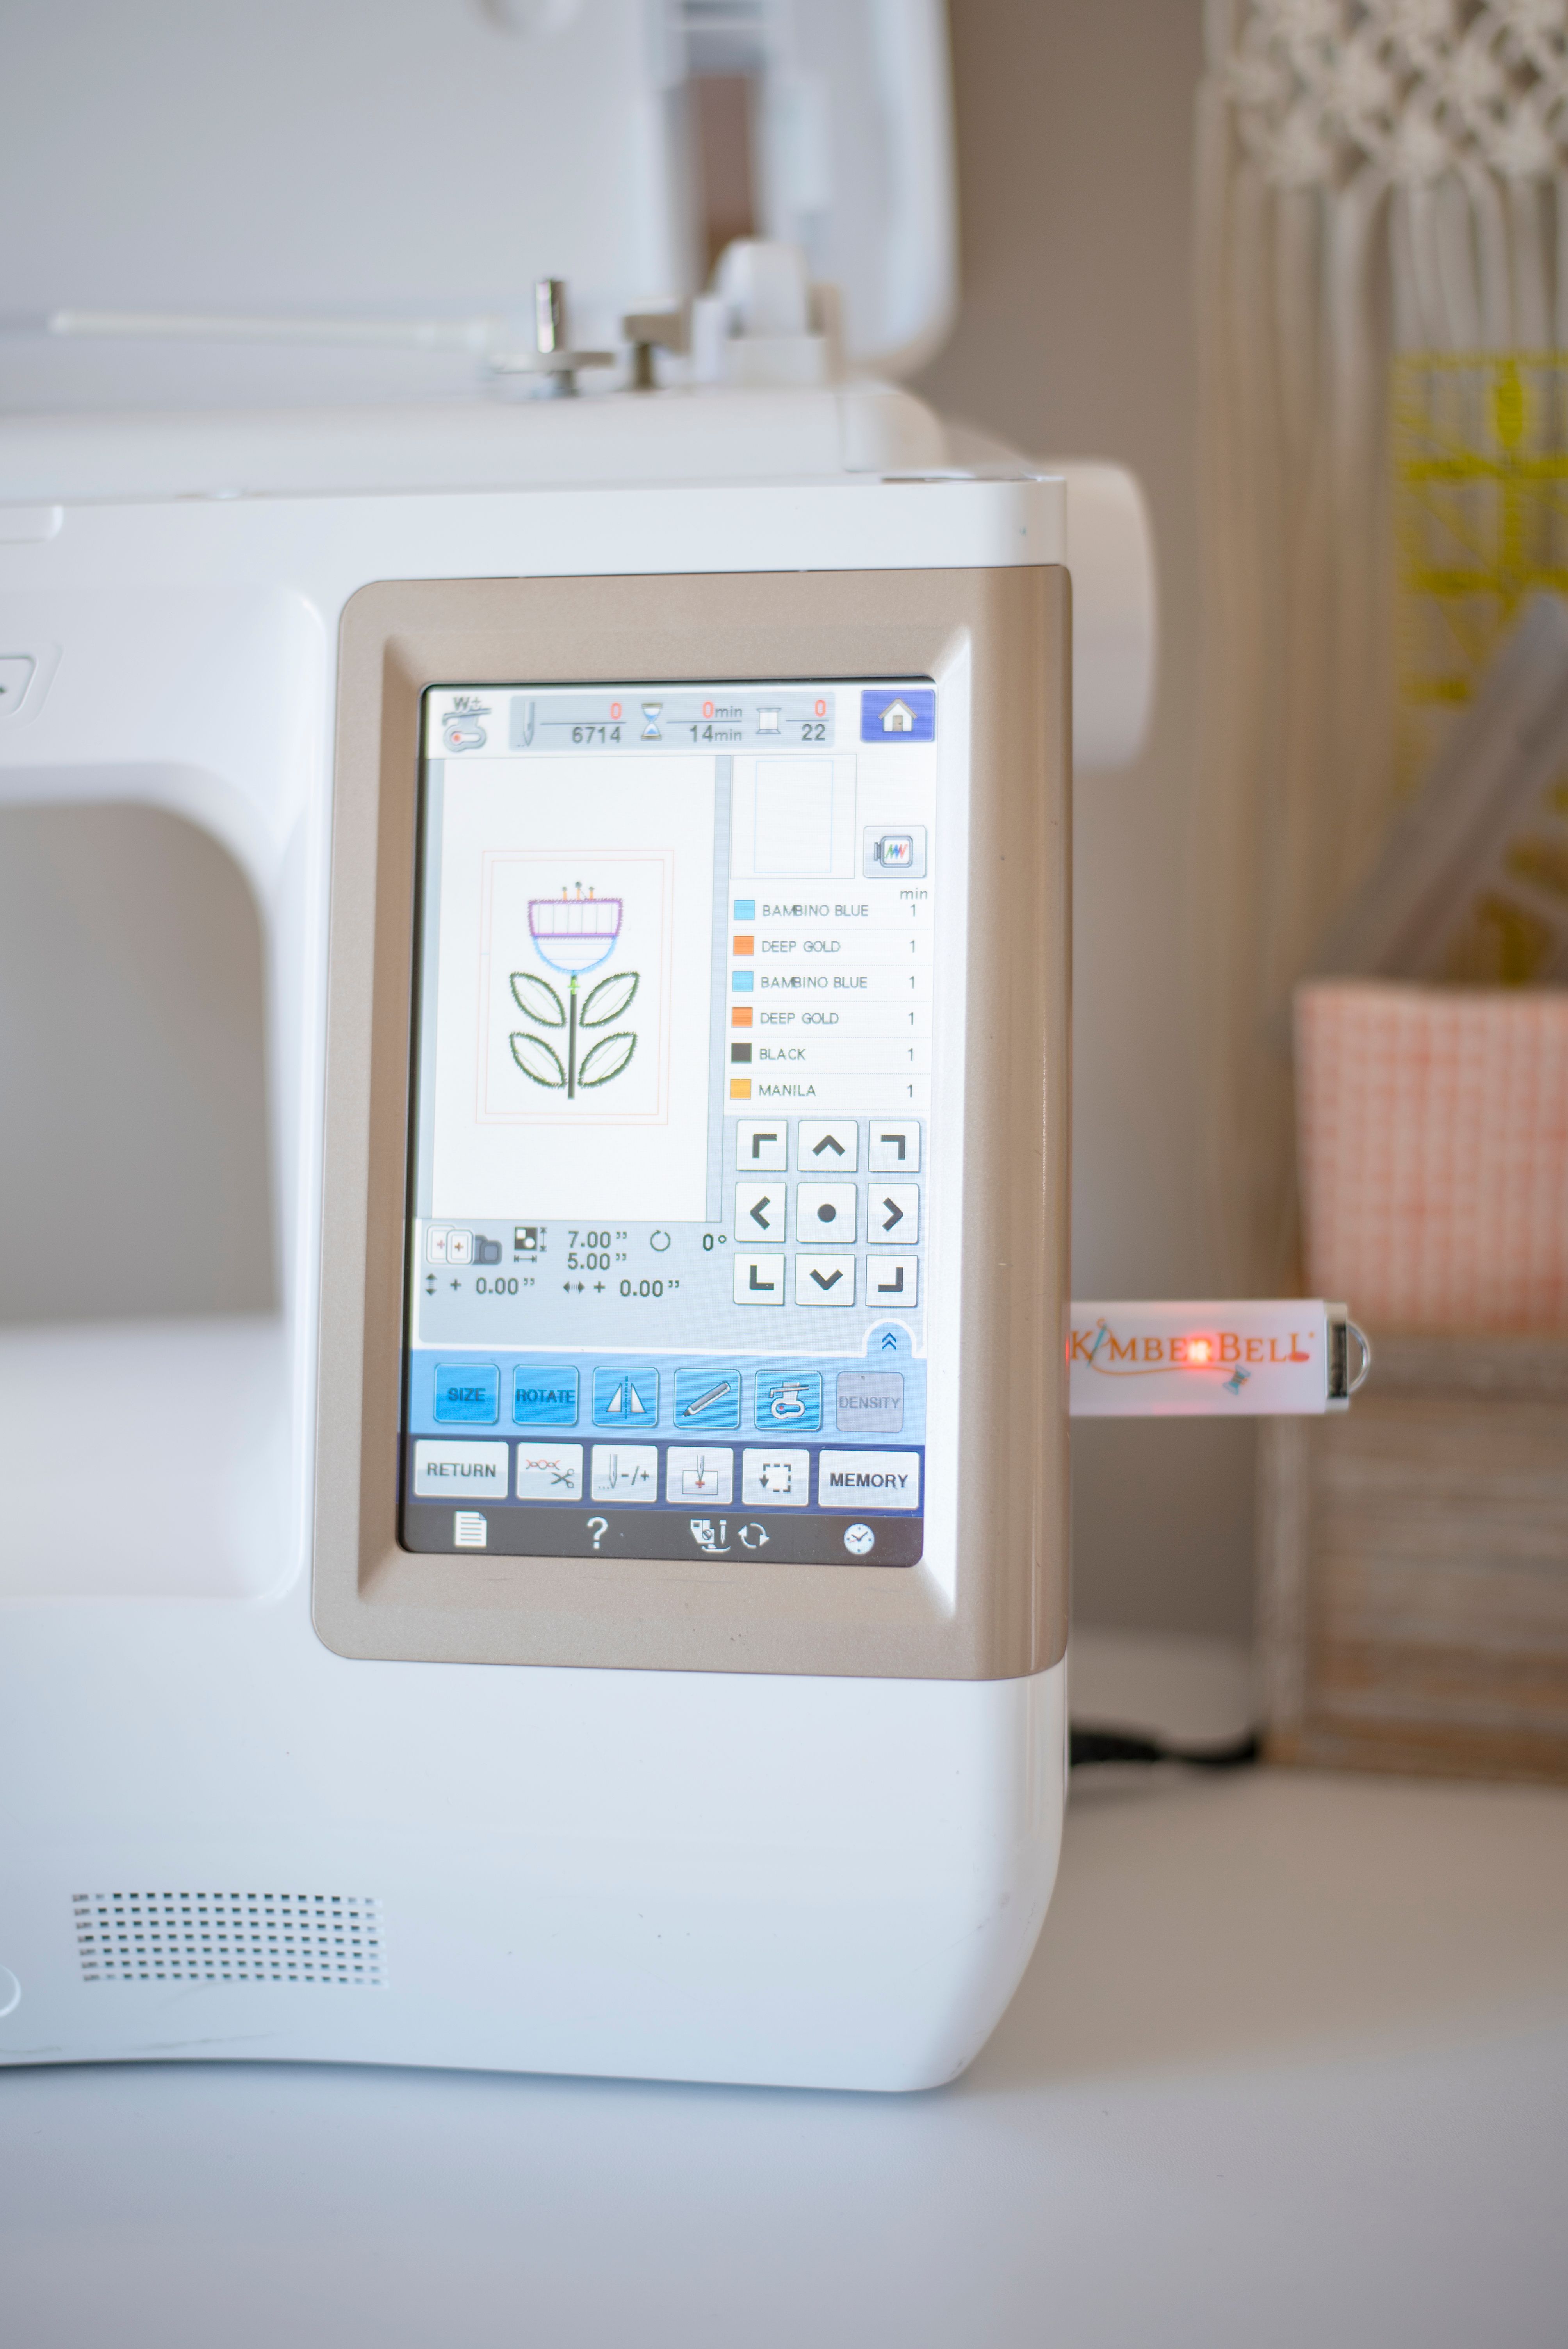
Step #1: Load the File
Of course, the first step is to load the file in your embroidery machine!
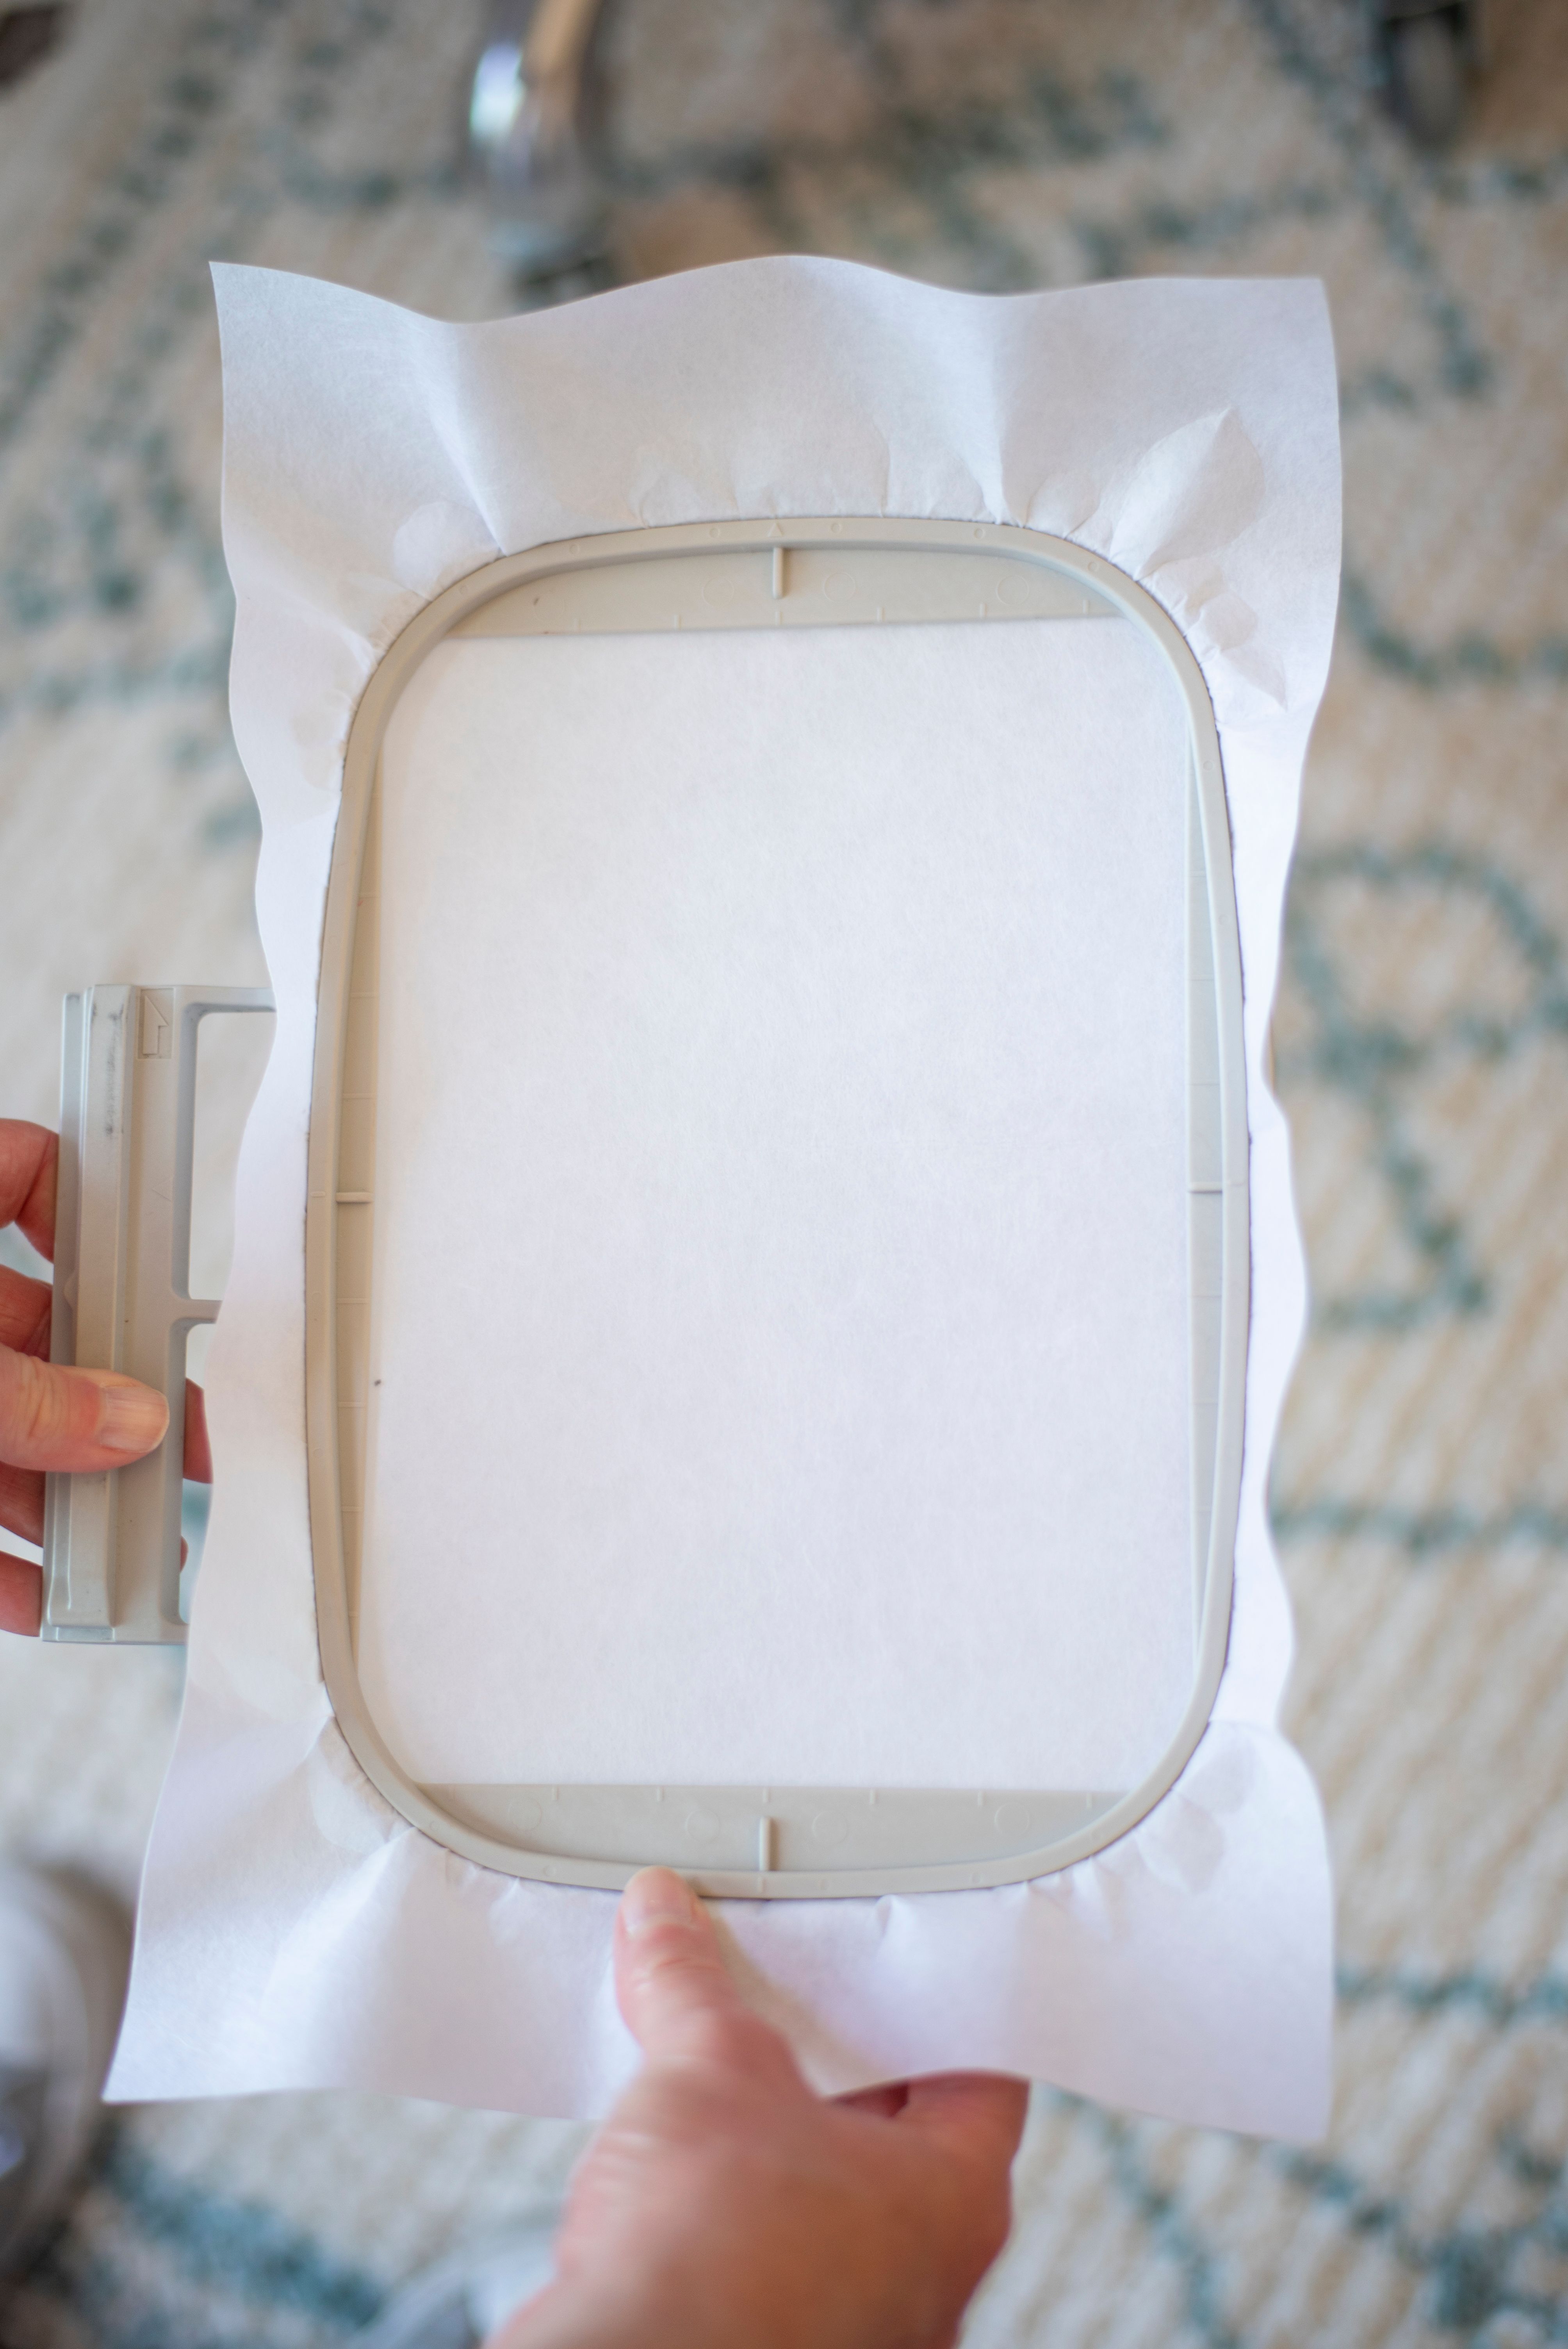
Step #2: Hoop Kimberbell Medium Cut-Away Stabilizer.
By the way, I'm using a 5x7 hoop and one sheet of stabilizer.
Step #3: Place the Batting
You'll first stitch a placement line on the Cut-Away, then tack down a piece of Kimberbell Project Batting.
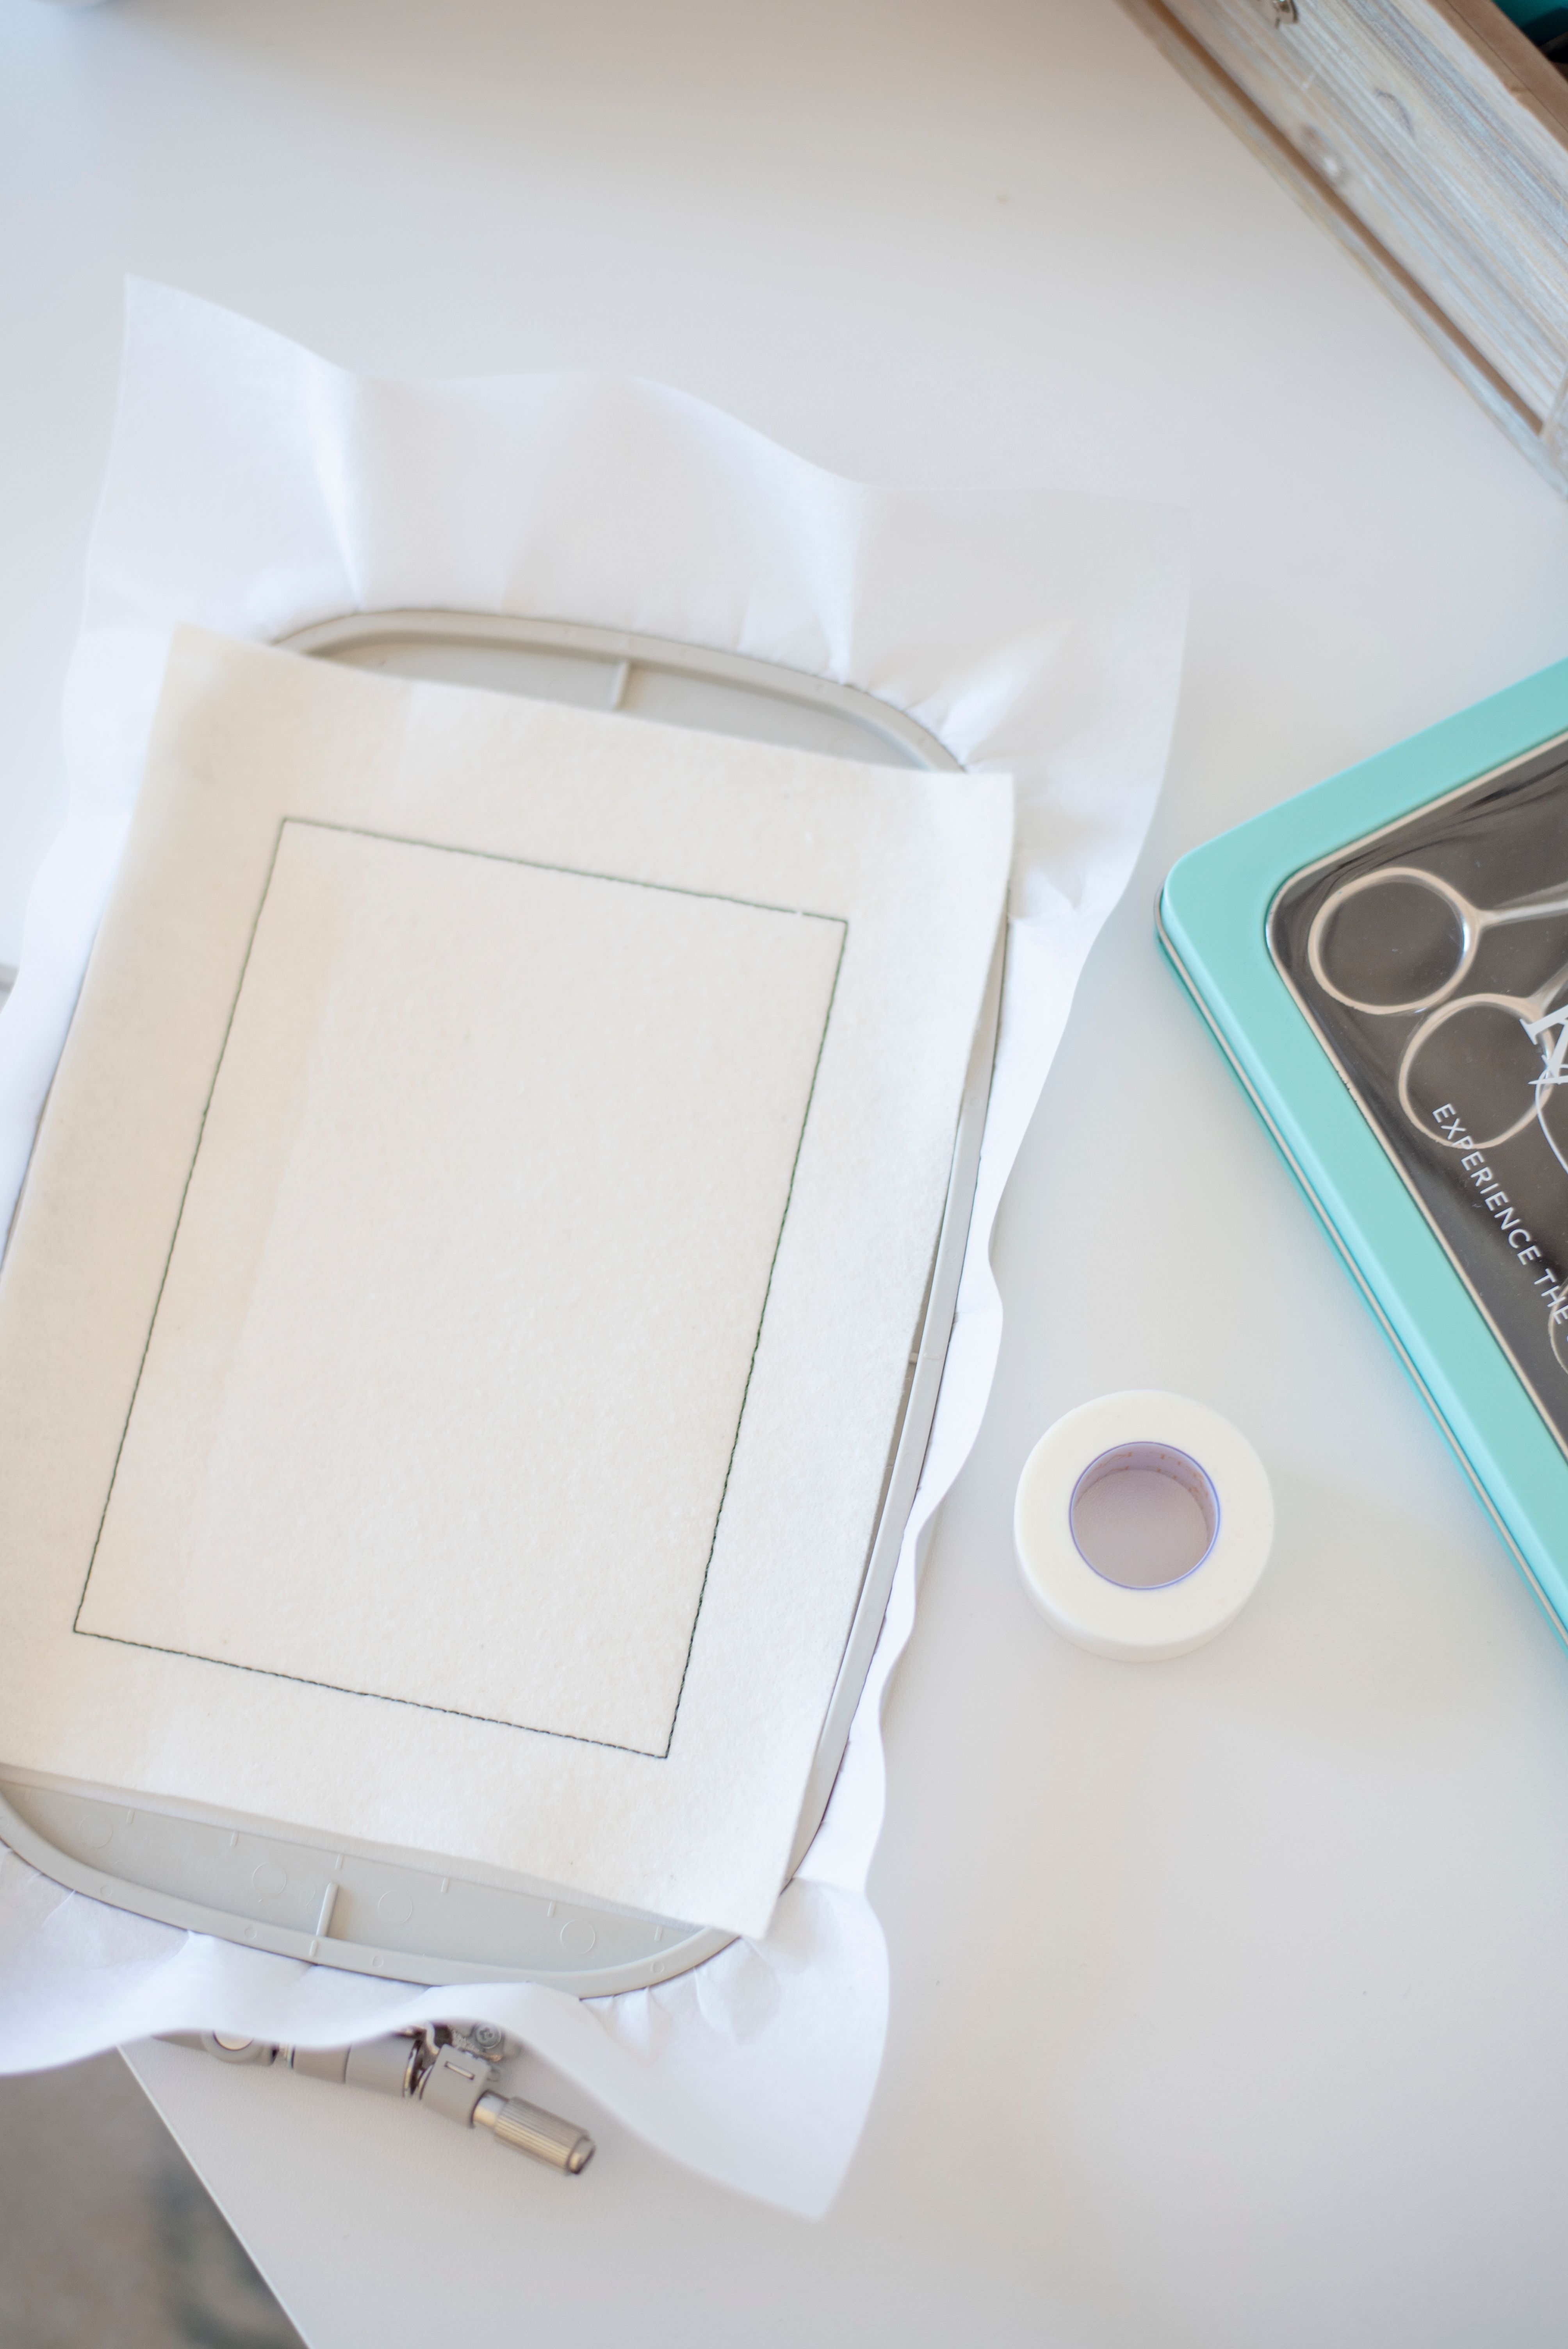
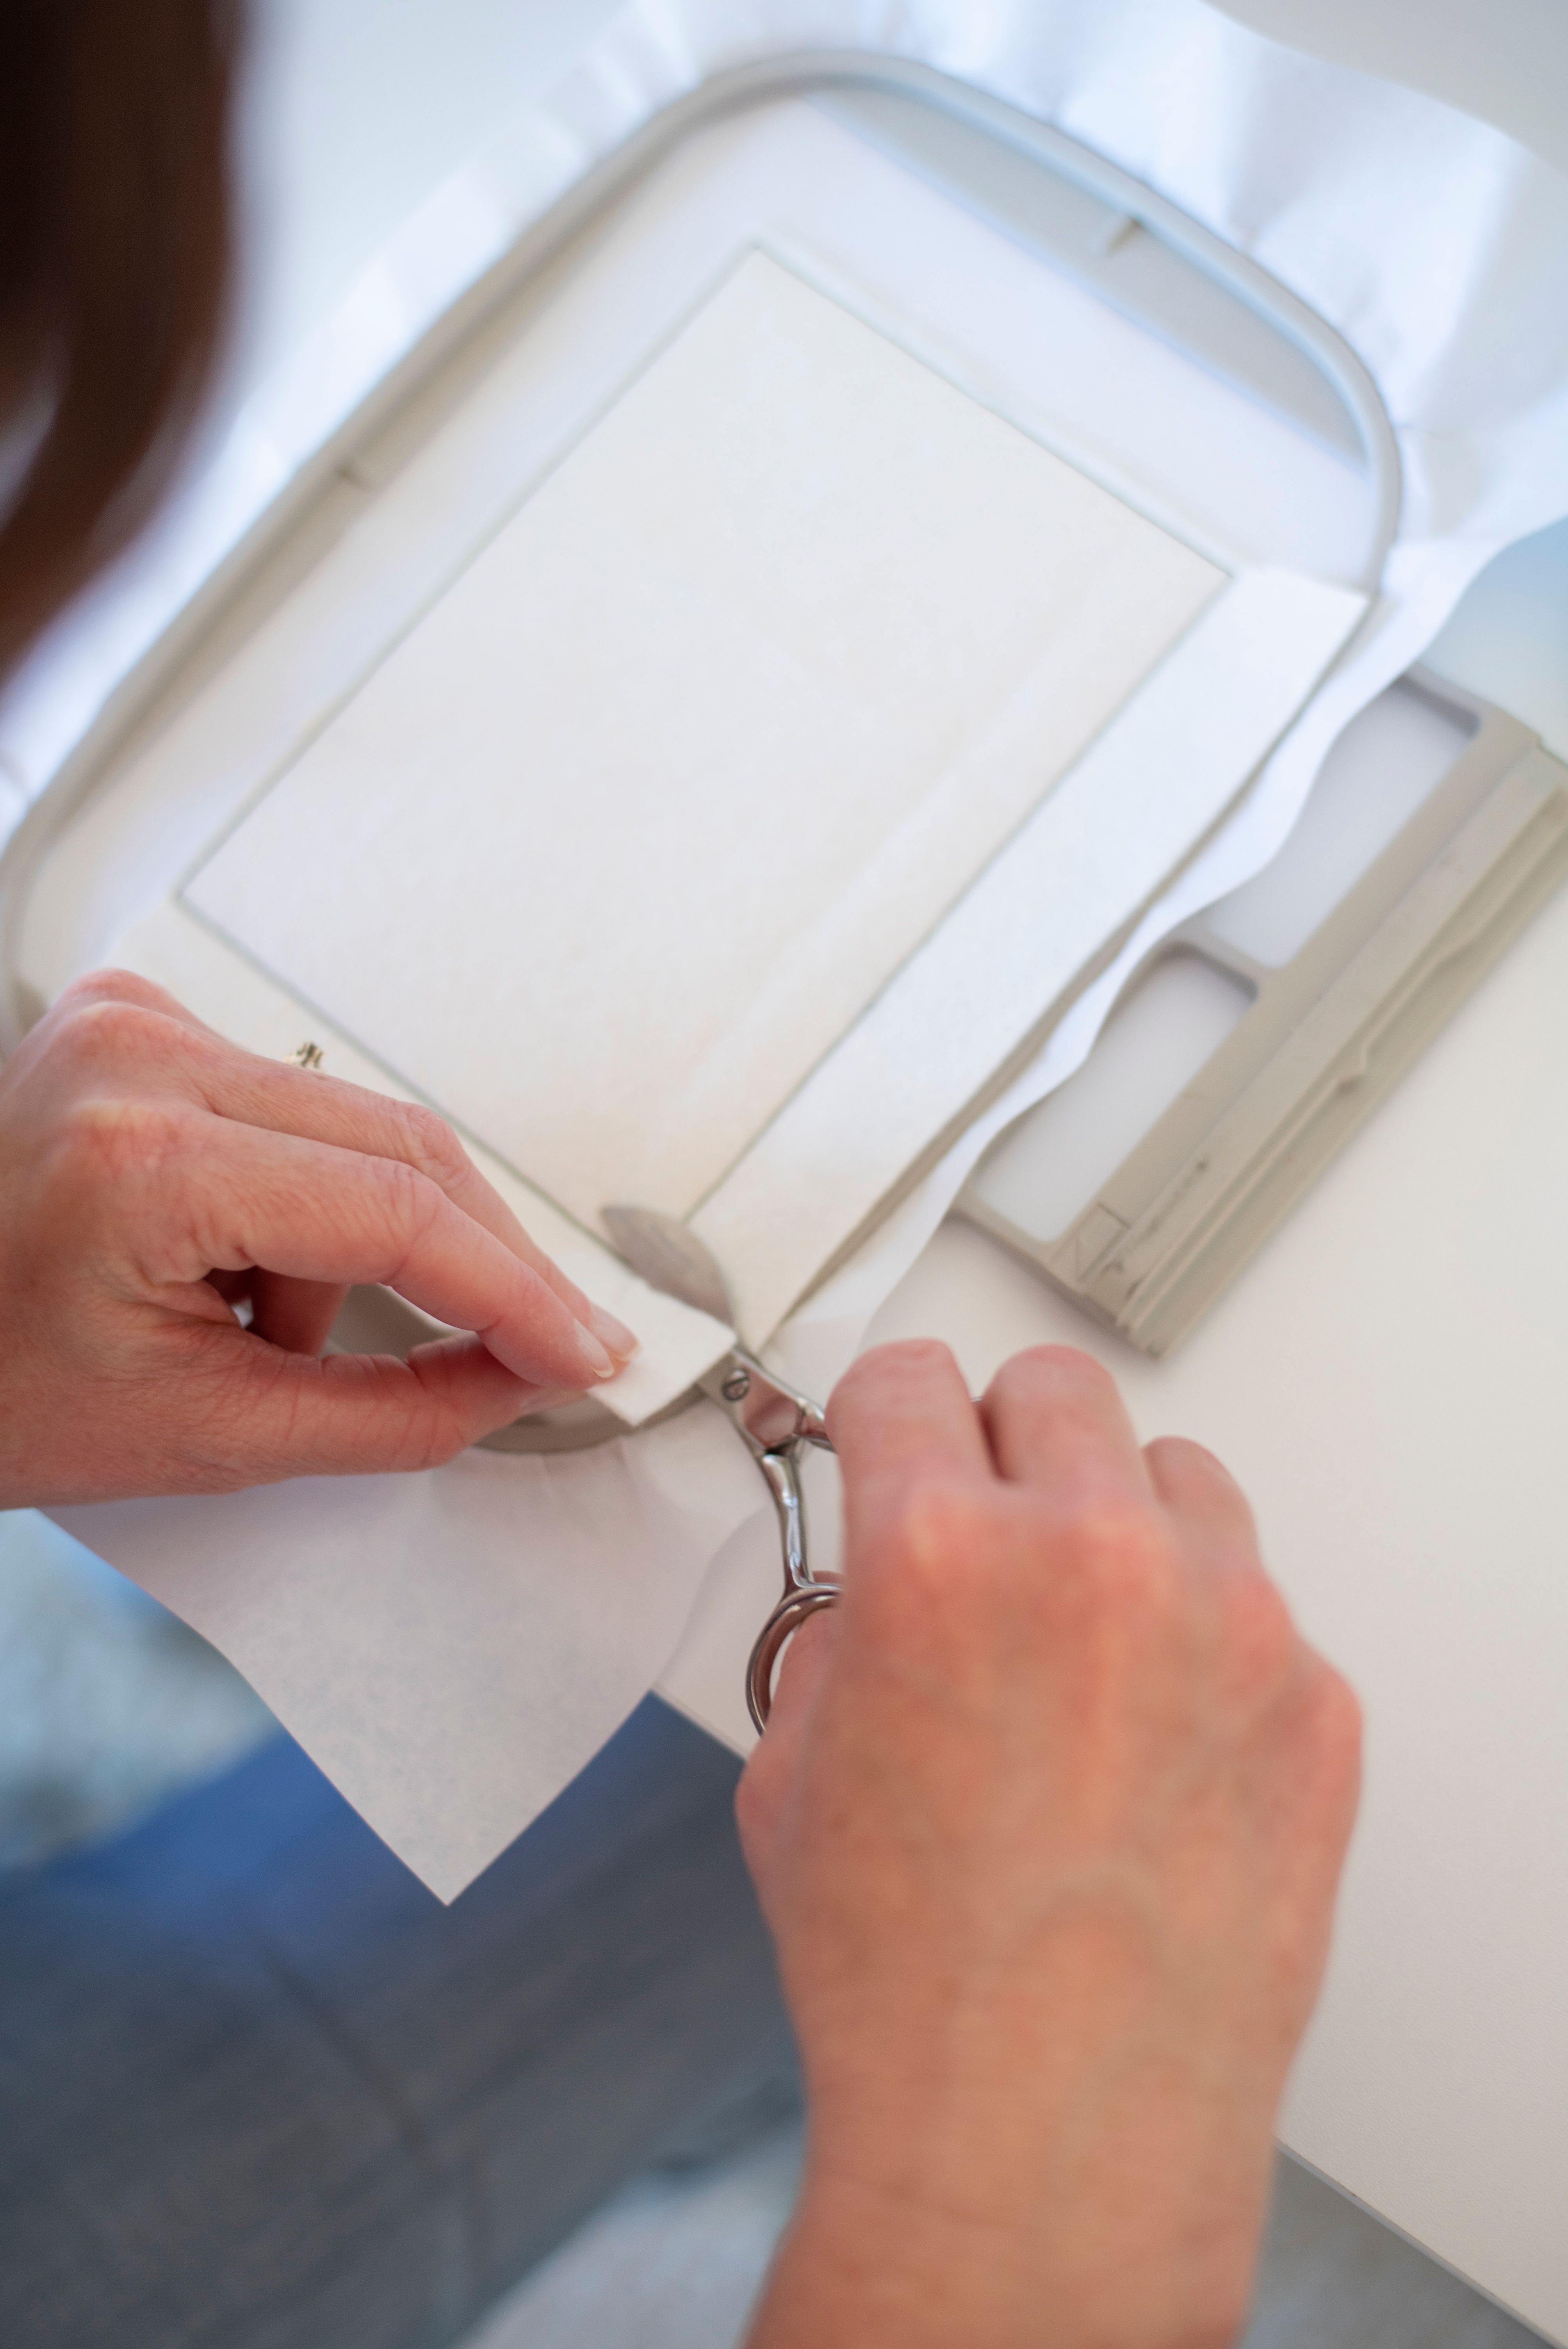
Step #4: Trim the Kimberbell Project Batting
Just trim close to the stitch line, like so! The batting gives your project a nice little lift.
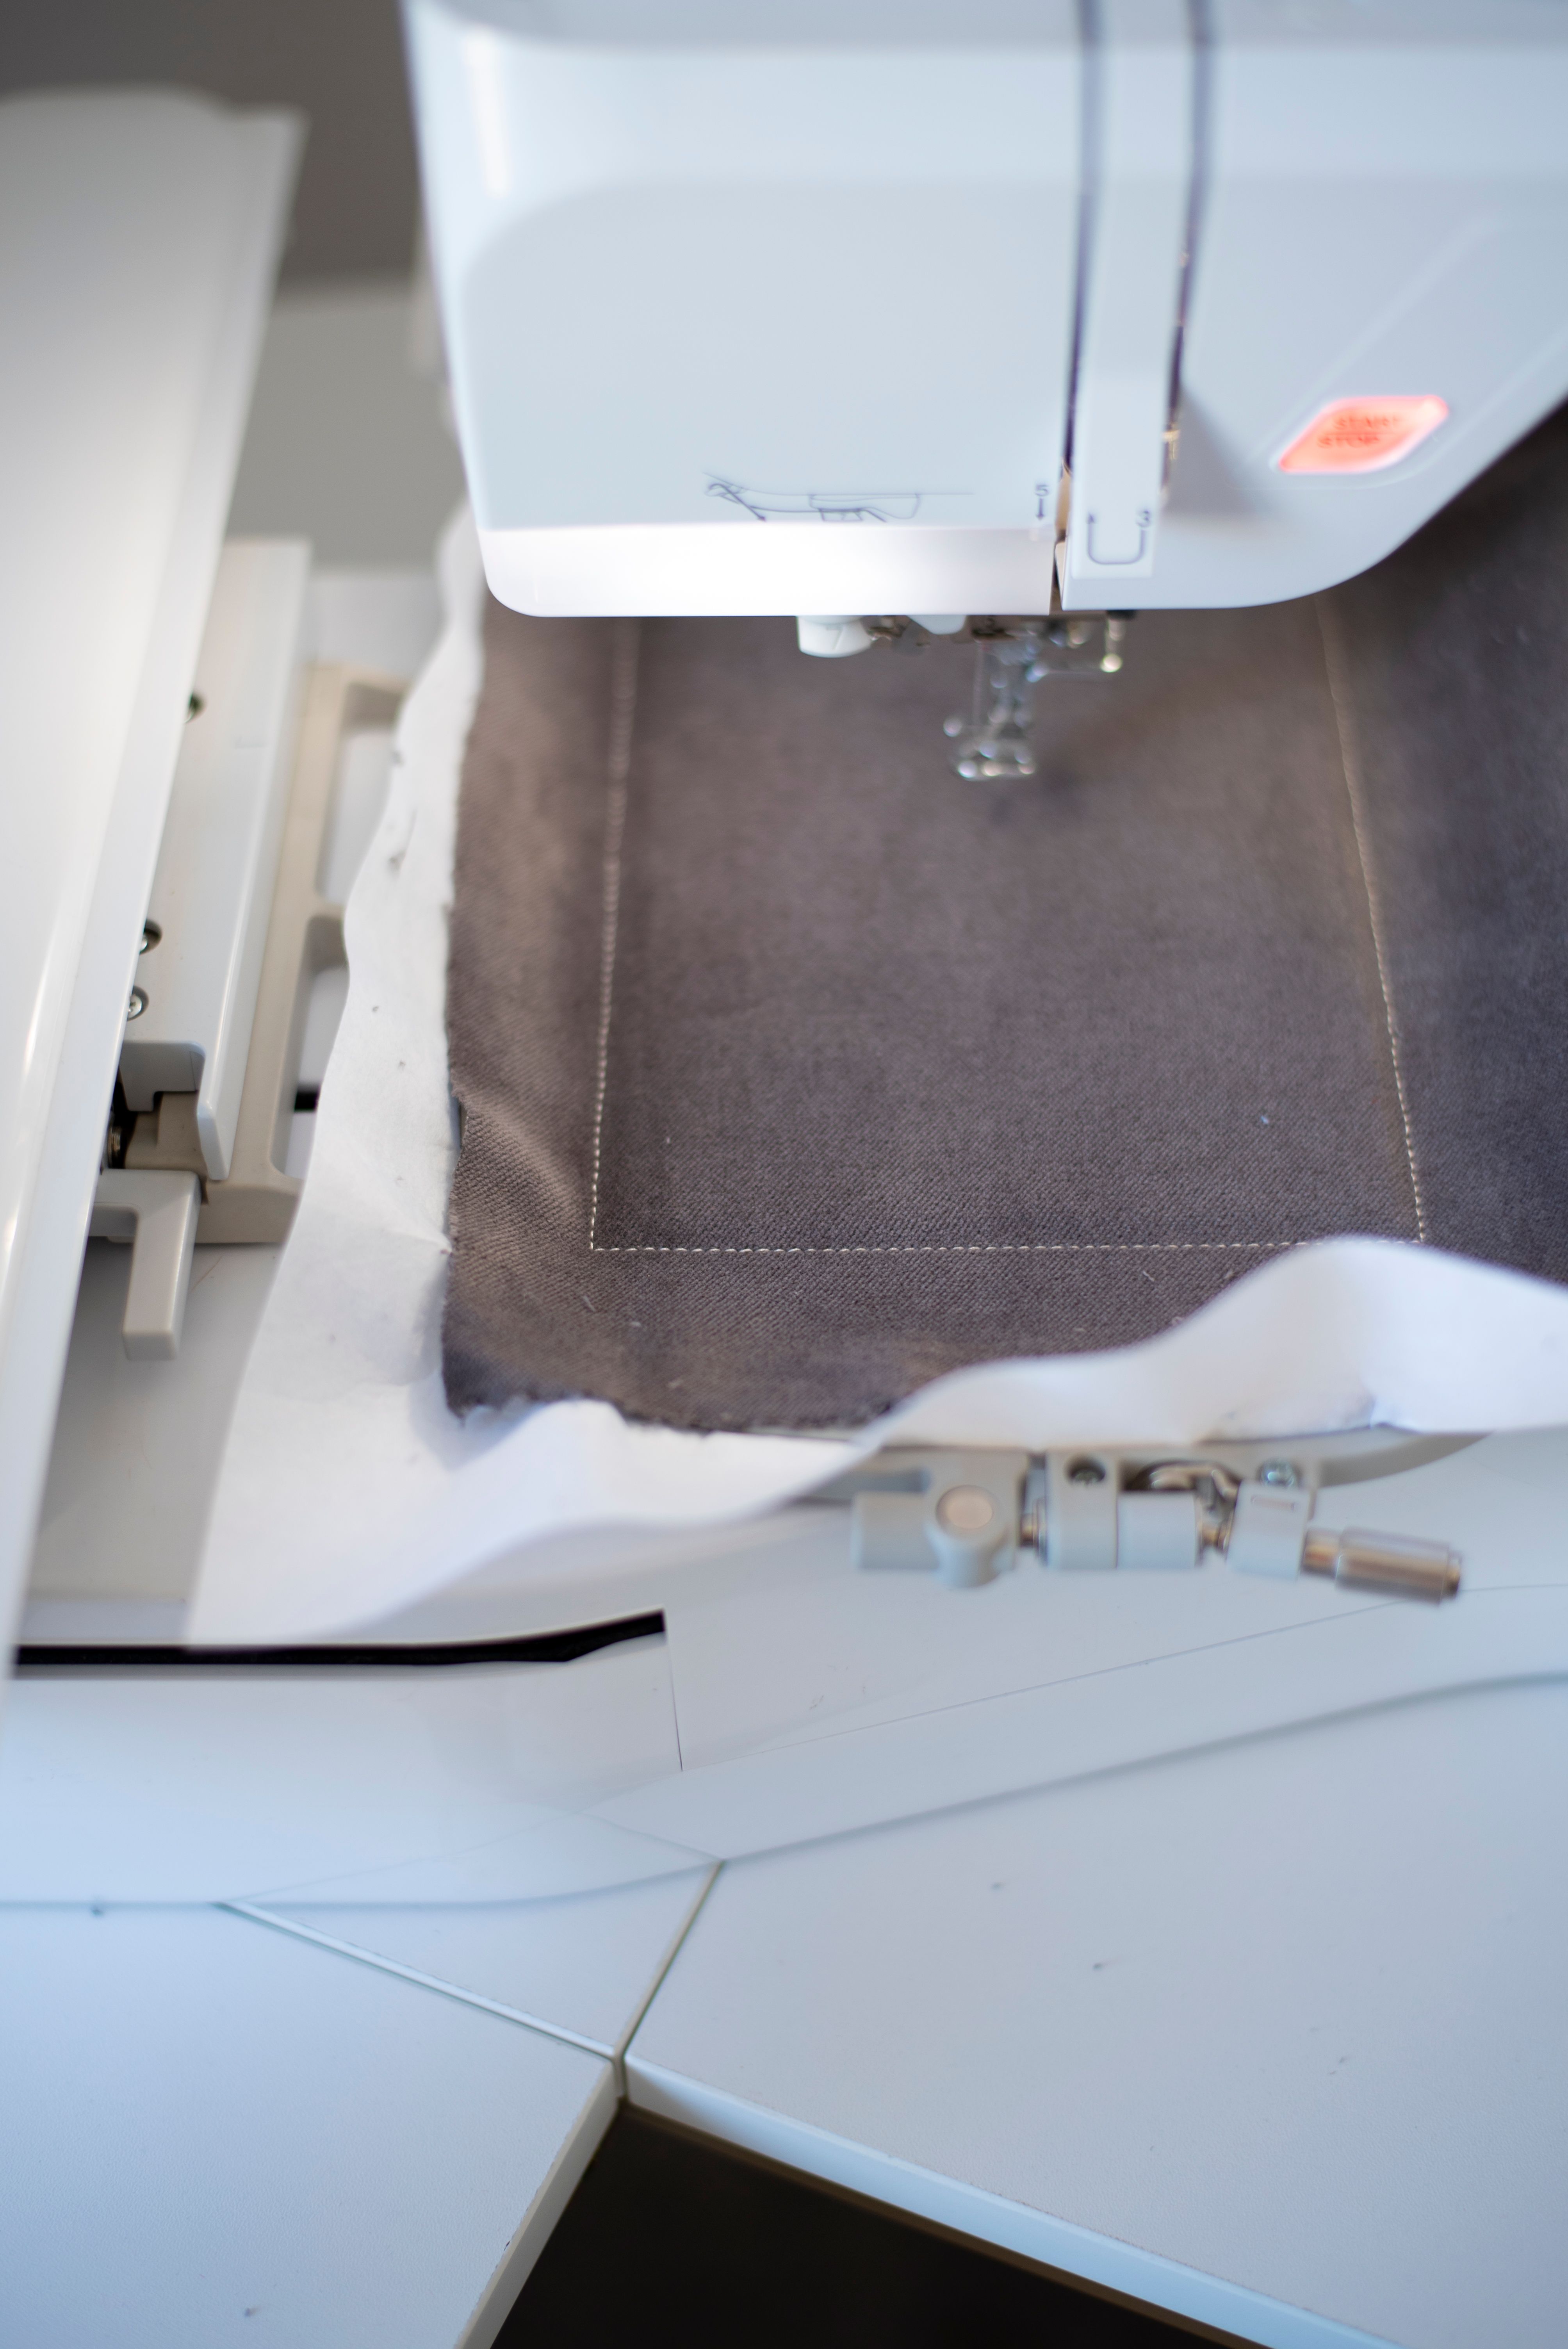
Step #5: Place the Background Fabric
For this project, I used the Slate Grey Kimberbell Velveteen for the background fabric. So soft!
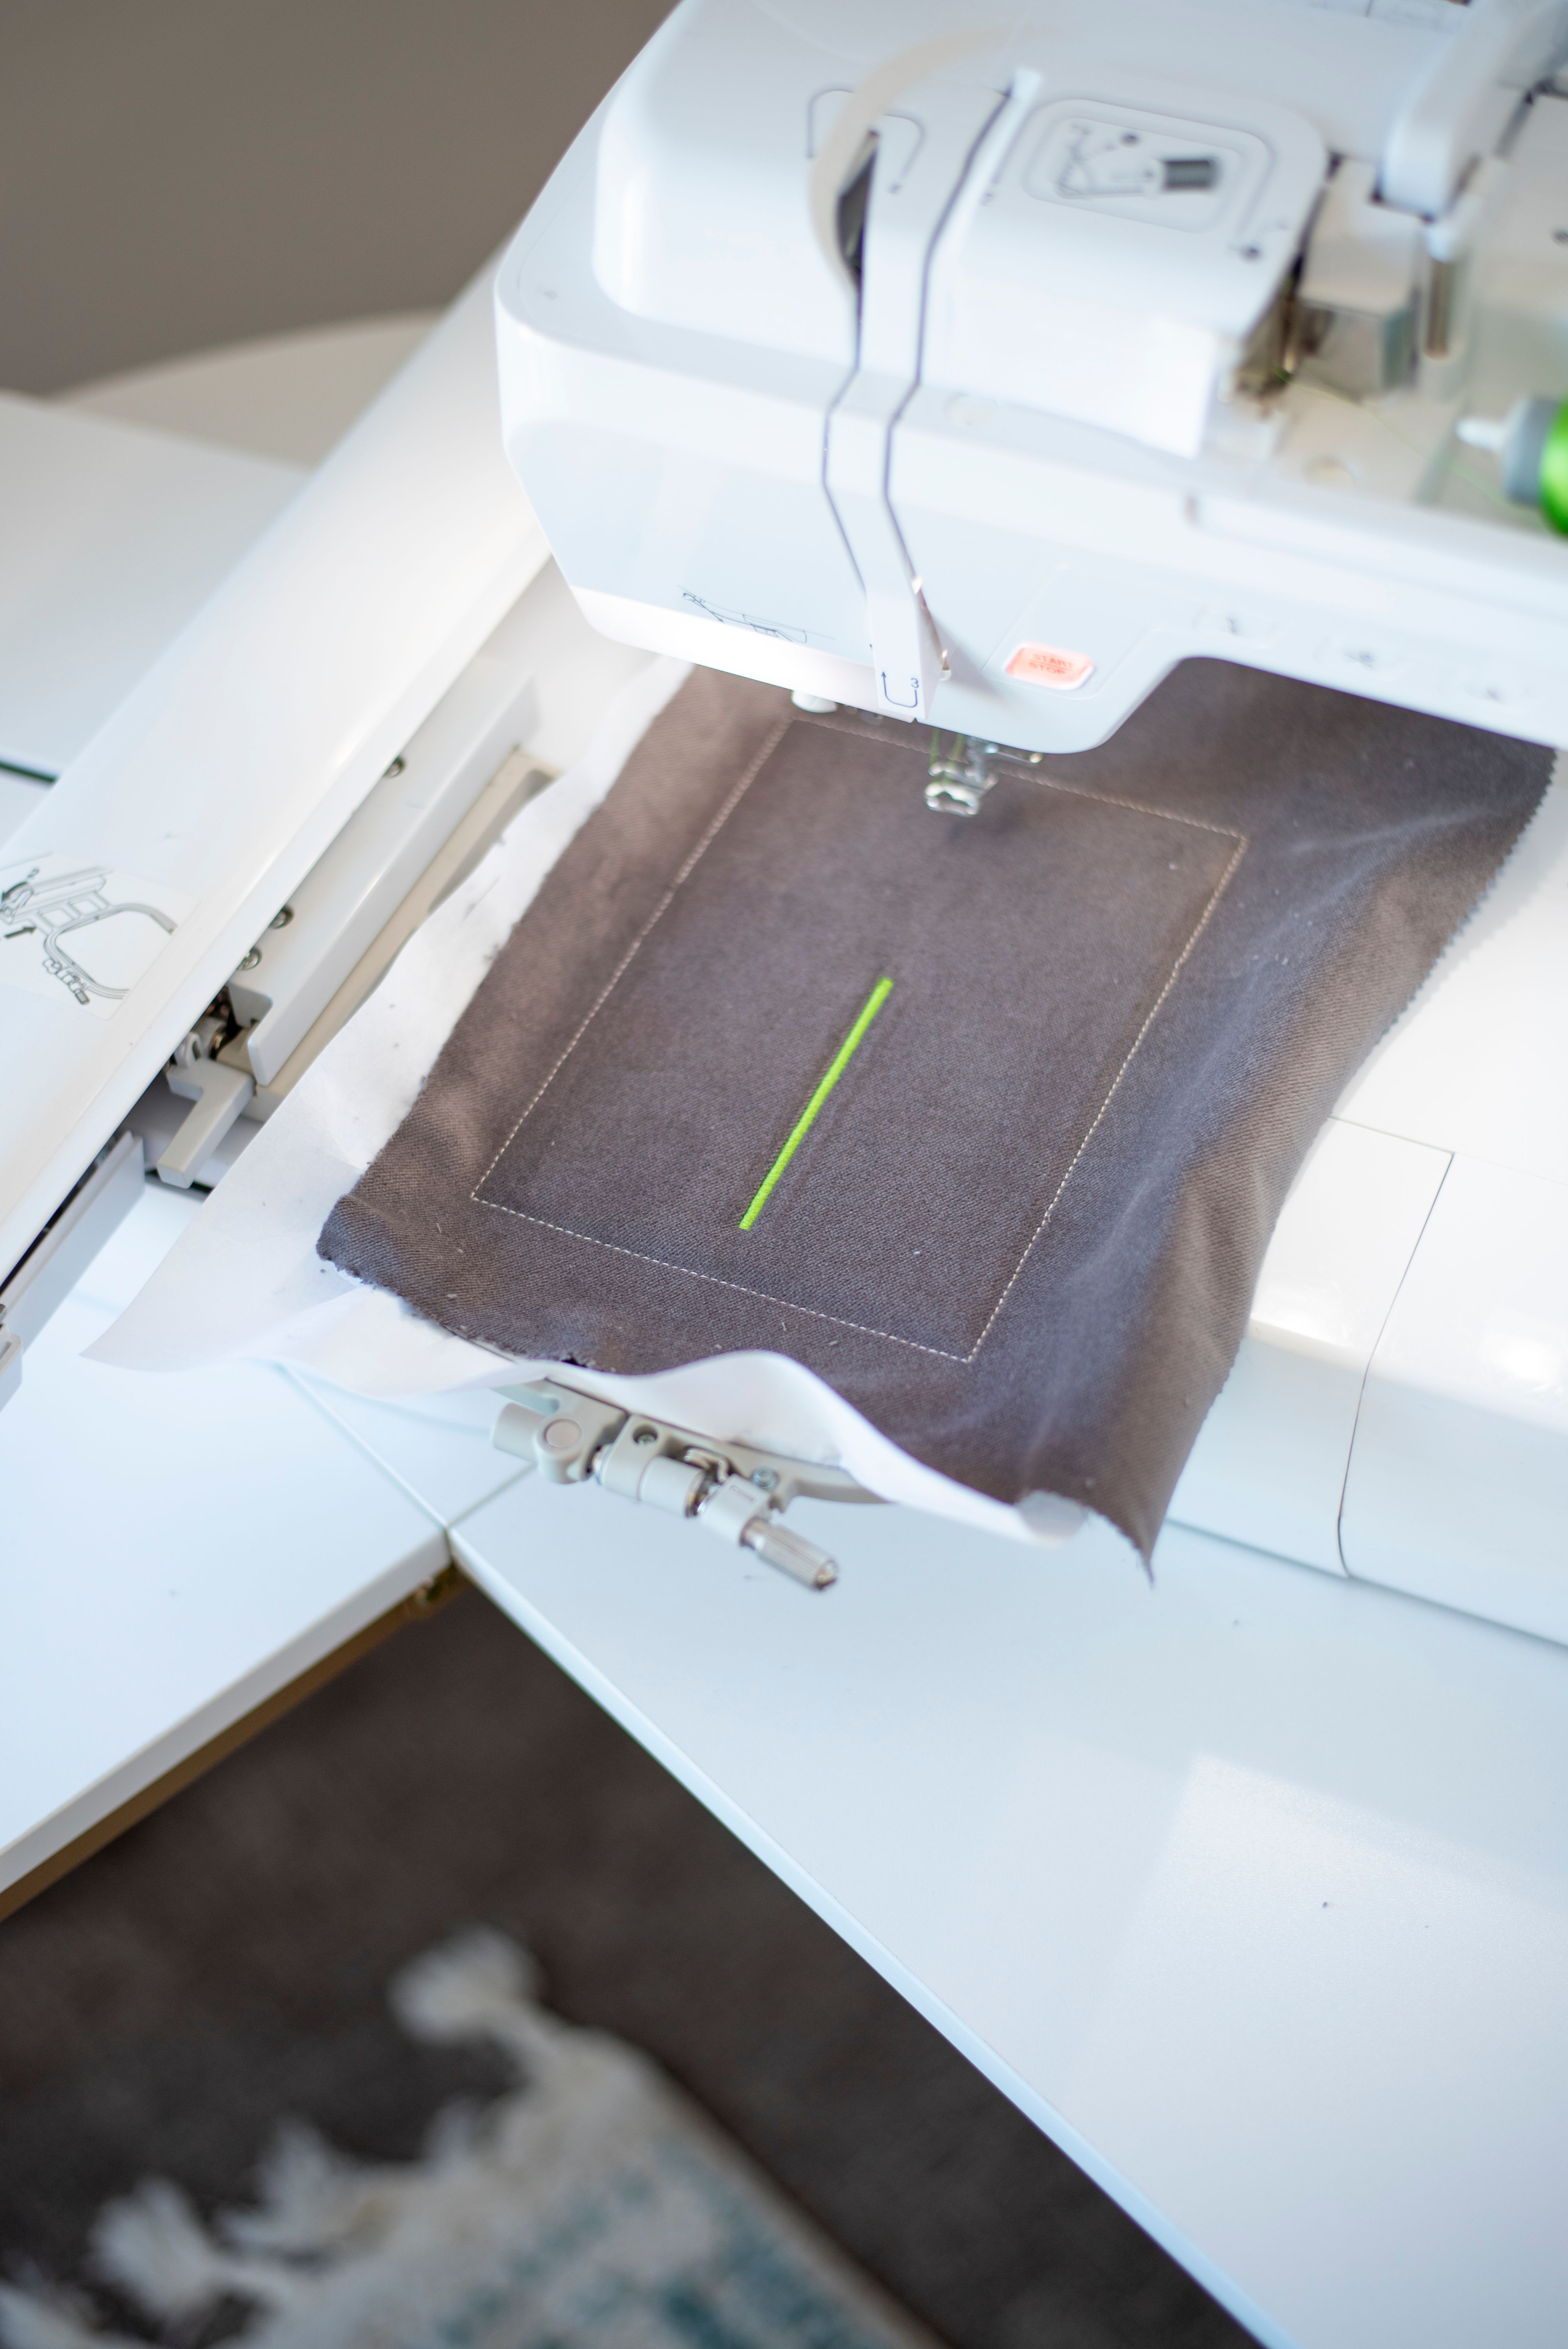
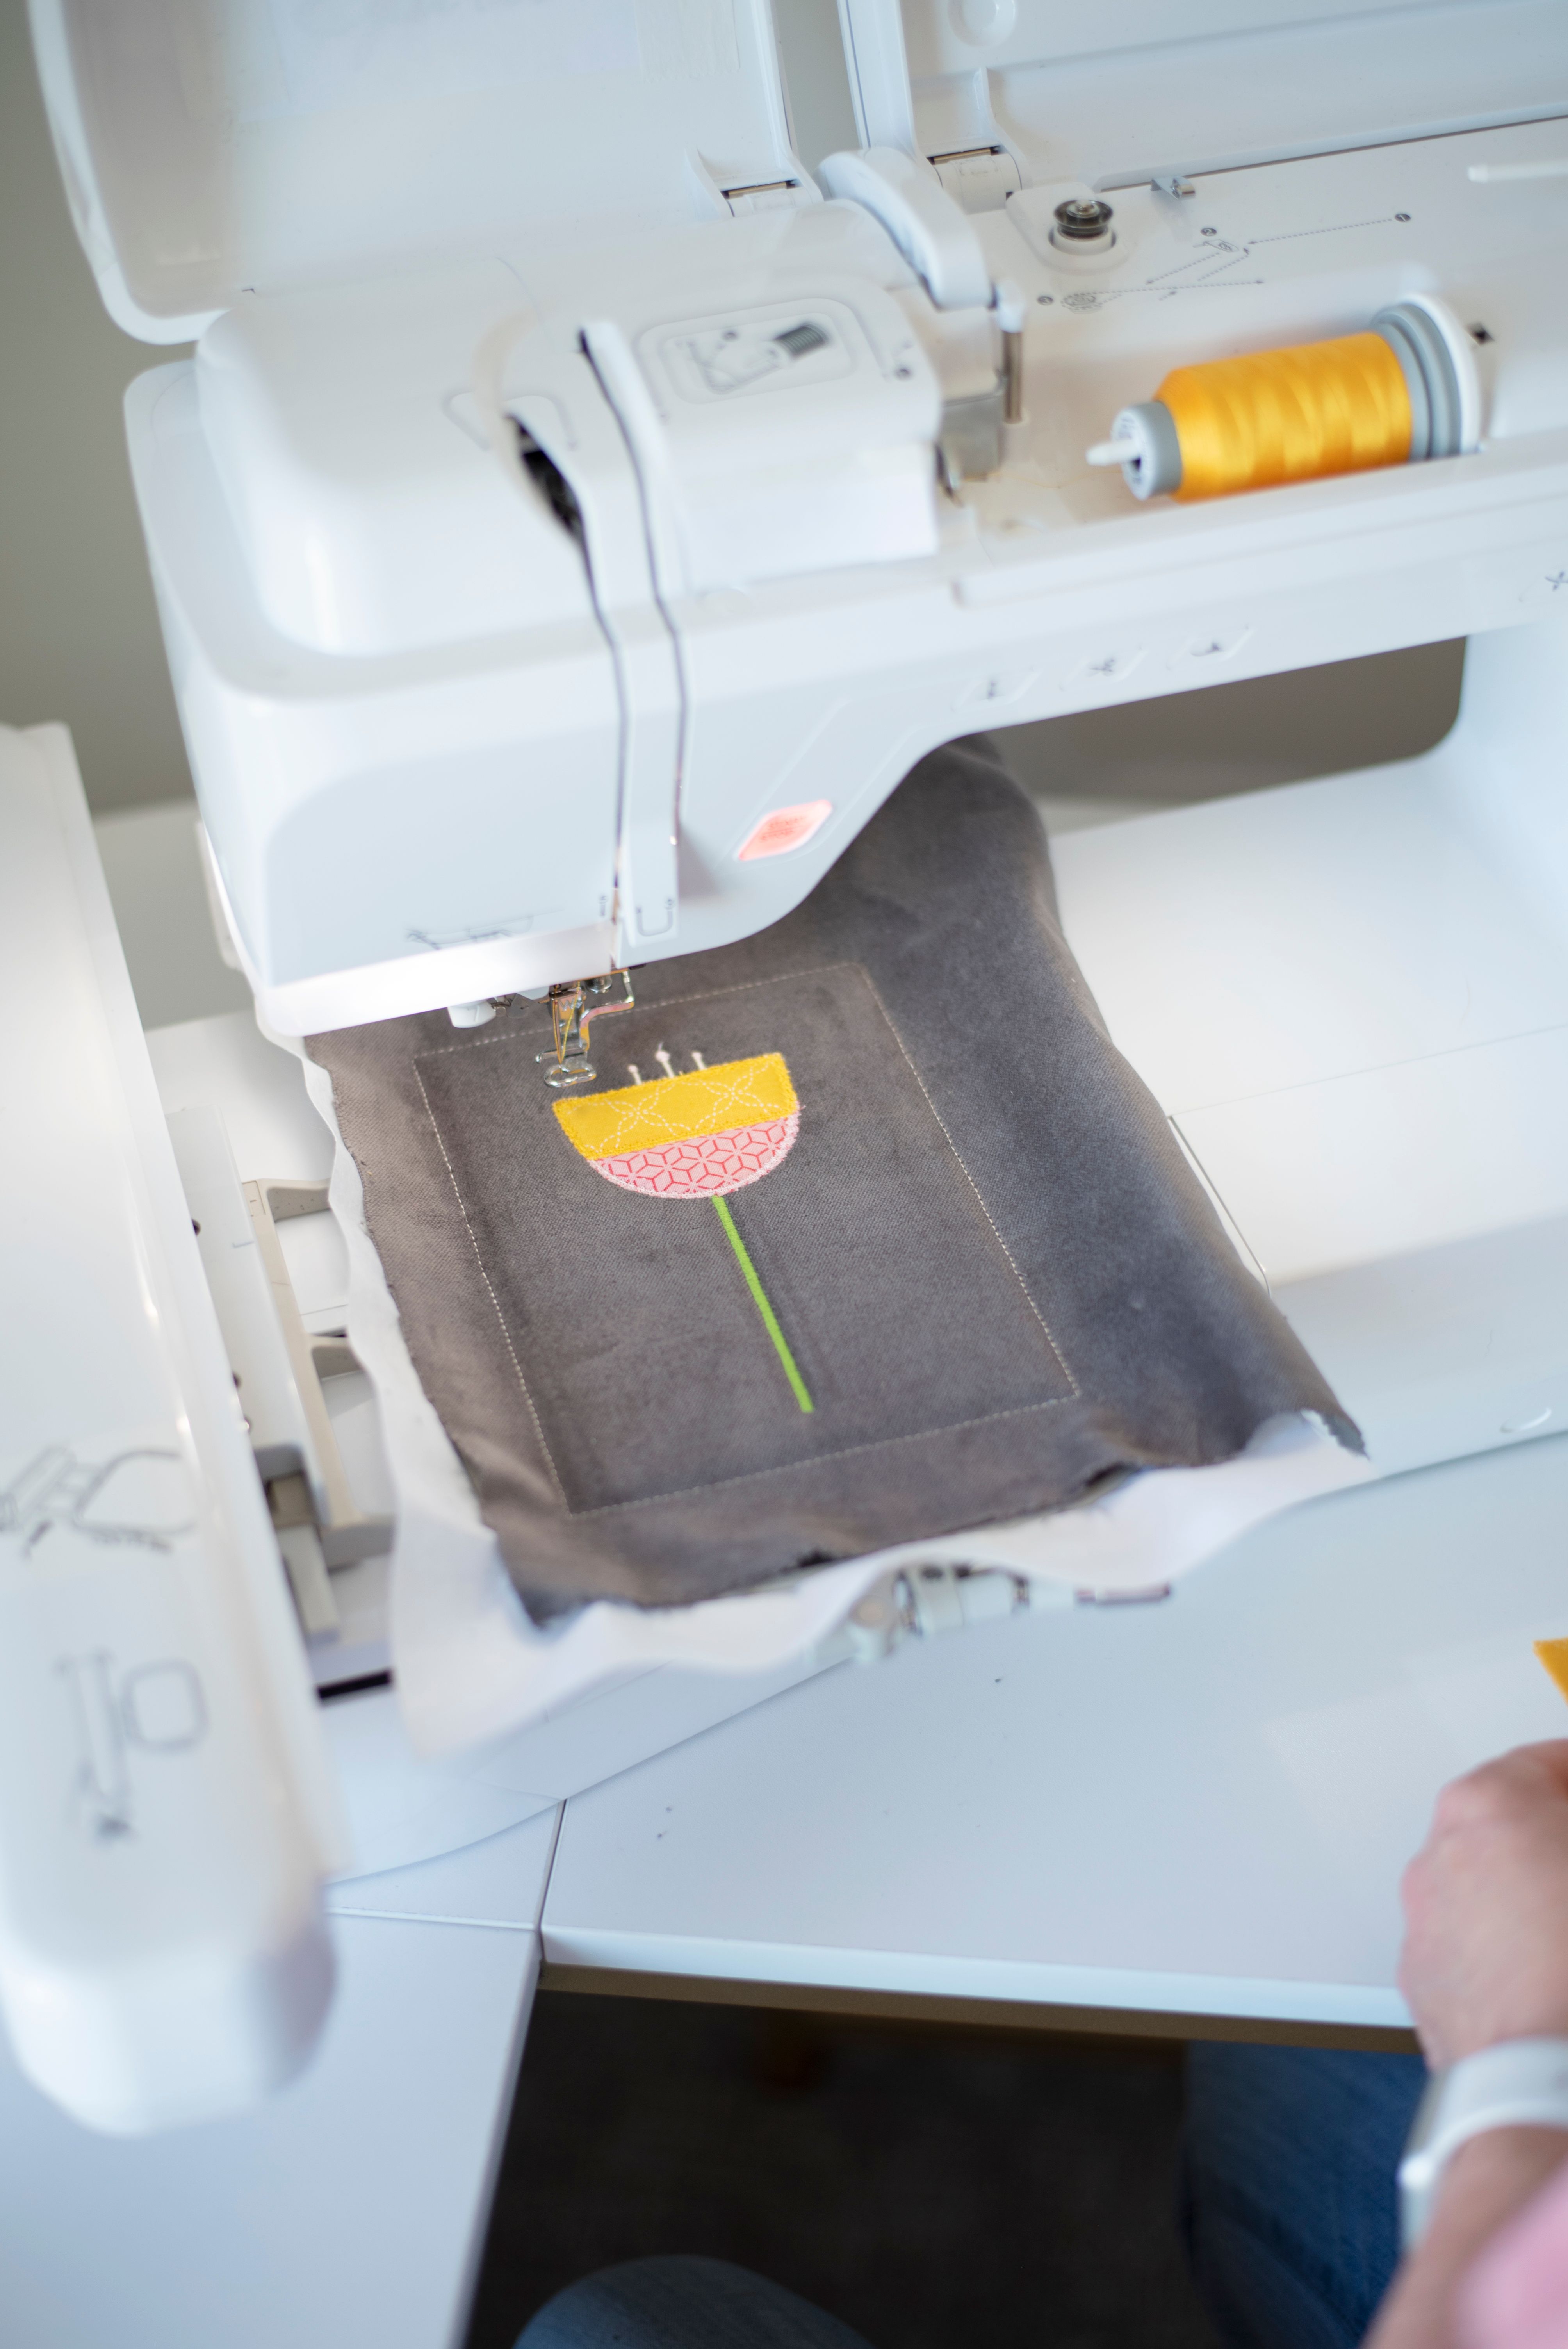
Step #6: Stitch the Tulip Stem & Filaments
Nothing tricky here! Just a nice satin stitch.
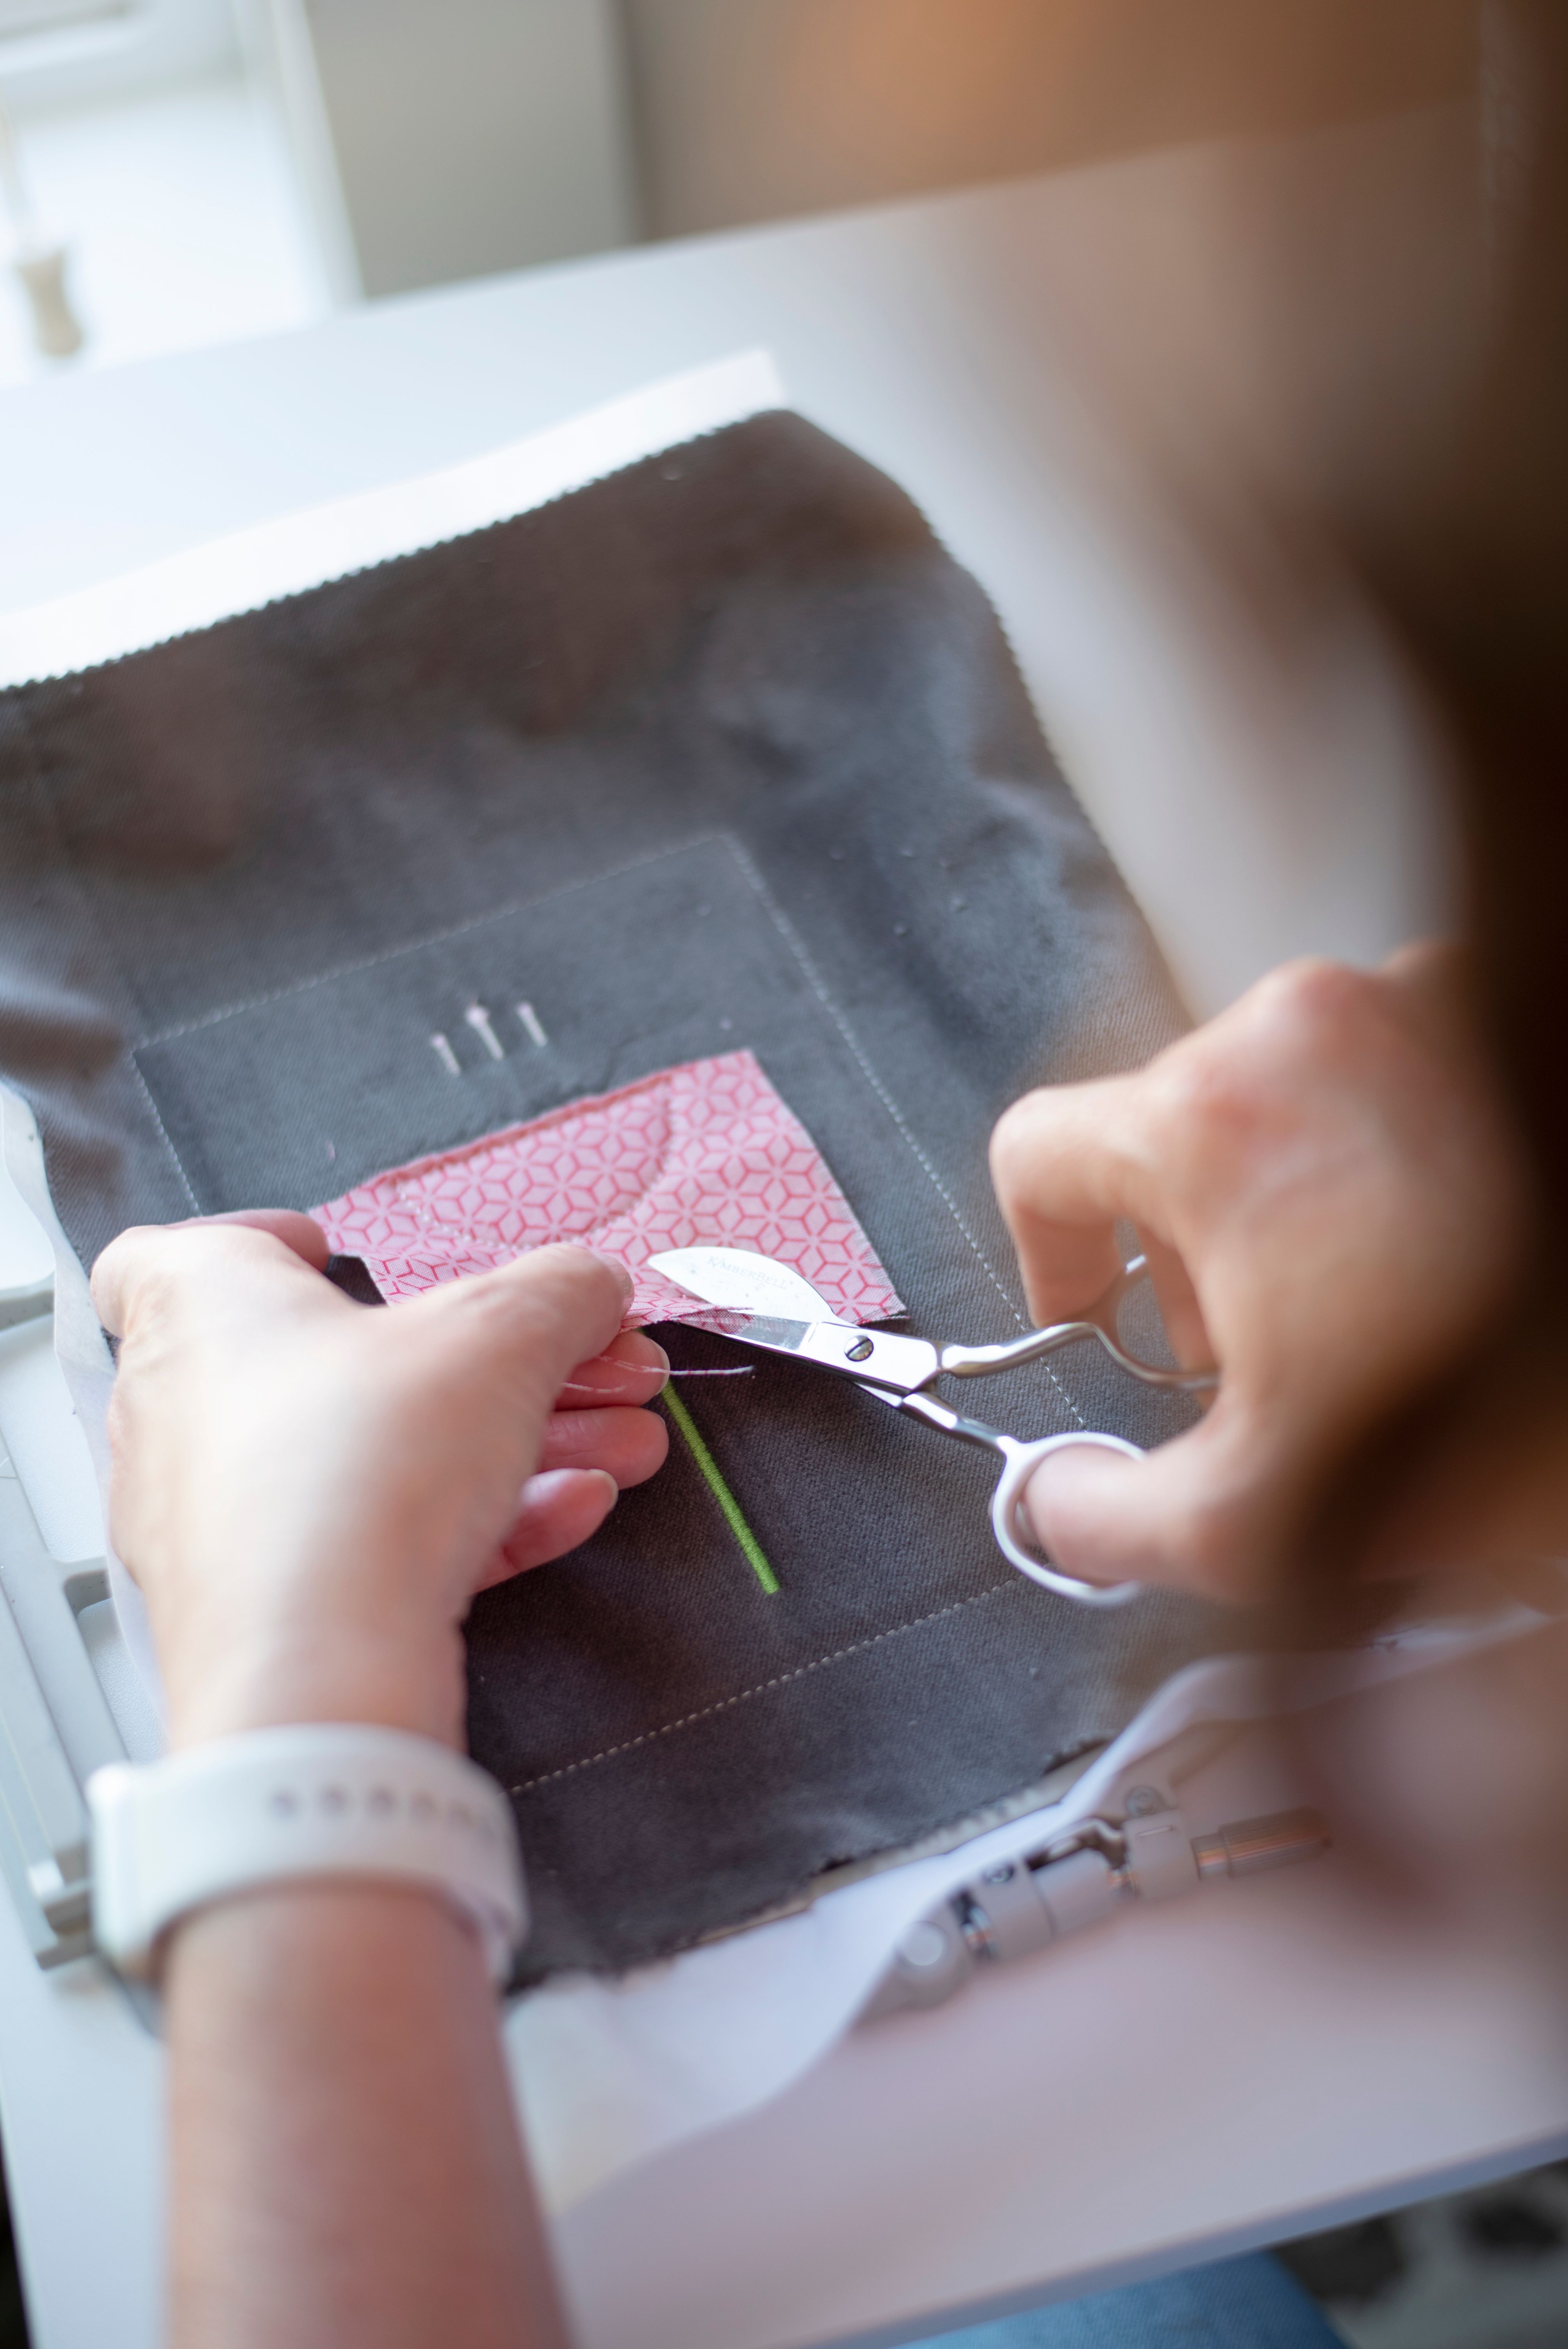
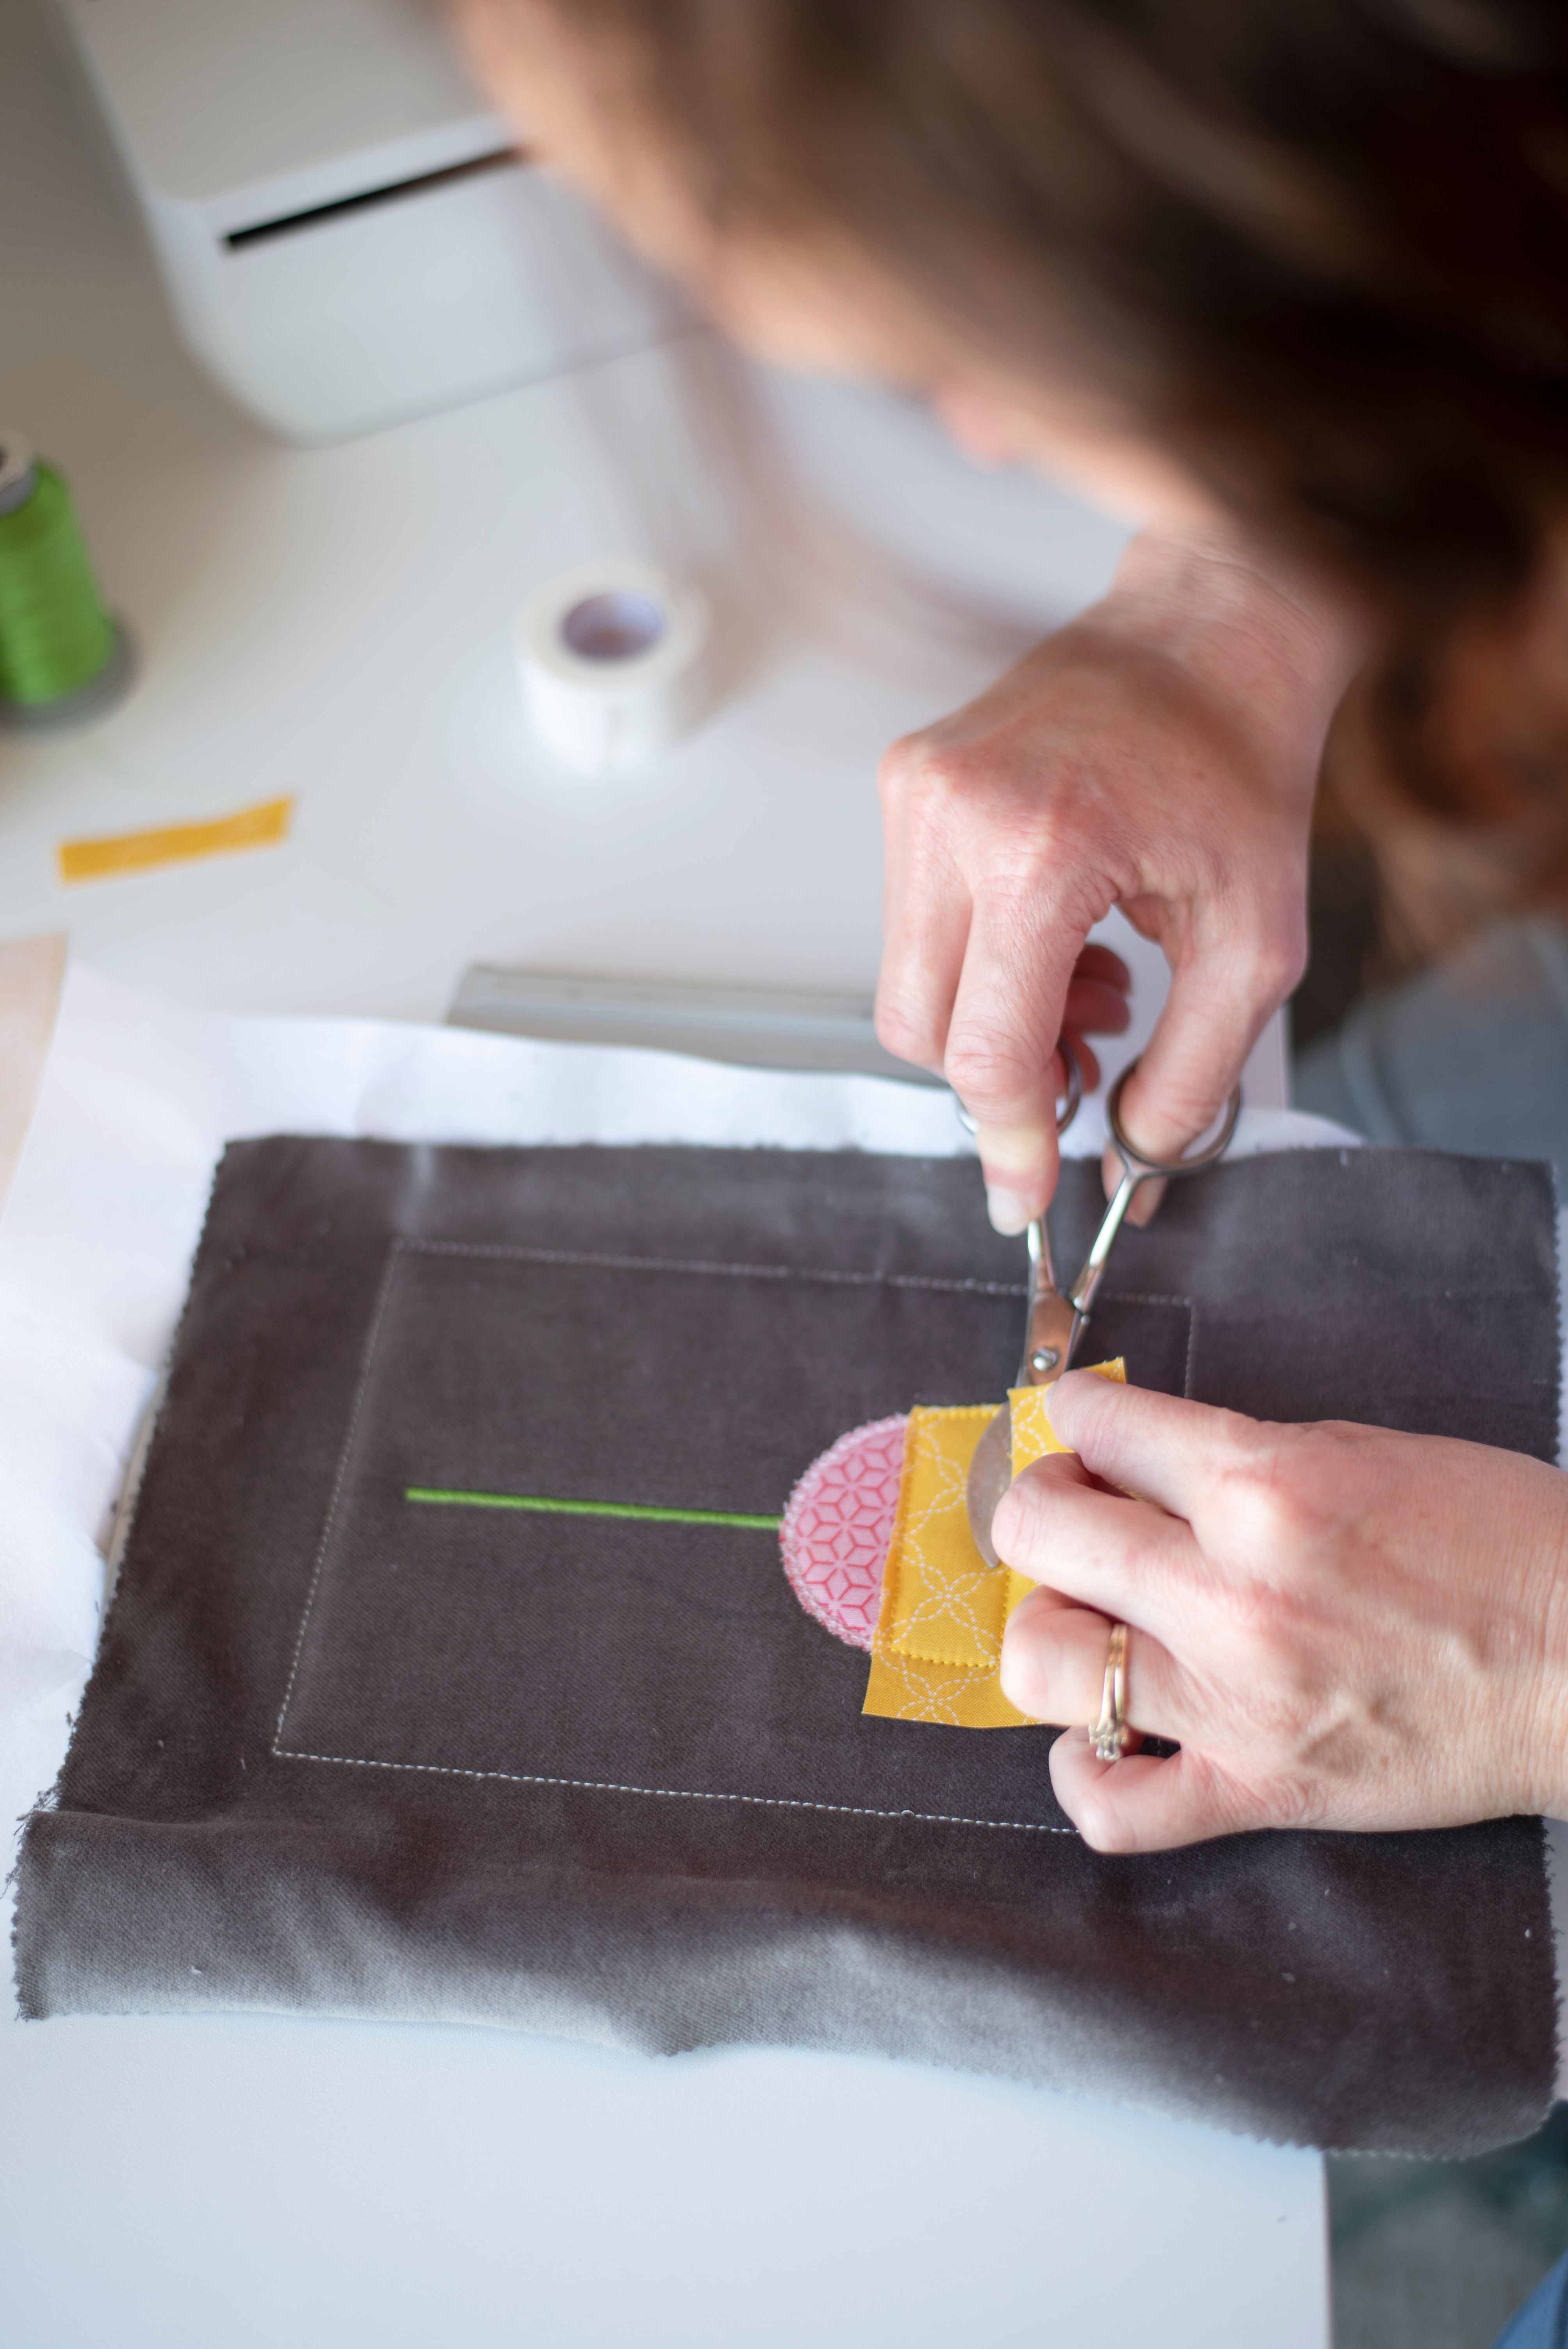
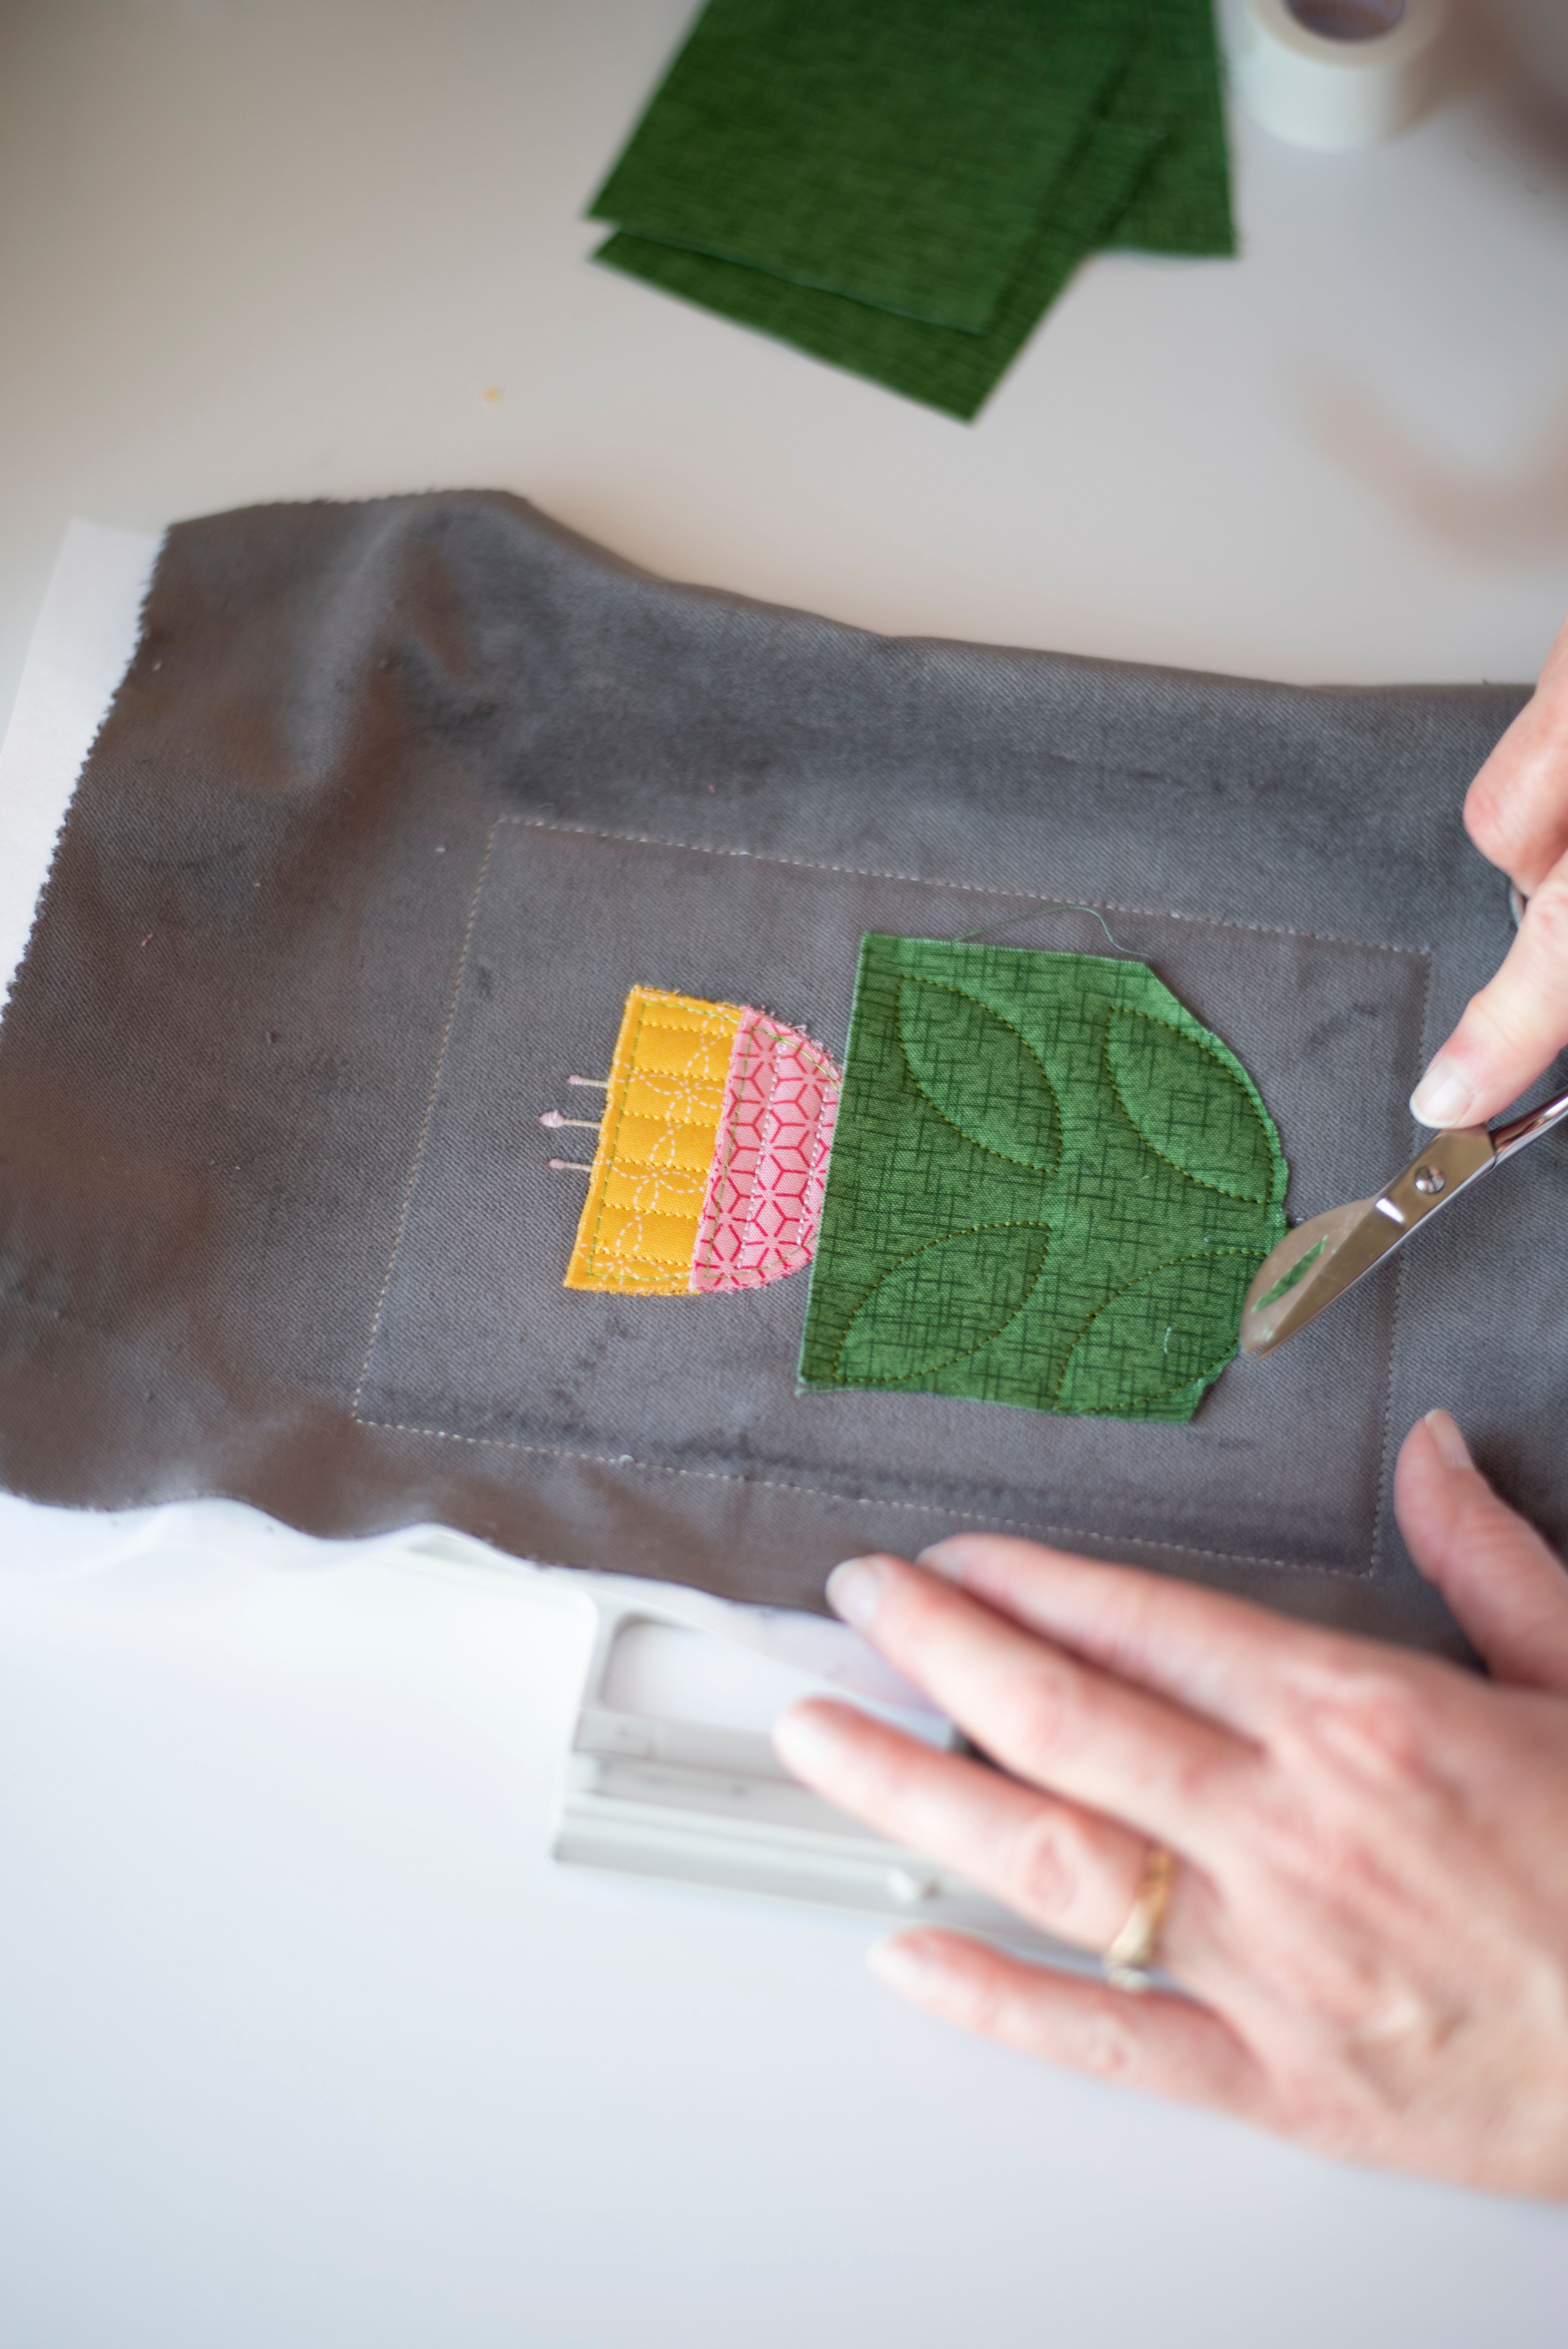
Step #7: Add ONE Layer of Applique Fabric (Lower Petals) & Trim
The duckbill scissors from Kimberbell's Deluxe Embroidery Scissor & Tool Set makes trimming a snap!
Step #8: Add ONE Layer of Applique Fabric (Upper Petals) & Trim
Same process as before!
Step #9: Finish the Decorative Stitch
The decorative stitch is pretty and tacks the edges down nicely.
Step #10: Add THREE Layers of Applique Fabric (Upper Petals) & Trim
That's right...add three additional layers of fabric on top of the initial applique piece.
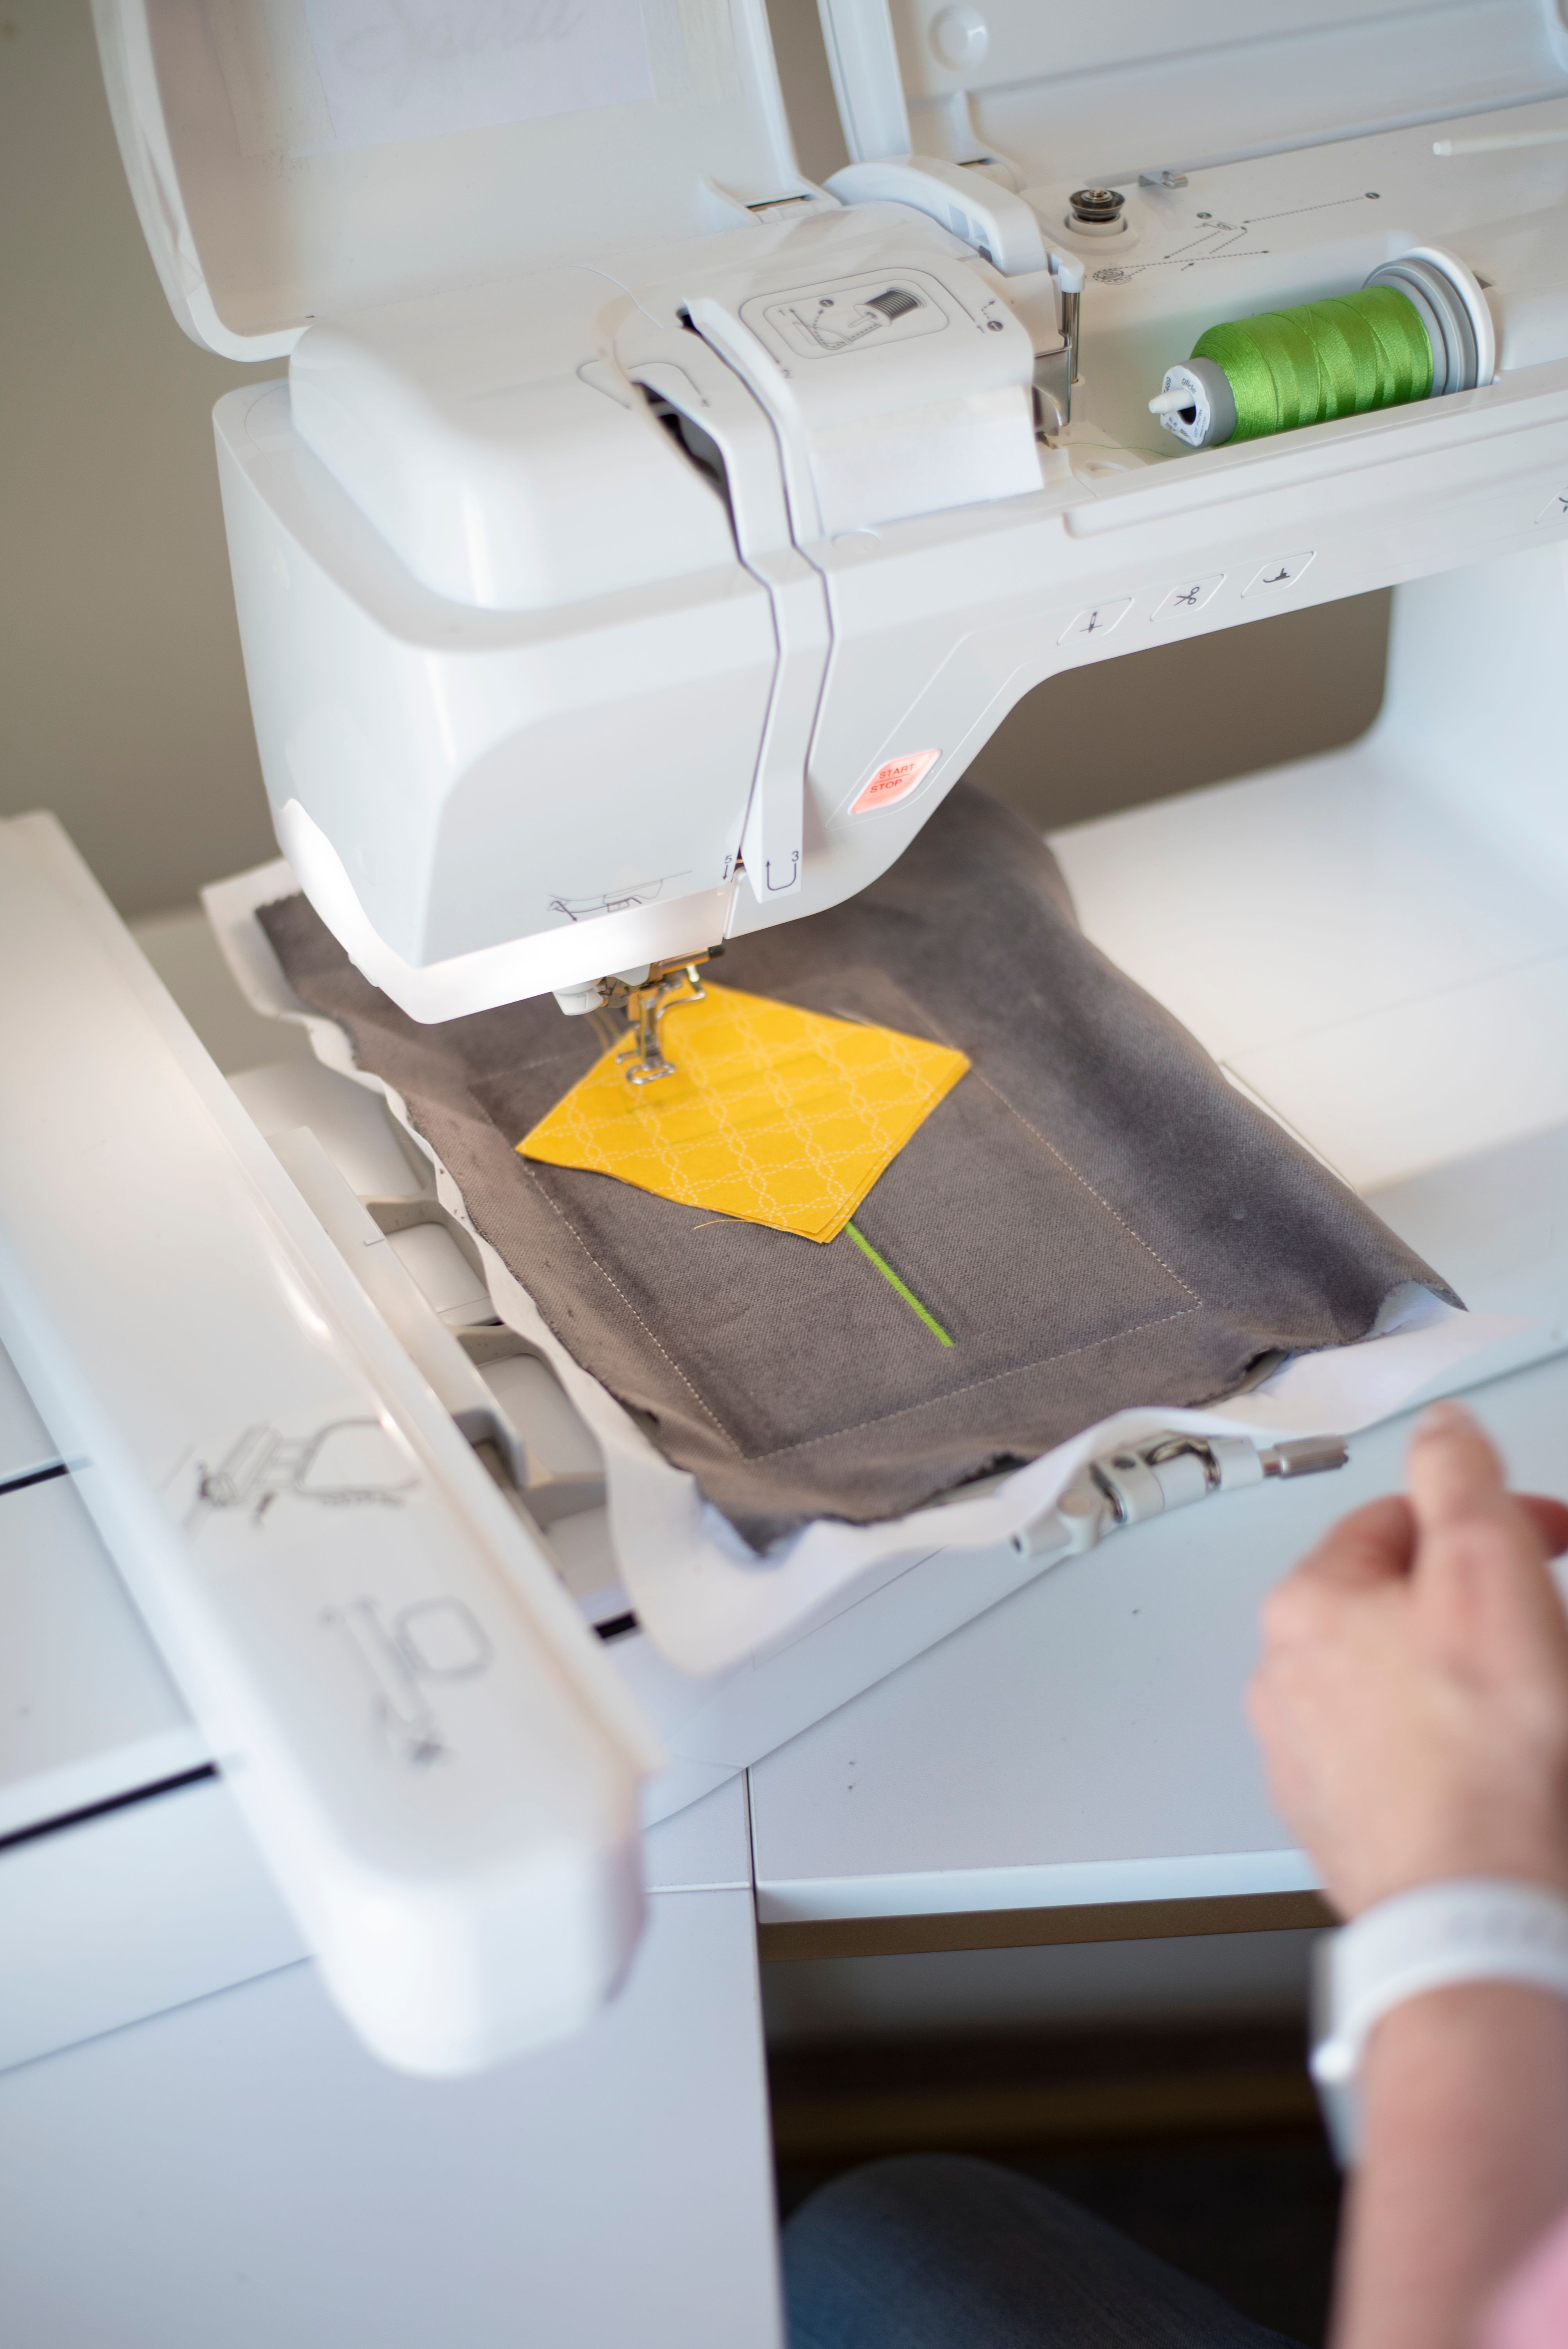
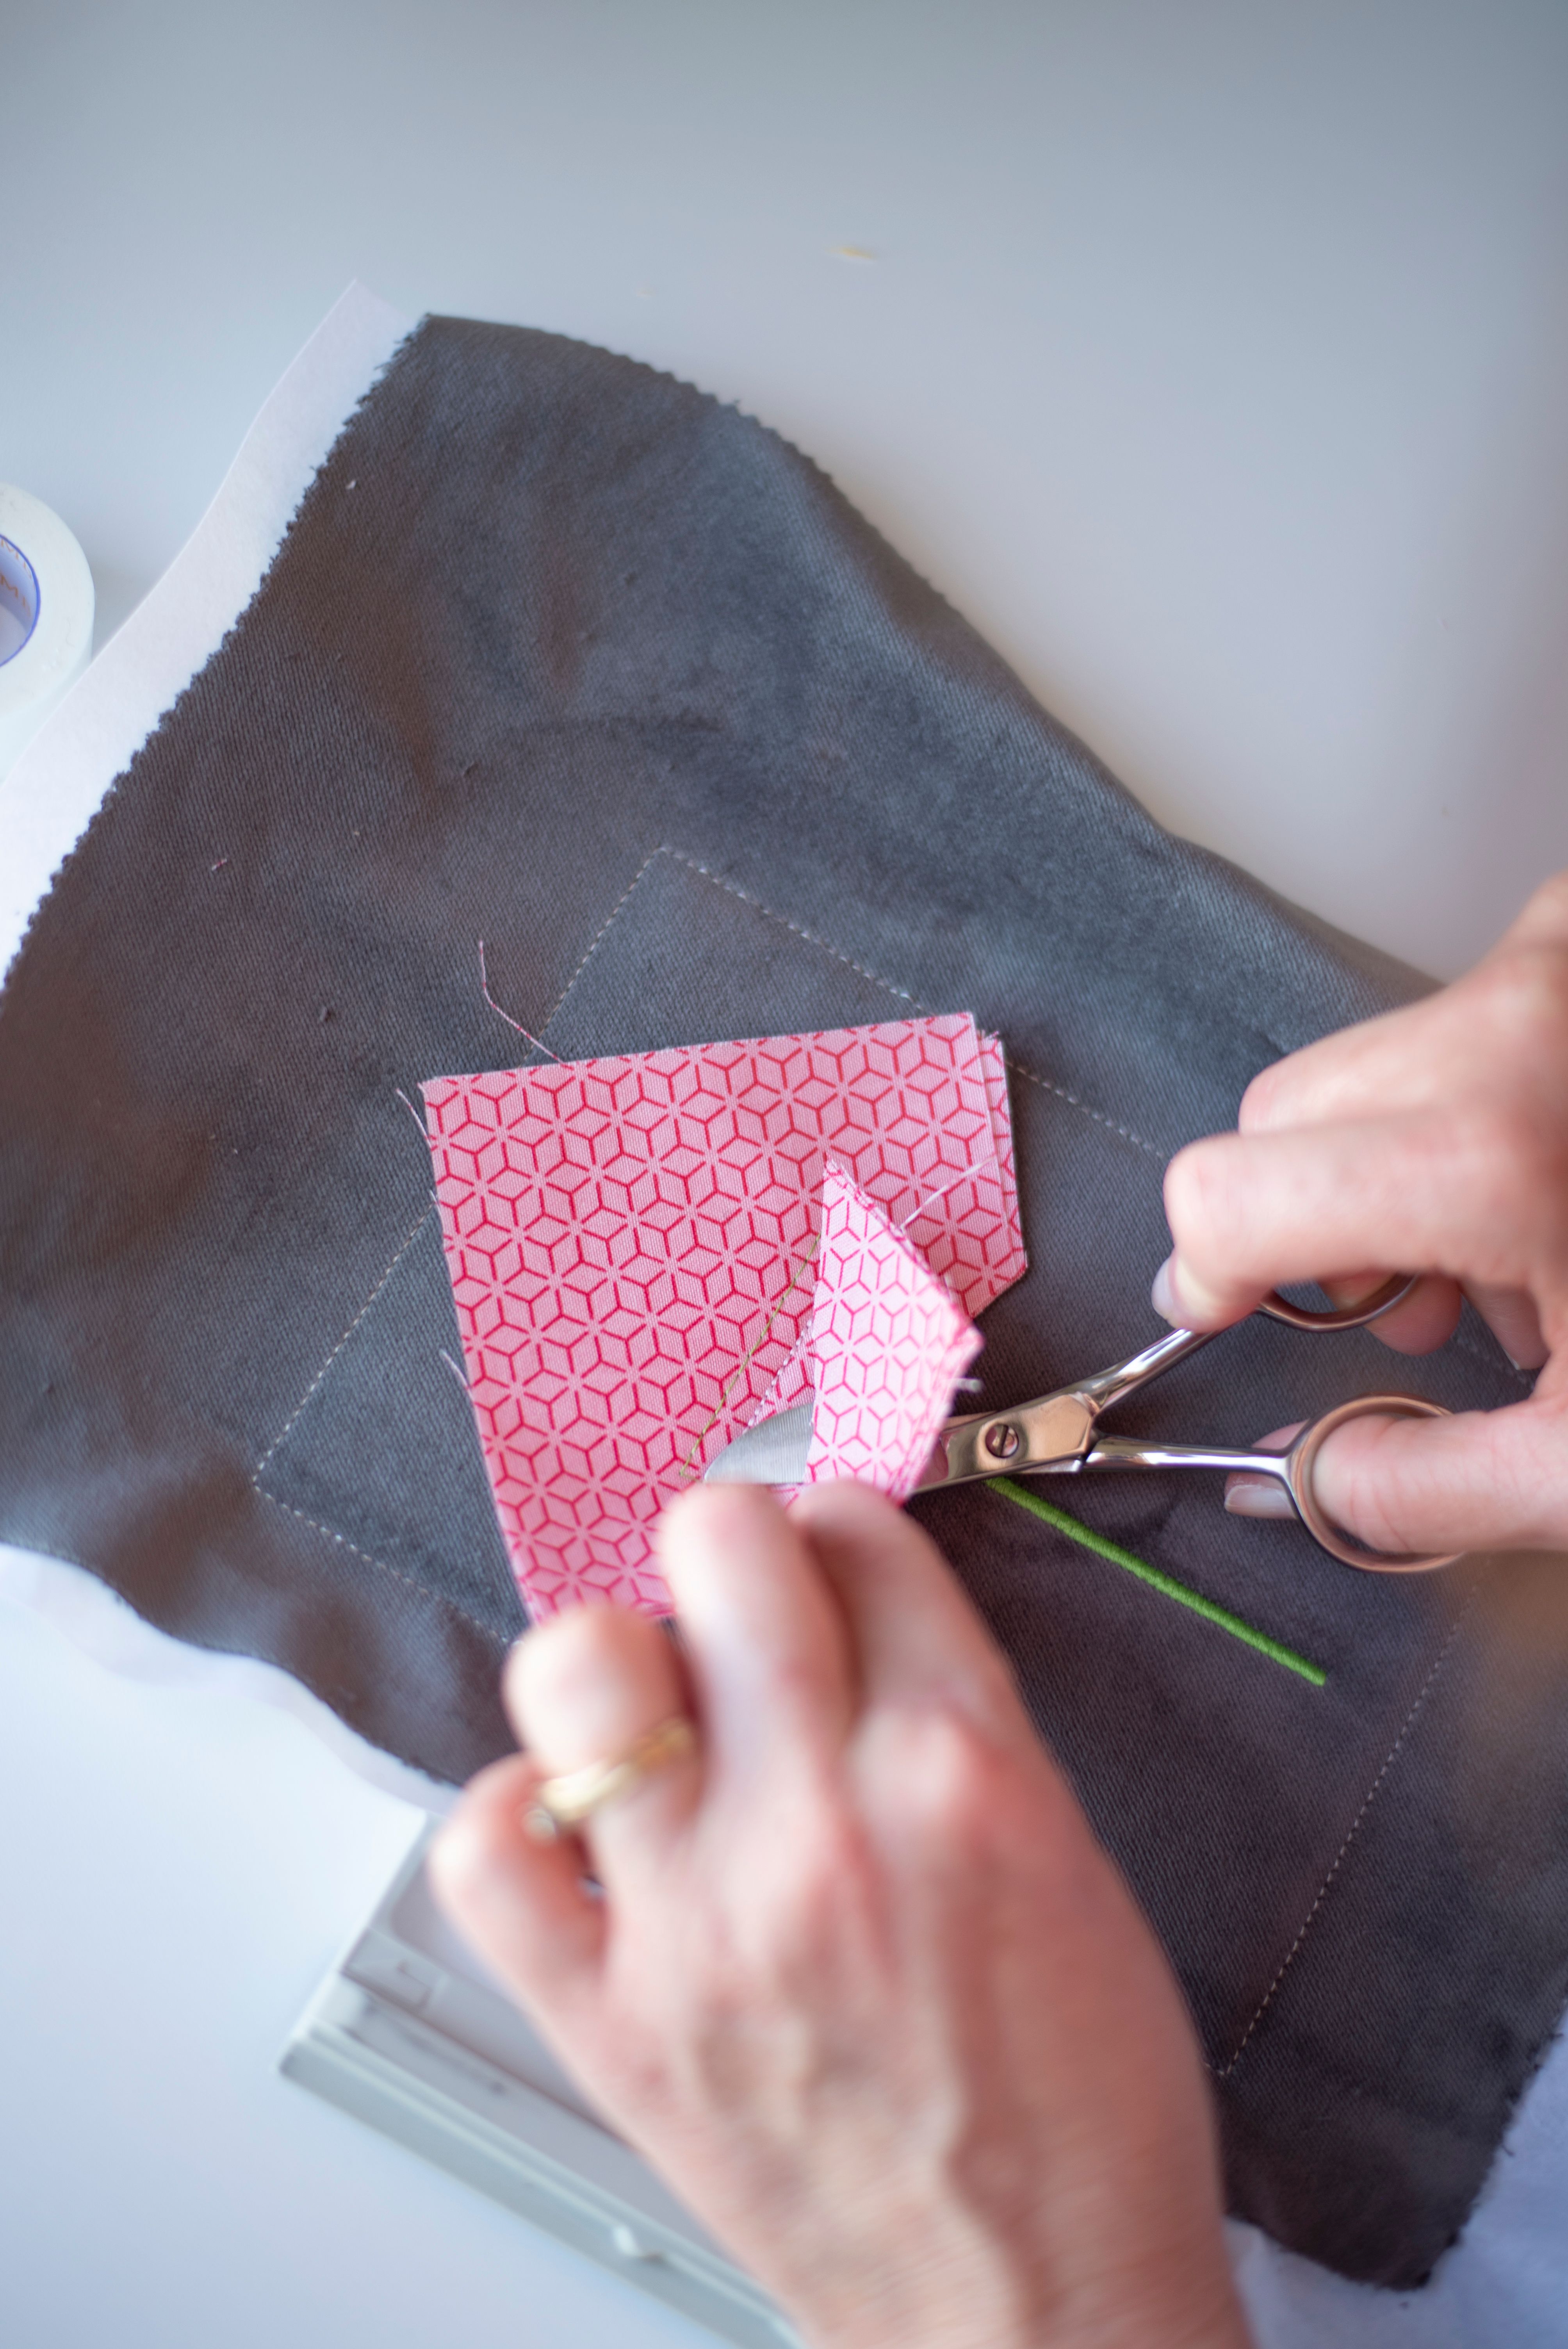
Step #11: Add THREE Layers of Applique Fabric (Lower Petals) & Trim
These images don't show it, but it's important to stick layers down with Kimberbell Paper Tape during the stitching process. (I did this, I just didn't think to take a picture!) 🙄 I guess I was having too much fun.
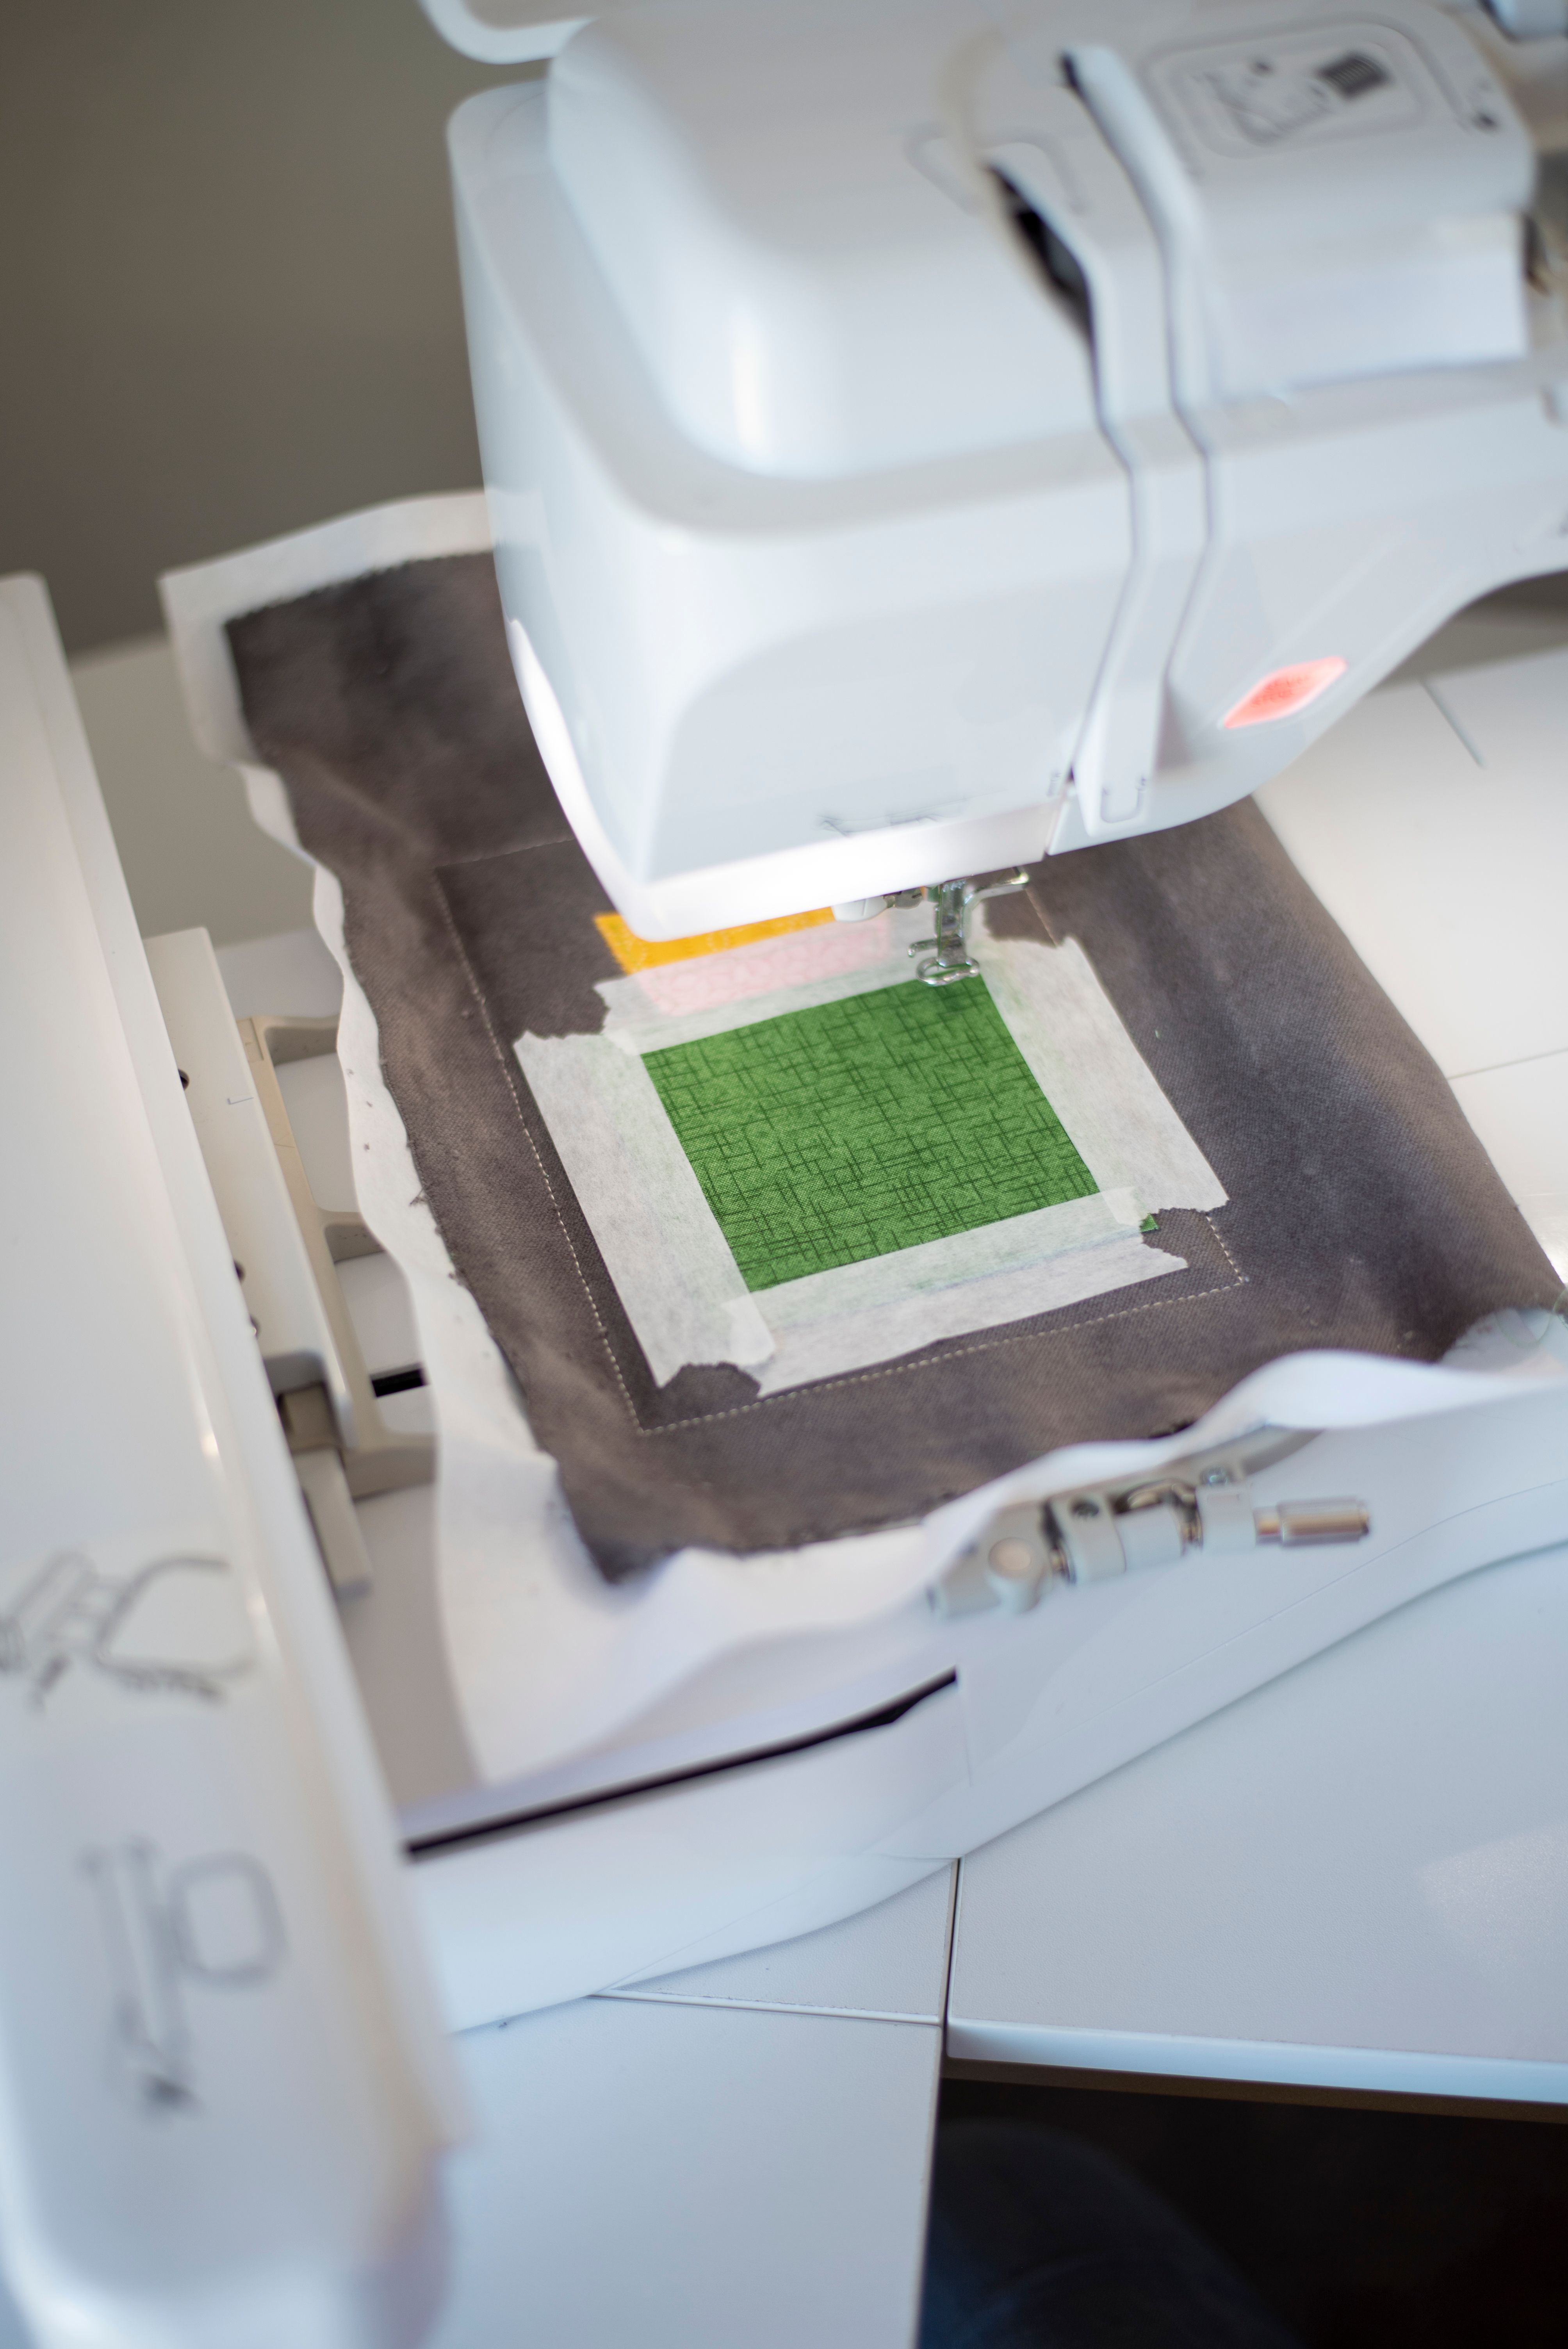
Step #12: Add ONE Layer of Applique Fabric (Leaves) & Trim
After adding the single layer of fabric, you'll also do the decorative stitching.
Step #13: Add THREE Layers of Applique Fabric
Ah. HERE'S a picture of me taping down the layers of fabric with Paper Tape! (You do this so the layers don't bunch. Don't worry, you can stitch right over the tape and it just rips off!)
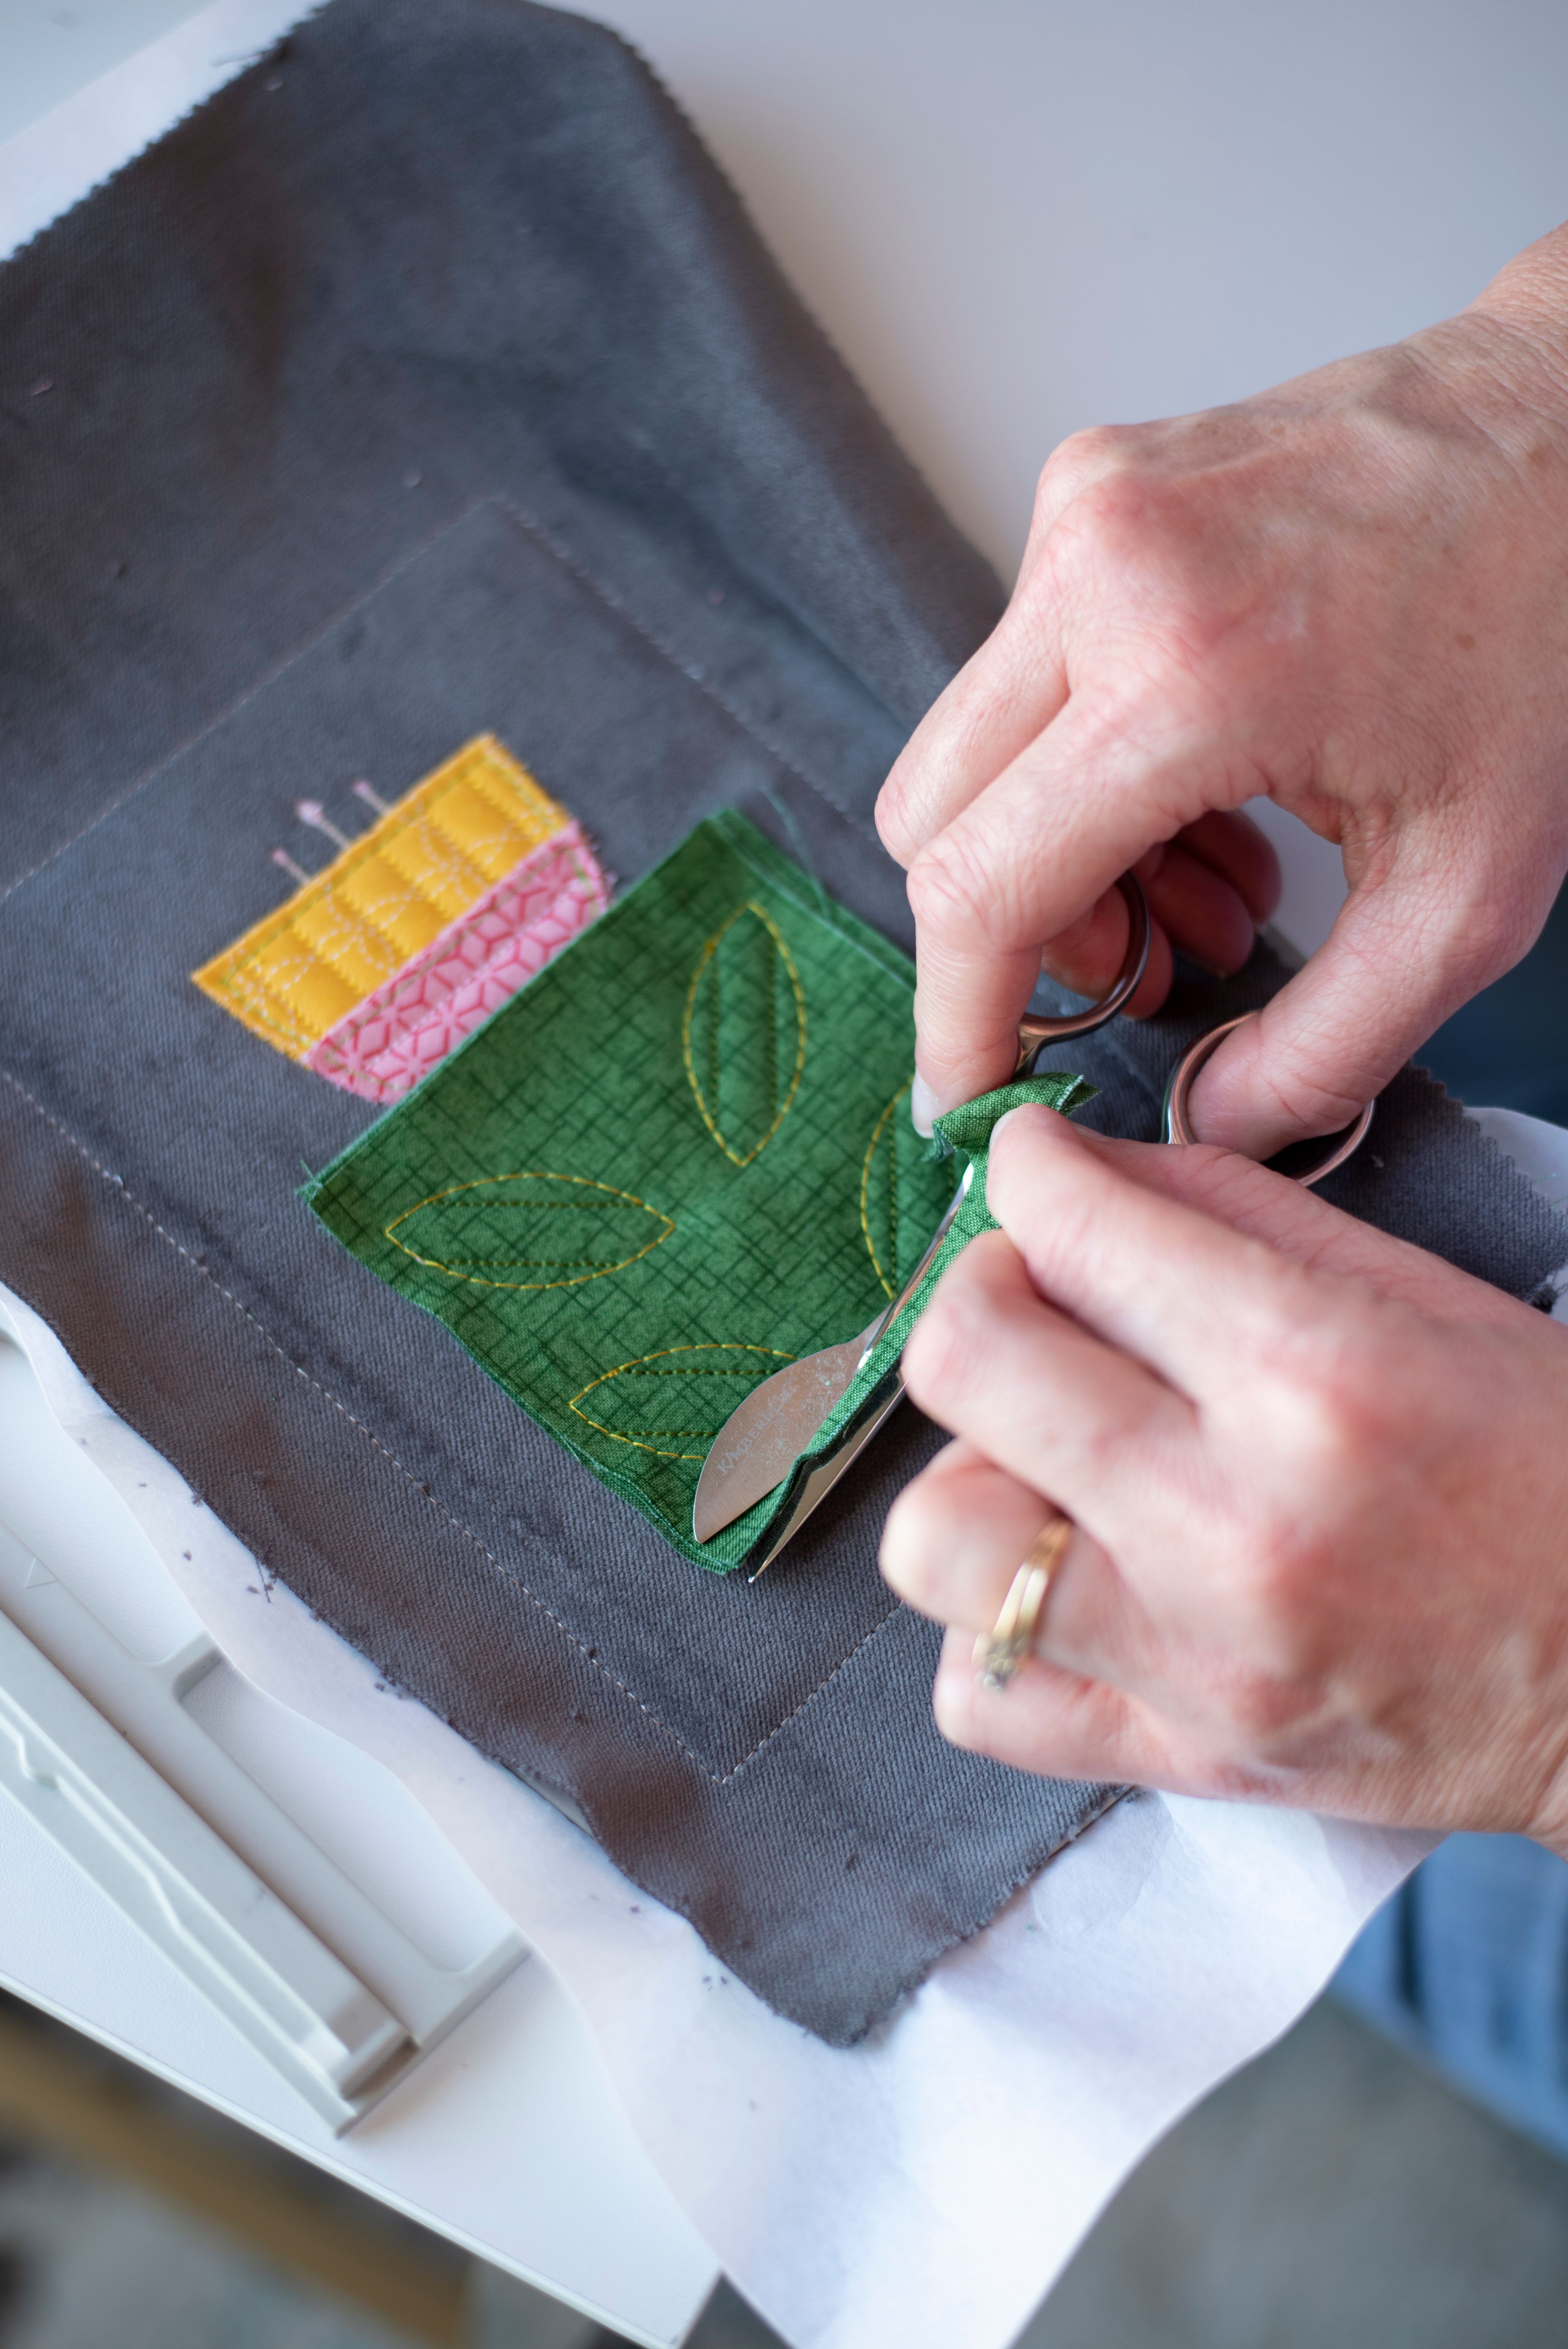
Step #14: Trim Leaves
Here I go again with the trimming of the layers. (It went really fast.) Notice the yellow basting stitches, which will be removed in just a minute.
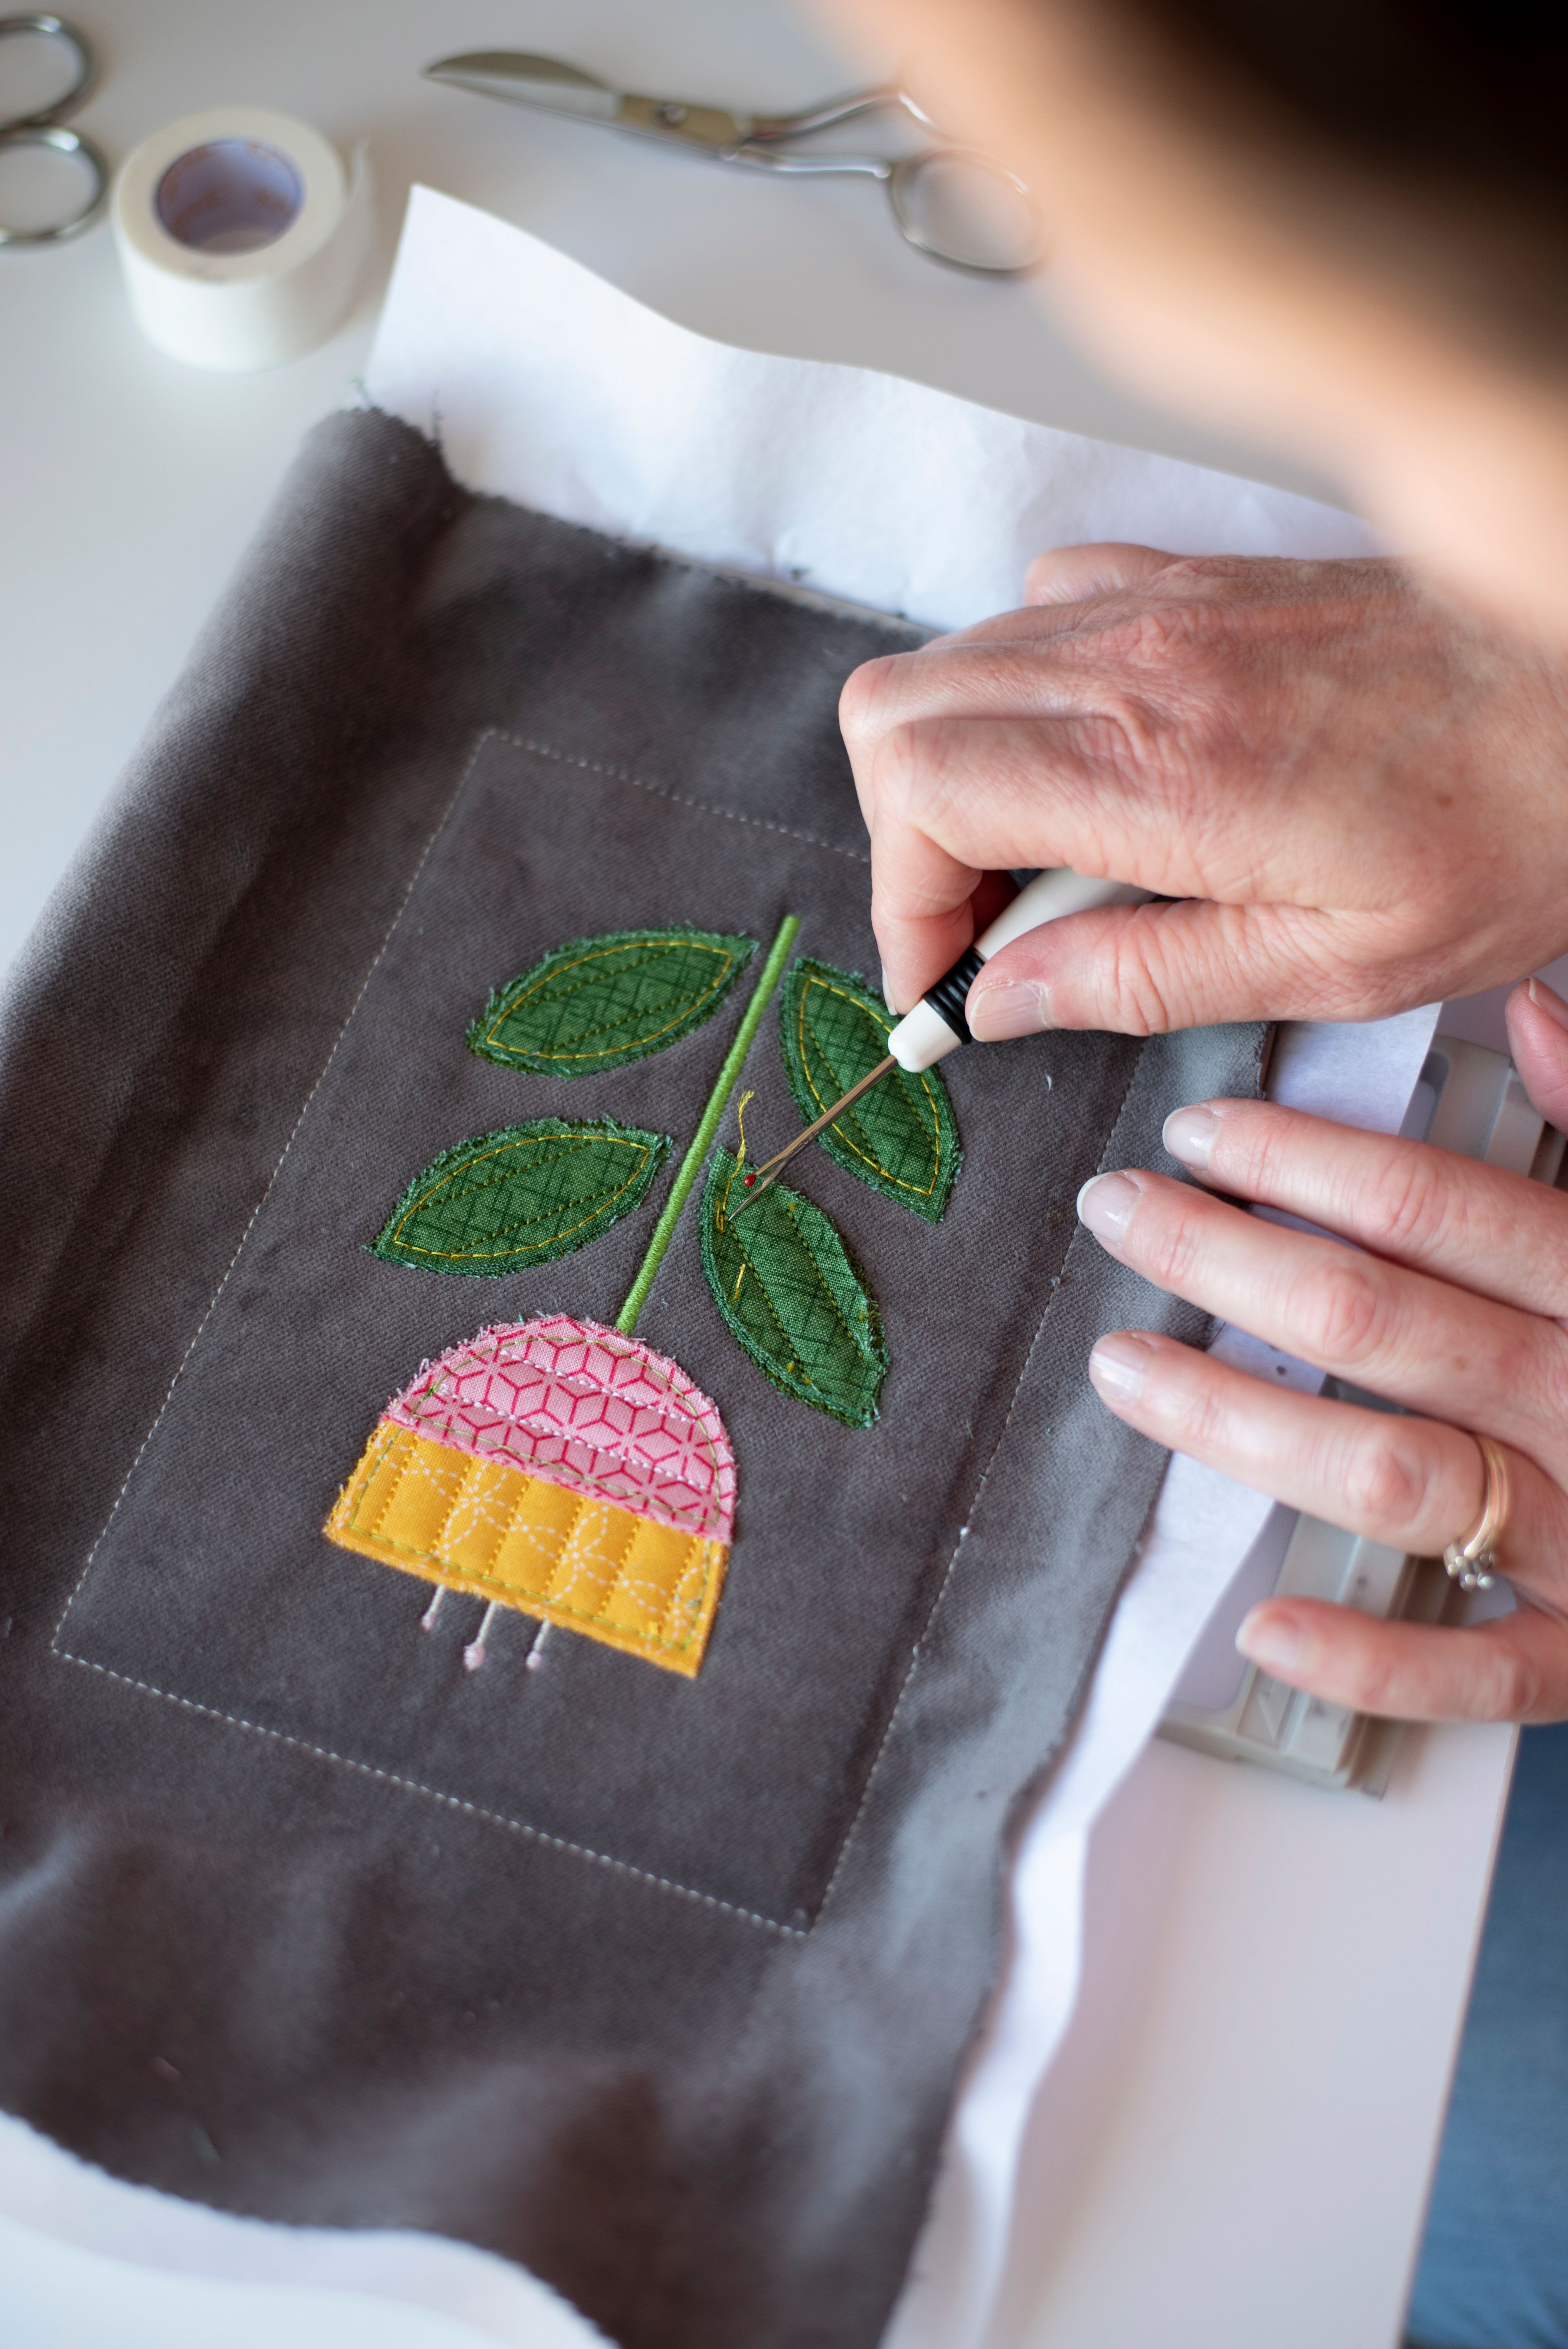
Step #15: Remove Basting Stitches
Time to remove the basting stitches! They actually come out really easily with a seam ripper.
Step #16: Cut Down the Center of Each Row
I used a Clover Slash Cutter to cut my fabric, which was super slick, but you can also use sharp scissors. Cut
Step #17: Fluff Fabric With Brush or File
Now for the fun part. I took a stiff wire brush and scrubbed the fabric like crazy. Fluffing the chenille strips was pretty messy, but highly satisfying. It's always fun to see the textural transformation.
All Done!
That's all there is to it! You can fluff the fabric as much as you want until you achieve the desired look.
![]()
A Wide Variety
Although there were several steps to this process, it really didn't take long and it was super easy. The chenille technique looks beautiful on a wide variety of projects.
For example, take a look at Kimberbell's Watermelon Chenille Hot Pad from our Digital Dealer Exclusives Program:
Pssst...to make this hot pad, contact a participating shop. You can find a shop by clicking HERE. Because Digital Dealer Exclusives is digital, it doesn't matter where you live! Shops can send you the file.
Here are some other examples from Annika's Throw Pillows...
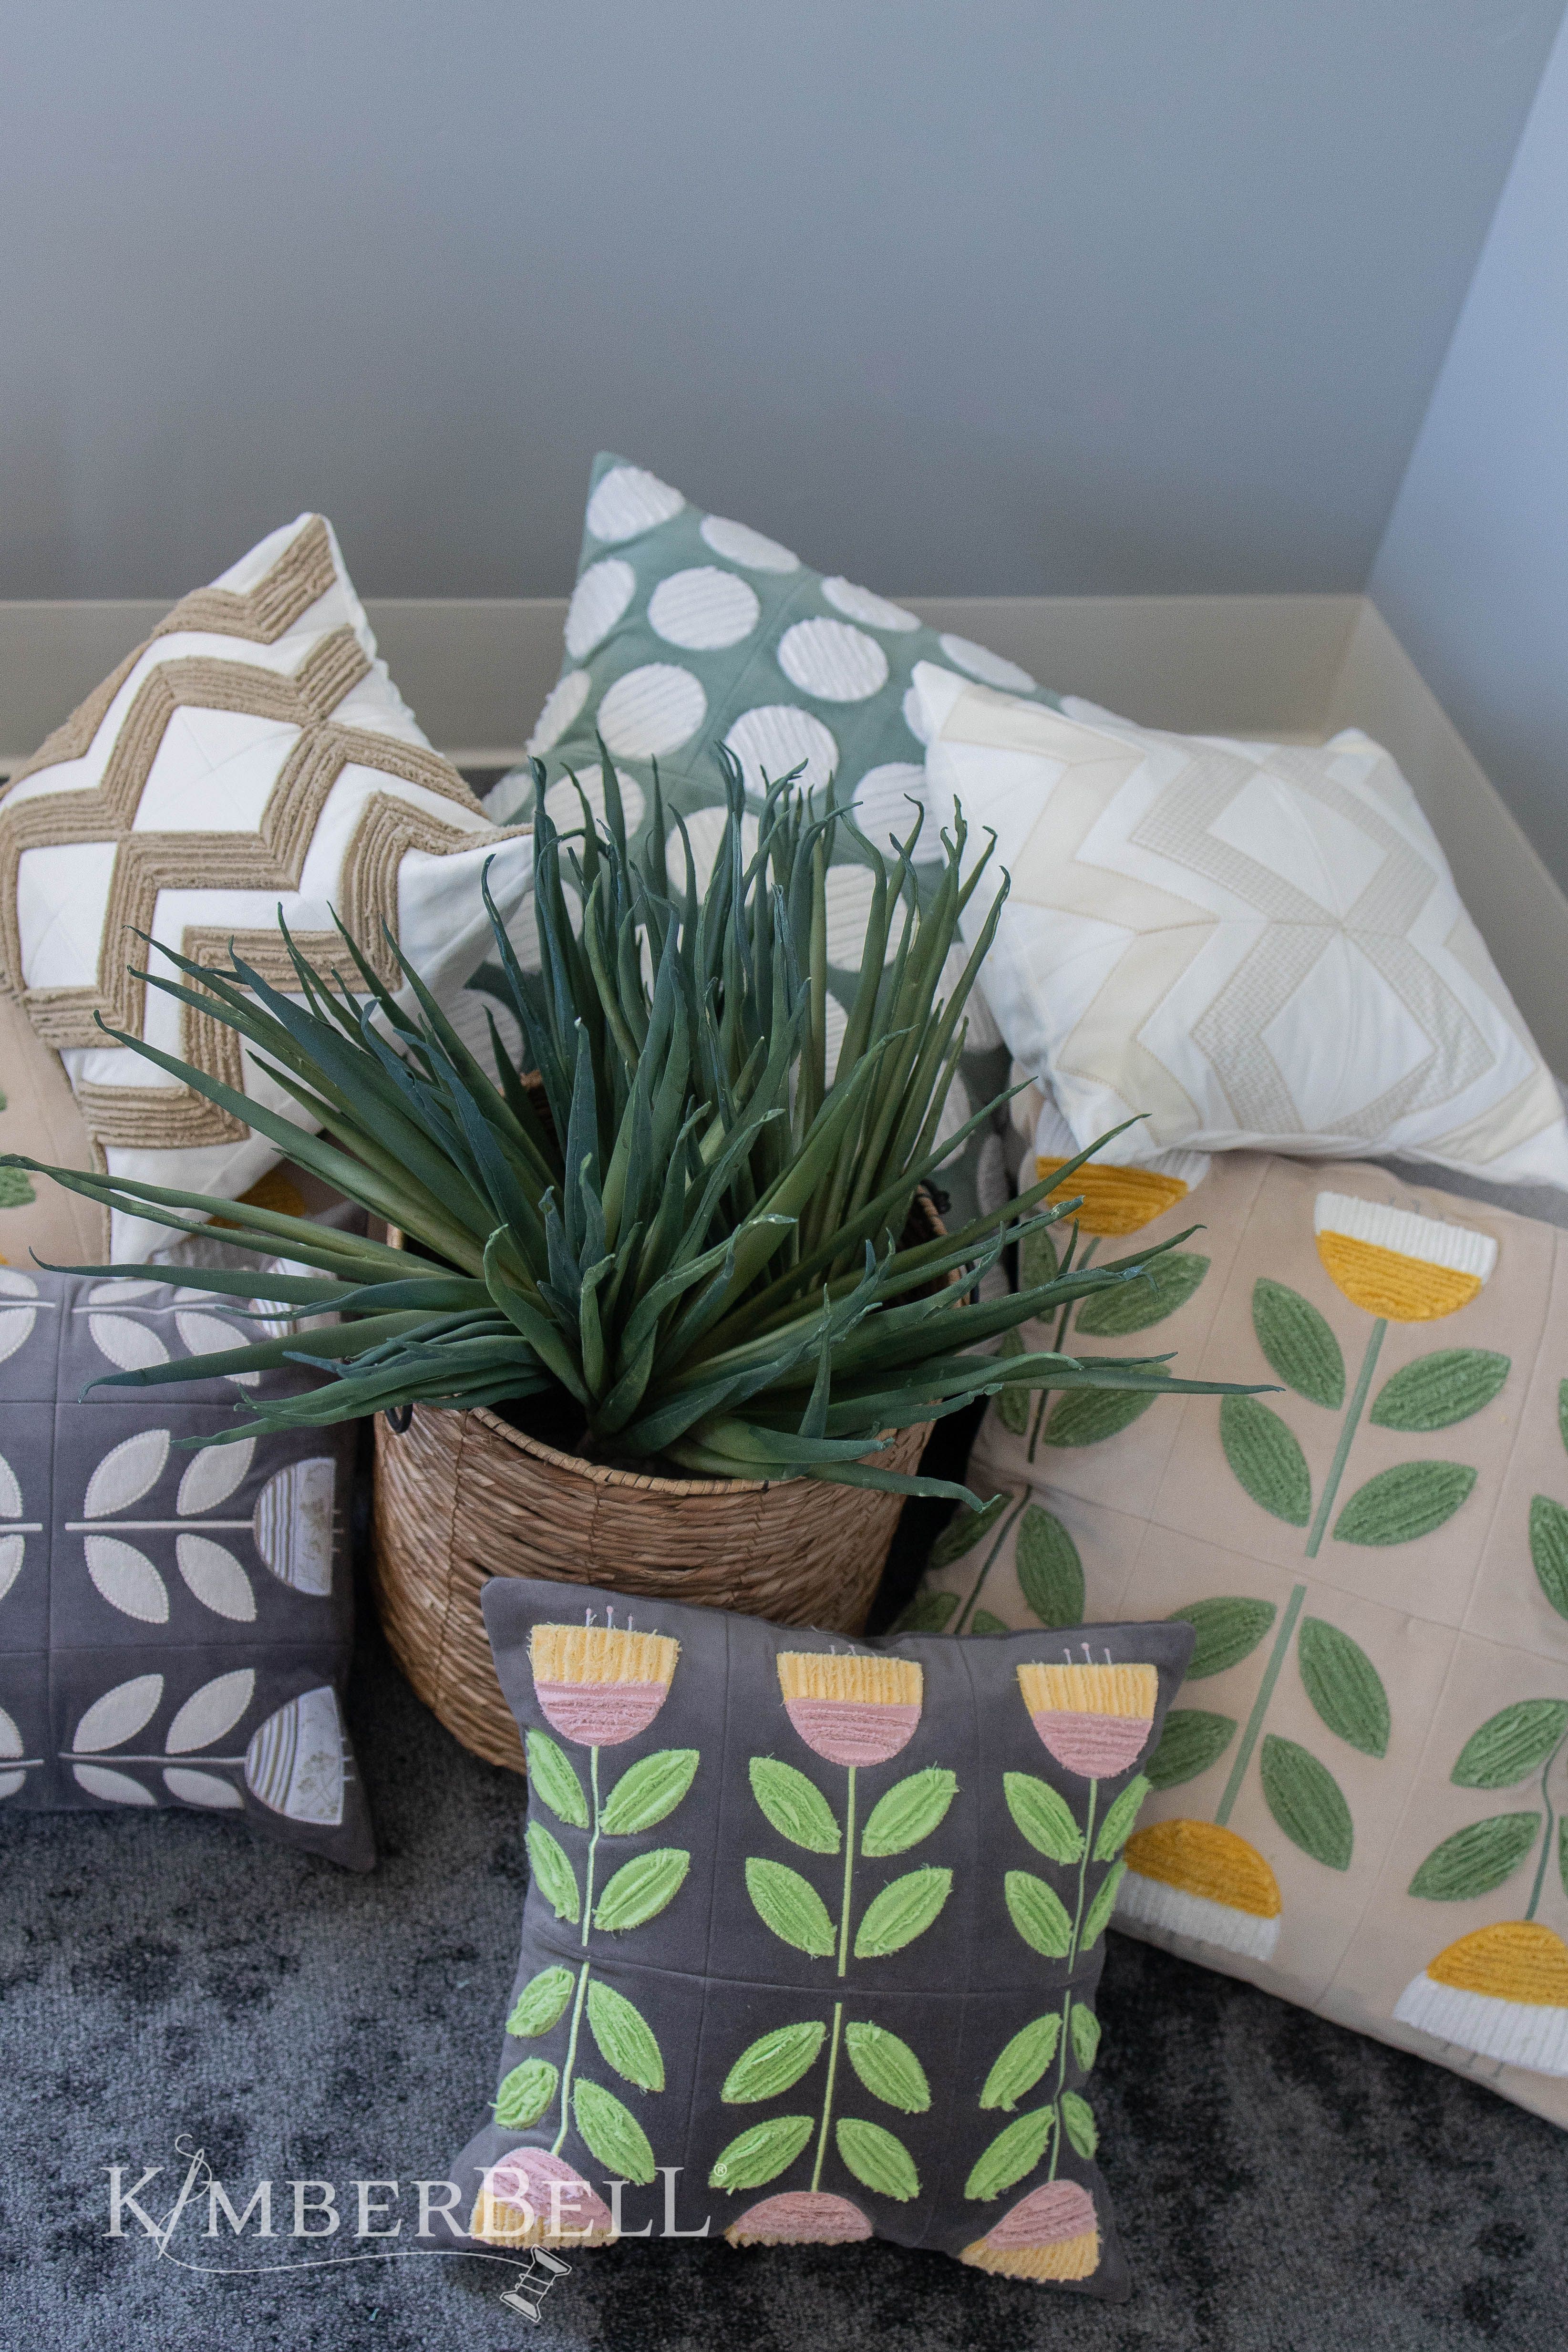
...and pennants from Kimberbell's That's Sew Chenille: Alphabet Pennants & Banners...
 .
.
...and more hot pads from That's Sew Chenille: Fruit Stand Hot Pads.
![]()
As you can see, chenille brings delightful dimension to a variety of machine embroidery projects. I hope you'll give it a try!
Find Kimberbell chenille projects today at your favorite quilt shop or on Kimberbell.com.