.png)
.png?width=2617&name=Blog-Images-top-7-tips-01%20(1).png)
Starting a new machine embroidery project can be a little overwhelming. But do not fear! Kim's Top 7 Tips will help you successfully start (and finish!) our Cup of Cheer Advent Quilt or ANY Kimberbell project.
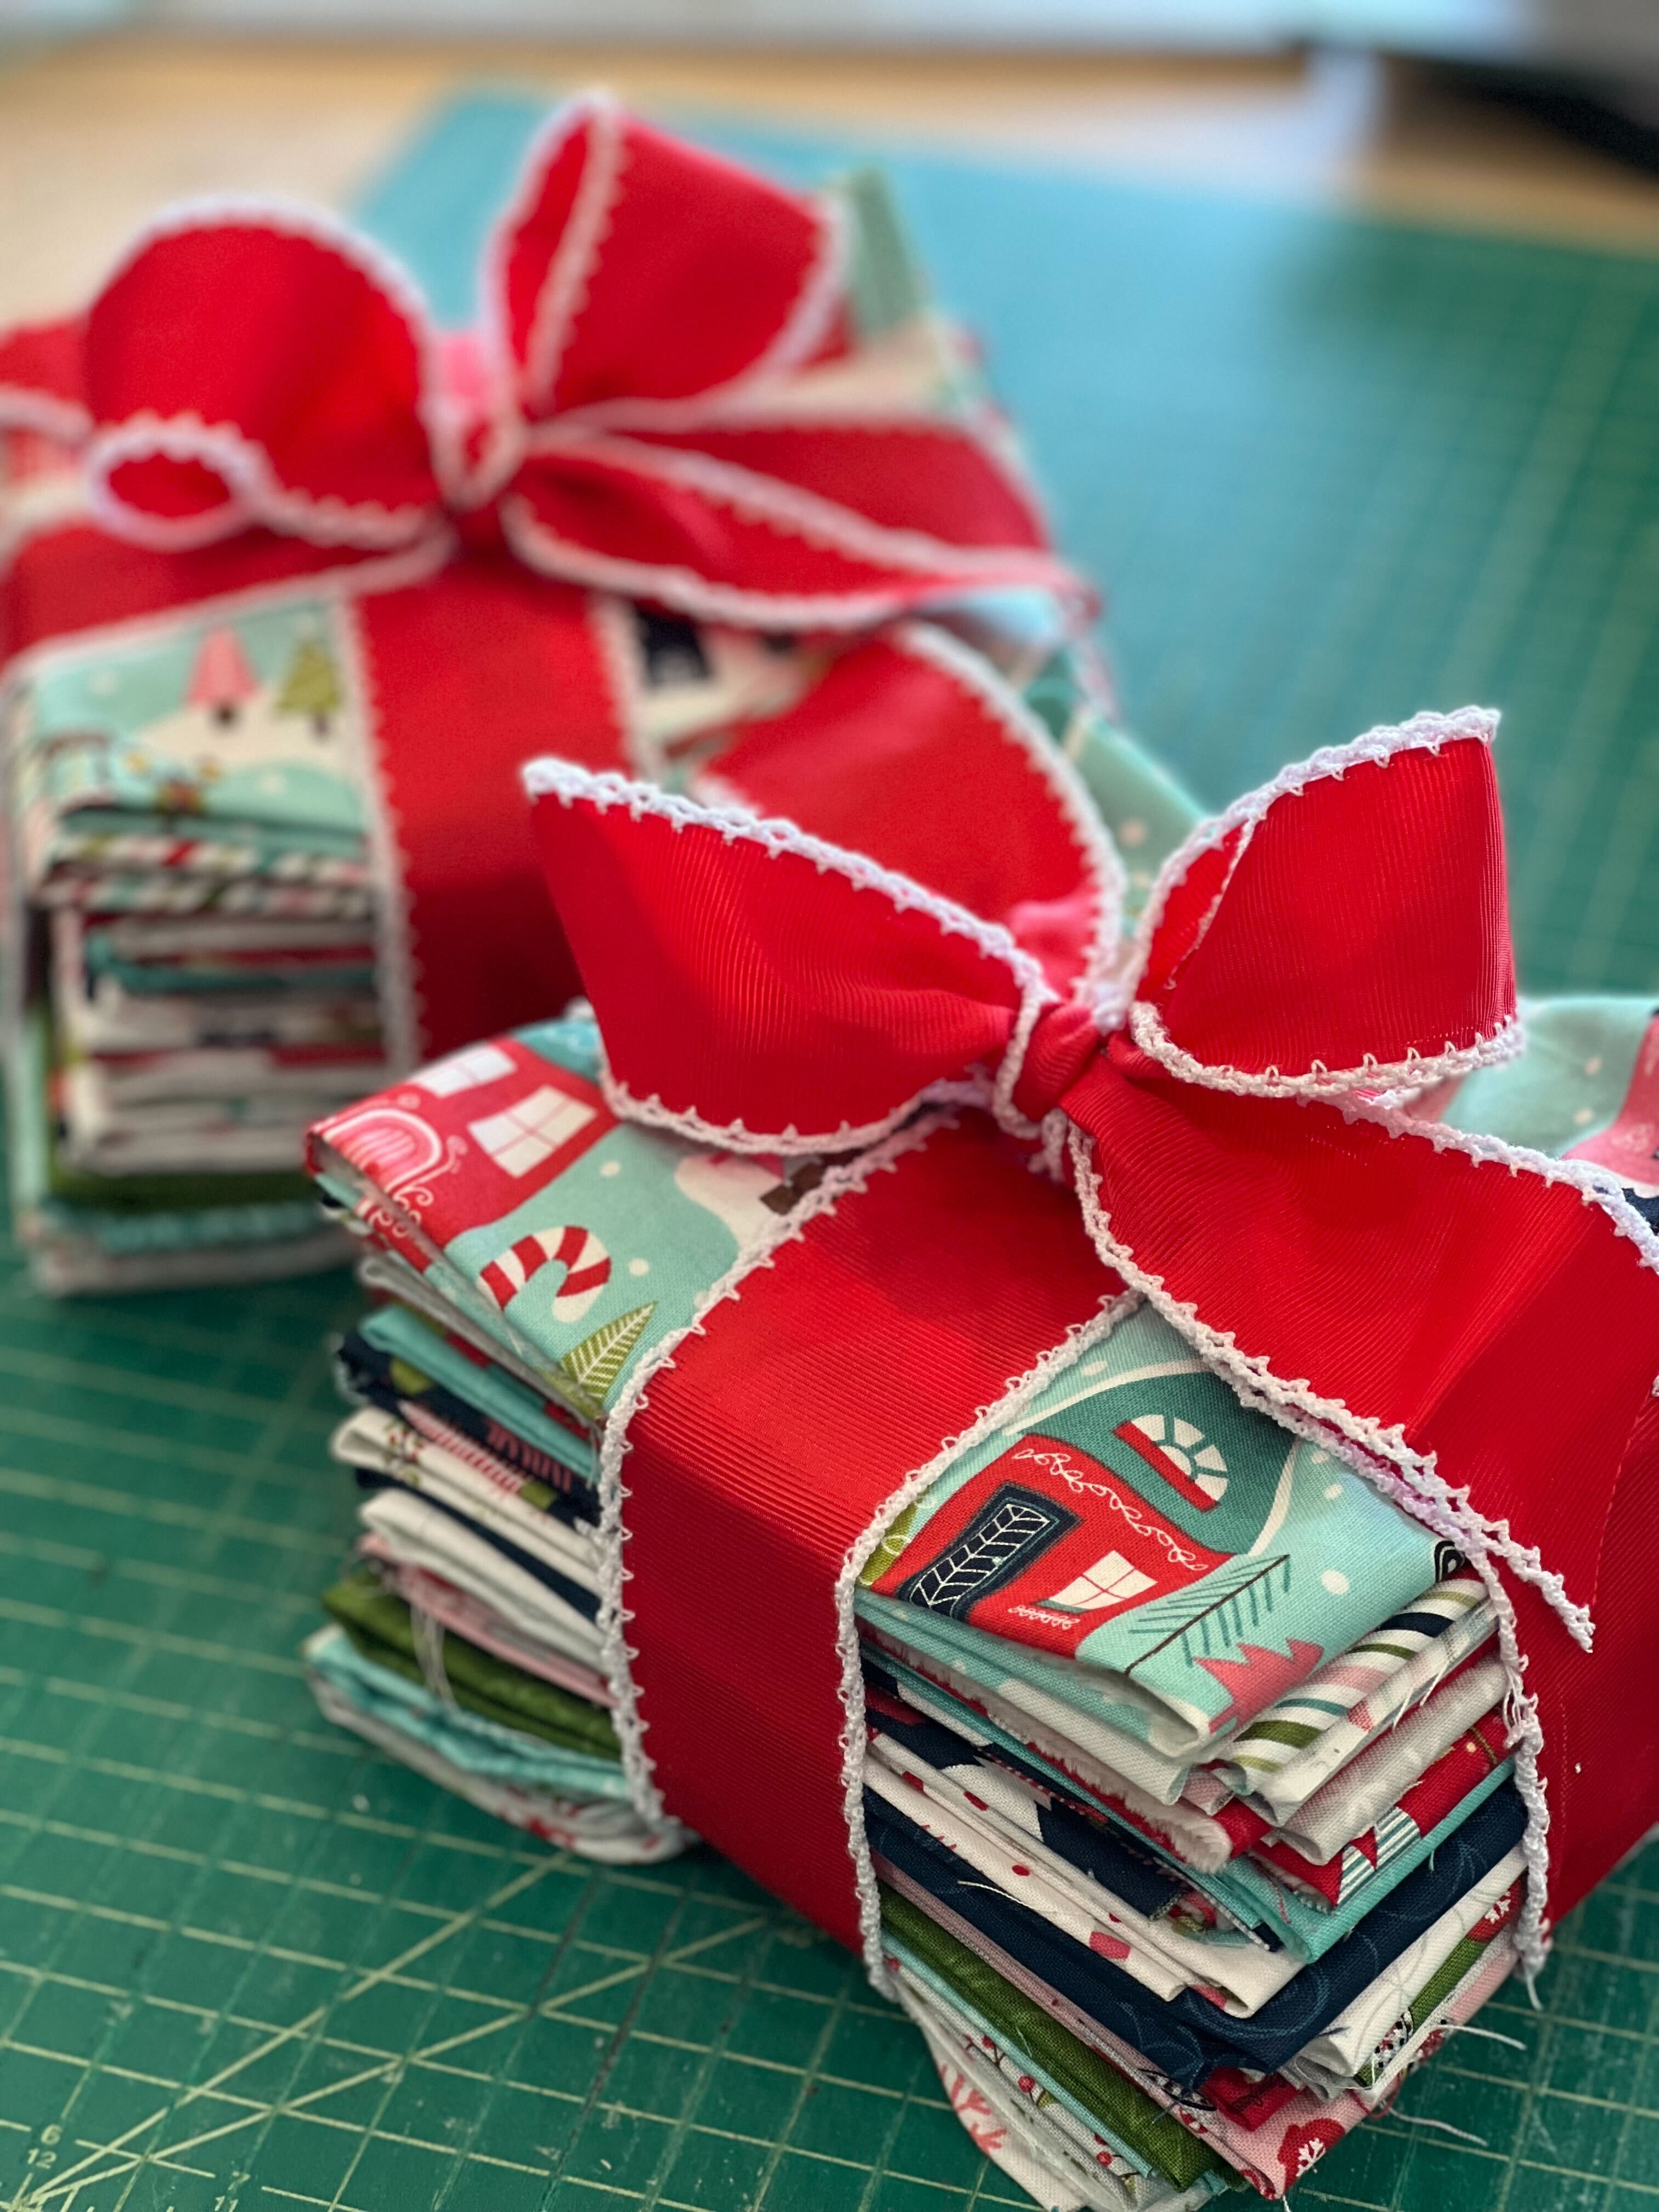
Tip One: Cut Fabric & Put in Resealable Bags
Cut your fabrics according to our diagrams, place into resealable bags or pockets, and then label each block or section of the project.
When you have some time, even just an hour or two, simply grab a bag and embroider your block! It's that easy. Take your time one block at a time.
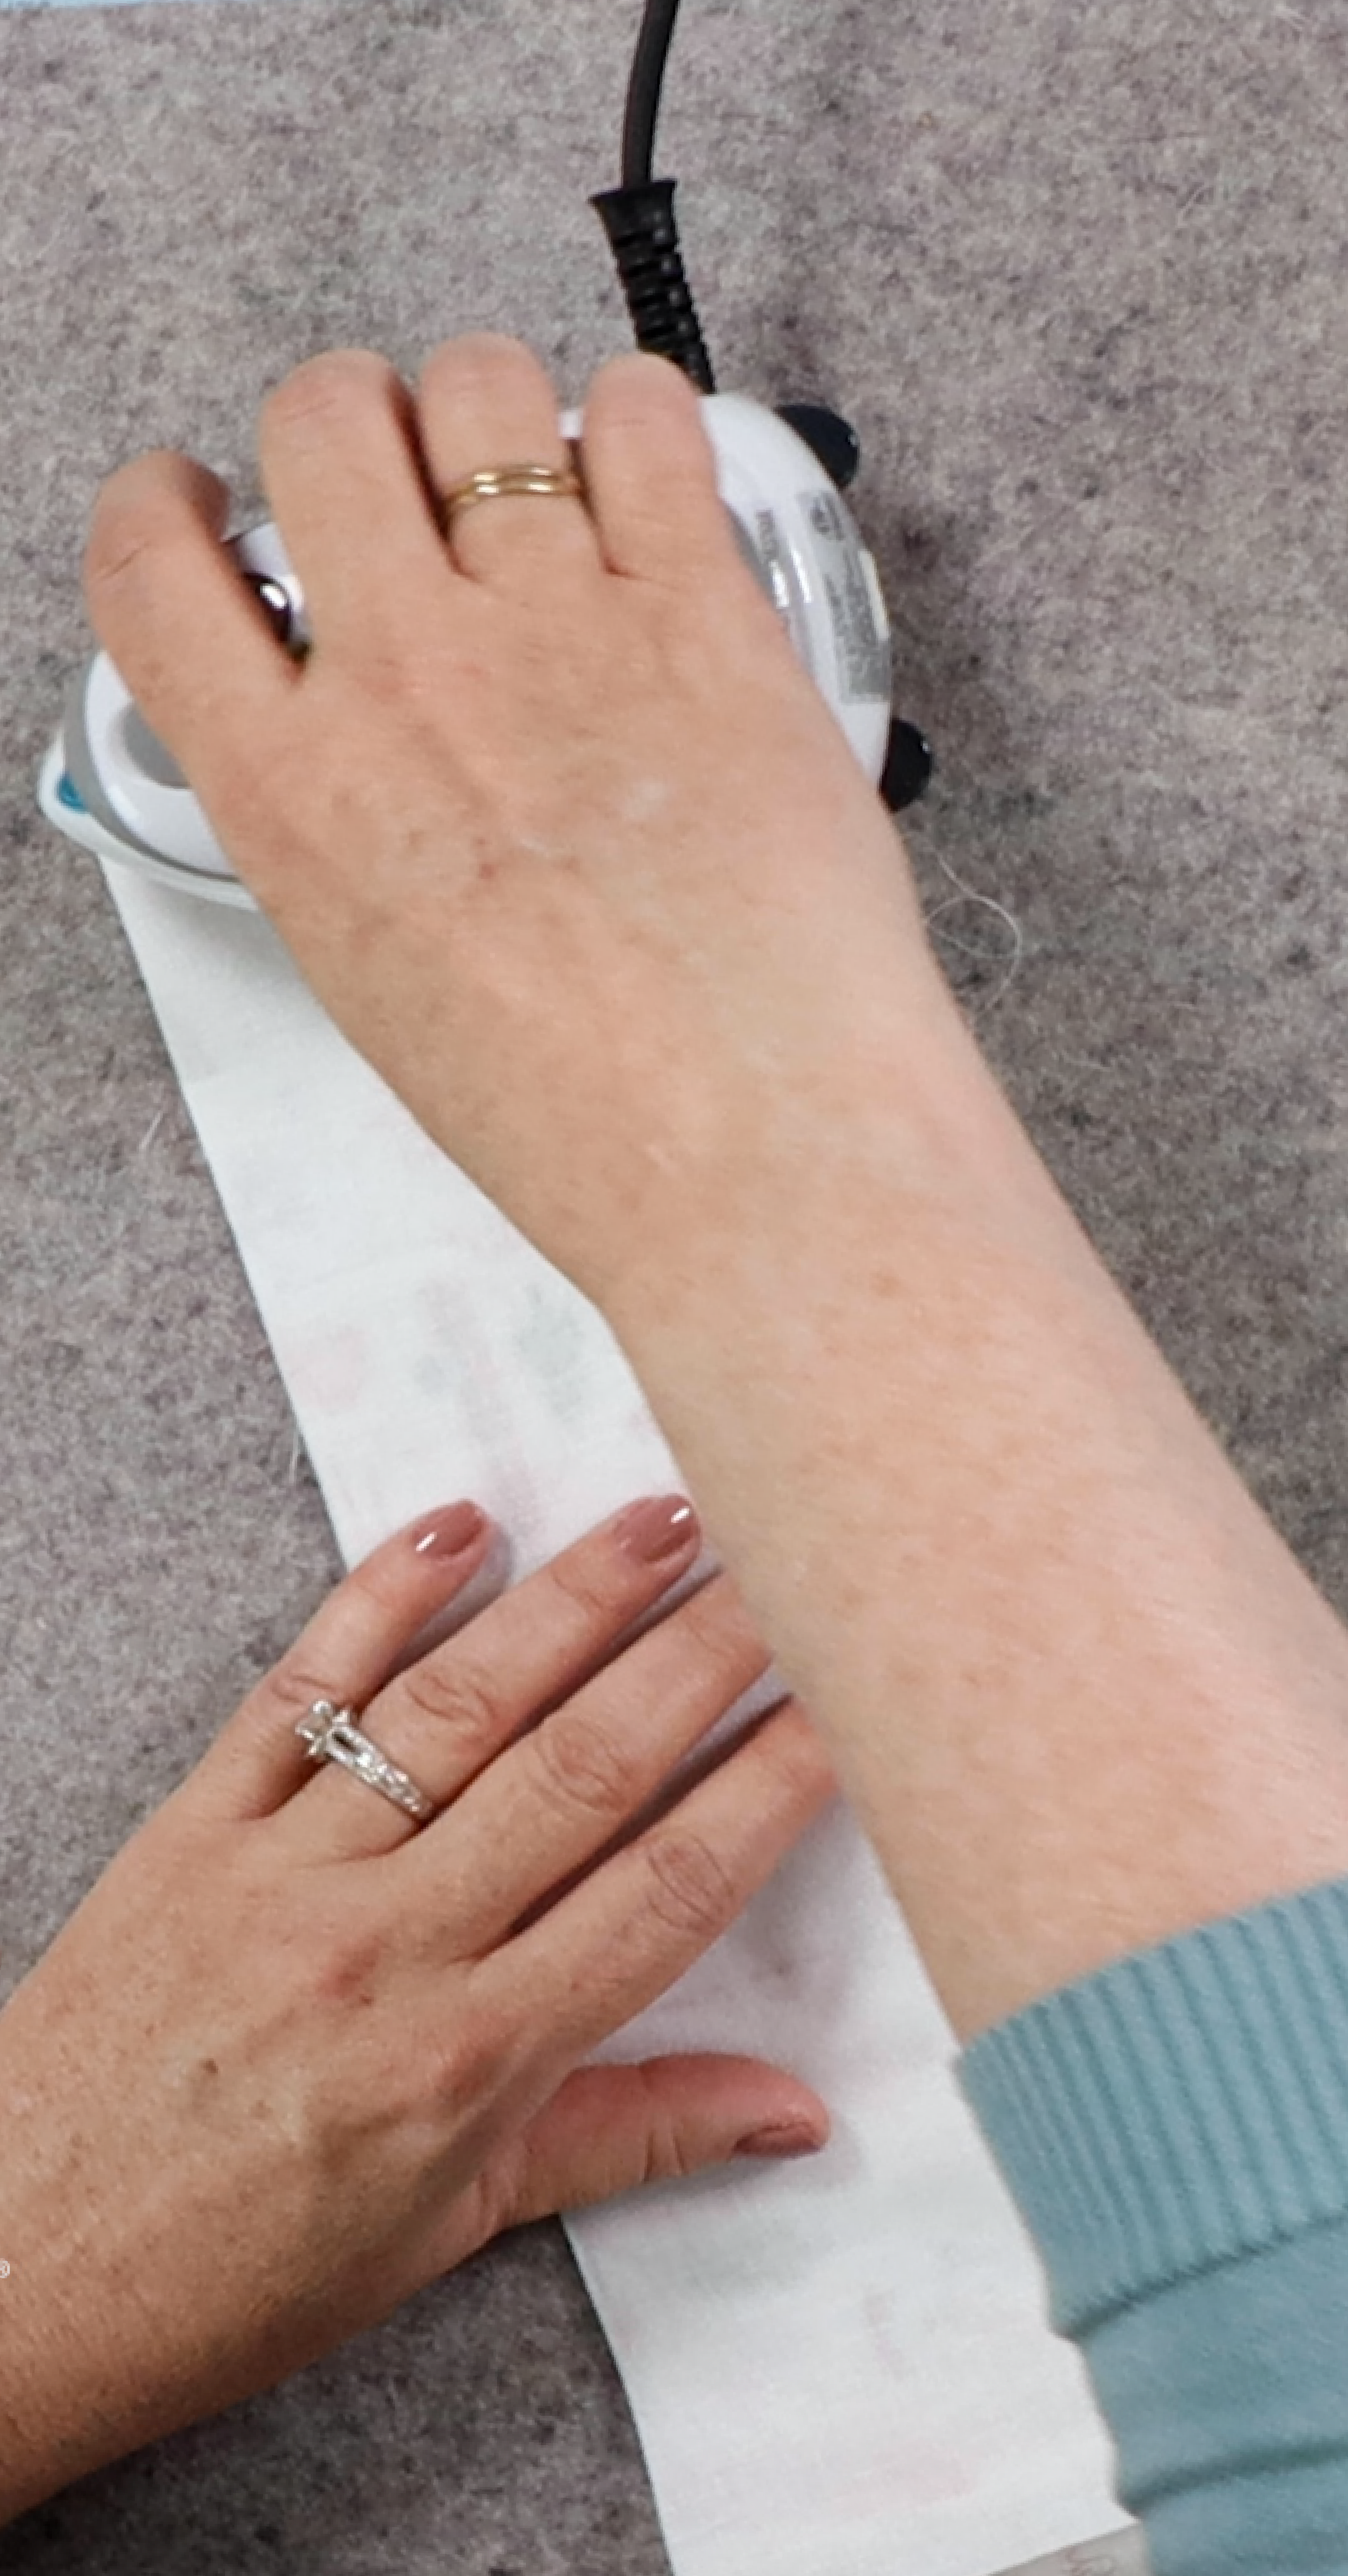
Tip Two: Iron Kimberbell Fusible Backing to Wrong Side of Background Blocks
Our Fusible Backing is soft, supple, and greatly reduces puckering during embroidery. Fusible Backing is left in the block and is done IN ADDITION TO using any of our recommended stabilizers.
If you are stitching light-colored appliques on top of dark fabric, consider fusing Kimberbell Fusible Backing behind those applique pieces as well.
Tip Three: Use the Right Scissors & Tools
The right scissors can make all the difference, and we recommend Kimberbell Deluxe Scissors & Tools.
When using our Duckbill Applique Scissors, hold the duckbill going toward the center of the applique. Pull the fabric taut with one hand and cut with the other to achieve a nice, clean cut that's close to the design without snipping the tack-down threads.
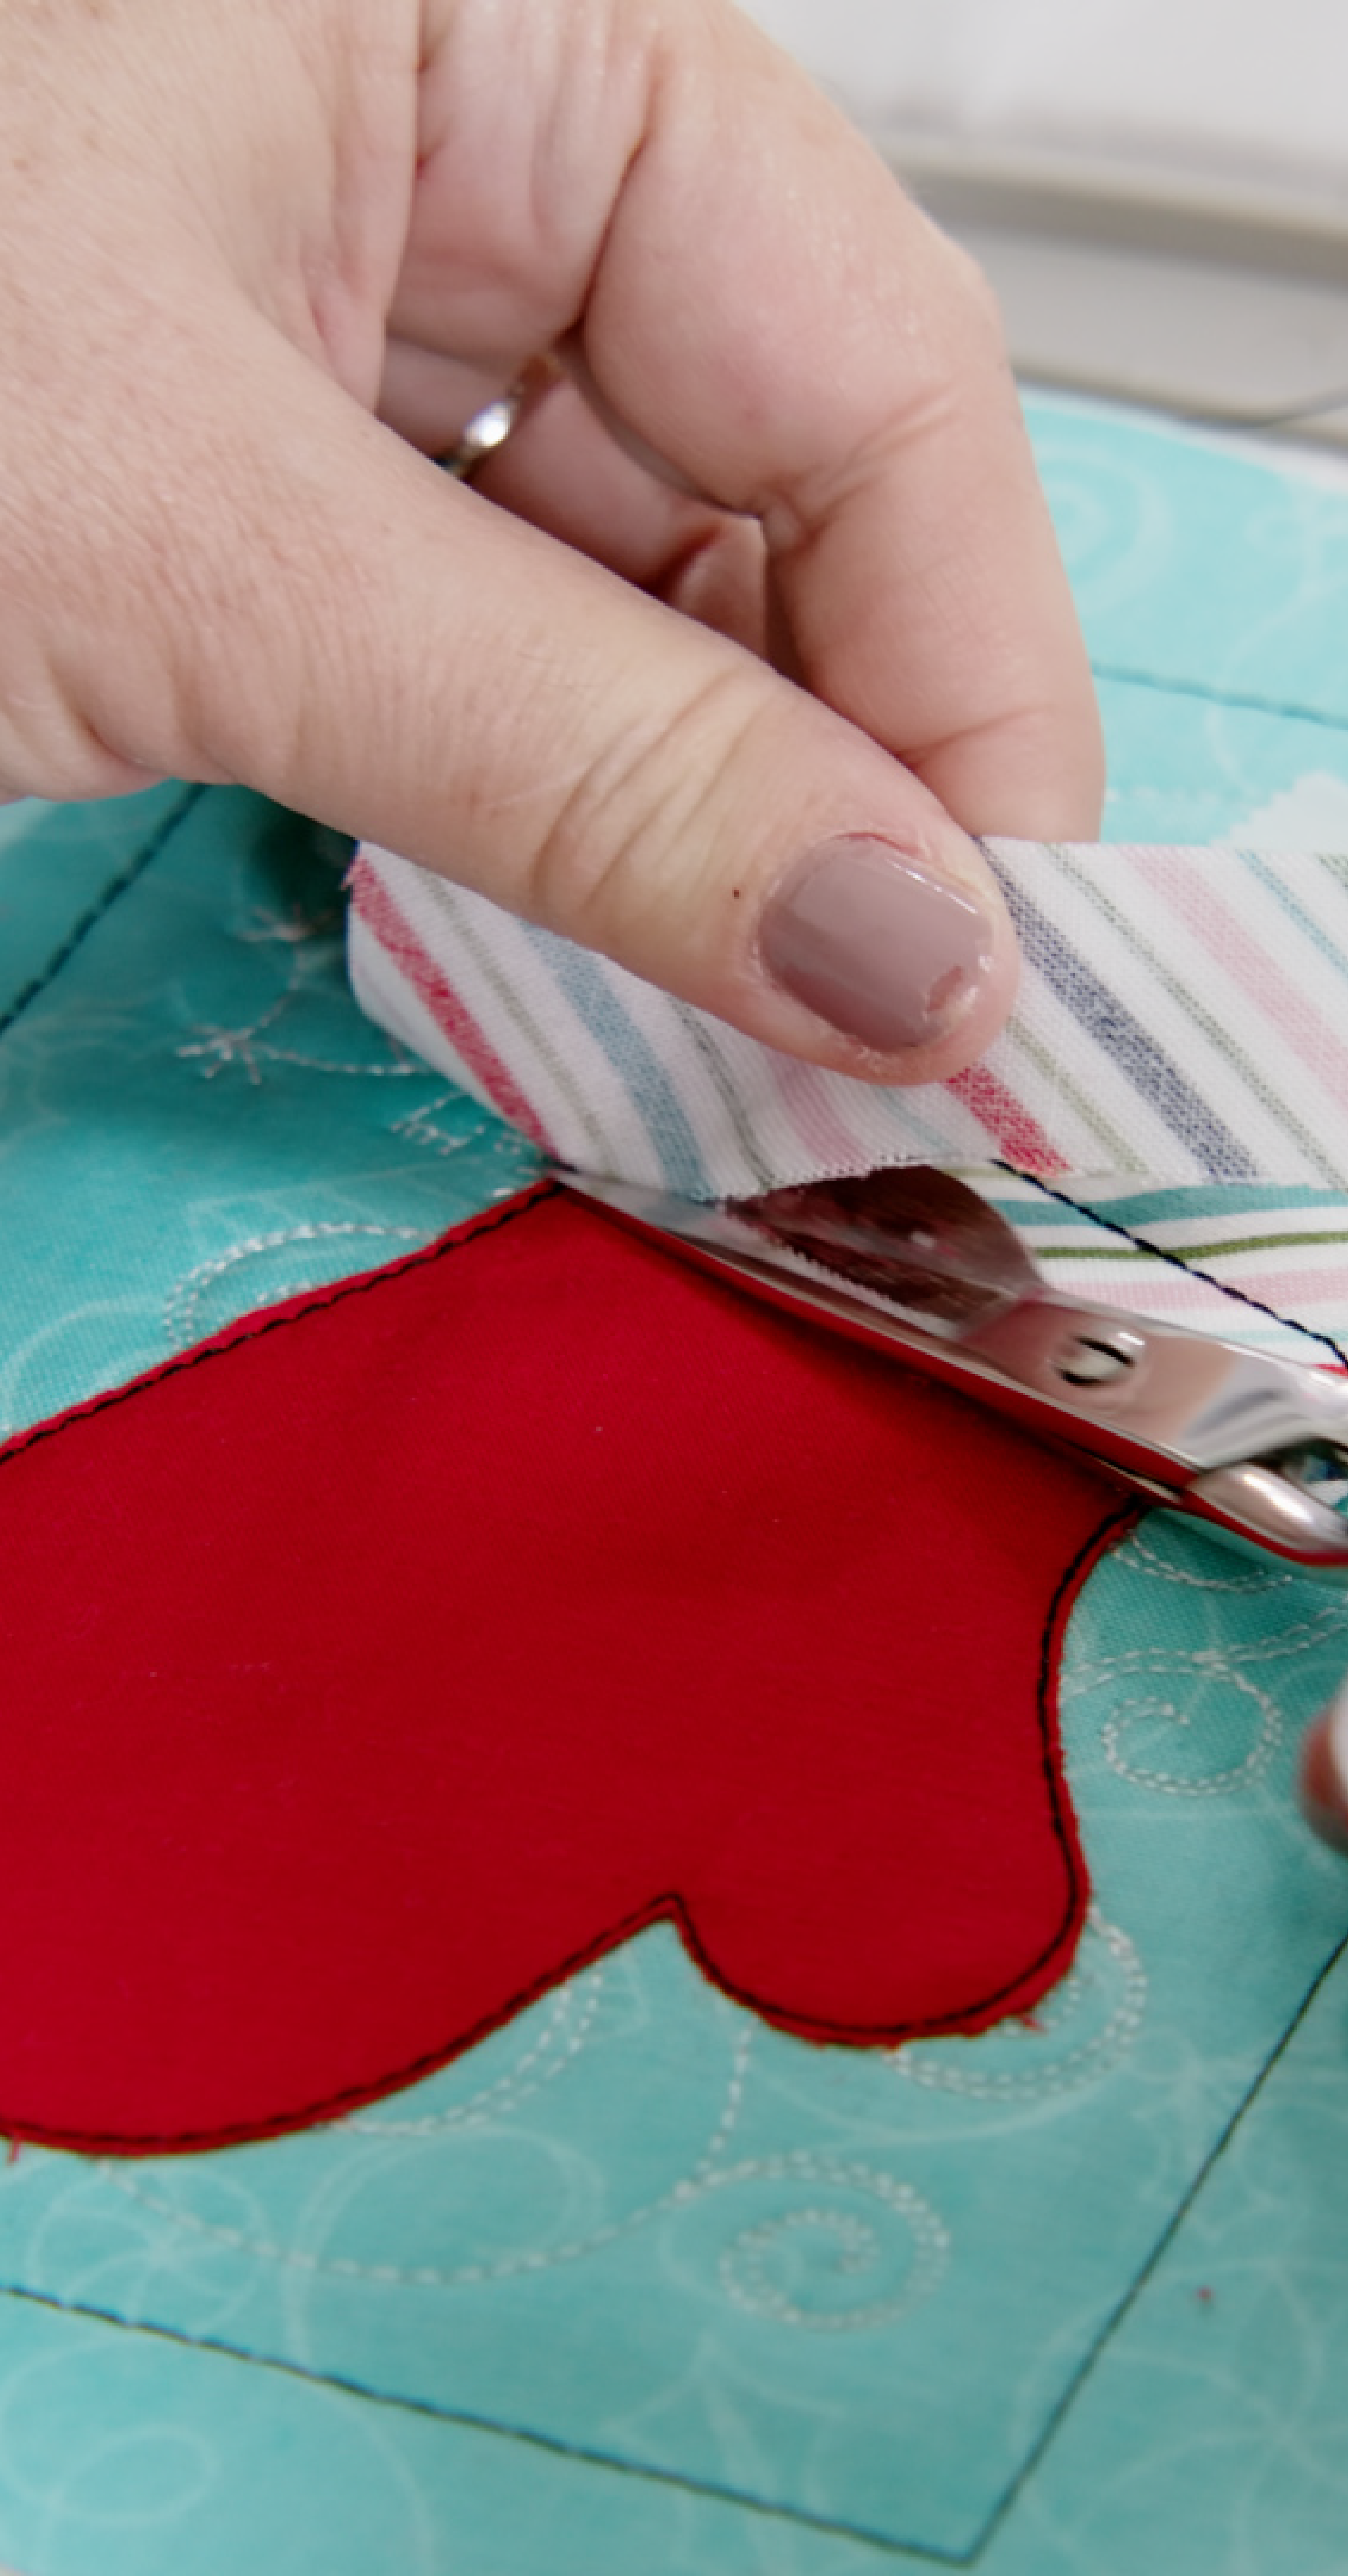
When cutting into smaller areas, we suggest using Kimberbell Sharp Snips or Micro Tips scissors, also found in our Deluxe Scissors & Tools set.
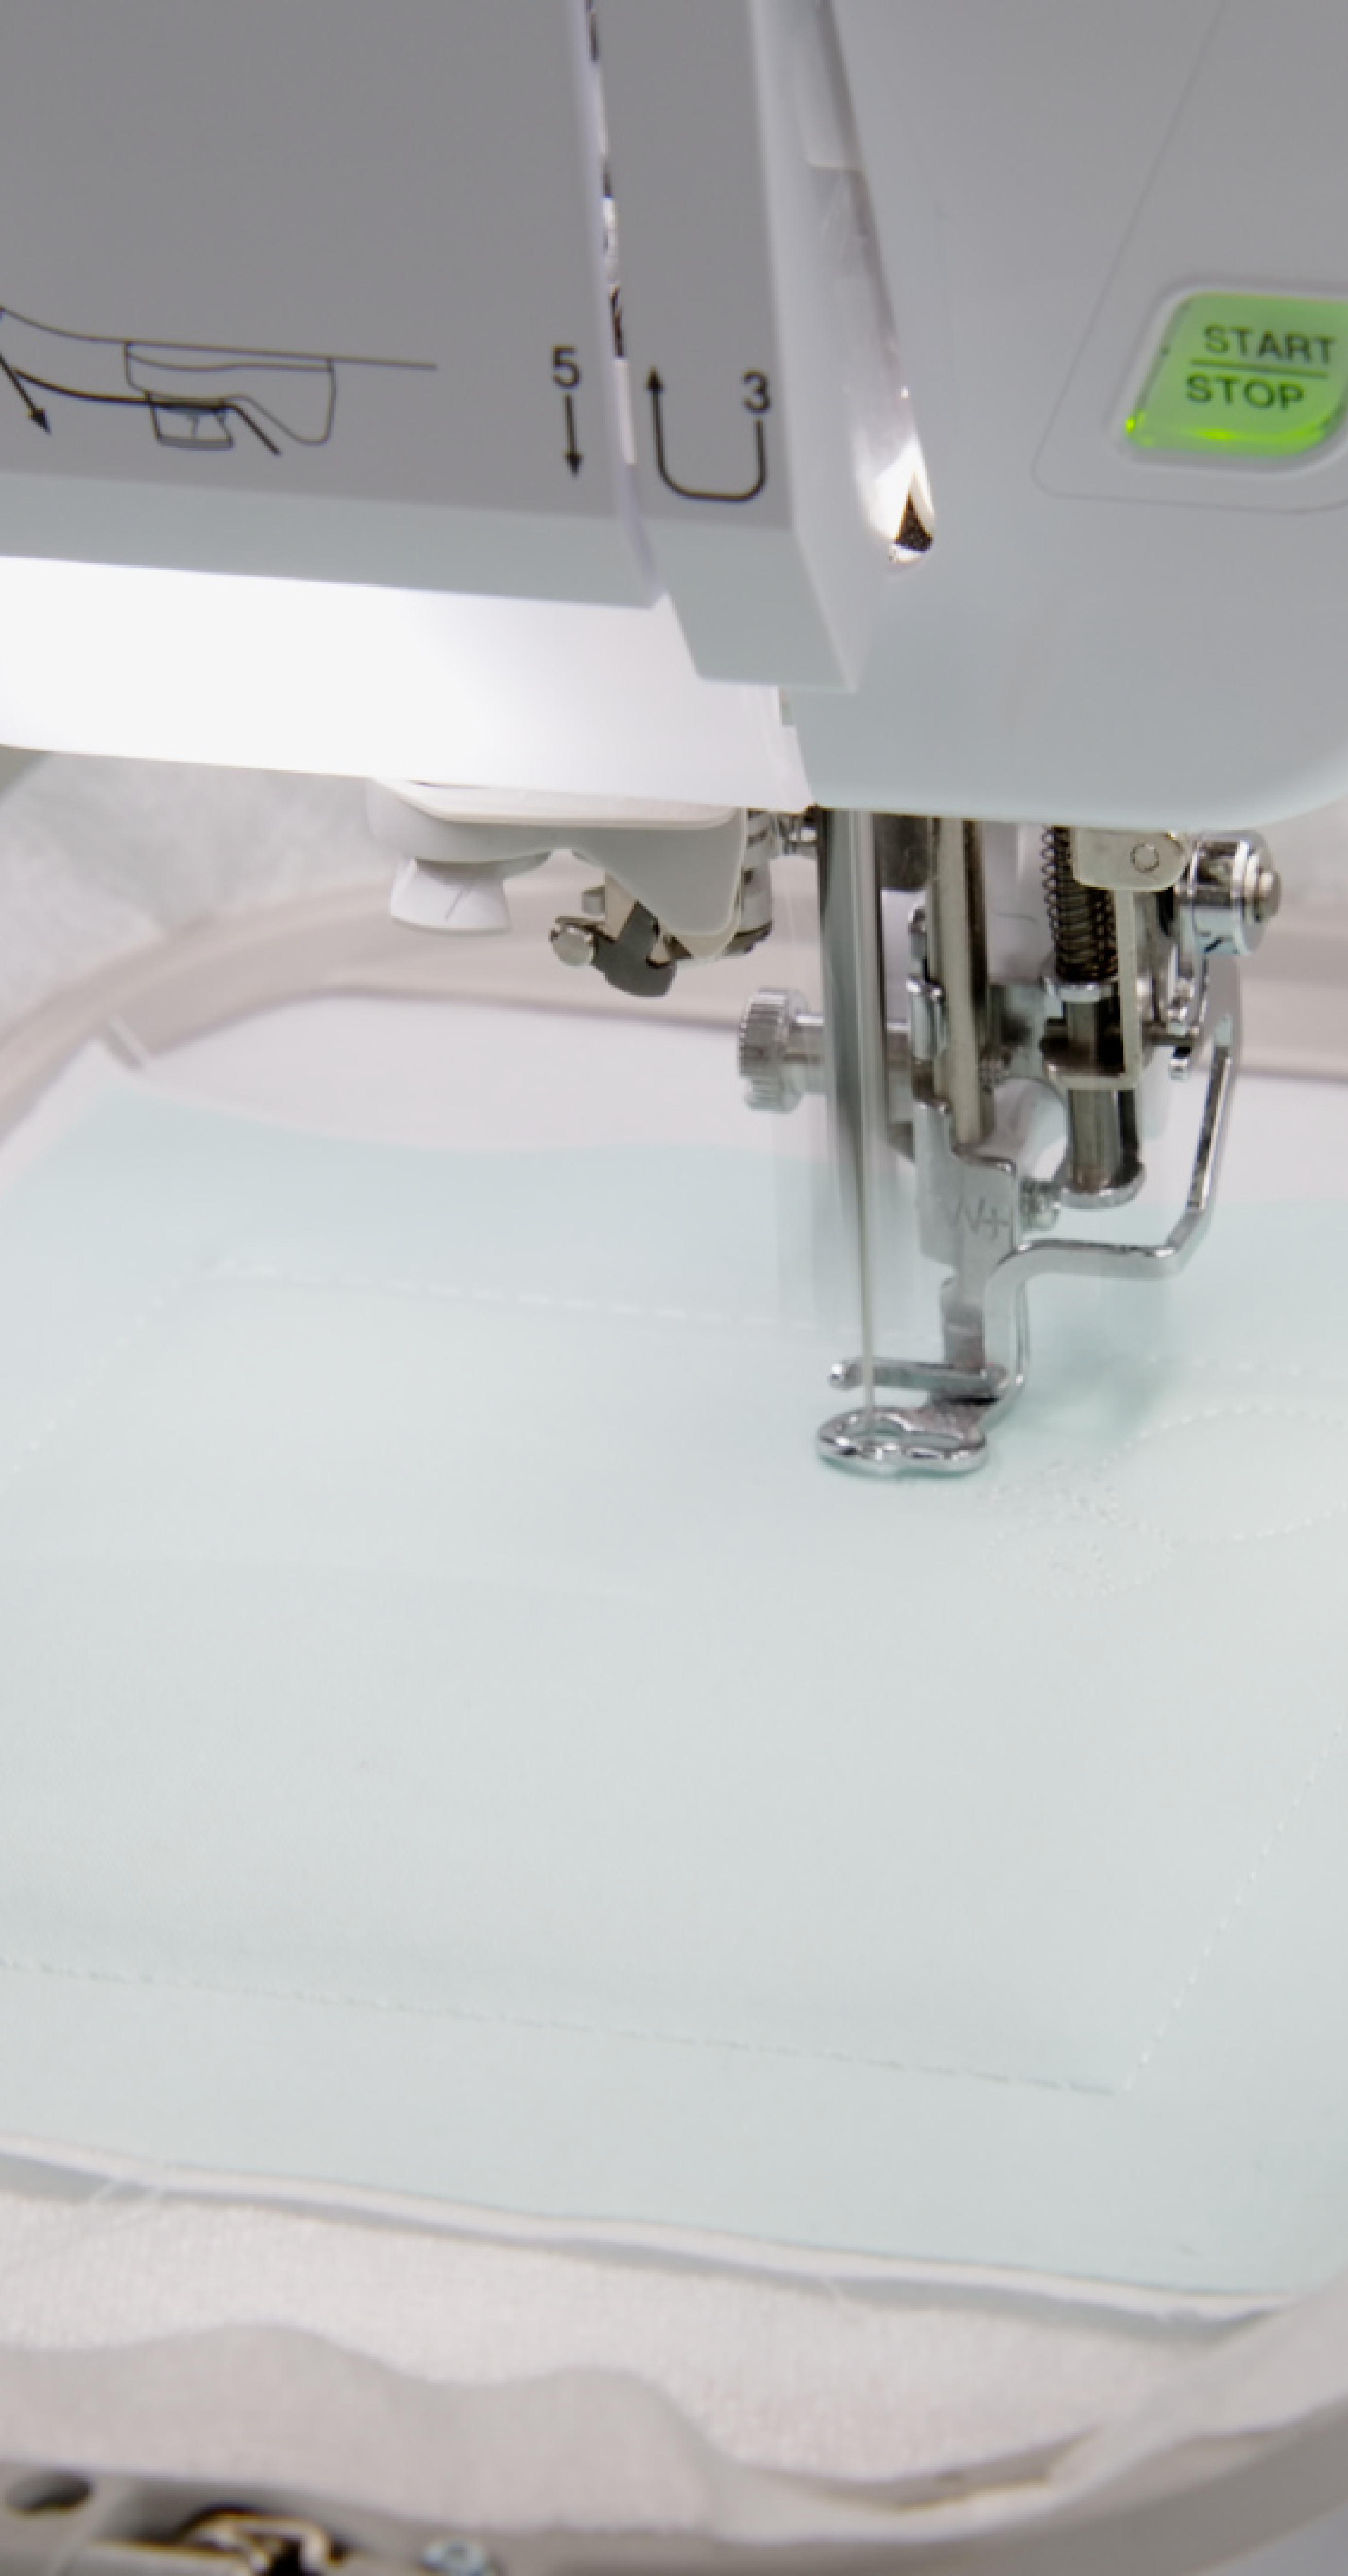
Tip Four: Stitch Background Quilting In-the-Hoop
Have you tried background quilting in-the-hoop? It's fun and easy to do with Kimberbell's Block-by-Block OR Clear Blue Tiles systems. (Want to know the difference? Click HERE!)
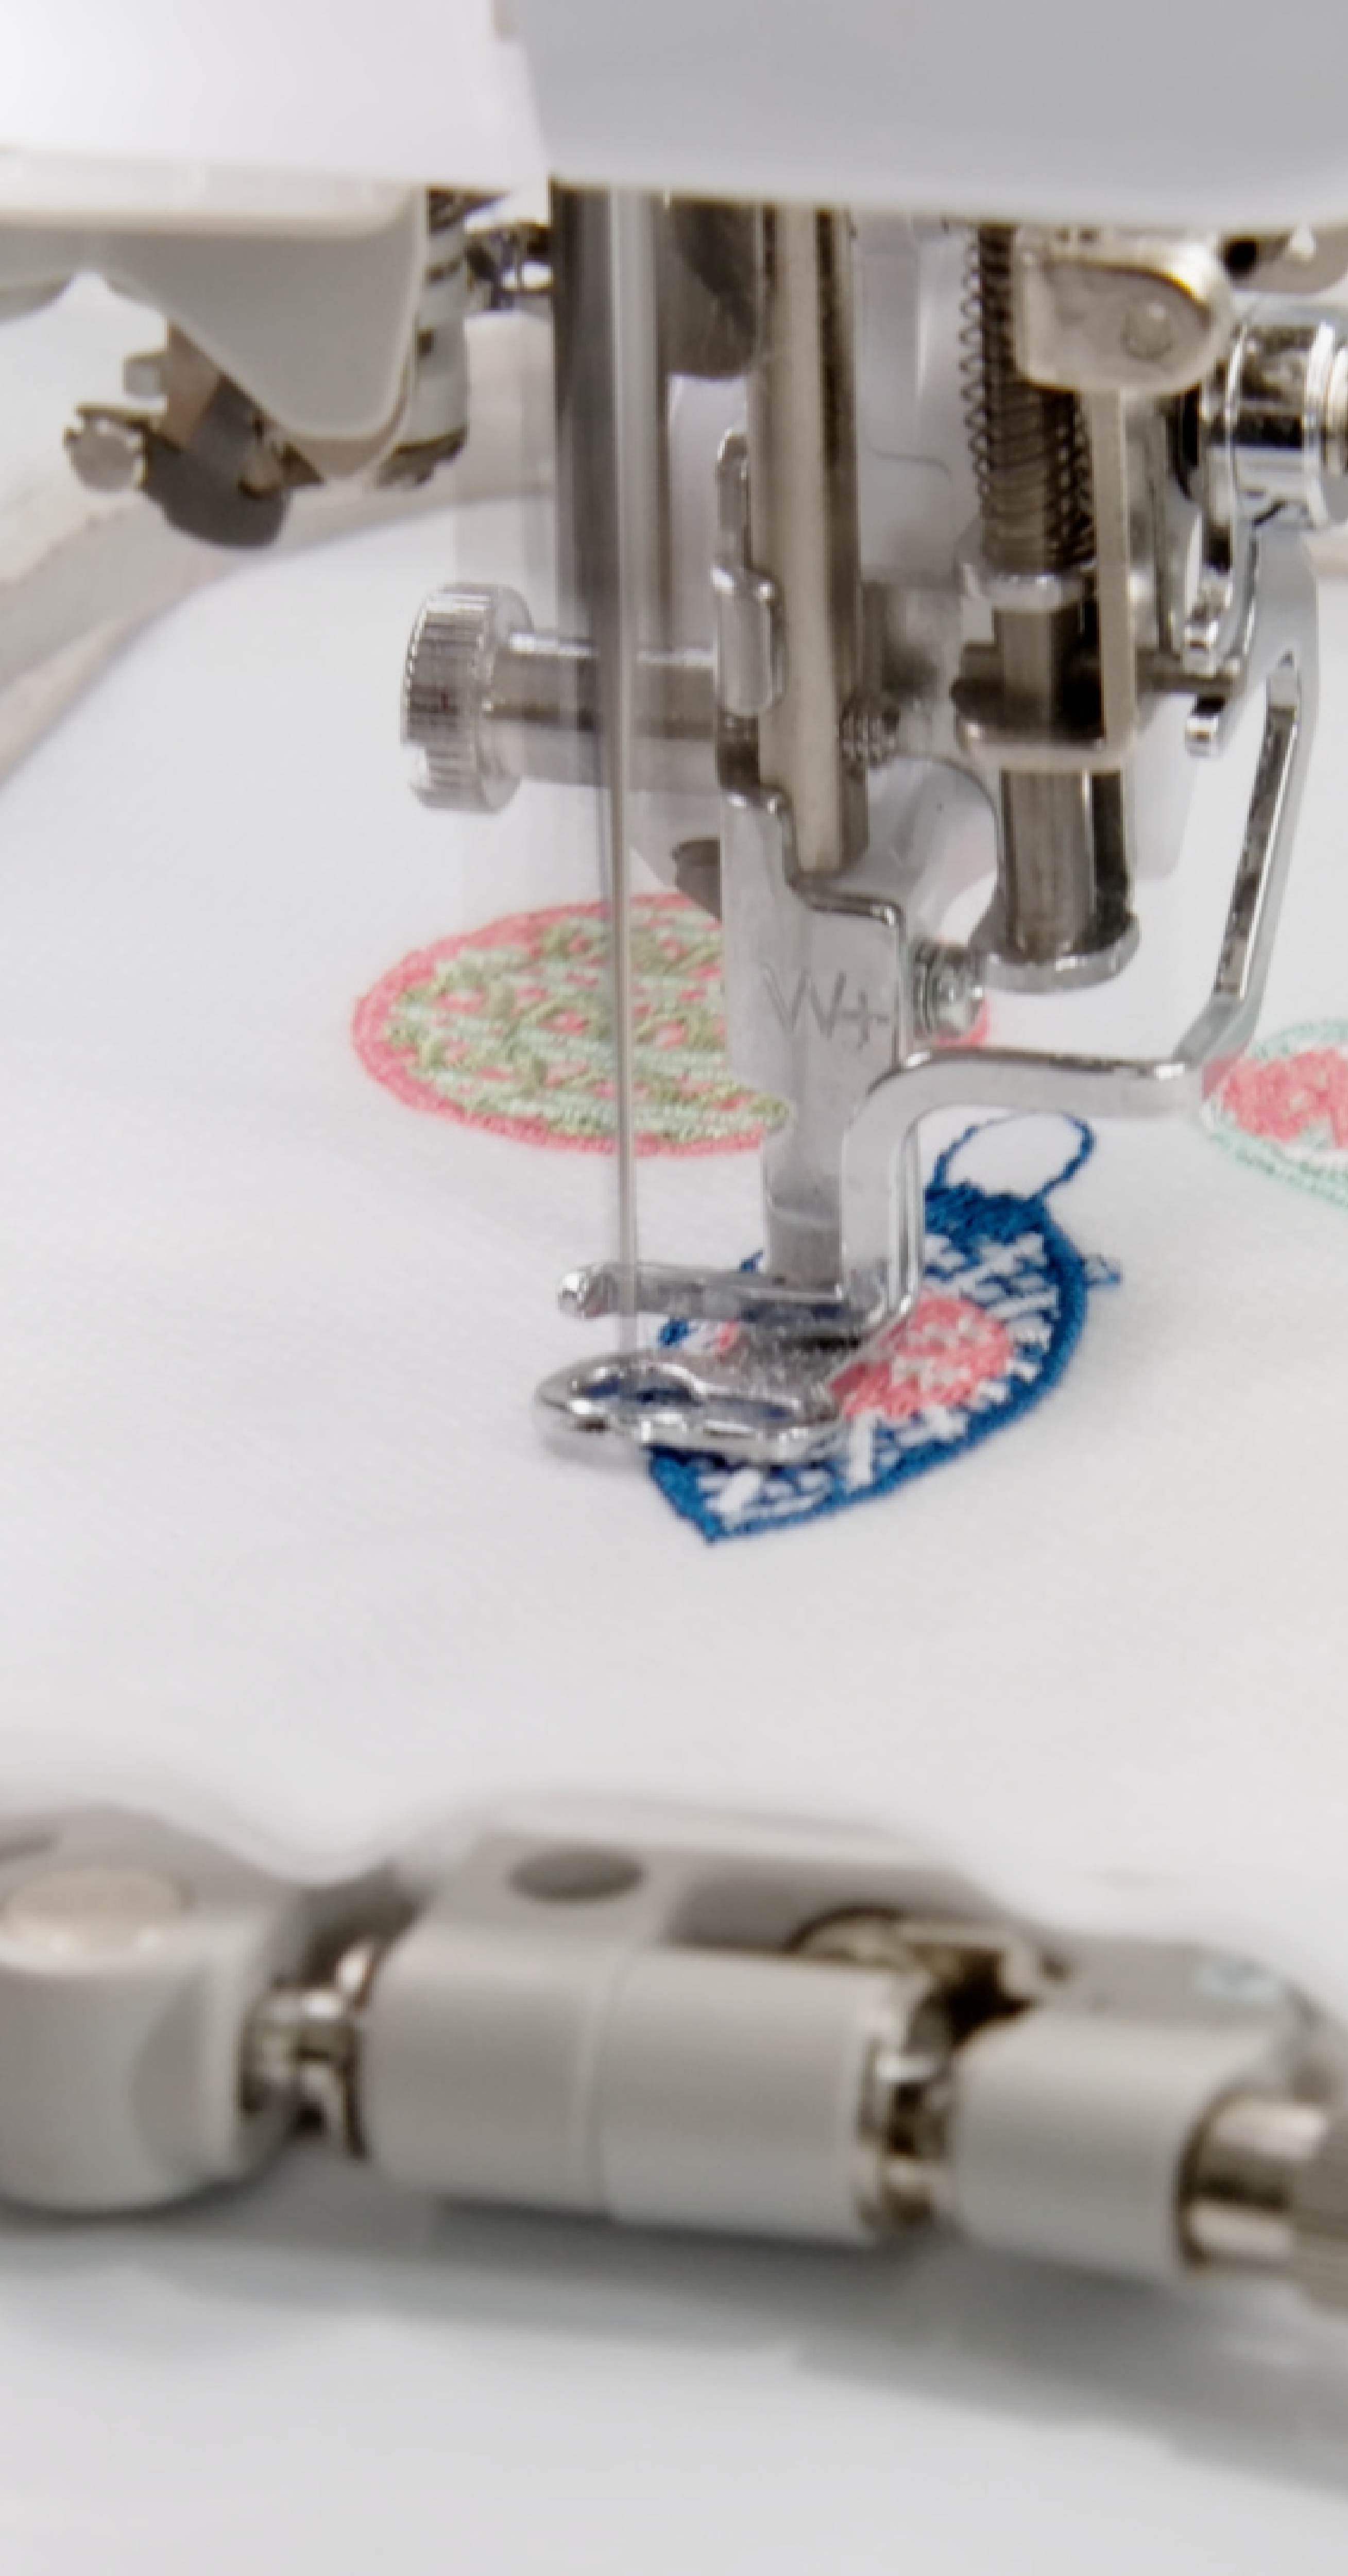
When doing quilts or other projects with lots of applique (like our Cup of Cheer Advent Quilt) we recommend using our Block-by-Block quilting method. This means that the quilting is behind your applique and, because of our digitizing, there will be no batting in your seams.
For more information, please see:
- How to do Background Quilting on Your Embroidery Machine
- How to Combine Background Quilting and Design Files on Your Embroidery Machine.
Background quilting for any Kimberbell project is optional and there are a wide variety of background quilting designs available for purchase and download HERE on kimberbell.com.
Tip Five: Have Embroidery Needles Ready to Go
Before starting any project, it's always a good idea to have a good selection of embroidery needles on hand. We recommend the following sizes:
- Size 80/12 needles for most projects
- Size 75/11 needles for lace and/or small lettering
- Size 90/14 needles for stitching through thick areas
Remember to change your needle after every eight hours of embroidery! 😀
When embroidering through a sticky-back stabilizer, consider using an anti-glue or another type of non-stick needle.
Tip Six: Square Quilt Blocks with Orange Pop Rulers®
Please note that any blocks with applique will be a bit oversized. Embroider the applique onto the block first, then cut the block down to size afterwards.
The oversized blocks will be easier to work with and account for any pulling that may happen during the embroidery process.
We love using Kimberbell Orange Pop Rulers® to cut quilt blocks to the exact size you need. Learn more about using Orange Pop Rulers HERE! (Pssst....they come in both square and rectangle sets!)

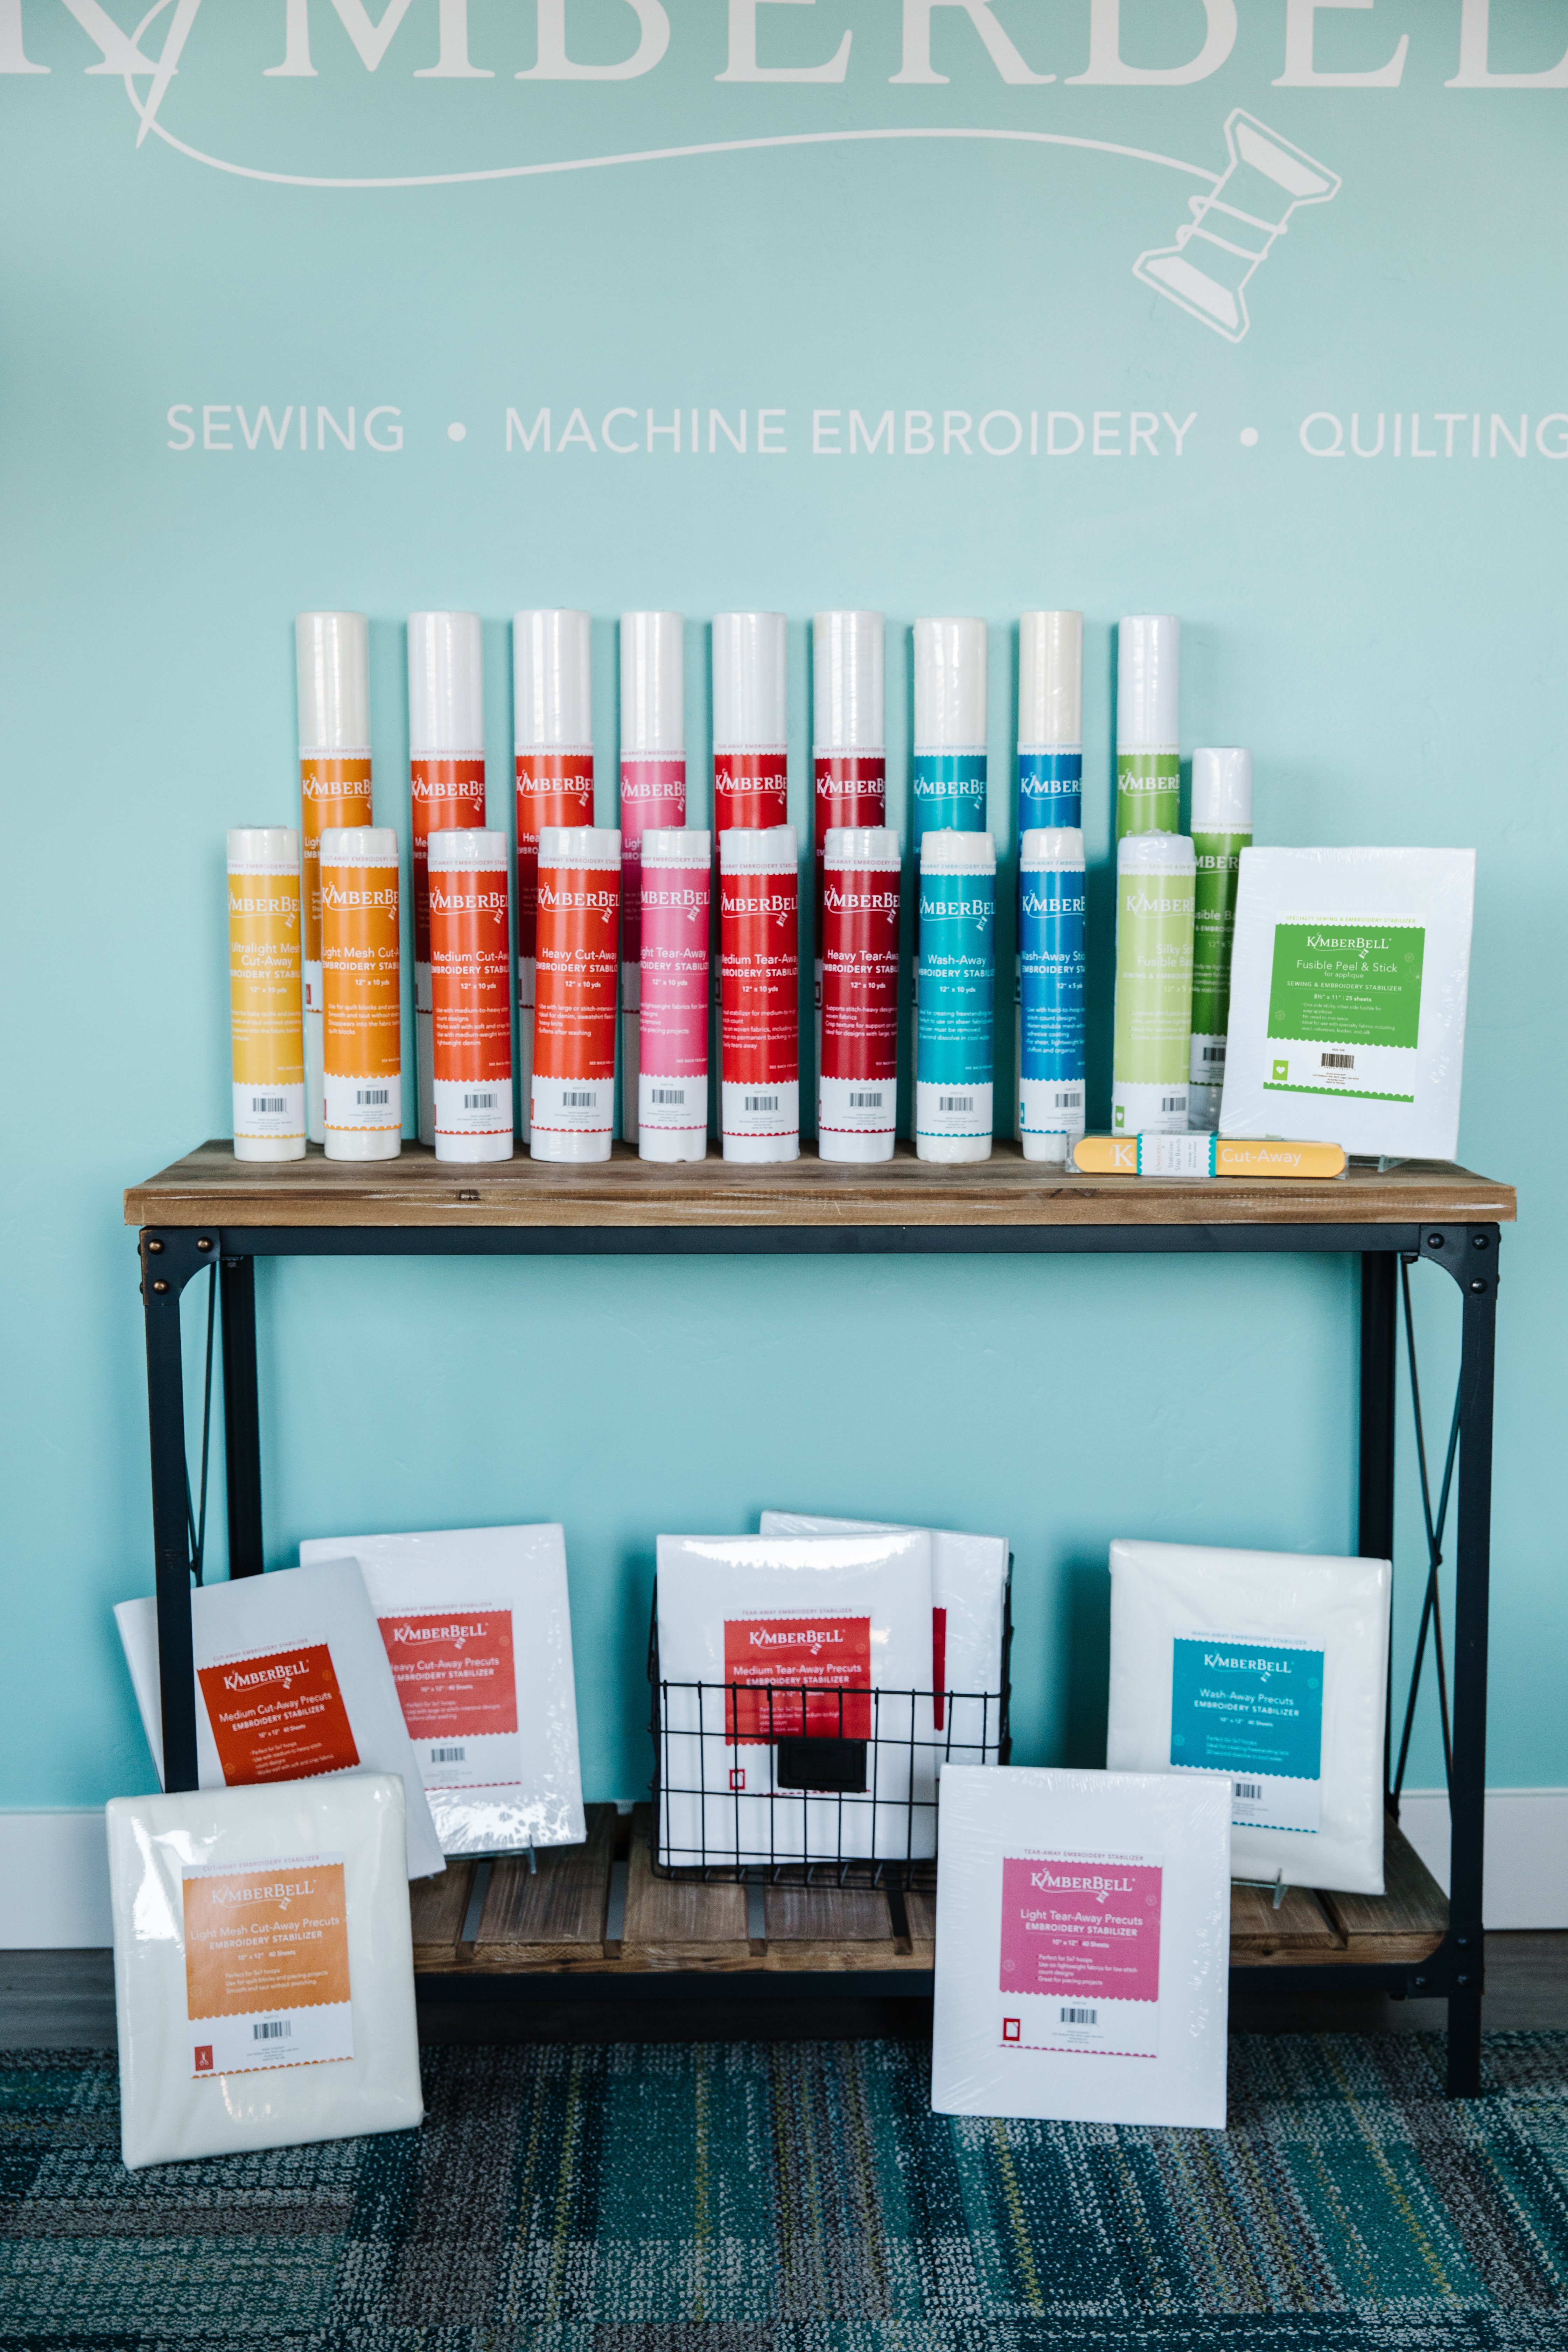
Tip Seven: Use the Right Stabilizer for the Job
Kimberbell's line of premuim stabilizers are color coded and recognizable at a glance, making it VERY easy to find the right type and weight for your project.
Stabilizers are listed in our directions in their assigned color, as shown on this page from the Cup of Cheer Mug 2 directions. (Look for the orange arrow!)
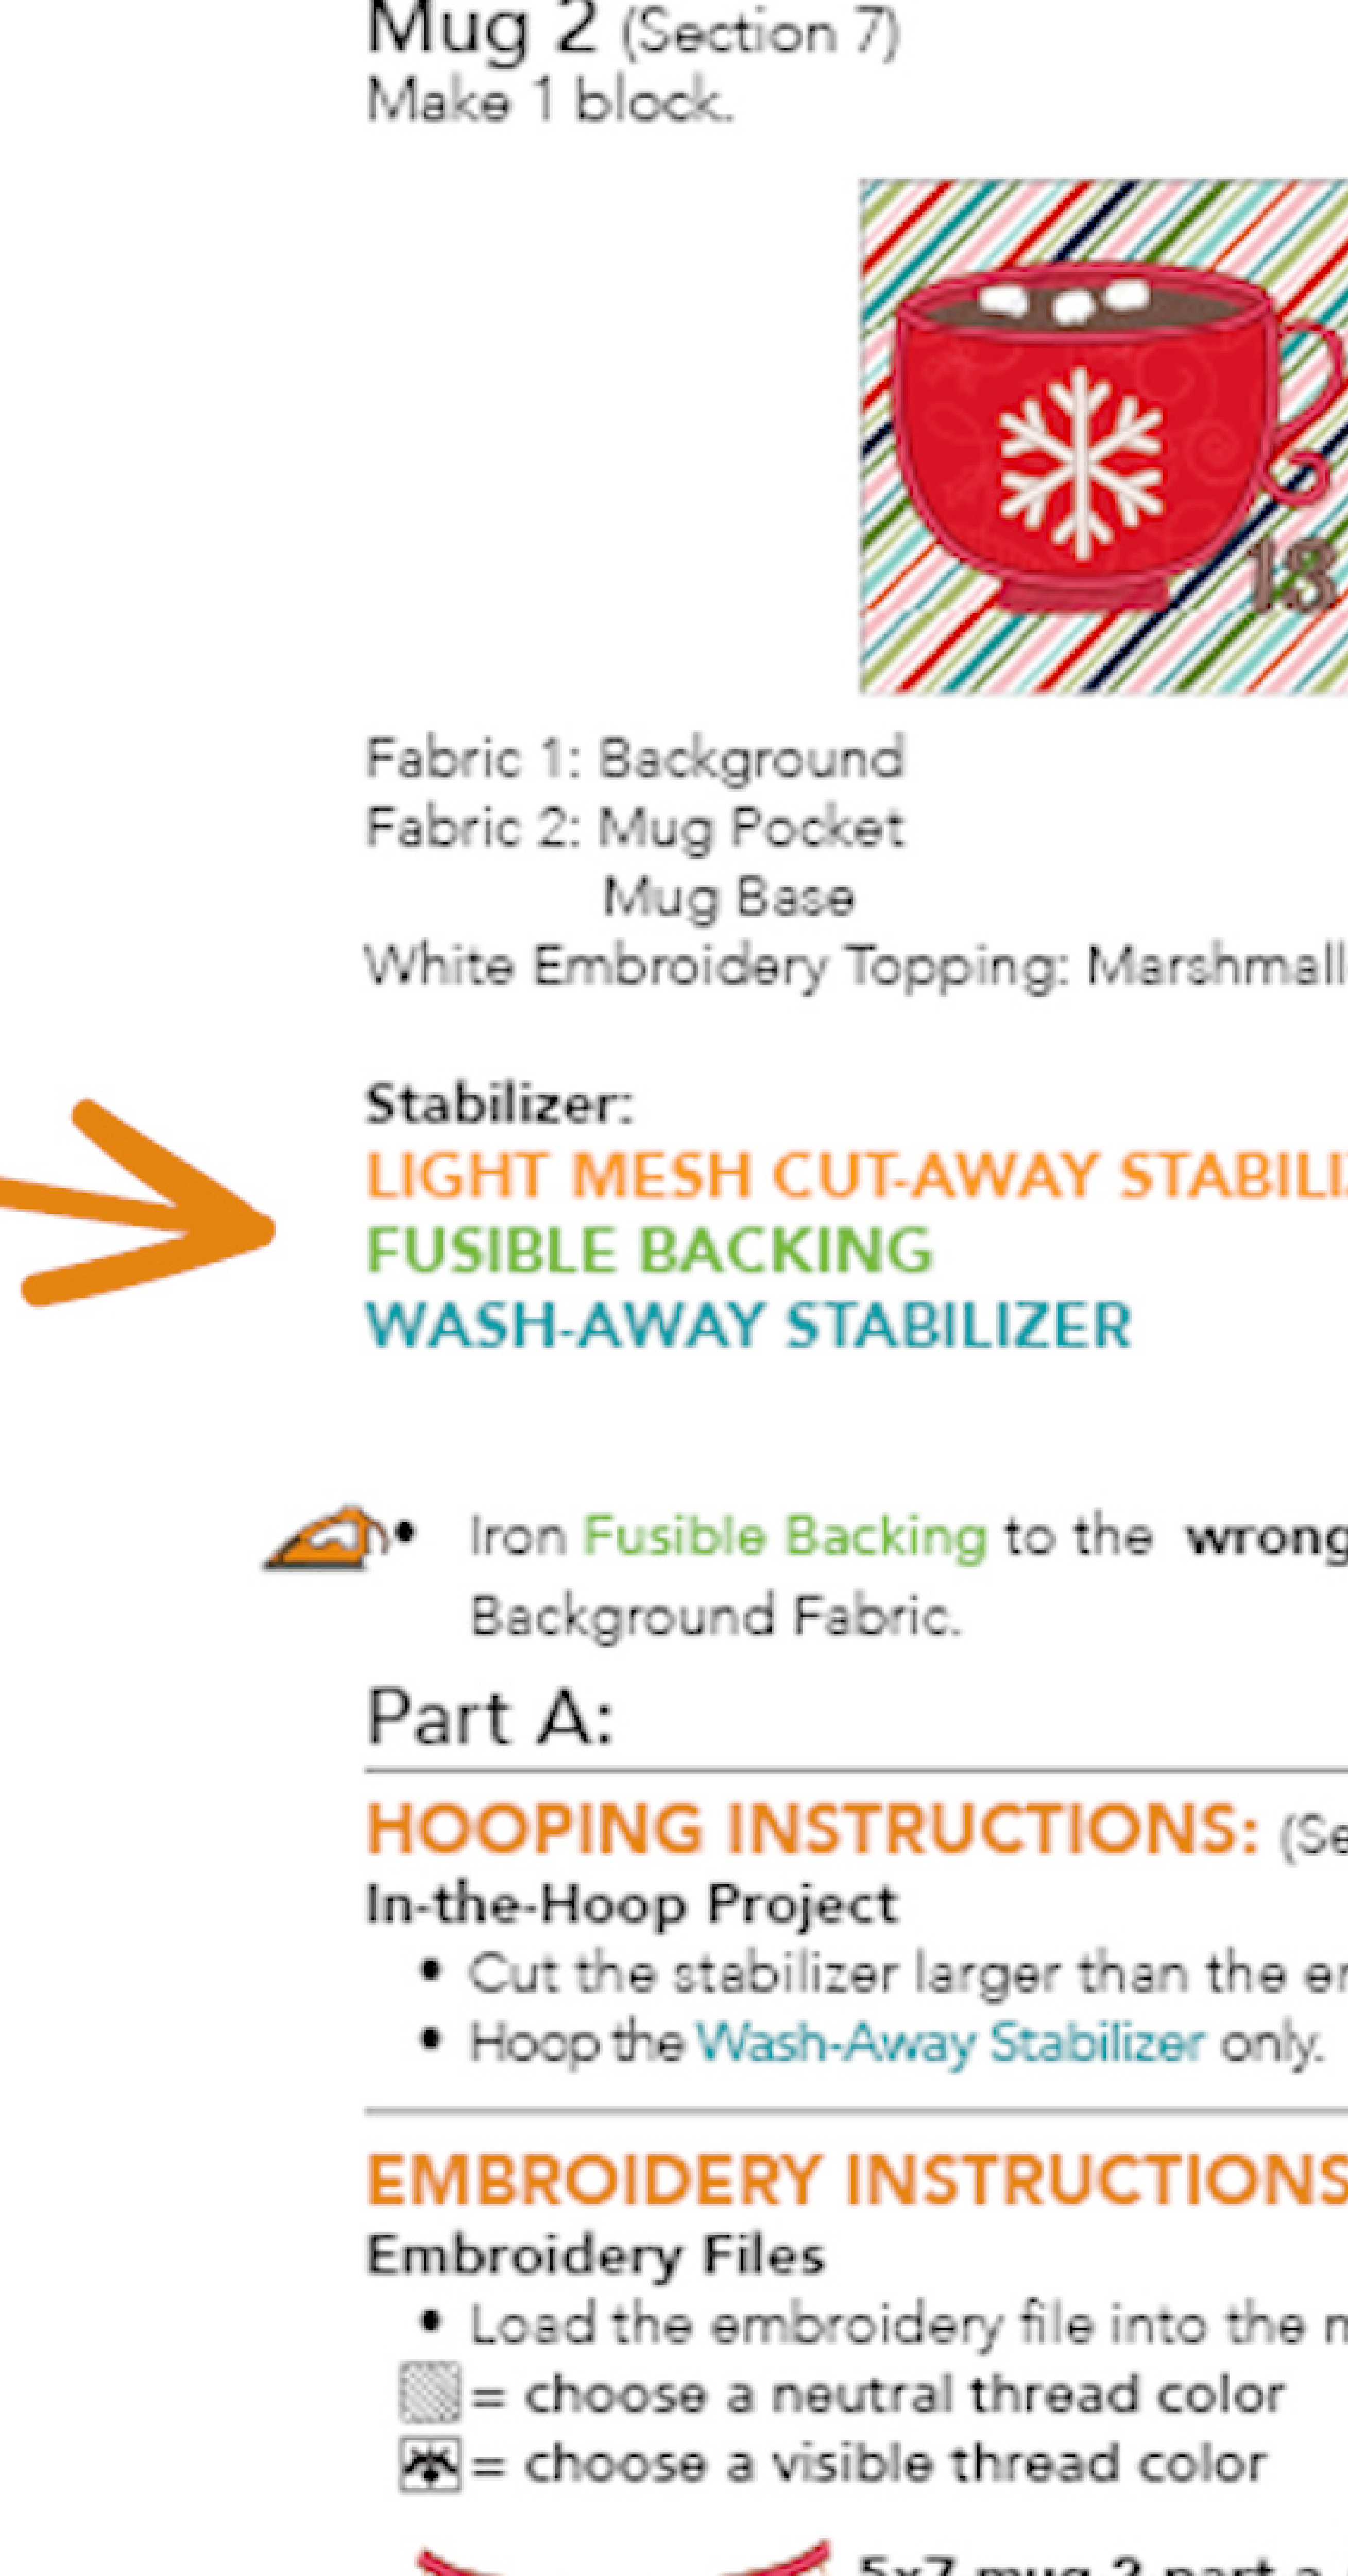
It couldn't be easier to recognize and identify which stabilizers you need for every project, every step of the way!
Kimberbell Stabilizer
Each type of Kimberbell Stabilizer has been thoroughly tested to give you the very best results. Learn more through the video links below!
- Why Stabilizer?
- Why Kimberbell Stabilizer?
- When to Use Cut-Away Stabilizer
- When to Use Wash-Away Stabilizer
- When to Use Tear-Away Stabilizer
- The Difference Between Wash-Away Topping and Wash-Away Stabilizer
- How to Apply Kimberbell's Silky Soft Fusible Backing and Why
- Kimberbell's Color-Coded Slap Bands
The Most Important Tip
Now that we've gone over our top seven tips, here's the most important tip of all. Ready for it?
ENJOY THE JOURNEY EVERY STEP OF THE WAY.
From our creative projects to our detailed instructions, our goal is to help you more fully Experience the Joy of Creativity™ . That includes the process as well as the end result! So enjoy every stitch, every block, every triumph along the way.
We're cheering for you!