10 Helpful Tricks Every Embroiderer Should Know
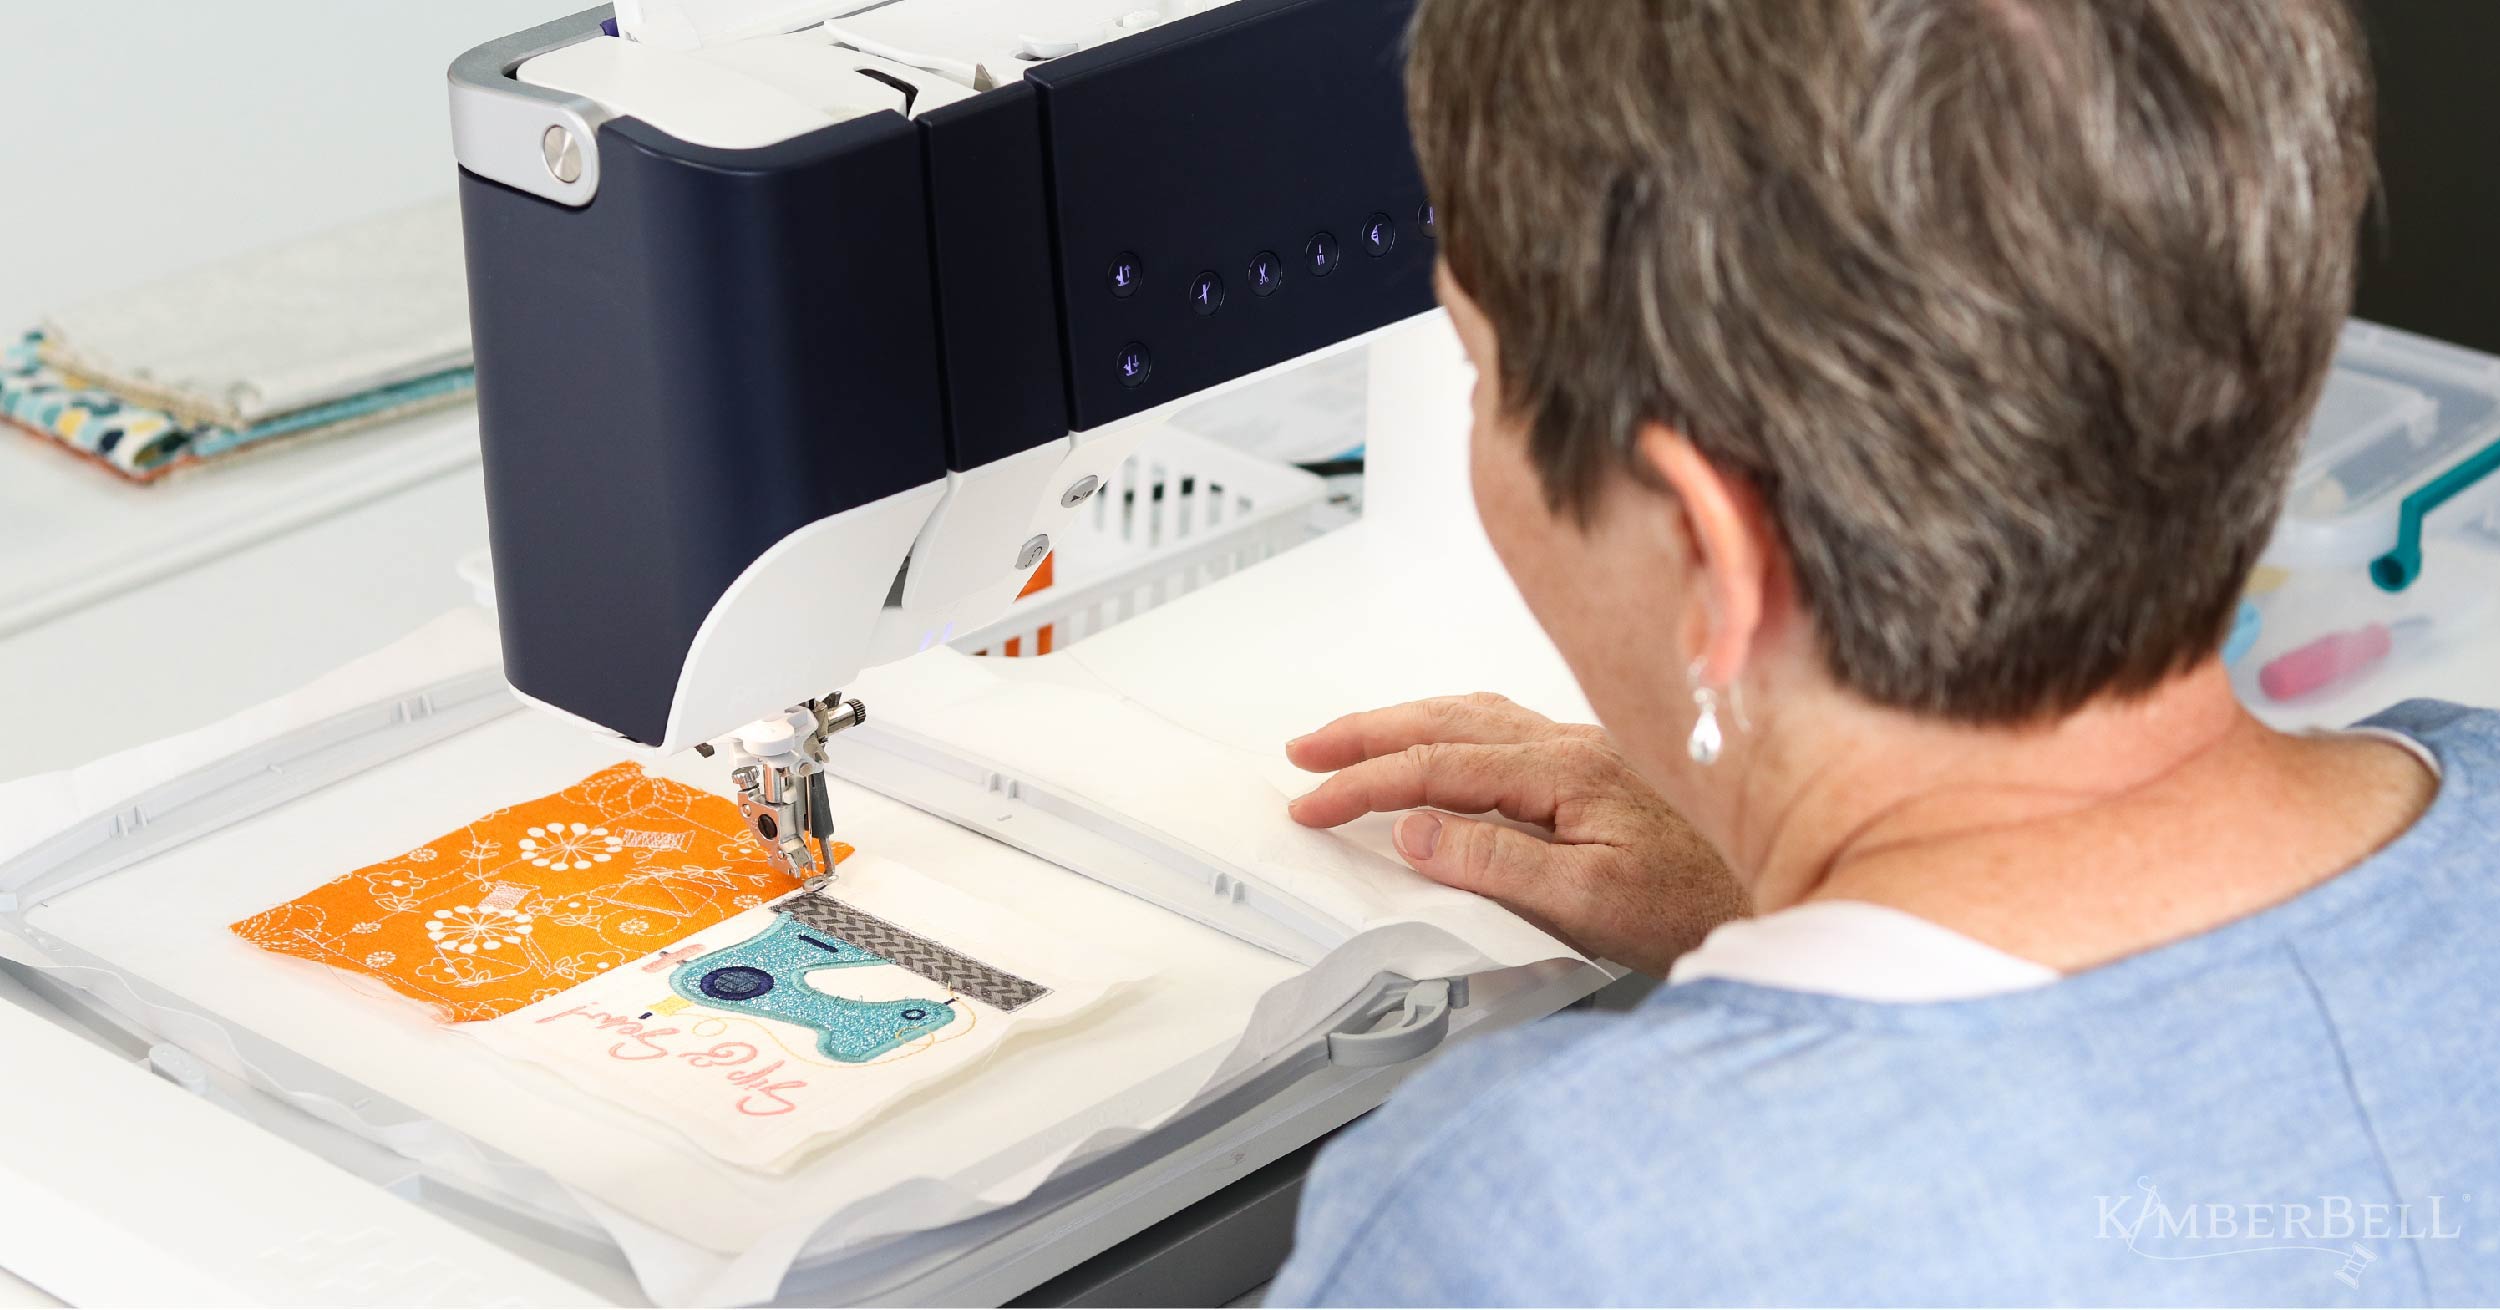
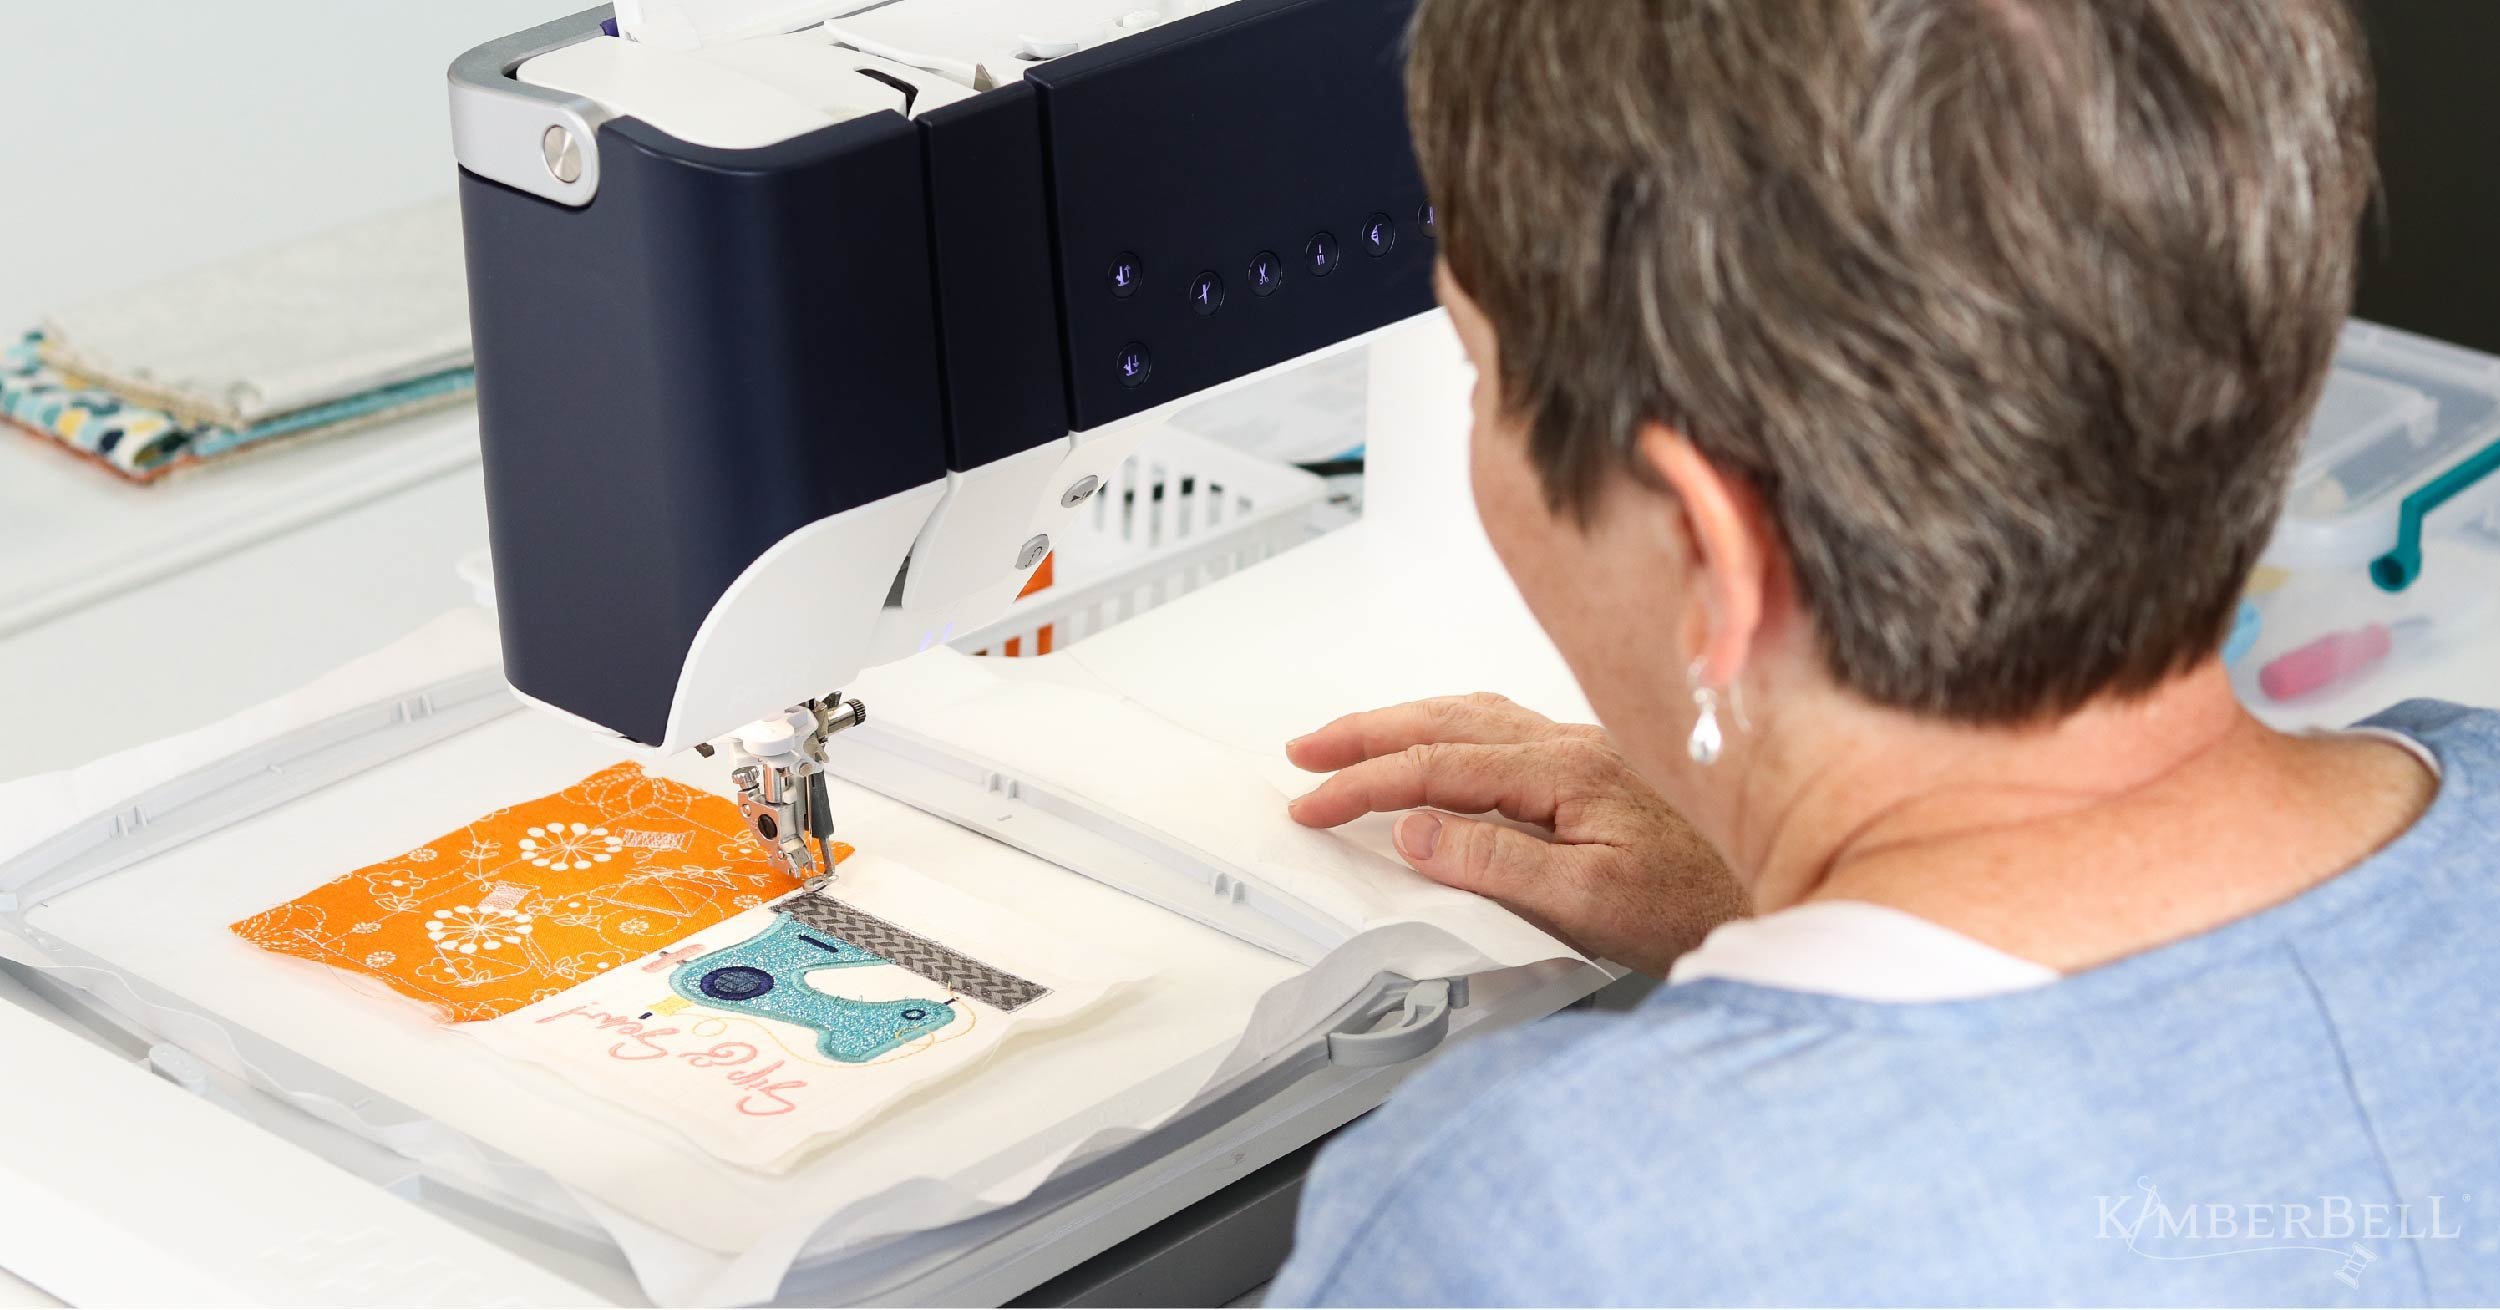
Whether you’re brand-new to machine embroidery or a longtime stitching enthusiast, one thing’s for sure: there’s always something new to learn. I recently sat down with Lauri, Kimberbell’s very own “machine whisperer,” and asked, “What are the most valuable tricks every machine embroiderer should know?”
After years and years of experience (on every type of machine!) Lauri knew right away what she wanted to share:
-
Never pull thread from the top.
When changing thread colors, always, always, always clip the thread by the spool and then pull the thread from the bottom. Why? Pulling thread up through the machine will bring shredded material and lint into the tension disks and cause problems, so always pull from the bottom!
-
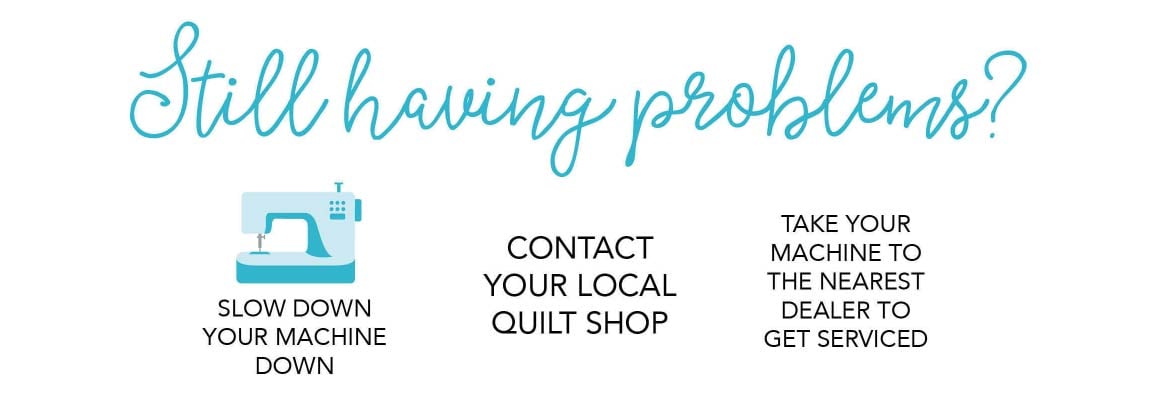
Slow the machine down.
Even though your machine can run at breakneck stitches per minute doesn’t mean it should! Stitching full throttle can increase friction and thread breaks, as well as cause tension and other problems. Slowing your machine down can go a long way in the long run, so take your time. (It’s only the difference of a few minutes, anyway!)
-
Change your needle often.
At Kimberbell, we use the same needle for up to eight hours at the most. If needles are even slightly bent, they’ll start shearing the thread. If you’re stitching through Applique Glitter, Embroidery Leather, Vinyl, or other thick textiles, you might change your needle more often. (BTW, a needle point should be sharp enough to make you say, “Ow!” if you touch it!)
-
Check your settings.
If you’re having trouble with bird nesting (thread tangling between the fabric and needle plate) check your settings for stitch length and secure stitches:
-
- Stitch Length: The default for most machines is to clip stitches over 5mm. Consider bumping the stitch length up to 20 mm (which will also help with decorative stitching).
- Secure Stitches: Is your machine knotting five or six times instead of just once? Checking your “secure stitches” and changing the setting to one knot could prevent a potential mess before it starts.
-
-
Clean that bobbin case.
It’s a good rule of thumb to clean your bobbin case every time you change your needle. Lots of lint collects naturally in the case (especially with drop-in bobbins) so clean regularly! Oh, and while you’re there, check the condition of your bobbin, too—plastic bobbins do wear out over time.
-
Try a little TNT.
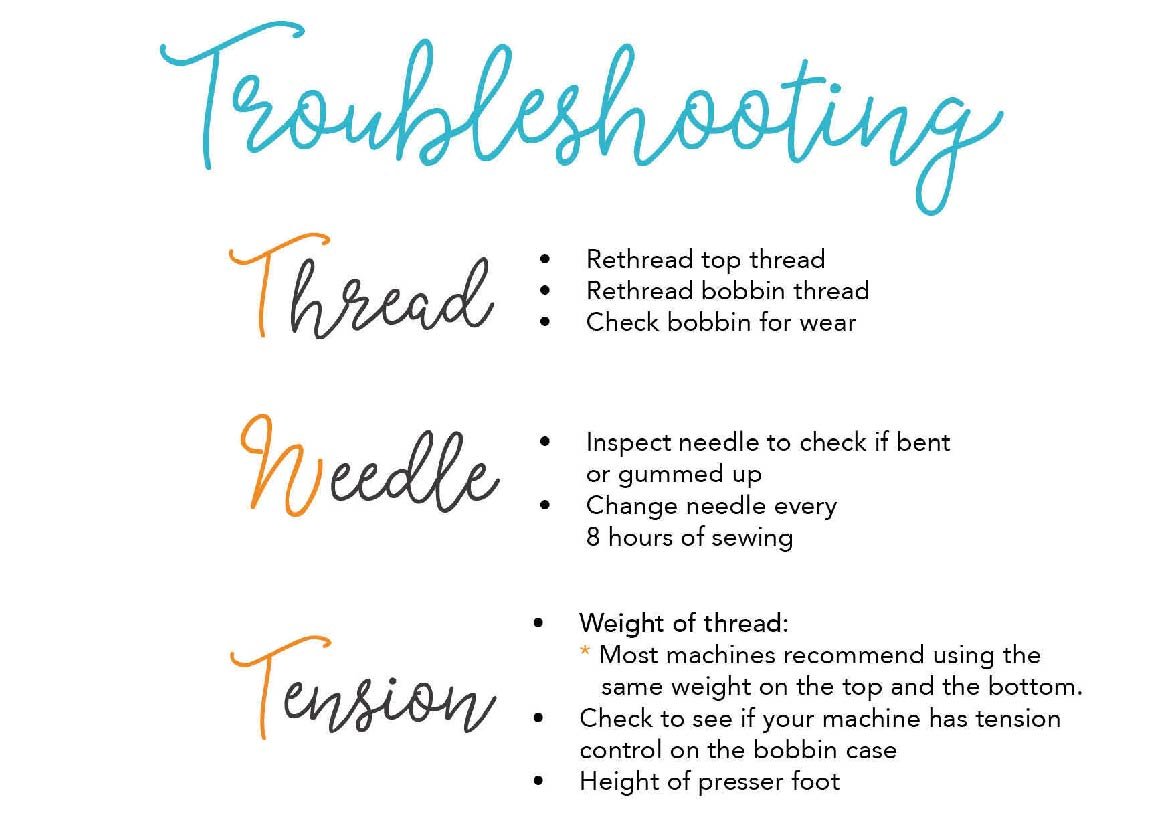
(No, not explosives when you're frustrated!) In Kimberbell Land, TNT stands for Thread, Needle, and Tension:
-
- Thread: If you’re skipping stitches, always try rethreading first. And after rethreading the top, take a look at the bobbin thread. Is the bobbin wound properly? Is the bobbin thread trapped beneath?
- Needle: As already mentioned, replace your needle often--at least after every eight hours of stitching. (And make sure that baby is nice and sharp!)
- Tension: Check the tension on your bobbin case and loosen or tighten the screws as needed. Thread should pull smoothly off of the bobbin. You might also check your thread weights to make sure they are a good match. A 40 wt top thread to a 60 wt bobbin thread is a good combination.
-
-
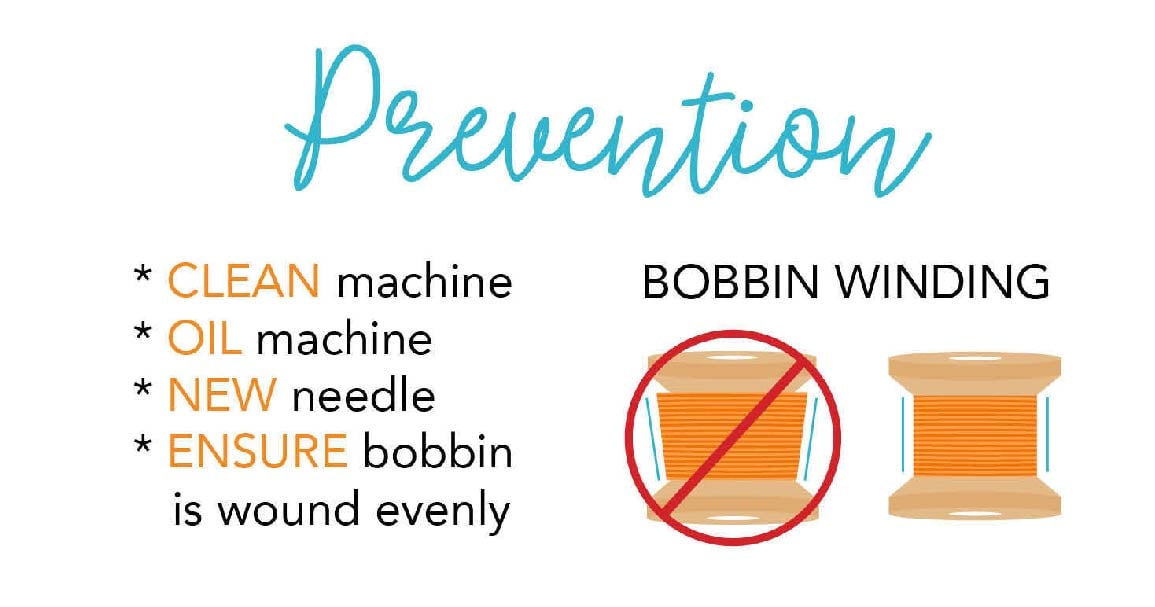
Remember COS:
-
- Clean the machine, particularly the bobbin case: You’d be surprised at how much material collects in there.
- Oil when needed. Remember, your machine is made of many parts--fast moving parts--and a well-lubricated machine is a happier machine. A few drops of Sewer’s Aid on a thread spool can also do wonders in reducing friction, particularly with metallic thread.
- Settings should be checked for stitch length, secure stitches, stitches per minute, etc. as described above!
-
-
Check your firmware updates.
Just as a car needs a tune-up after so many thousand miles, your embroidery machine needs a tune-up after so many thousand stitches. Under your machine’s “pages” or “menu” setting, you’ll see the firmware update and how much you’ve stitched since the last tune-up. (Check your machine owner’s manual to see specific recommendations!)
-
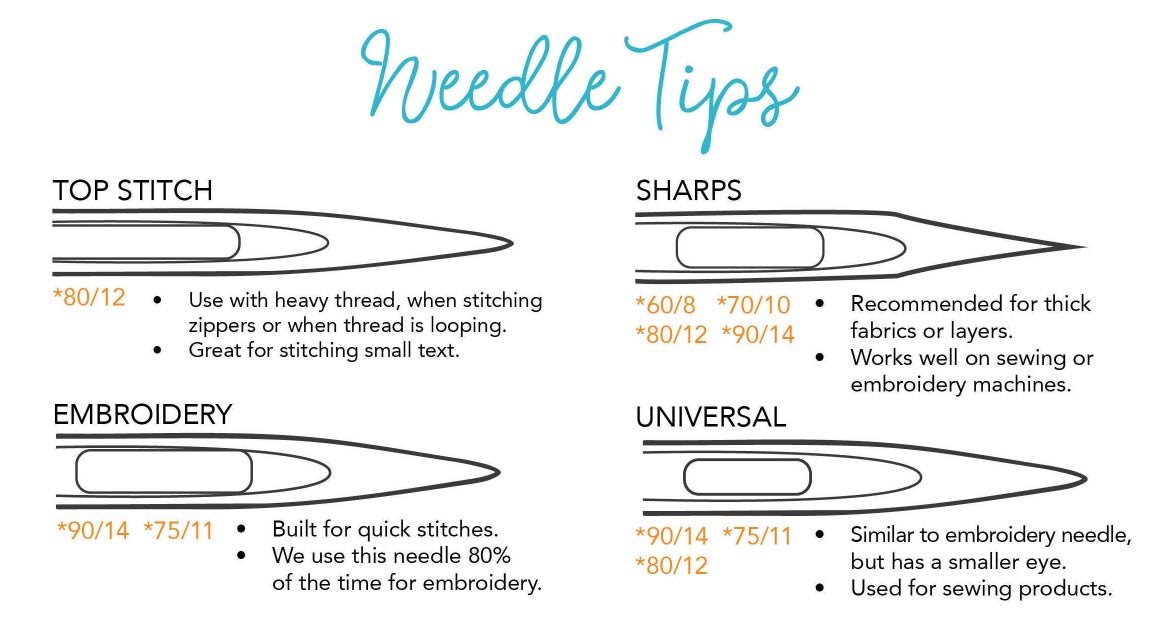
Use the right needle.
Are you using the right needle for the job? A size 75/11 needle will perform beautifully for most machine embroidery projects, but you might consider using an 80/12 when stitching through thicker fabrics. The right needle makes all the difference.
-
Make sure your thread flows freely!
If you’re having trouble with your thread back-sucking, snagging, or breaking, pull on your thread to make sure it’s flowing easily. Also check your thread cutter to make sure it’s clean.
Well, there you are, 10 tricks straight from the “machine whisperer” herself. (Thanks for sharing your expertise, Lauri!) It’s our hope that these guidelines will help you more fully Experience the Joy of Creativity™ with your embroidery projects. For additional tips and tricks, be sure to watch Tuesday Tips with Kimberbell every Tuesday at 2:00 p.m. Mountain Time.
We hope to see you there!


