.png)
.png?width=1309&name=Social-Image-Blog-01%20(2).png)
Needles are little tools that make a BIG difference. Let’s keep your needle knowledge sharp by reviewing a few key points! (Sorry...some puns just have to be said.)
Needle Anatomy
First, let’s talk about the parts of a needle and how they function in the embroidery process. Needles are made up of six parts: the shank, the blade (or shaft), the groove, the eye, the scarf, and the point:
- Shank: The upper part of the needle that fits inside the needle bar of your machine. Commercial embroidery machines have a completely round shank, while home embroidery machine needles are round on one side and flat on the other. When using a home embroidery machine needle, insert the needle with the flat side facing away from you.
- Blade (Shaft): The lower portion of the needle from the shank to the point. The groove, the eye, the scarf, and the point are all part of the blade.
- Groove: The hollow indentation in front of the blade. The blade acts as the final guide, keeping the thread close to the needle until it passes through the eye.
- Eye: The hole that carries the top thread through the needle to meet with the bobbin thread below.
- Scarf: The indentation on the back of the needle. The scarf allows the bobbin casing to come near enough to the eye to catch the thread and form a stitch.
- Point: The very tip of the needle that pierces the fabric and delivers the stitch. There are two basic types of points: sharp (which pierces the fibers) and ballpoint (which pushes the fibers aside).
Needle Sizes
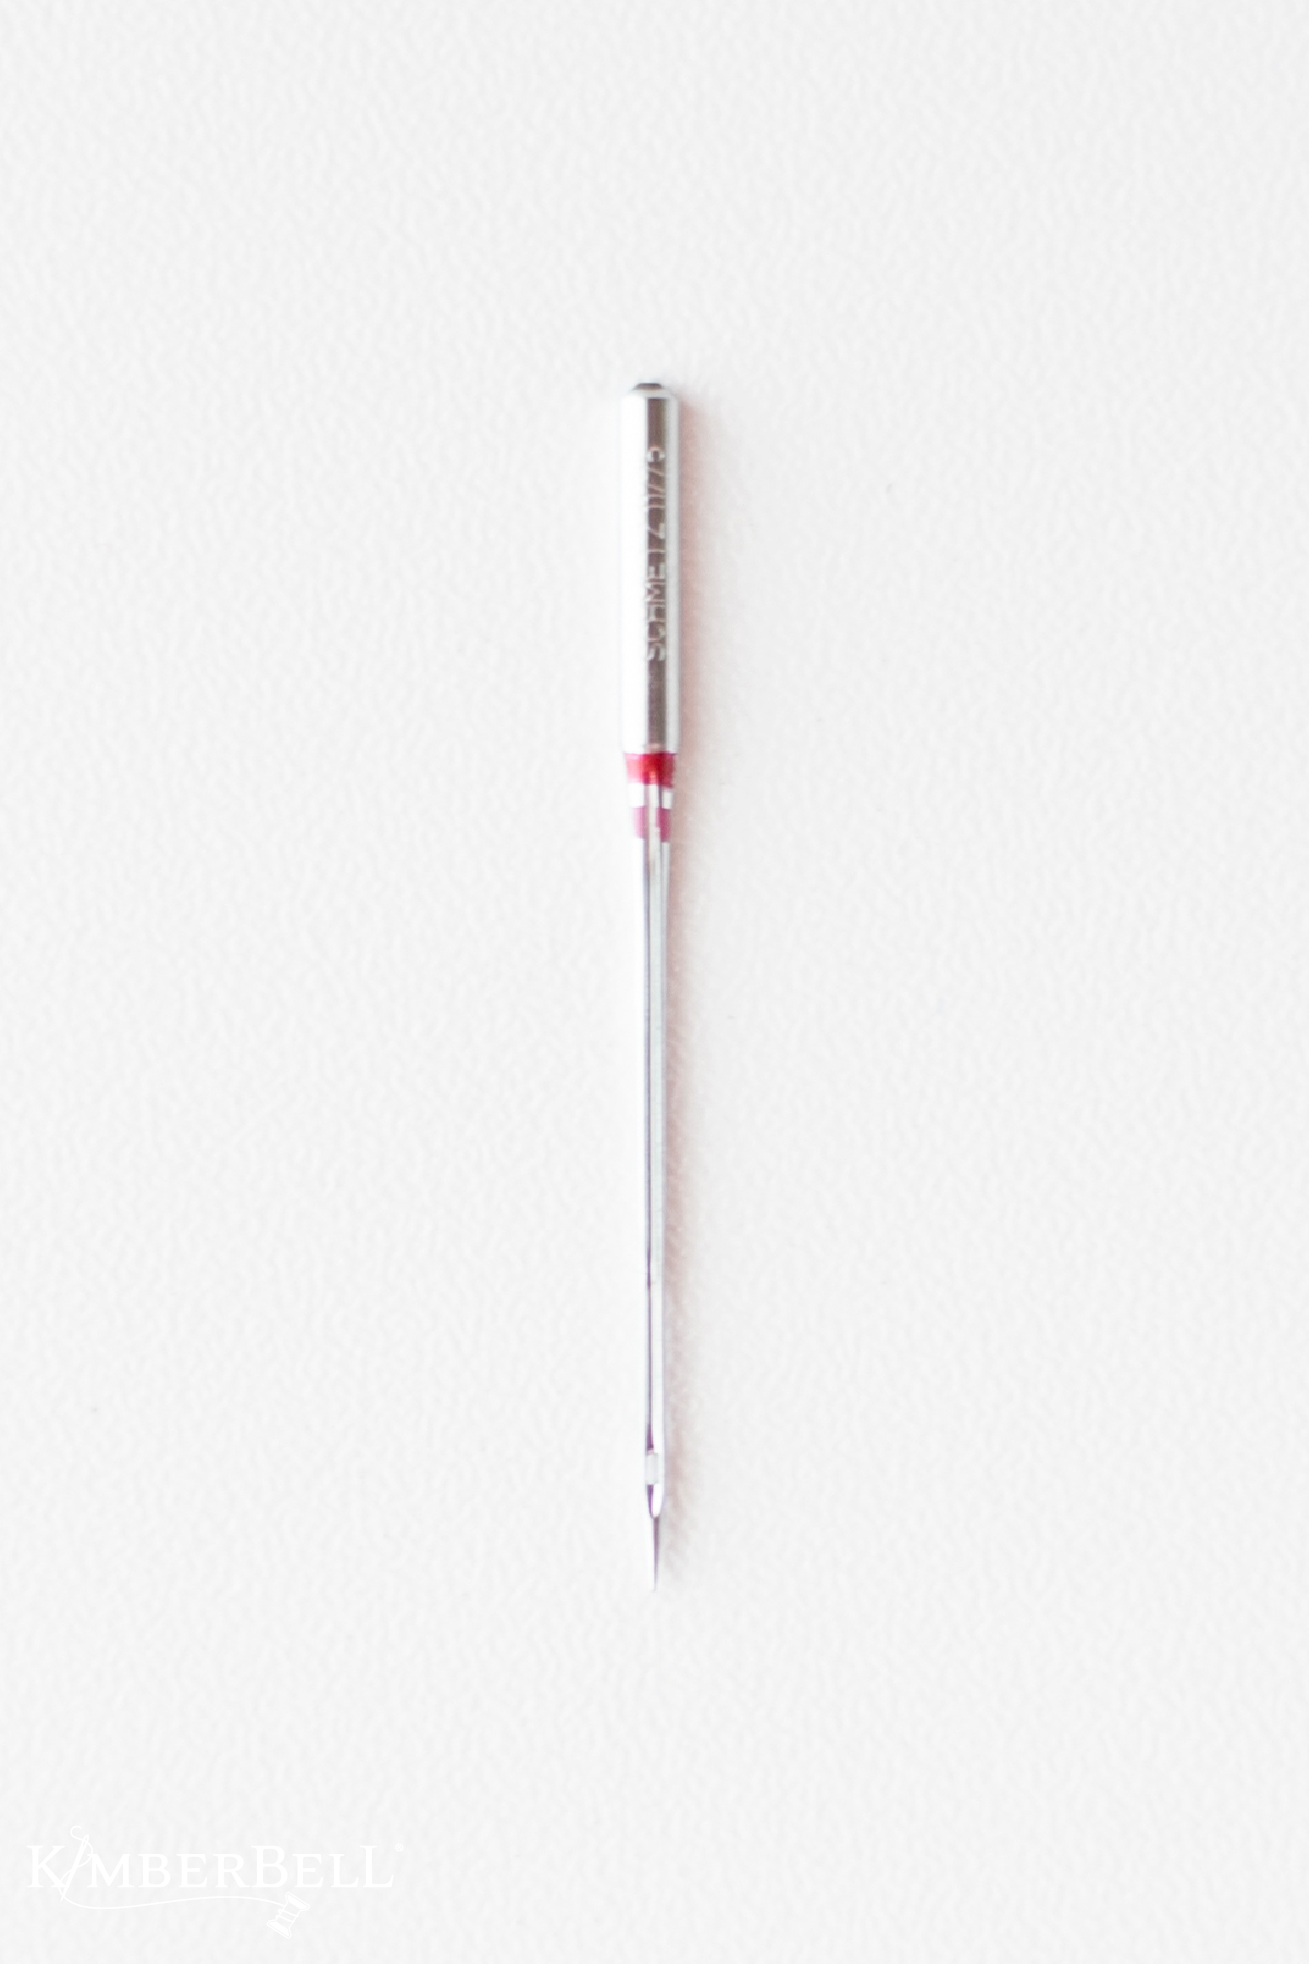
When looking at needle size, you’ll usually see two numbers as shown above: a larger number and a smaller number, separated by a slash. The larger number is the European number based on the metric system (the shank’s diameter relative to a millimeter). The smaller number is the American number (an assigned number).
The most commonly used needle size for machine embroidery is the 75/11 needle, which is often the size that comes with an embroidery machine. (At Kimberbell, we use a 75/11 embroidery needle probably 90% of the time!)
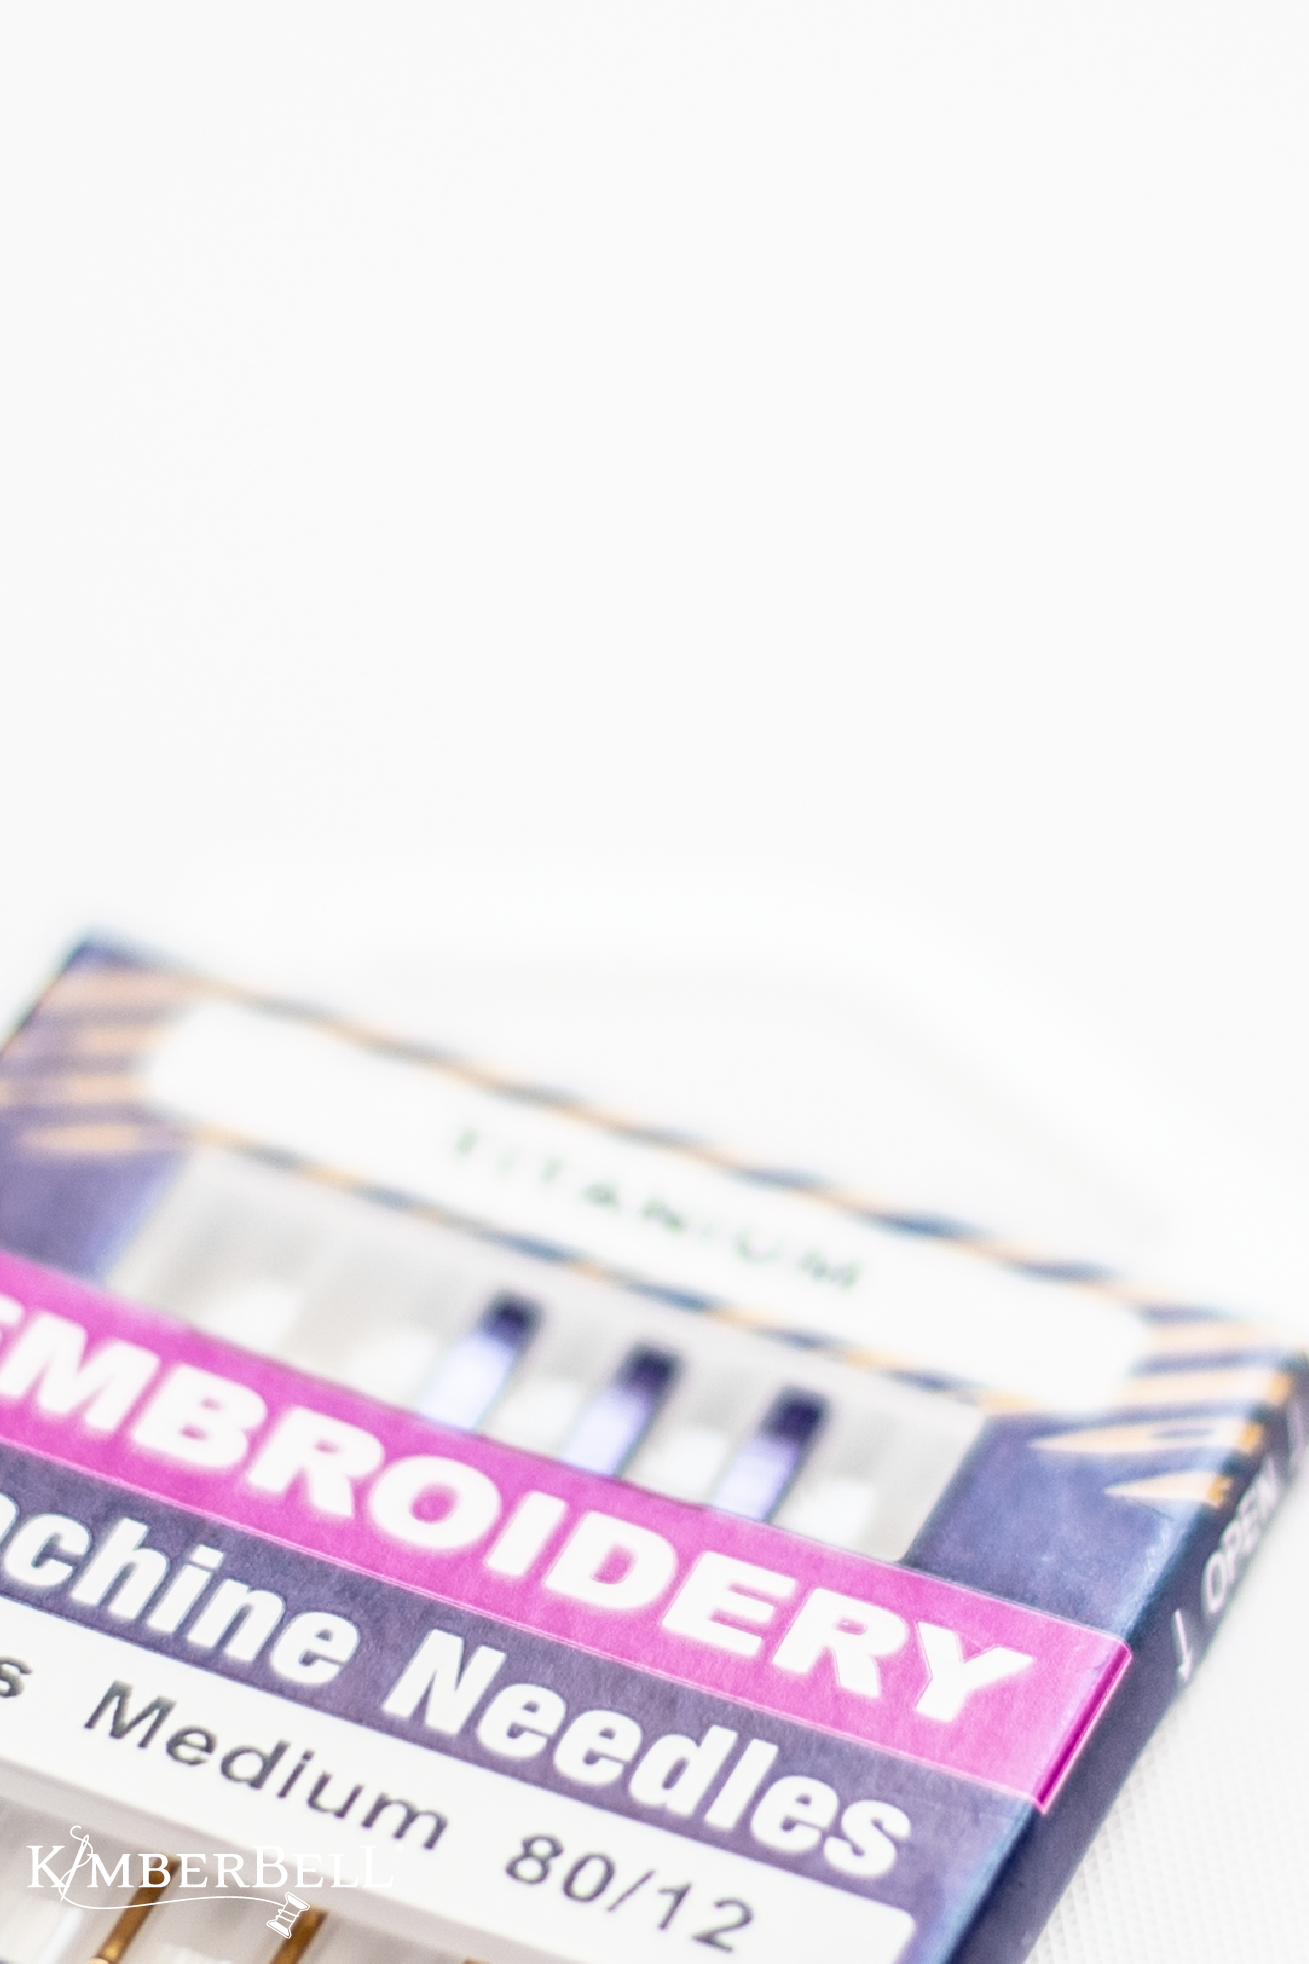
The “75” is the European number, meaning the shank is .75 of a millimeter in diameter. The “11” is the assigned American size. The smaller the numbers, the smaller the size of needle. Other common needle sizes for machine embroidery include 80/12 and 90/14.
A good rule of thumb is to choose the smallest needle appropriate for the fabric. After all, you want to avoid creating unnecessary holes! Heavier fabrics require larger needles, while lighter fabrics need smaller needles. For most embroidery projects on average-weight fabric, a 75/11 needle works great. For heavier cottons and linens, you might go up to an 80/12 size, and for heavy denims and fleeces you might use a 90/14 needle.
Please note that the thinner your thread, the smaller the needle should be and the thicker your thread, the larger the needle should be. If the eye is too small, your thread may shred and break. If the eye is too large, there's more wiggle room and your thread tension could get off. Generally speaking, the eye should be about twice the size of the thread.
Needle Tips

Needles come in a variety of styles for different uses:
- Sharp: Have a very sharp point that precisely pierces the fabric. Use a sharp needle for tightly-woven cottons or when stitching through puffy foam, thick layers, denim, etc.
- Ballpoint: Have a slightly rounded tip that pushes the fabric fibers aside instead of piercing. Use a ballpoint needle for knits or delicate fabrics.
- Universal: Fall between a sharp and a ballpoint and can be used on either wovens or knit fabrics. Universal needles have a smaller eye. When using a universal needle, make sure your bobbin thread is at least 60 wt or smaller and slow your machine down!
- Top Stitch: Are great for stitching small text. Use with heavy thread when stitching zippers or when thread is looping.
- Specialty Needles: There are also a variety of specialty needles available for specific projects, including leather, metallic threads, hemstitching, and more.
The Most Important “Tip” of All...
Change your needle often! At Kimberbell, we change our needles after eight hours of embroidery. If your needle is even slightly bent, your thread will start shearing and will cause a thread break. Needles can also become gummed up, so change them often!