Shading and layering colors in machine embroidery are fun ways to create rich, dynamic designs that pop with depth and dimension. If you’re ready to pick up a few new techniques for shading and layering embroidery colors, you’ll find everything you need here to get started. From blending basics to advanced layering, our quick guide is here to help! Keep reading to spruce up your next project.
Understand Your Thread Palette
Choosing the right threads is the first part of achieving flawless shading and blending. With machine embroidery, threads are your paintbrushes, and the colors you choose will affect your final project.
Using complementary colors is always a wise choice. They’re easier to blend smoothly. That said, you shouldn’t shy away from neutrals. Incorporate black, white, and gray to add contrast or soften bold hues.
High-quality threads are also a must. A consistent texture and sheen in your threads will make transitions and gradients more seamless. For example, pairing Kimberbell threads with background quilting maximizes color precision while maintaining stitch quality.
Reduce Stitch Density for Smooth Blending
High-density stitching often leaves little room for layered shades to blend. Keep your fill light and airy for better color transitions. Reduce stitch density to about one-third of the default. This means instead of placing hundreds of stitches in one area, create a more open fill to allow the overlapped colors to shine.
Also, reduce each stitch length by 15 percent for a polished, gradient effect. Your needle will appreciate this, as it helps prevent excessive fabric tension. This technique works best for embroidery designs that don’t require fabric to be hooped tightly (floating in the hoop). Reducing stitch length creates detailed textures while preventing the fabric from puckering.
Blend With Multiple Layers
Blending colors in embroidery often involves thoughtful layering. Here’s how to work in layers for a natural, painterly effect:
- Pick three shades of the same color (light, medium, and dark).
- Lay down the darkest color in the shadow areas of your design at one-third density.
- Add a medium-color layer, overlapping parts of the dark stitched sections.
- Finish with the lightest thread for highlights, stitching over lighter areas for a perfect fade.
Here’s a handy pro tip: for metallic accents, experimenting with silver or gold threads in the top layer can make embroidery embellishments look extra sparkly and unique!
Experiment With Tatami Stitches
Tatami, or fill stitches, are often the foundation for shading in embroidery. This stitch runs horizontally across your design, providing excellent coverage. Play with stitch angles in your project by rotating them to create natural light-and-shadow effects. For example, keeping angles at zero degrees works beautifully for horizontal gradients.
Layer the stitches too. Each layer of tatami stitches presents opportunities for blending shades and introducing more complexity into your designs. When working on projects like small quilts, tatami can help you establish a solid shading foundation.
Incorporate Accordion Spacing
Accordion spacing is an embroidery technique that creates smooth gradients and adds depth by adjusting stitch density. By gradually increasing or decreasing spacing, colors and textures blend seamlessly, much like stretching or compressing an accordion, creating a natural flow.
To use accordion spacing in your next project, follow these steps:
- Set your embroidery machine’s density panel to accordion fill mode, or manually adjust the density settings if your machine doesn’t have this feature.
- Decide the starting and ending densities. For example, begin with tightly packed stitches for bold, solid colors, then gradually shift to more spaced-out stitching for softer, faded tones.
- Adjust density at regular intervals to maintain a smooth transition. Experiment with spacing to get the desired effect.
- Combine accordion spacing with two-tone or multicolor threads for striking ombre or gradient effects. This technique works especially well for designs that require subtle color transitions, such as sunsets, flowing water, or floral patterns.
Create Simple Highlights With Metallic Threads
Layering metallic thread enhances embroidery projects by adding pronounced highlights that catch the eye. While metallic threads are best used sparingly, they provide an unmatched shimmer that elevates your designs to the next level.
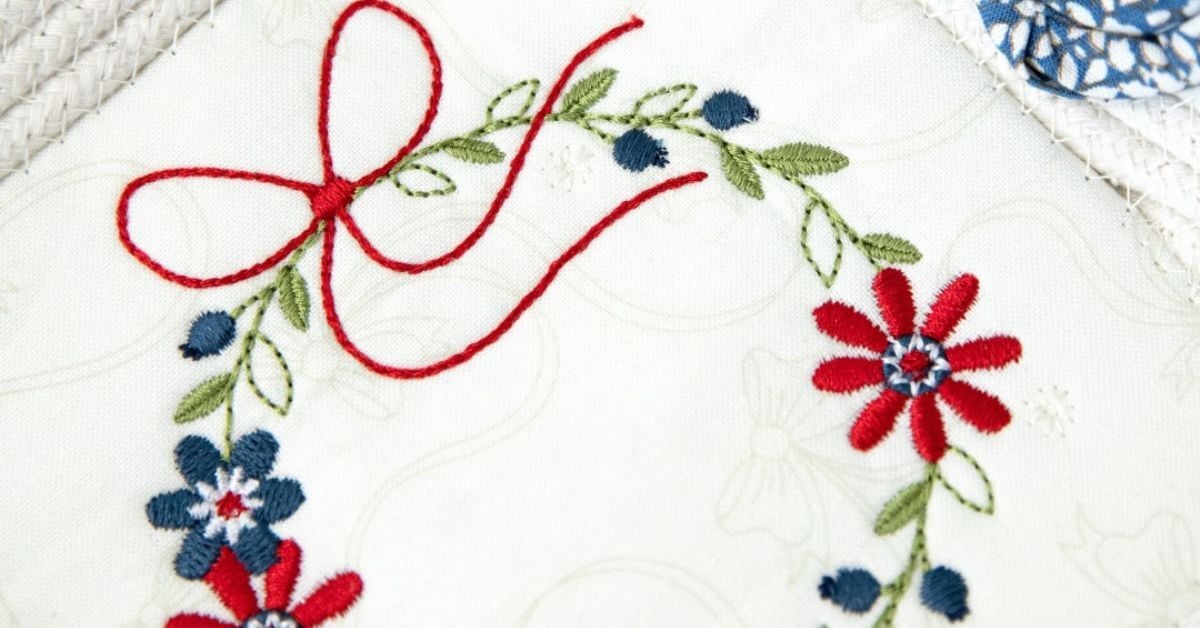
For example, use metallic threads sparingly atop highlights to achieve a sleek, polished finish without overwhelming the design. If you’re stitching floral designs, consider adding gold metallic accents to the petals for a natural, sunlit look that brings the flowers to life.
For a truly standout project, incorporate these metallic details on Kimberbell stabilizers or Flexi Foam projects, as they add beautiful texture and depth, making your designs even more vibrant and dimensional.
Practice Gradients on Simple Shapes
If you’ve never shaded embroidery before, start with something manageable, like circles or squares. Try turning a two-dimensional circle into a shaded sphere using layers of light and dark tones.
Here’s a simple exercise:
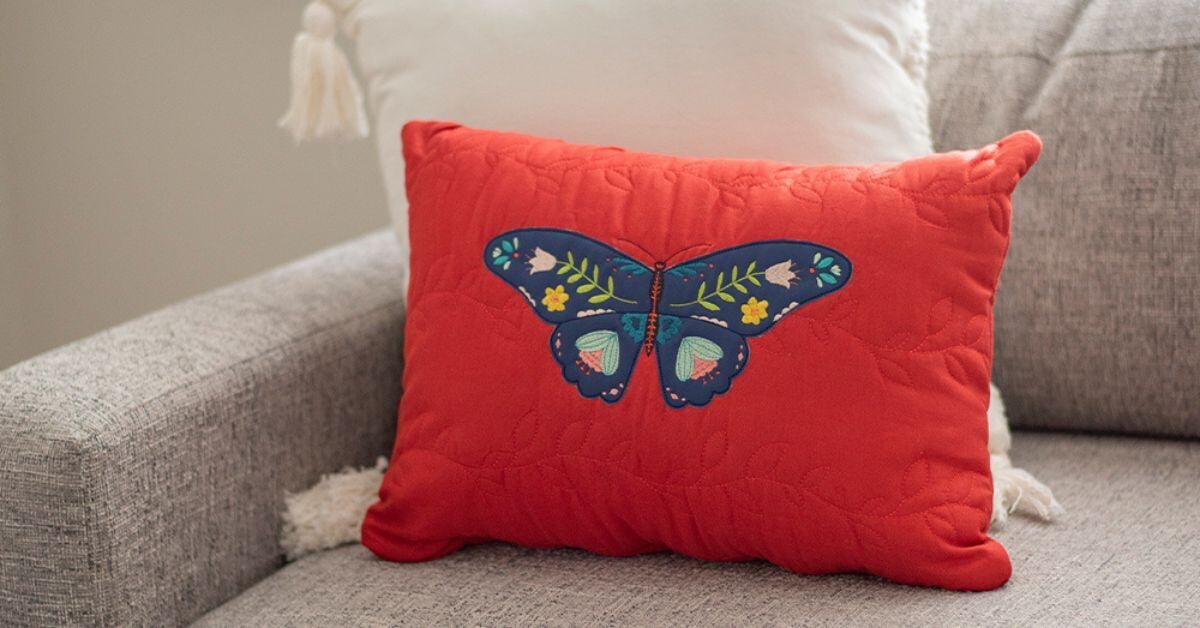
- Use a dark thread, like navy blue, to outline and shadow the lower left.
- Add a lighter blue in overlapping mid-tones.
- Choose icy blue or white for highlights, staying closer to the top right for brightness.
This exercise is the ideal way to practice depth and layering techniques efficiently.
Smooth Blends With Digitizing Software
Many embroidery digitizing programs offer tools to enhance color blending. Use these features to tweak density, optimize stitch length, and preview shading in designs before stitching.
Adjust the density manually to perfect the gradient, and set fill spacing digitally for smoother transitions between contrasting colors. With these tools, you have better creative control, making dynamic layering easier than manual programming.
Maintain Crisp Edges for Clarity
Gradients usually have smooth transitions, but keeping the edges clean is important to avoid a blurry design. Satin stitches along the borders are a great embroidery technique for shading in place and preventing colors from bleeding outside the lines.
These edge treatments secure the fabric while enhancing the overall look of your work, making every design element pop with precision and style. Embroidery embellishments like these are essential for creating clean, professional results.
Highlight Your Unique Twist
Machine embroidery projects are a great way to showcase your creativity and personality. Techniques like bold striped patterns, abstract florals, and metallic shimmer bring custom projects to life with detail and polish.
Learning these techniques for shading and layering embroidery colors combines science with flair. The art of embroidery with blending adjustments, tatami layering, and shading tools creates intricate designs that truly stand out. Explore our website for beginner-friendly tips, detailed tutorials, and valuable resources to elevate your projects to the next level.