Machine Embroidery Tips for Working With Cut-Away Stabilizer

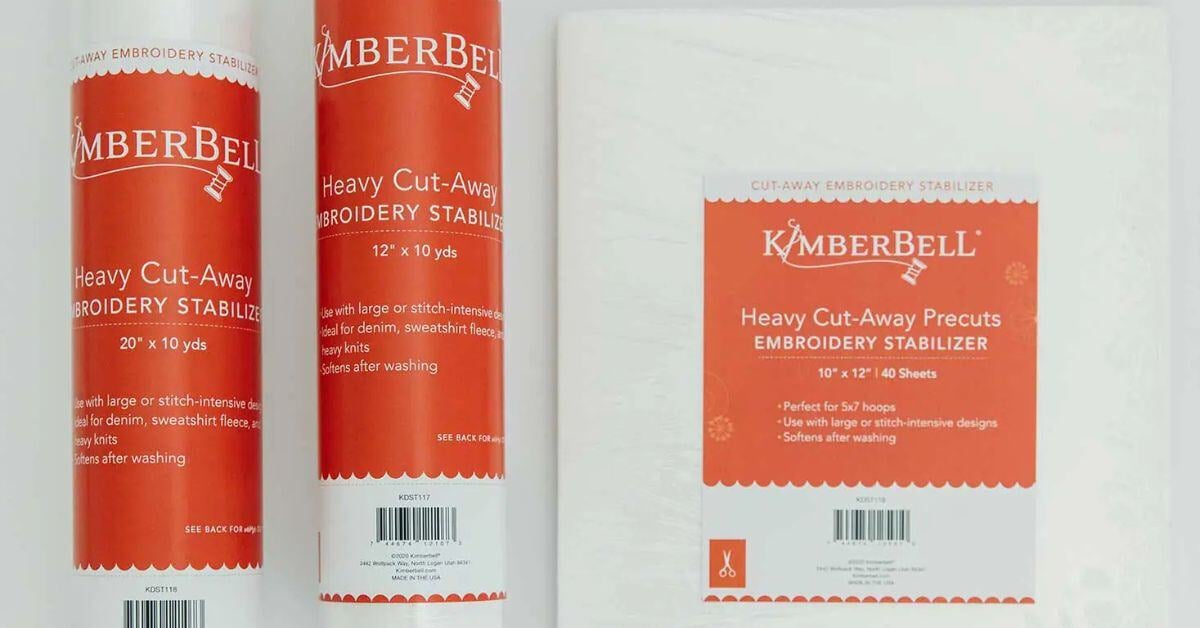
Machine embroidery projects deserve a strong base, and that's where embroidery cut-away stabilizer shines! Whether you’re working on stretchy fabrics or intricate designs, the stabilizer helps hold your masterpiece together while preventing puckering or distortion during stitching.
Review these practical tips for working with a cut-away stabilizer to get the most out of your stabilizer and keep your embroidery projects looking crisp and polished.
Choose the Right Weight for Your Fabric
Stabilizers come in different weights, ranging from light to heavy. The best starting point is to match the weight of your stabilizer to the fabric. A lightweight fabric, like polyester or jersey knits, pairs well with a lighter stabilizer, while heavier fabrics, like denim or canvas, require something stronger. Using the right balance ensures your design won’t stretch or warp during stitching.
Properly Hoop Your Fabric and Stabilizer Together
Hooping matters—always hoop your stabilizer snugly along with your fabric. Place the stabilizer underneath the fabric and stretch it evenly before securing it into the hoop. The goal is to achieve a taut drum-like surface that will keep everything steady while the machine works its magic. Wrinkles or loose fabric could mess up your design.
Trim Wisely After Stitching
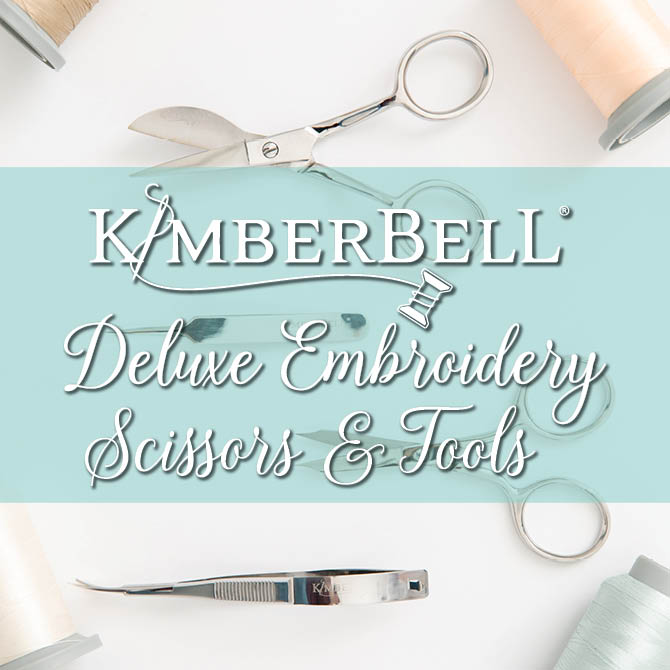
Once your design is complete, grab a pair of scissors to trim the excess stabilizer. Cut close to the design and avoid clipping into the stitches. This step ensures a polished look without leftover stabilizer poking around your edges. You might leave a small margin around the embroidery for added support for dense designs.
Experiment With Layering Stabilizers for Extra Support
Don’t hesitate to experiment with layering your stabilizers for intricate designs or challenging fabrics. You can combine a cut-away stabilizer with a temporary topping, like a water-soluble stabilizer, to enhance the stitching process. The cut-away will provide the long-term support needed, while the topper helps prevent your stitches from sinking into the fabric. This strategy is especially helpful for detailed embroidery on plush or textured materials, as it will ensure your design stands out clearly.
Store and Handle the Stabilizer Properly
Keeping your stabilizer in good condition is key to a successful project. Store stabilizers in a cool, dry place away from direct sunlight to prevent them from warping or losing their quality. When handling, avoid creases or folds, as these can create bumps that might transfer onto your project. A little extra care in storage goes a long way in ensuring your projects look professional every time.
Combine Stabilizers for Extra Security
Did you know you can combine stabilizers for tricky materials or heavily detailed designs? When working with high-stretch or delicate fabrics, pair a cut-away stabilizer with a layer of wash-away or tear-away stabilizer. The cut-away provides a permanent structure, while the temporary layer offers extra support during embroidery.
Remember to approach the stabilizer confidently—it’s your secret weapon for embroidery success. By following these simple machine embroidery tips for working with embroidery cut-away stabilizer, your creations will hold up beautifully through wear and washing, looking as brilliant as the day you stitch them.


