Did you see Craft Night With Kimberbell on October 23, 2025? You might say it was "blooming" with creativity. You might also say the projects were "out of this world." 😊
But I'm getting ahead of myself. Let's first talk first about Craft Night With Kimberbell, just in case you don't know what that is . . .
![]()
Craft Night With Kimberbell
Craft Night With Kimberbell is a live broadcast that happens about once a month on our Facebook and YouTube channels. Kim and Cassie take Kimberbell designs and reimagine them in new ways!
It's fun, it's silly, it's creative, it's inspiring. (And there's a LOT of laughter!) This broadcast is an hour of hanging out with Kim and Cassie, giggling and being inspired and feeling like you've been with friends.
Also, later in the show, Abby comes on and shares a delicious recipe. It's delightful. (I especially like this segment because Abby brings the food to the office and we all get to enjoy it!)
And that, my friends, is Craft Night With Kimberbell. If you missed it, you can watch all of the episodes HERE! You can watch the past videos whenever you want, so don't worry if you miss the live. (We've got you!)
![]()
Craft Night Tips & Tricks
Cassie and Kim are happy to share their Craft Night creativity with us, so below are their tips for the flower quilt and space projects! (I'll also share Abby's delicious recipe!)
Information will be presented in the following order:
- Featured Kimberbell (original) products for October 23, 2025
- Cassie's flower quilt and tips
- Kim's space projects and tips
- Abby's Pumpkin Snickerdoodle Snack Cake recipe
Now, let's get into it!
Featured Kimberbell Products
Every Craft Night With Kimberbell features a different Kimberbell product, which is then reimagined in a creative way. The hope is to inspire you with the many ways you can use a Kimberbell design!
The featured Kimberbell products for the October 23, 2025 episode are the Floral Applique 1 and Astronaut Appliuqe 1 design. Here's how they look in their original state:
Floral 1 Applique
Floral Applique 1 is easy and quick, comes in three sizes, includes simple instructions, and is perfect for stitching on blanks and more! This design also coordinates with the Floral 9 background quilting design.
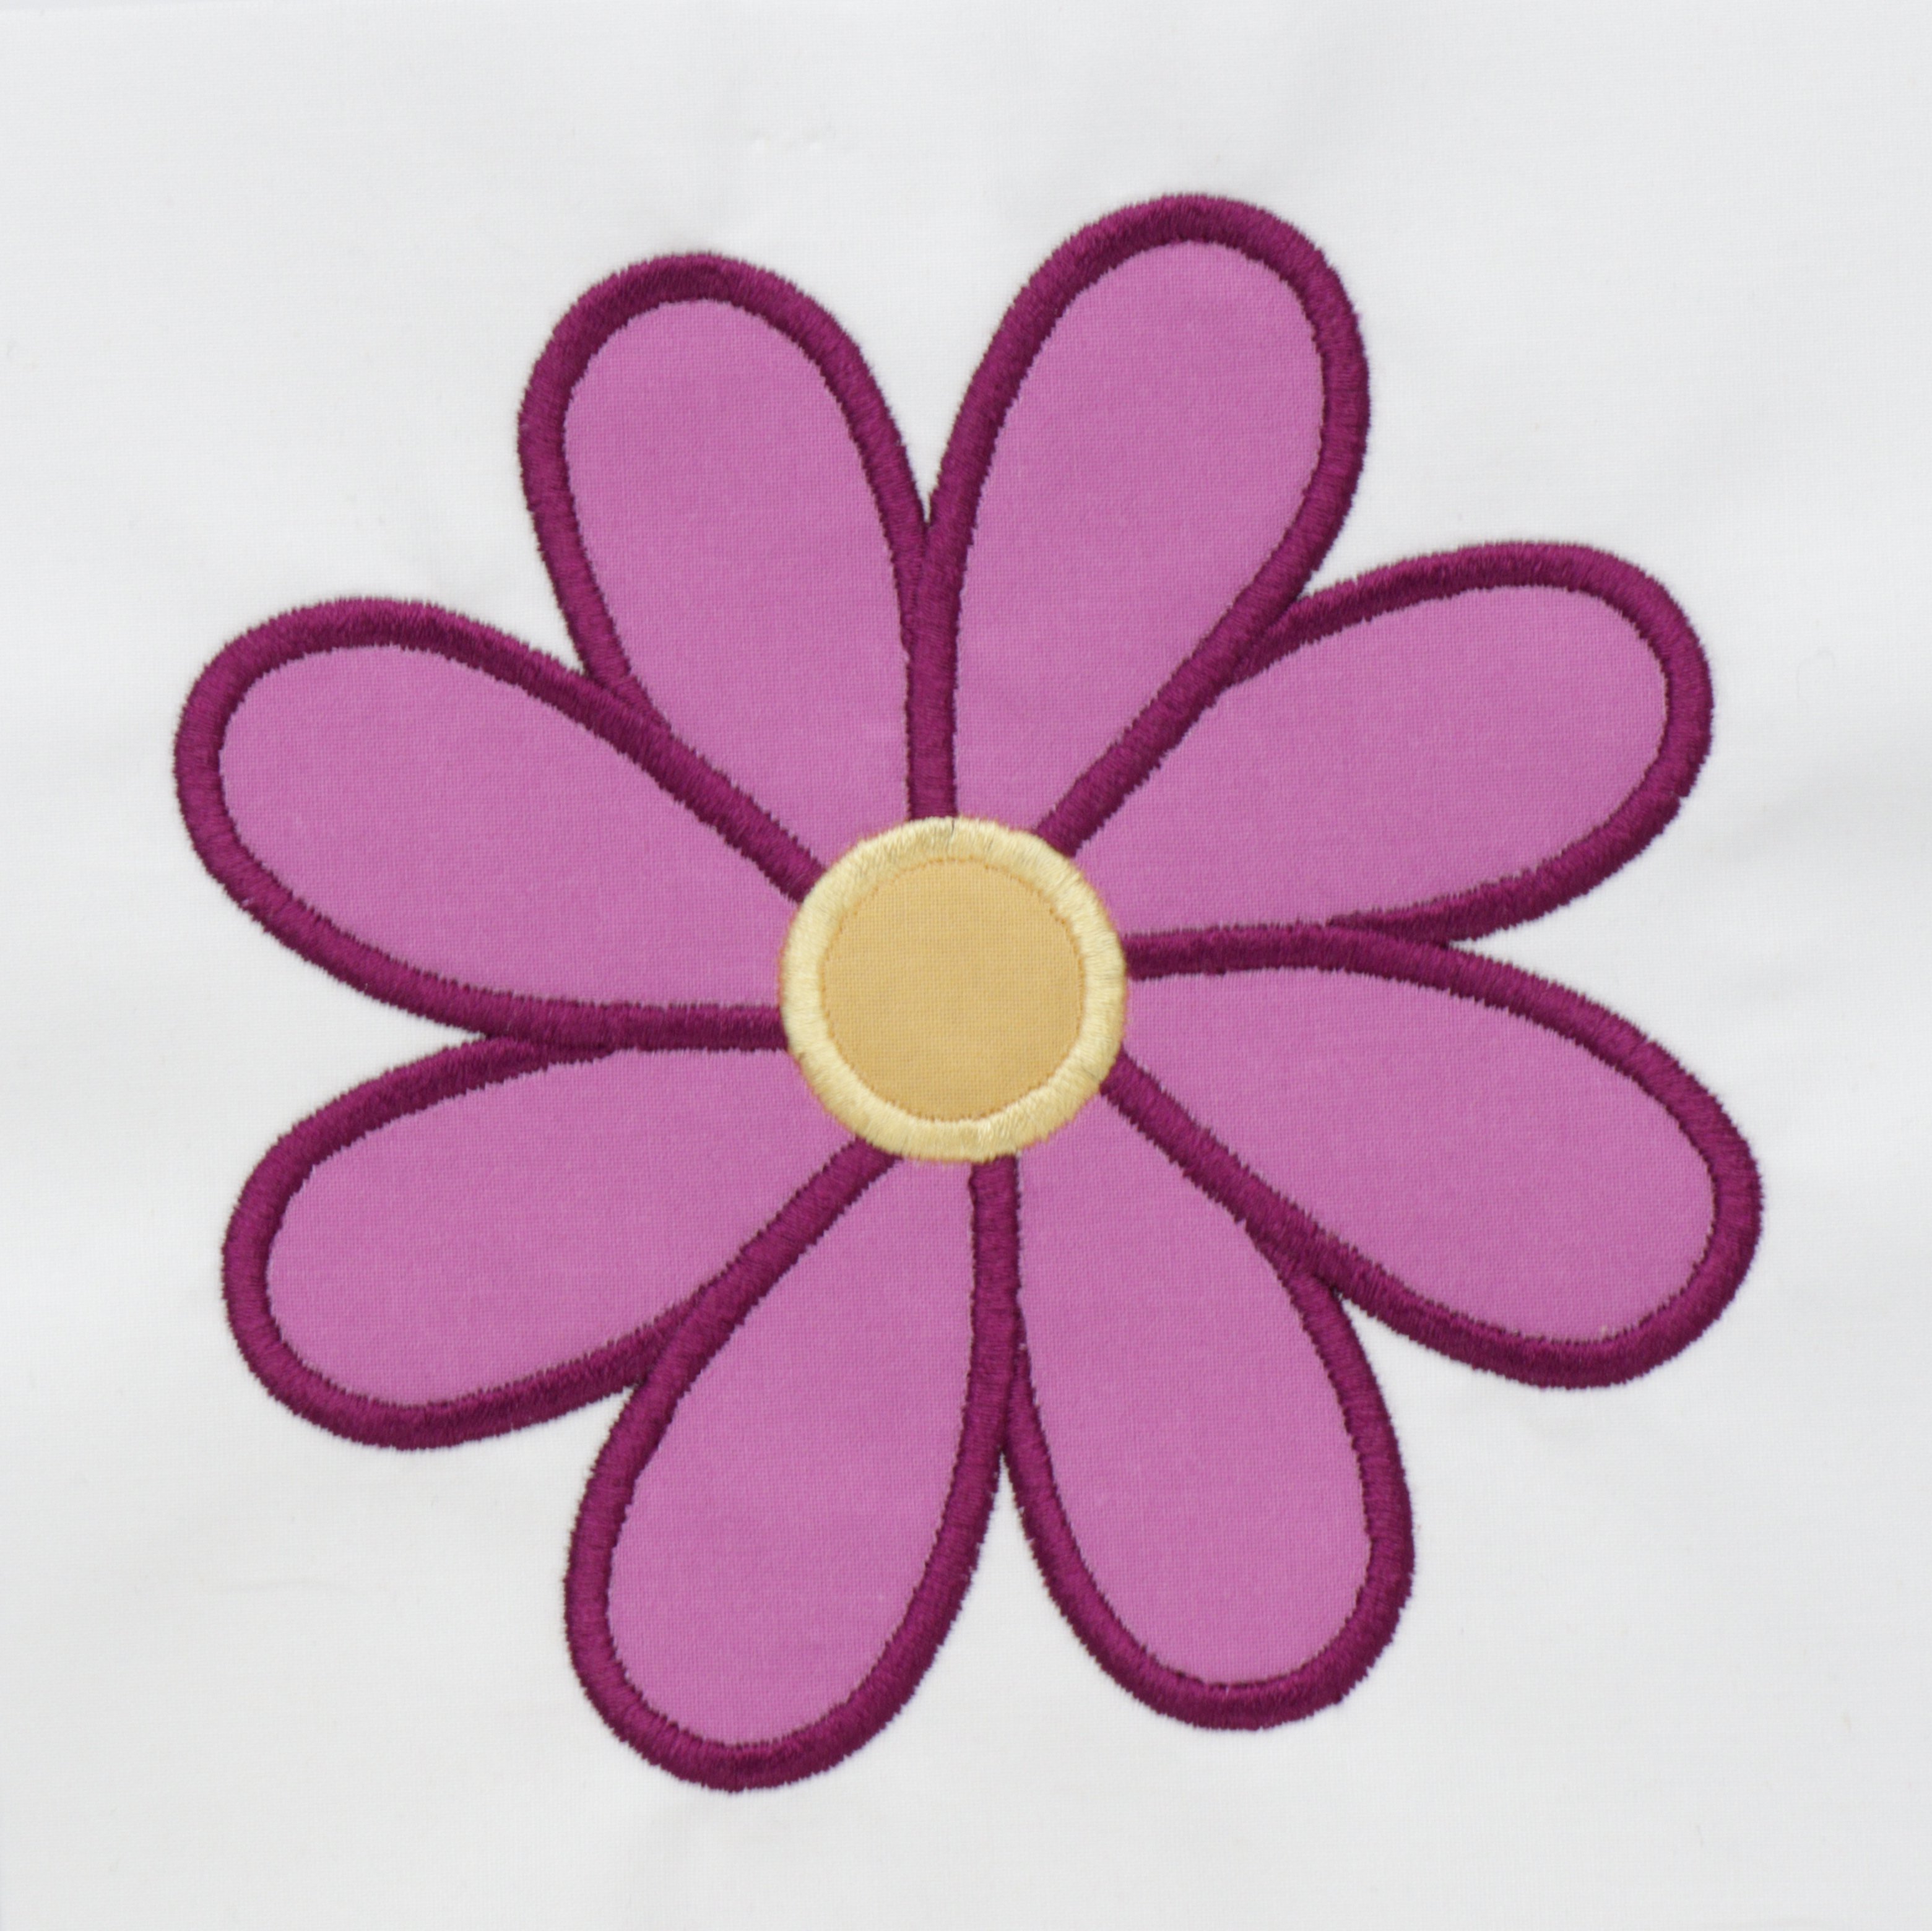
🌸 Purchase and download the Floral Applique 1 HERE!
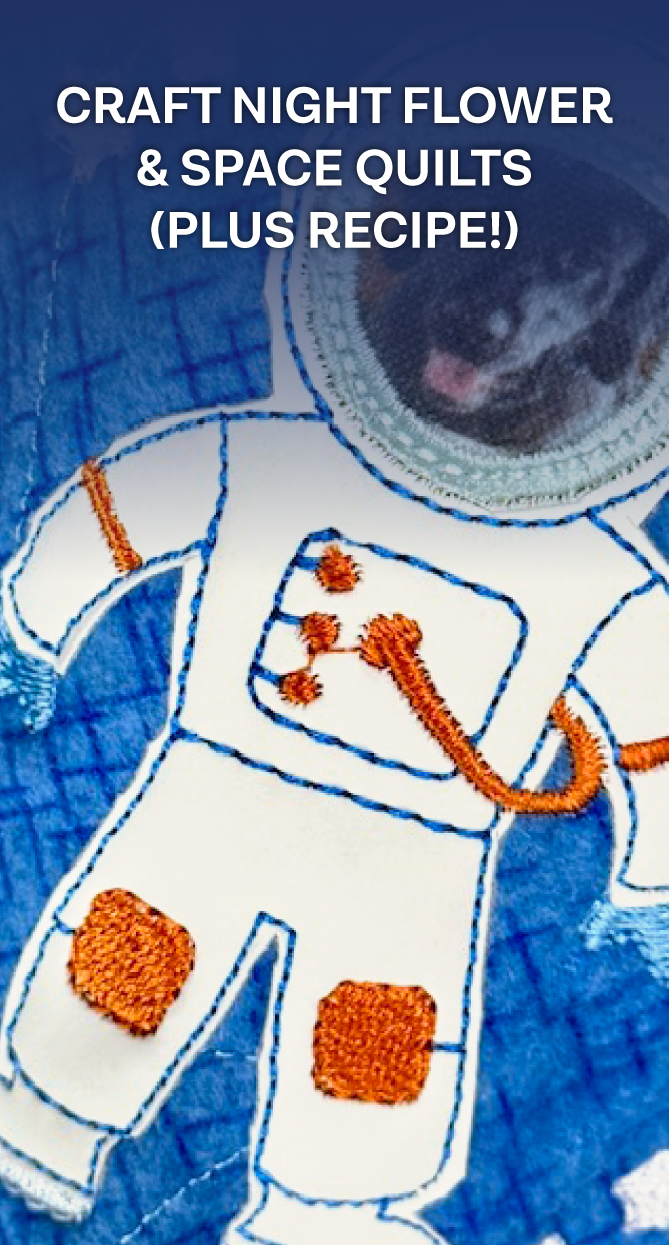
Astronaut 1 Applique
Astronaut Appliuqe 1 also comes in three sizes, includes simple instructions, and is perfect for stitching on blanks and more. This design is inspired by the Space 1 background quilting design!
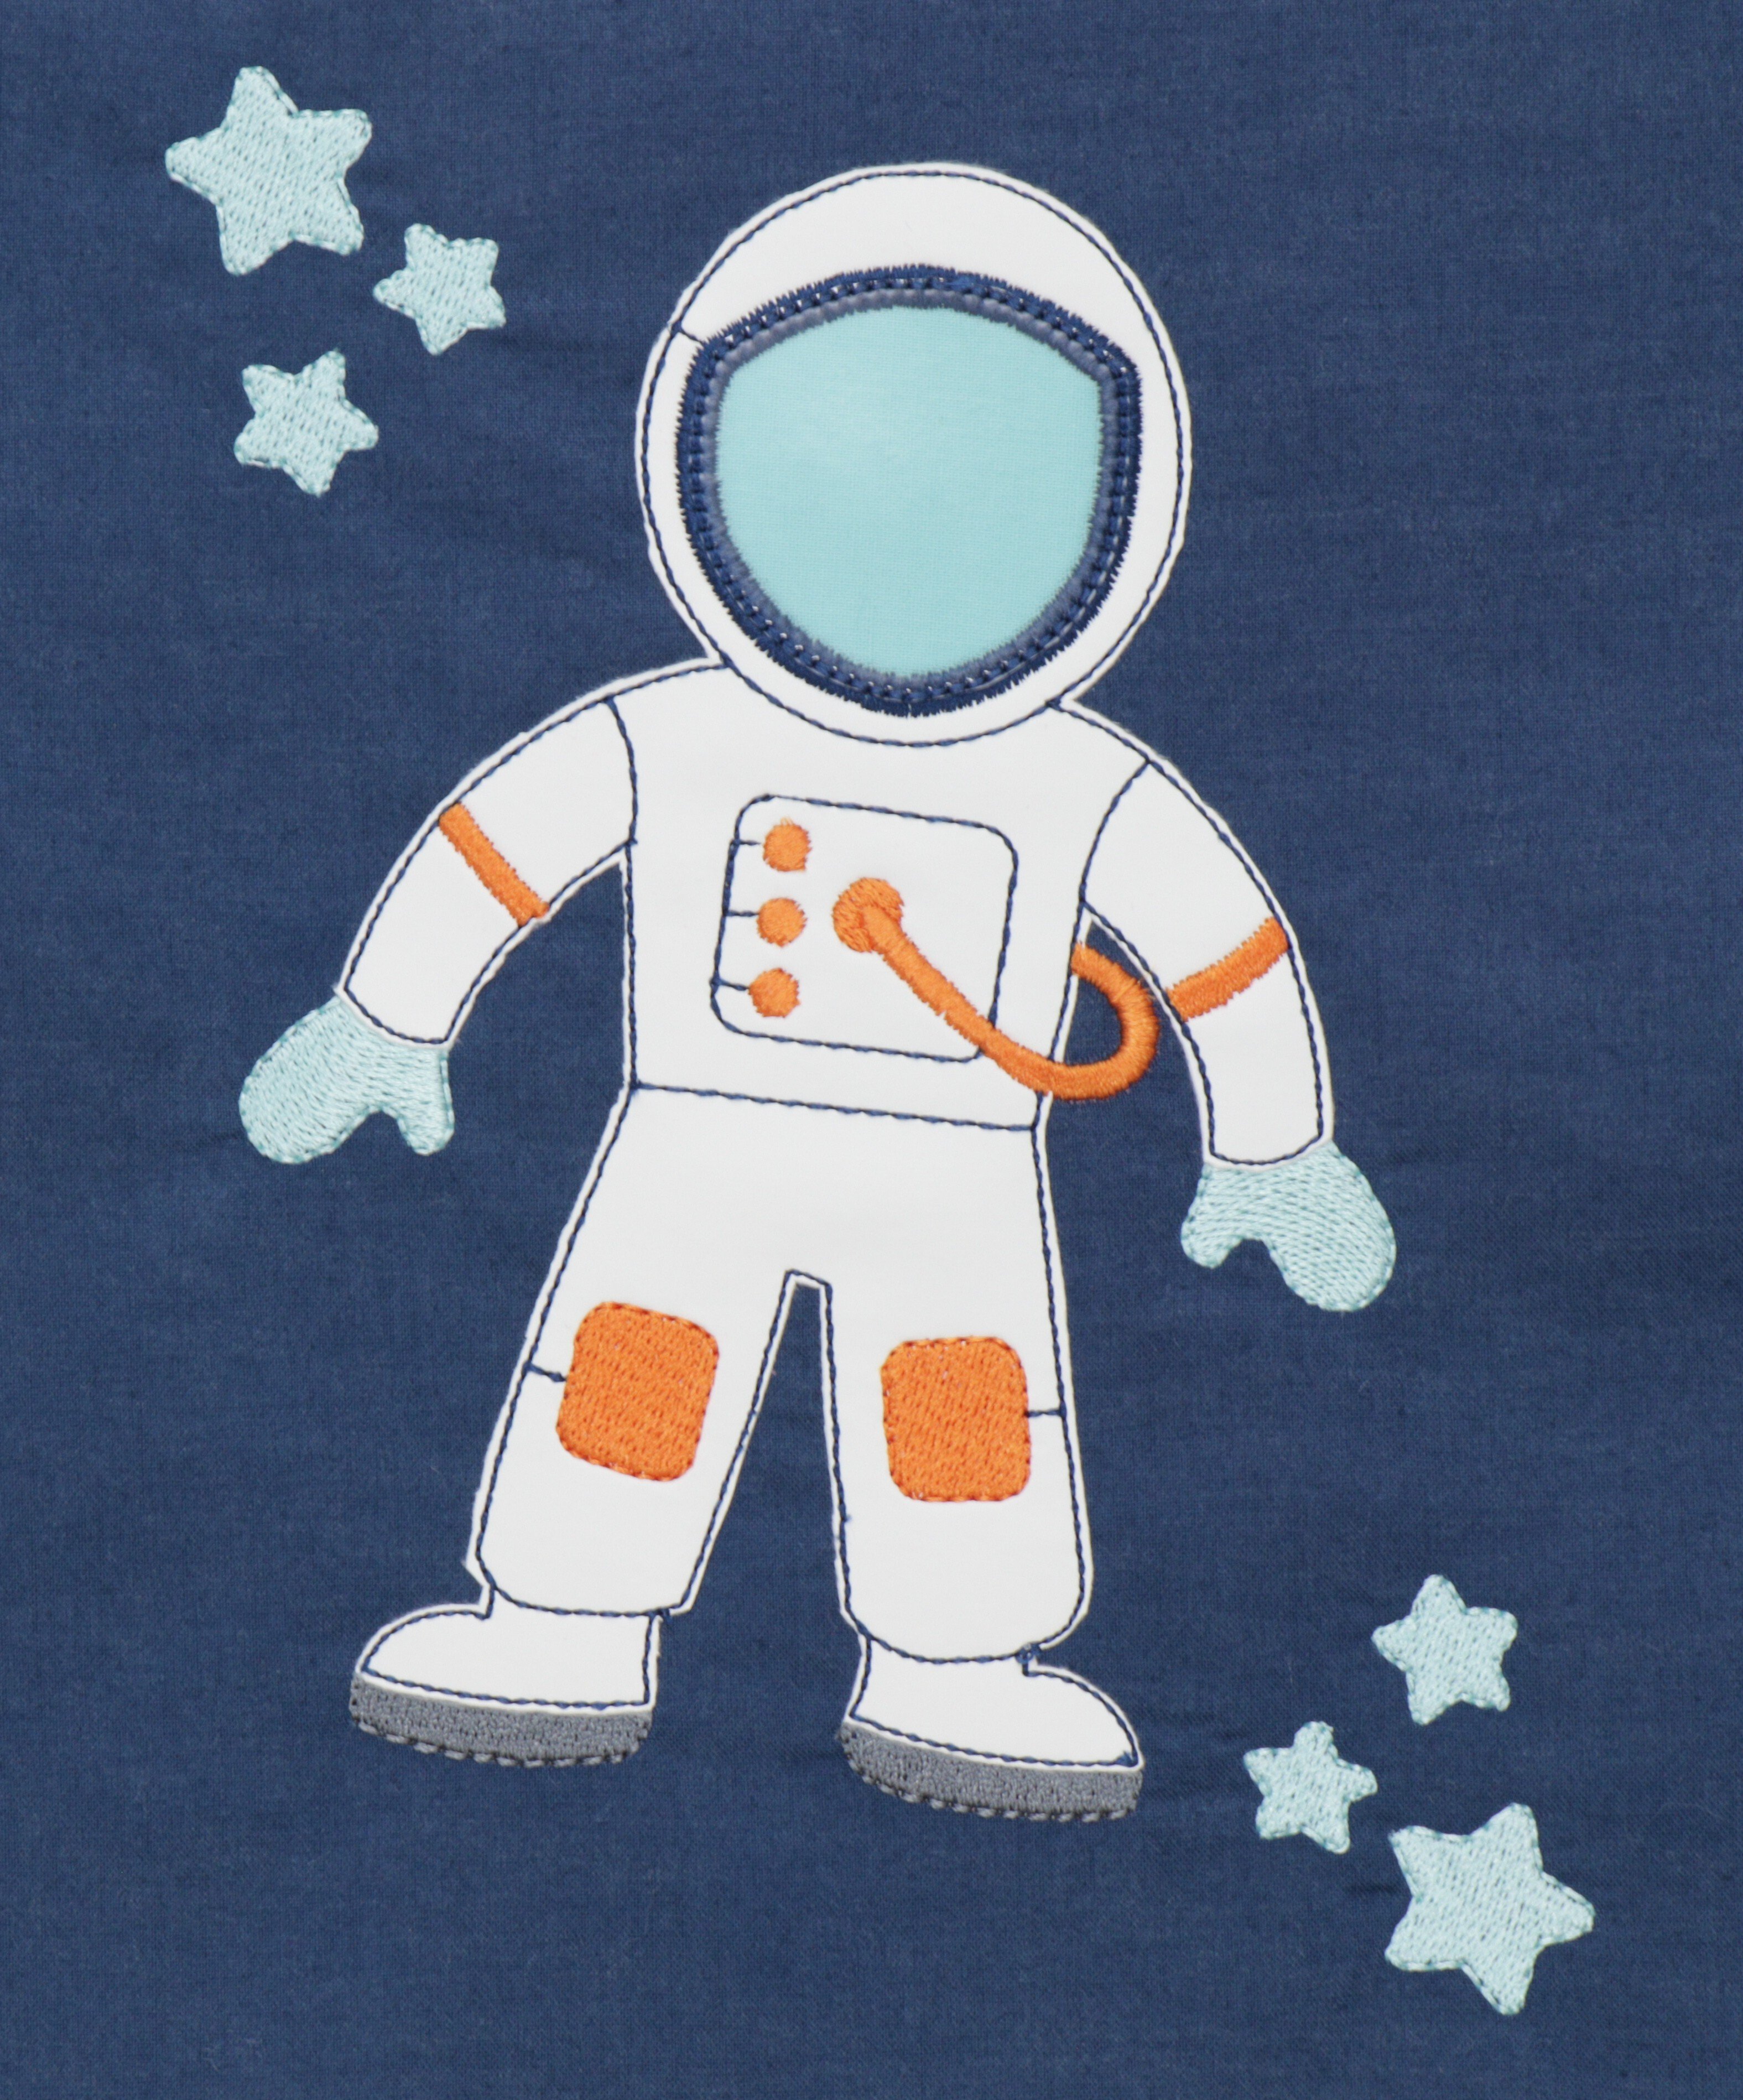
⭐ Purchase and download Astronaut Applique 1 HERE!
Now, let's see how Kim and Cassie used these simple applique designs!
![]()
Cassie's Flower Quilt
Cassie made this beautiful quilt with the 8x8 size of Floral Applique 1. She also quilted using Clear Blue Tiles® and the coordinating Floral 9 background quilting design! (Isn't this lovely?) 😍
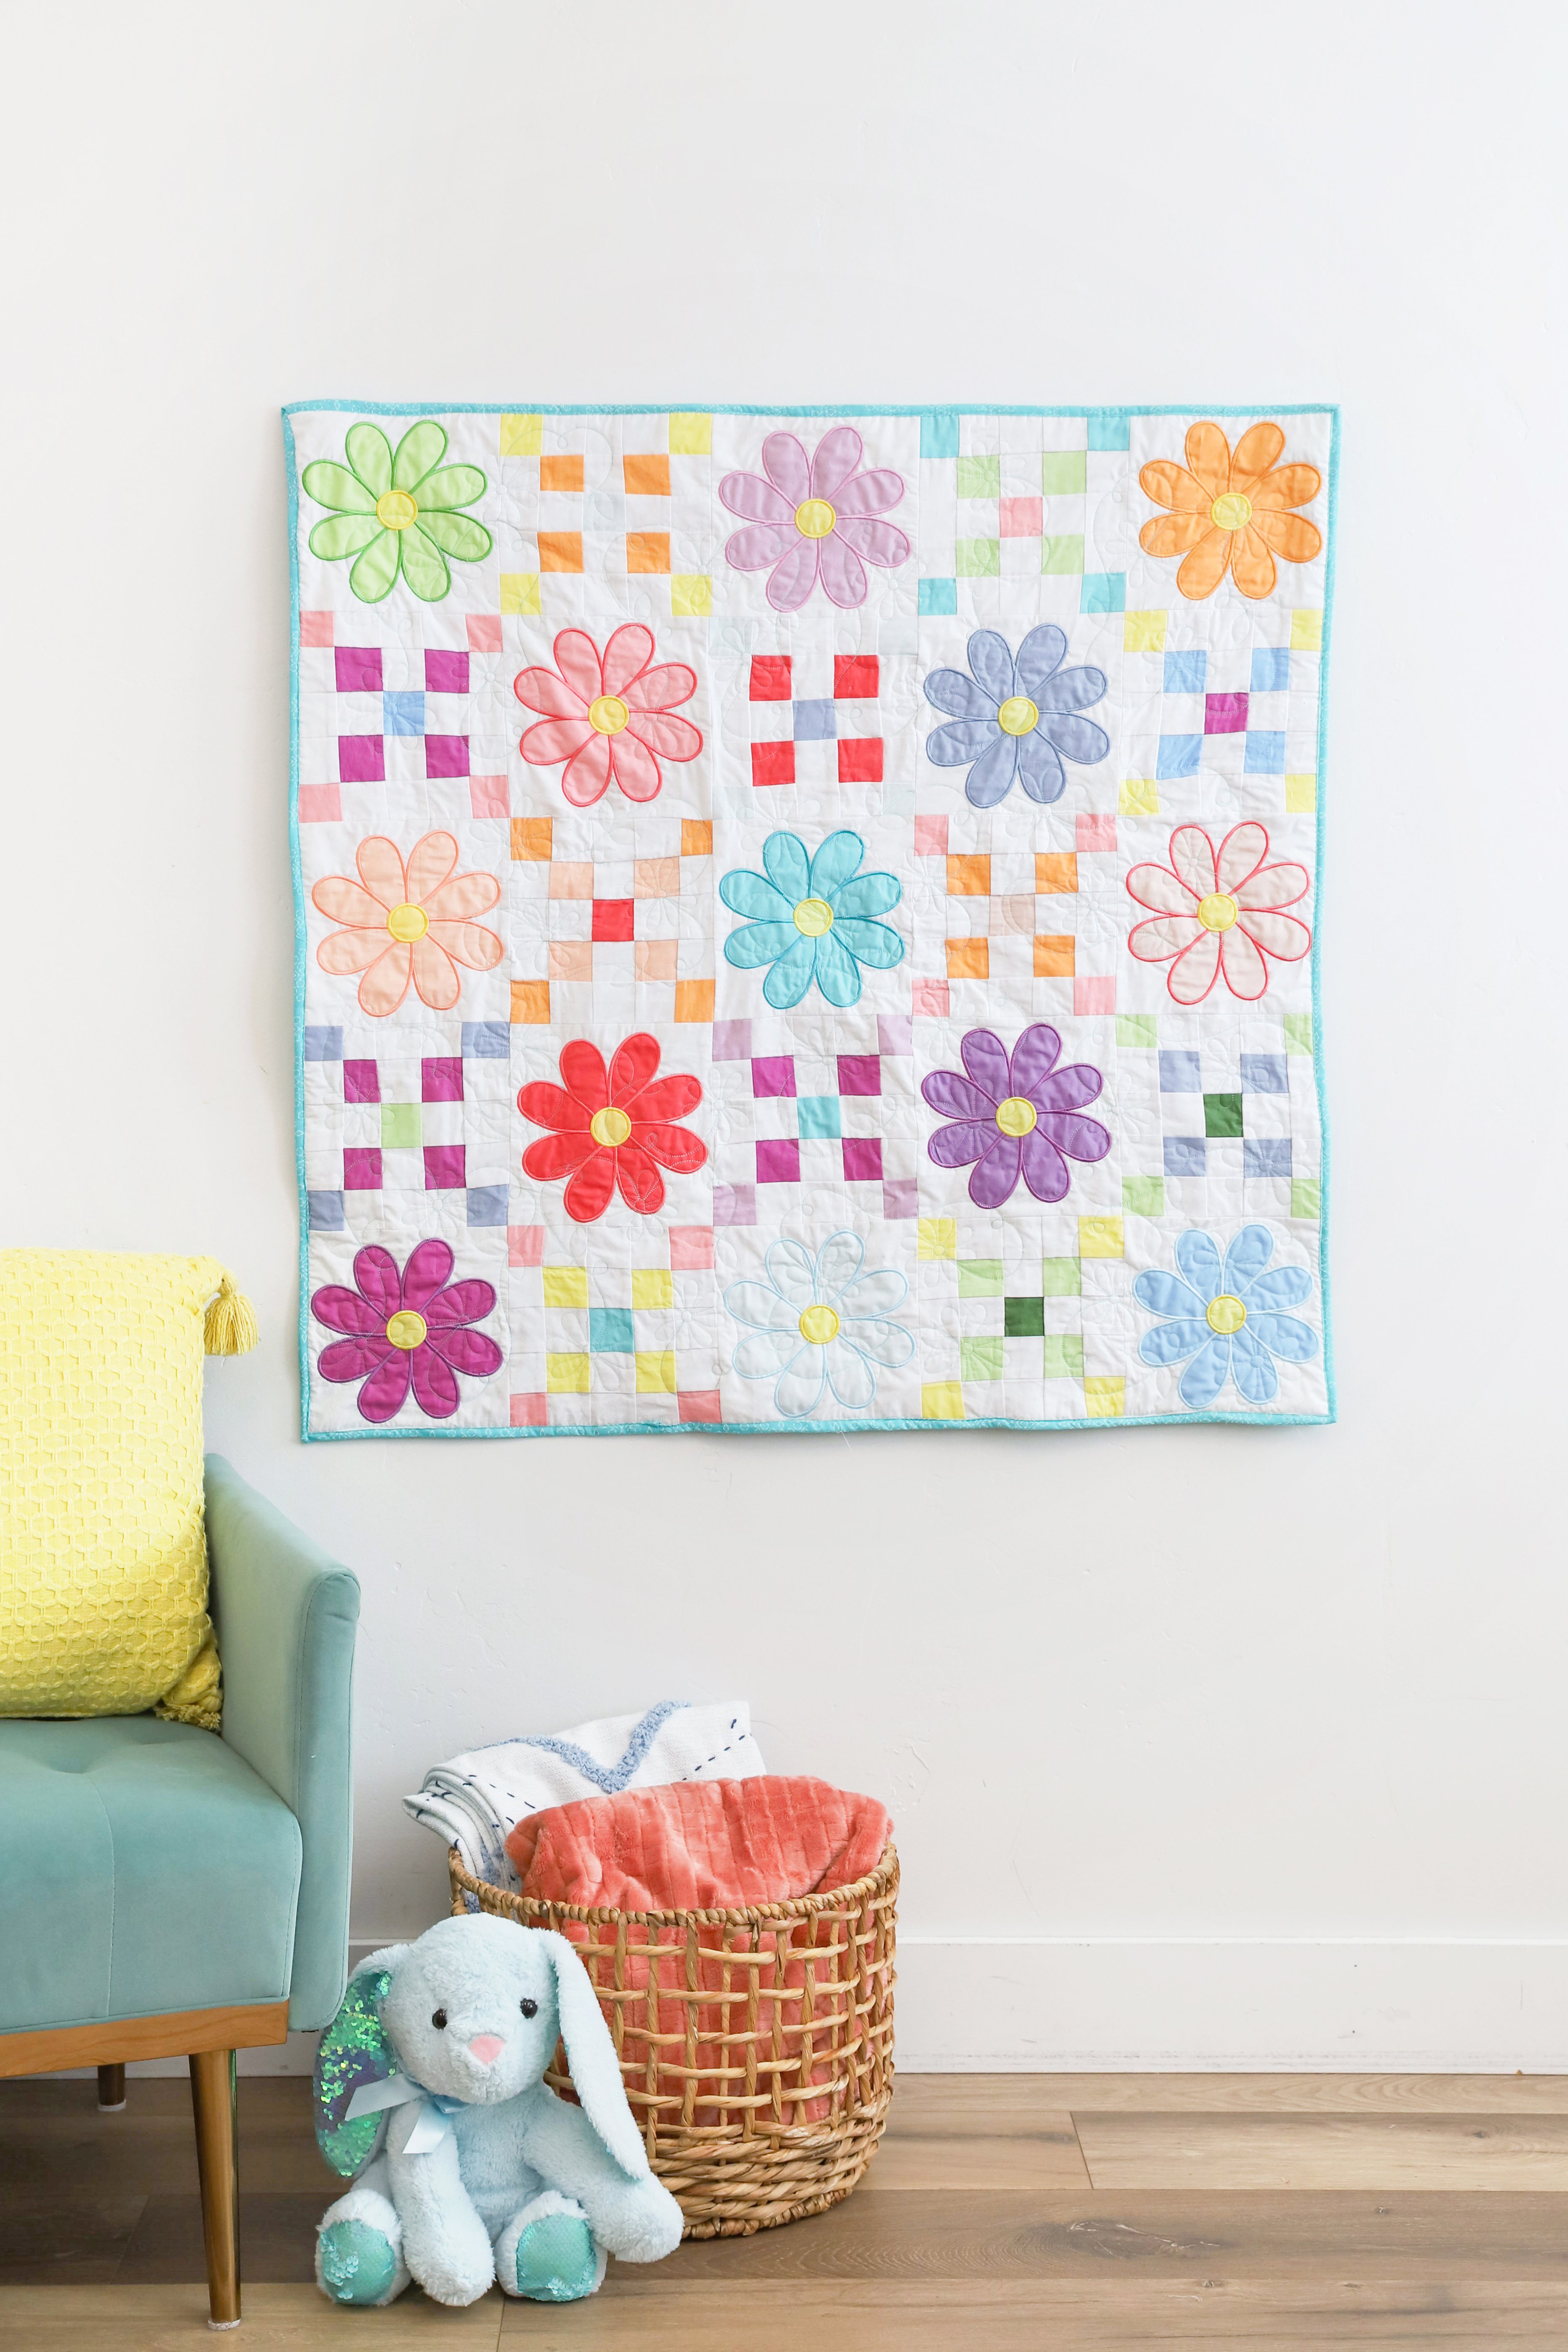
Here's how Cassie put her flower quilt together!
Cassie's Notes & Tips
Fabric Requirements
- (21) 10 x 10" pieces of fabric (OR 1/2 of a layer cake/10" stacker).
- 13 pieces will be used for the flowers.
- One will be cut into 2.5x2.5" squares to use for flower centers.*
- The other 7 will also be cut into 2.5x2.5" squares to use for Irish Chain Blocks.**
-
2.25 yards of fabric for the background**
-
Cut 13 pieces of 12x12."
-
Cut remaining fabric into 2.5x2.5" squares.
-
-
44" x WOF for backing
-
1/4 yard for binding
-
Kimberbell Light Mesh or Medium Cut-Away stabilizer
-
Kimberbell Fusible Backing
-
Kimberbell Project Batting
Cassie's Instructions
-
Make 13 flower blocks with 12x12" pieces of fabric as the base for Floral Applique 1.
(Cassie used the largest size flower, but any of the provided sizes will work great.)Note: Use a 10x10" piece of fabric for the flower applique and one of your center 2.5x2.5" pieces as the middle of the flower. For best results, use Fusible Backing to cover the full back of the 12x12" background fabric and your 10x10" flower fabric. -
Using 16 background pieces of 2.5x2.5" fabric and 9 pieces of 2.5x2.5" pieces of fabric, assemble an Irish Chain Block. Cassie used three colors from her layer cake. (Make sure to press seams as you go!)
-
Trim all blocks to 9x9" and arrange in the pattern you'd like.
-
Stitch blocks together using a 1/4 inch seam allowance, pressing as you go (either open or to the side).
-
When quilt top is assembled, make a quilt sandwich with the top, a piece of Project Batting in the middle, and your backing fabric on the bottom. Using Clear Blue Tiles and Kimberbell's background quilting library, add your background quilting. (Watch Kim's Clear Blue Tiles webinar HERE!)
-
Add your binding! (Please see Common Questions About Binding HERE!)
Take a look at this GORGEOUS quilting!
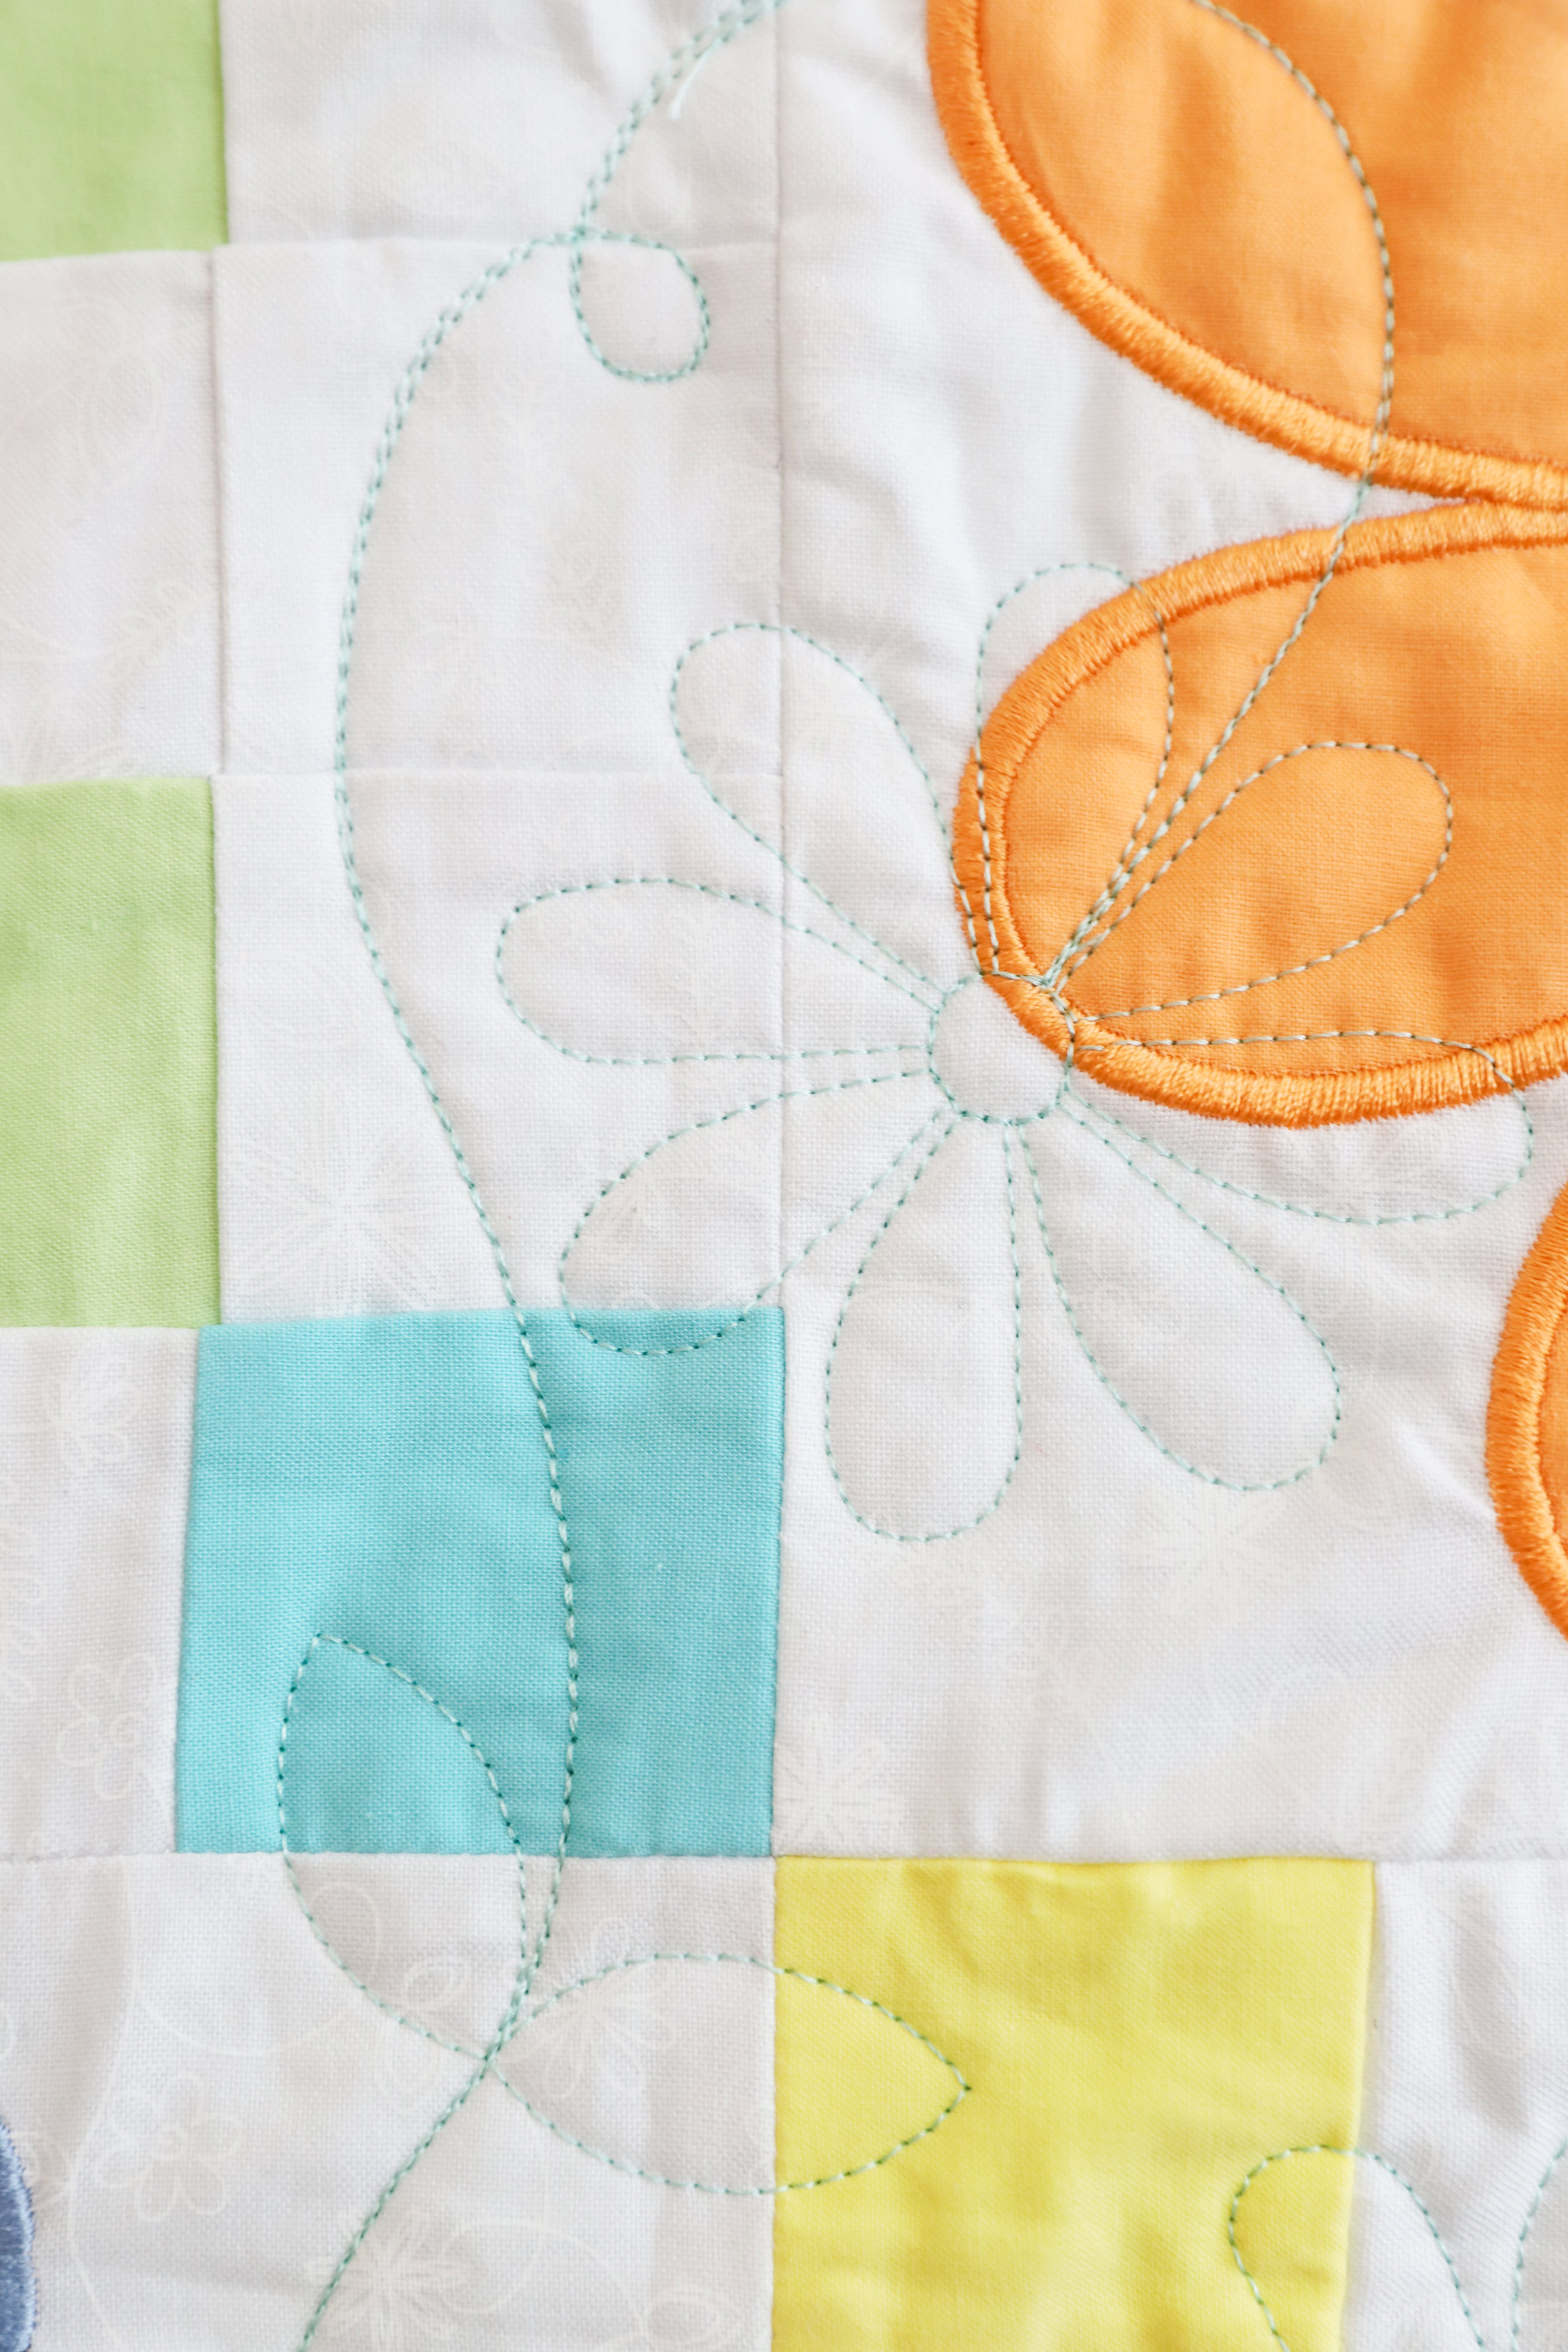
To see how Cassie made the quilt, click the video below and go to the 10:18 mark!
![]()
Kim's Space Projects
Products Needed for Kim's Space Projects:
- Yeti North Pole Stuffie Download (6x10 size) HERE!
- Astronaut Applique 1 Download (5x7 size) HERE!
- Space 1 Background Quilting Design (8 1/2 x 8 1/2) HERE!
- Space 2 Background Quilting Design HERE!
Space Quilt
Kim had a lot of fun with the Astronaut Appliuqe 1 design! First, she put together this STELLAR space quilt (complete with photo astronaut faces) and Kimberbell's Space 2 background quilting design.
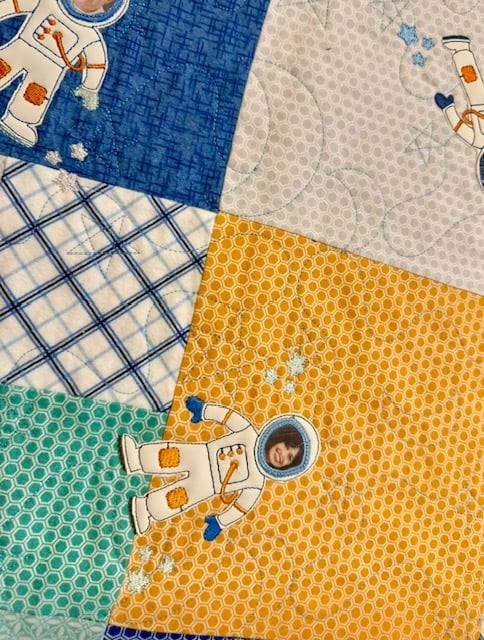
*Note: Kim printed the photo faces on a sublimation printer. She explains how this works at the 53:20 mark in the video!
Space Quilt Diagram
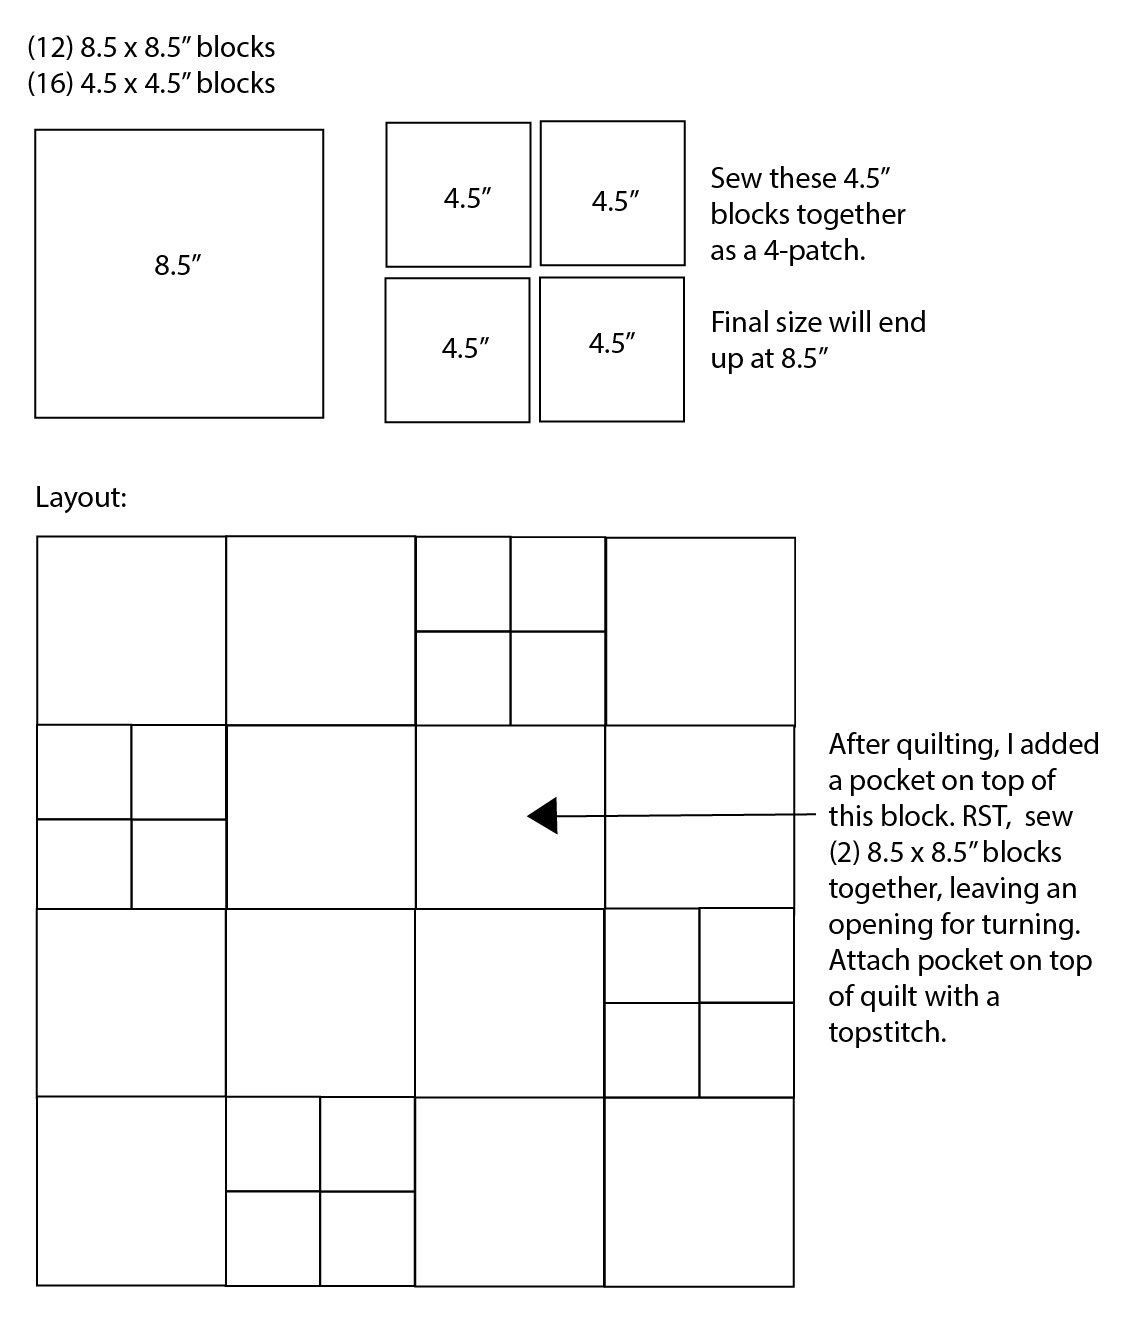
Kim's Alien
As part of the quilt, Kim also made a darling alien stuffie! To do this, she used the Yeti North Pole Stuffie (the 6x10 size) for the main body. She then attached arms and legs (diagram found HERE )!
.jpg?width=794&height=1191&name=Monster%20(1).jpg)
Alien Pocket
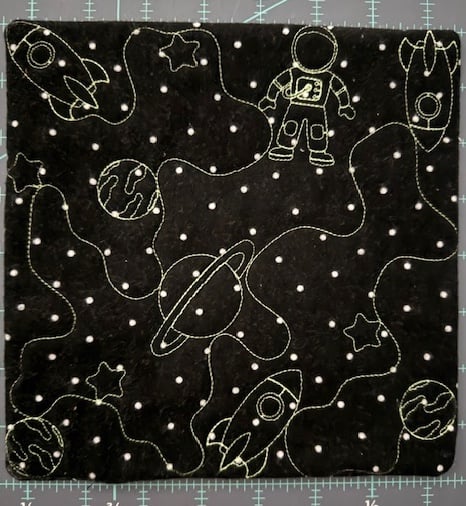
Kim also made a pocket on the quilt for the alien so he could be snugly tucked into his blankie, just like the child will be cozy in the overall quilt.
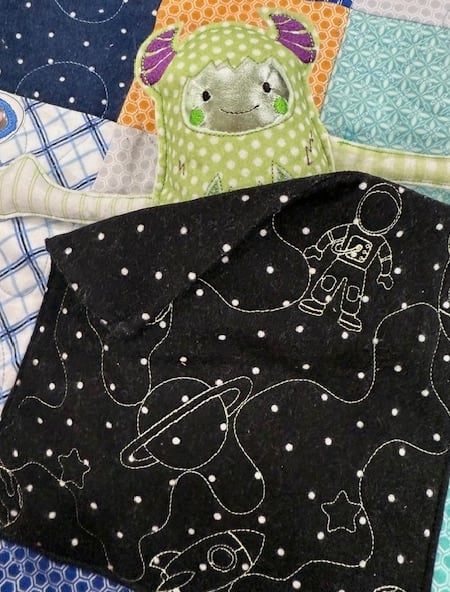
She made the pocket from the 8 1/2 x 8 1/2" Space 1 Block-by-Block quilting design AND stitched it with glow-in-the-dark thread! (Isn't that a fun touch?!)
To see Kim explain how she made her projects, click the video below and go to the 23:23 minute mark!
*Psssst! Kim put the quilt, the alien, and a couple of space books in the Kimberbell Mint Jelly Tote! What a fun gift idea, right?
Pumpkin Snickerdoodle Snack Cake Recipe
Last (but certainly not least), here's the Pumpkin Snickerdoodle Snack Cake Recipe that Abby made on Craft Night! (I got to try it and YUM YUM YUM.)
Since this isn't Abby's original recipe, I'll need to direct you to the right source instead of putting the recipe in this post. Just click HERE and enjoy! (To see Abby make the cake, go to the 1:00 mark in the video!)
Be sure to tune in on November 20, 2025 for the next Craft Night With Kimberbell! You won't want to miss all of the inspiring ideas, laughter, recipes, and fun.
Happy stitching!