5 Reasons Why Your Embroidery Might Be Puckering
Ever put your heart and soul into a machine embroidery project only to have your design pucker up like a raisin? We’ve all been there. There are various reasons why your embroidery might be puckering. By understanding the root causes of puckering and how to fix them, you’ll be back on track to creating flawless designs in no time.
What Causes Puckering in Machine Embroidery?
Puckering usually happens when the fabric or design becomes unstable during stitching. Think of it like ingredients in a recipe—if something’s off, the final product doesn’t come out right.
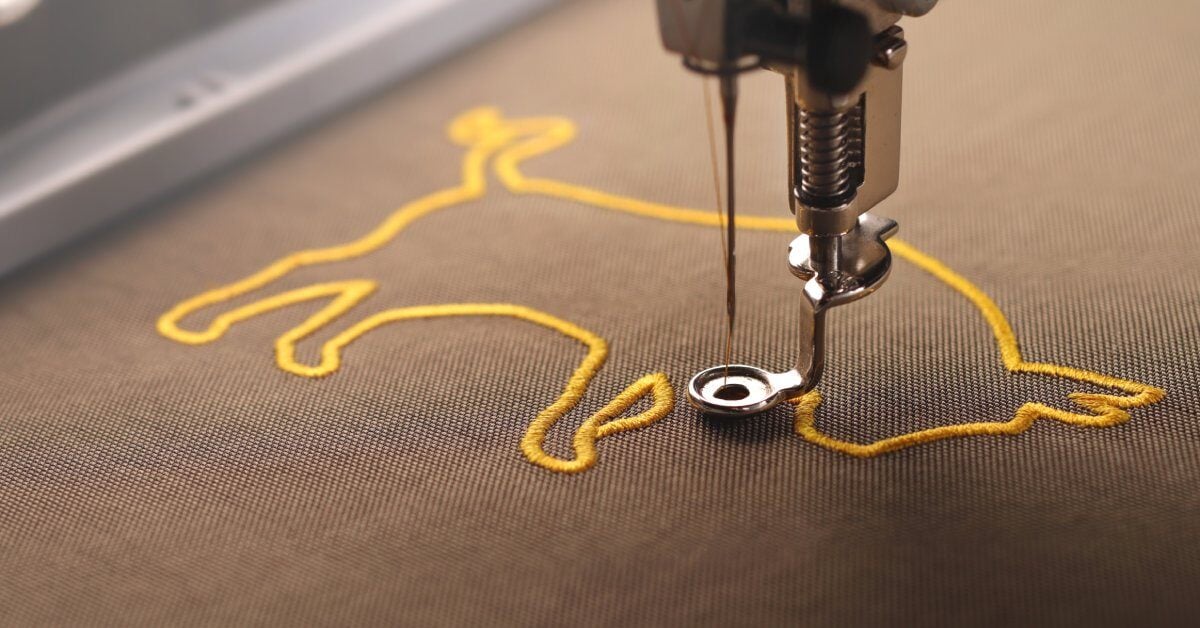
1. Hooping Troubles
Improper hooping can leave your fabric too loose or stretched unevenly, which causes shifting. To avoid this, ensure your fabric is taut but not overly tight in the hoop. Clamp your fabric securely and check alignment before stitching for trickier ‘float in the hoop’ projects.
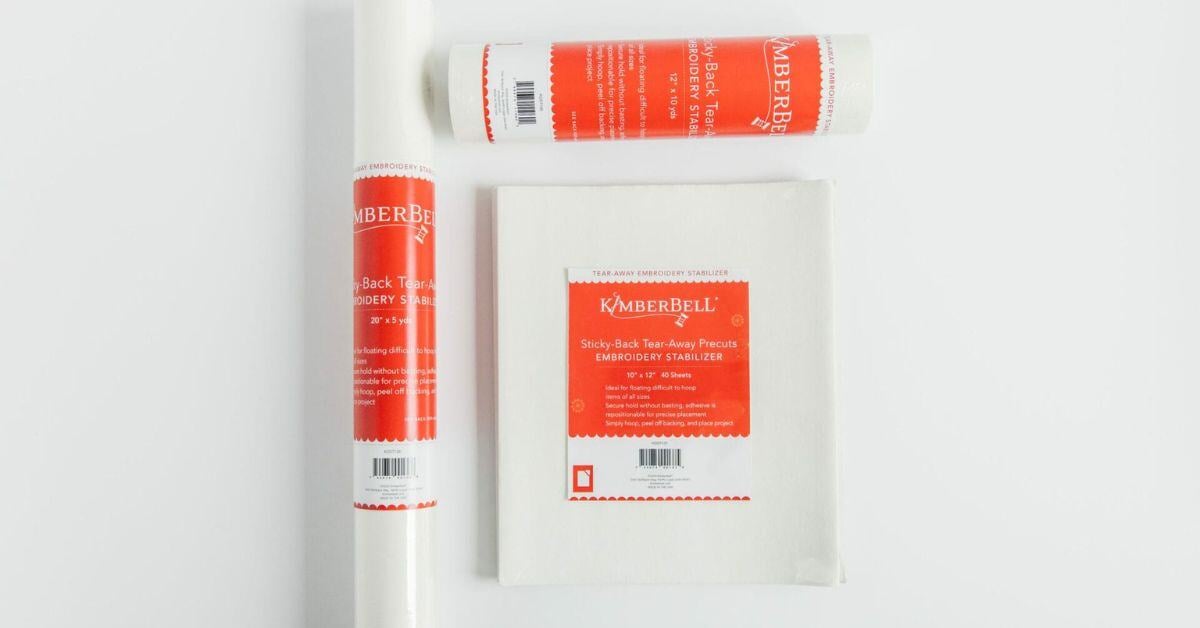
2. Incorrect Stabilizer Choice
The stabilizer is the unsung hero of machine embroidery, offering the support your design needs to shine. Your embroidery project might pucker if you’re not using the right type or weight. For lightweight fabrics, a cut-away stabilizer typically works best. For medium-weight projects, consider a tear-away backing for embroidery to stabilize without adding unnecessary bulk.
3. Poor Tension Settings
Your thread tension acts like a tug-of-war between the top and bobbin threads. If the balance is off, the uneven pull can distort your fabric. Before starting, run a quick test stitch on scrap material to ensure your tension settings are just right for the fabric and thread you’re using.
4. Design Density
Some designs have small, dense stitching areas that can pull and distort the fabric. If this happens, consider lightening the design in your software or resizing it to prevent the stitches from overlapping excessively.
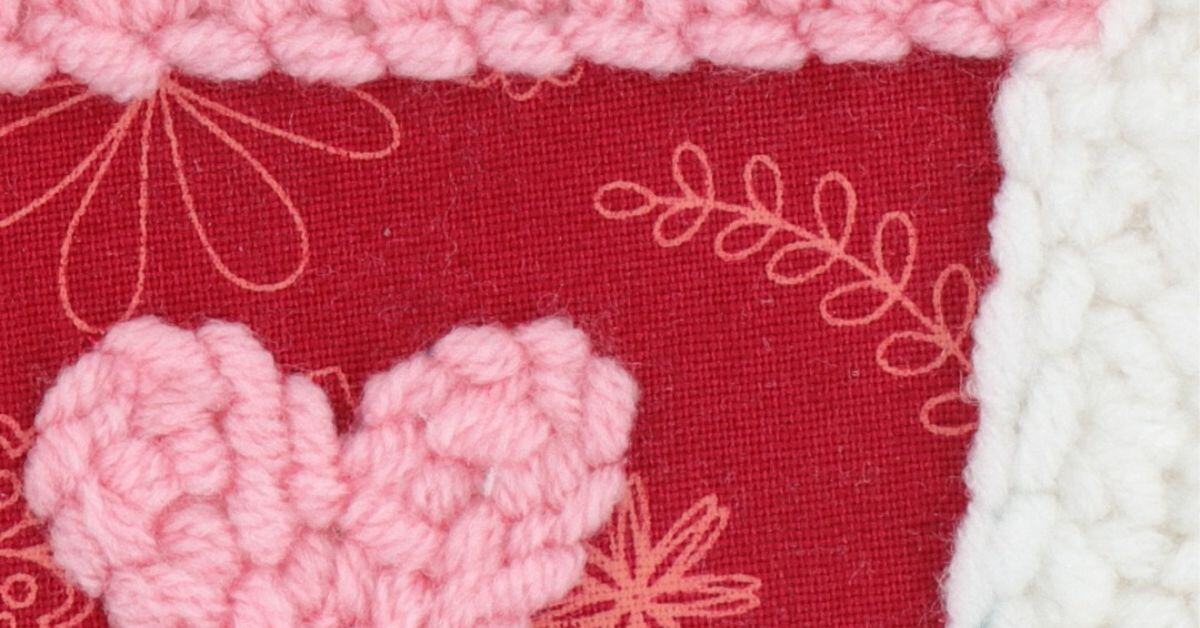
5. Fabric Type
Lightweight or stretchy fabrics like jersey are more prone to puckering because they provide less stability. Pair these fabrics with a proper stabilizer and adjust your sewing order carefully to reduce fabric drag.
How To Avoid Puckering in Your Projects
Now that you know the common causes, let’s focus on solutions to prevent puckering from the get-go. With a bit of preparation and mindful technique, you can ensure your projects come out smooth and professional.
- Match your needle type and size to the fabric you work with to ensure smooth stitching.
- Test and fine-tune the thread tension on scrap fabric before starting your project.
- Washing and ironing fabric beforehand can reduce shrinkage and puckering later.
- Moving consistently can help you maintain better control and reduce the risk of fabric distortion.
Remember, preparation and attention to detail make all the difference in achieving a polished and professional result. Whether you adjust your thread tension or use a tear-away backing for embroidery, these small adjustments can greatly help your projects.
Stitch Your Way to Success
Puckering might be frustrating, but it’s not the end of your creative dreams. With the right stabilizers, careful hooping techniques, and good old practice, you’ll keep your fabric smooth and your designs stunning.
And if you’re still figuring out which stabilizers to add to your tool kit, Kimberbell has you covered! Check out our stabilizers for all your machine embroidery needs.